Author: Talha
I am a crochet designer, macramé maker and a crafter who also loves doing MATH.
Contributor: Rina of Art of Crochet
She is a designer of trendy crochet and has been our contributor since mid 2026 via mycraftybasket.
Show support for Rina!
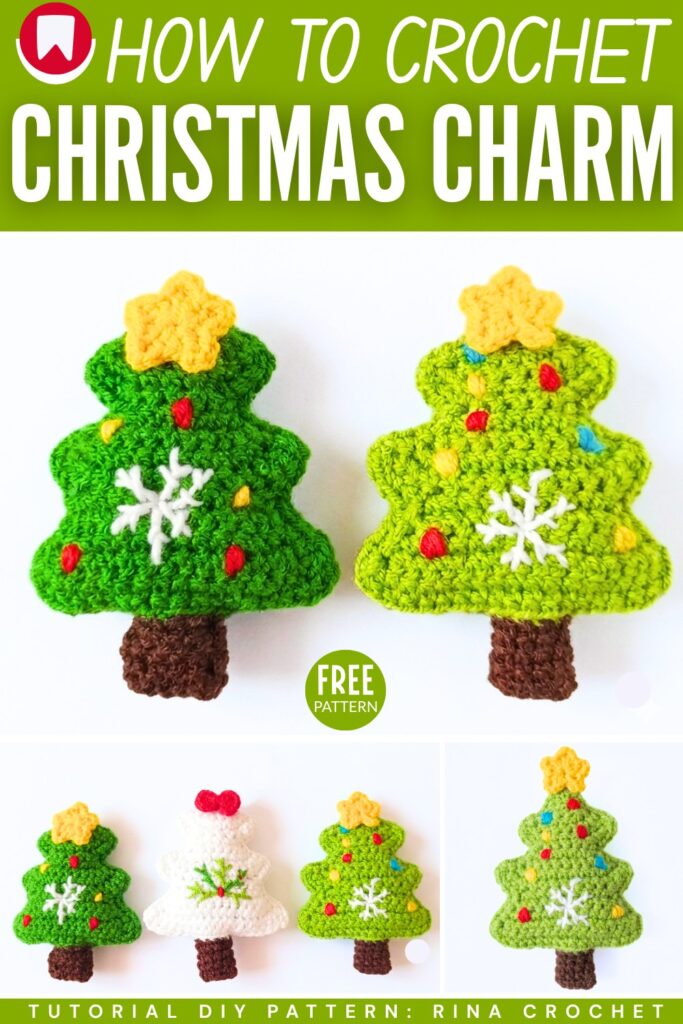
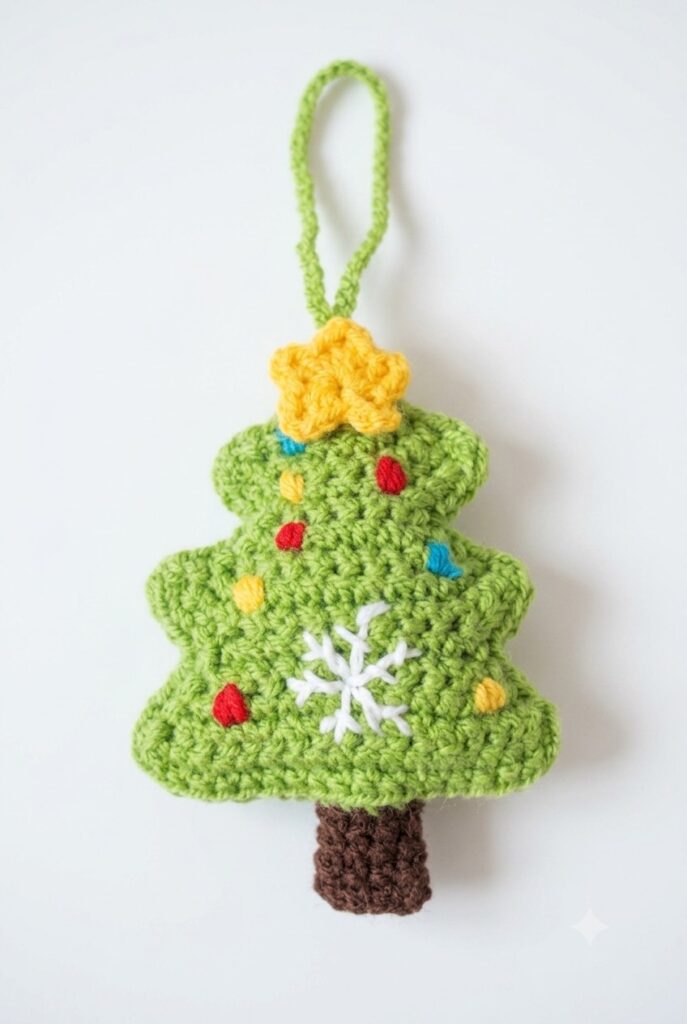
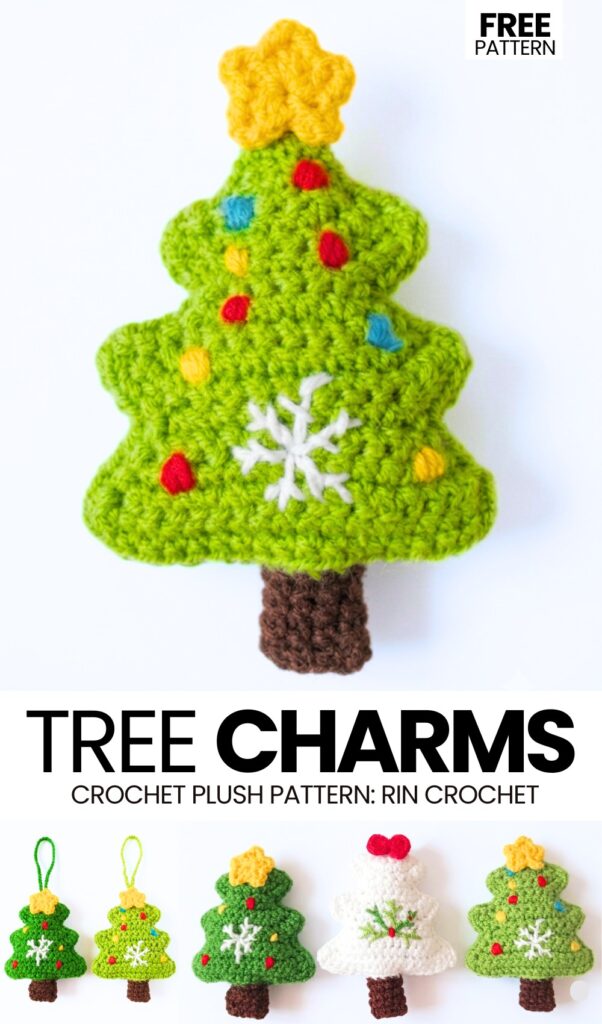
Today’s crochet tutorial is a part of the “clever ways to crochet a Christmas tree charm” series. I have already shared the no-sew Christmas tree buddy plushie and the tiered monster tree. Now, learn how to crochet a ragdoll Christmas tree amigurumi charm that features a beautiful embroidered snowflake in the middle and colorful embroidery lighting all around. You can crochet this Christmas tree charm in shades of green, red, or even white.
I recommend crocheting a trio of crochet Christmas trees in all these 3 colors. This crochet Christmas tree pattern also includes a crochet small bow and a 5-point star applique pattern.
These crocheted Christmas trees also feature hanging loops. So, you can attach your Christmas tree to a winter tote bag, hang it as an ornament, or add it to the middle of a Christmas garland. Since we shall crochet this Christmas tree by attaching two flat tree pieces, you can also turn yours into a small pouch. Now, continue reading to learn more about this quick Christmas tree project with the pattern below.
Similar Project(s)
Pattern to Crochet Christmas Tree Charms for Beginners
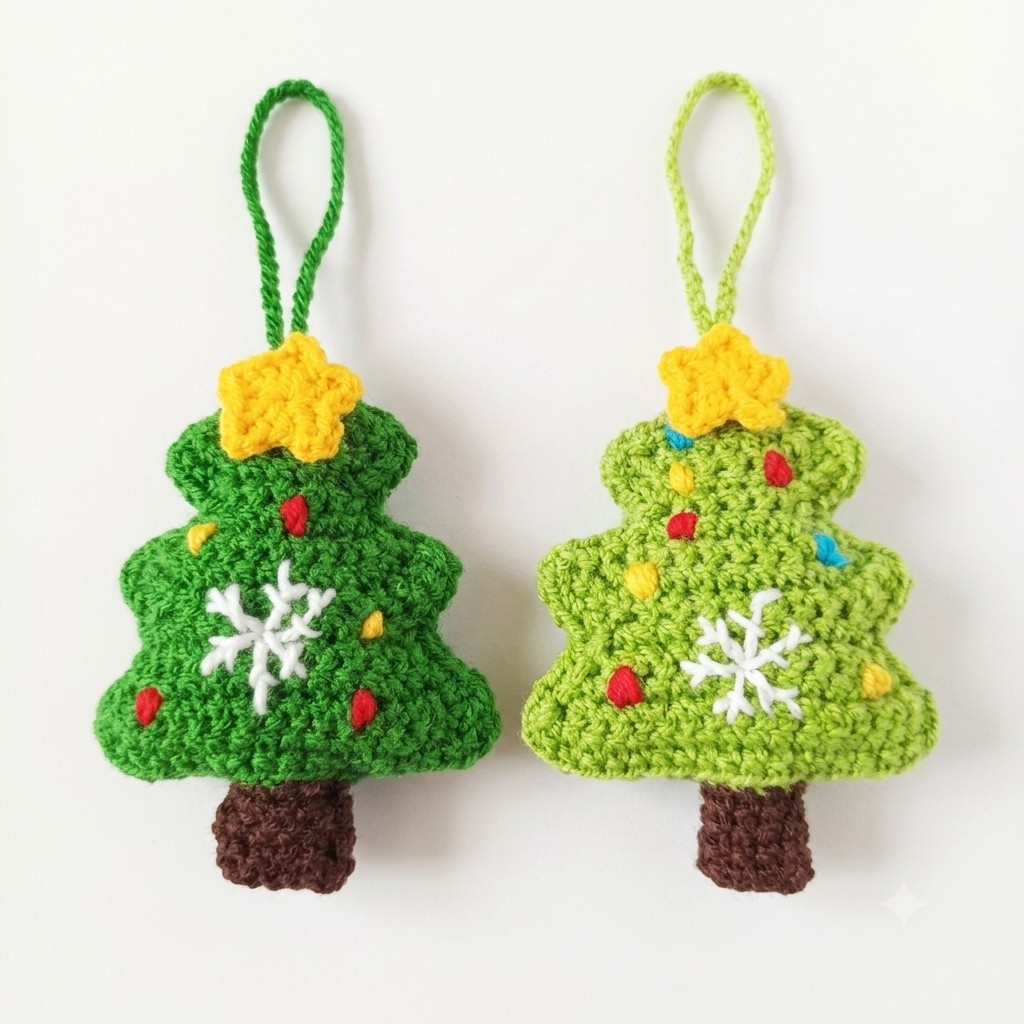
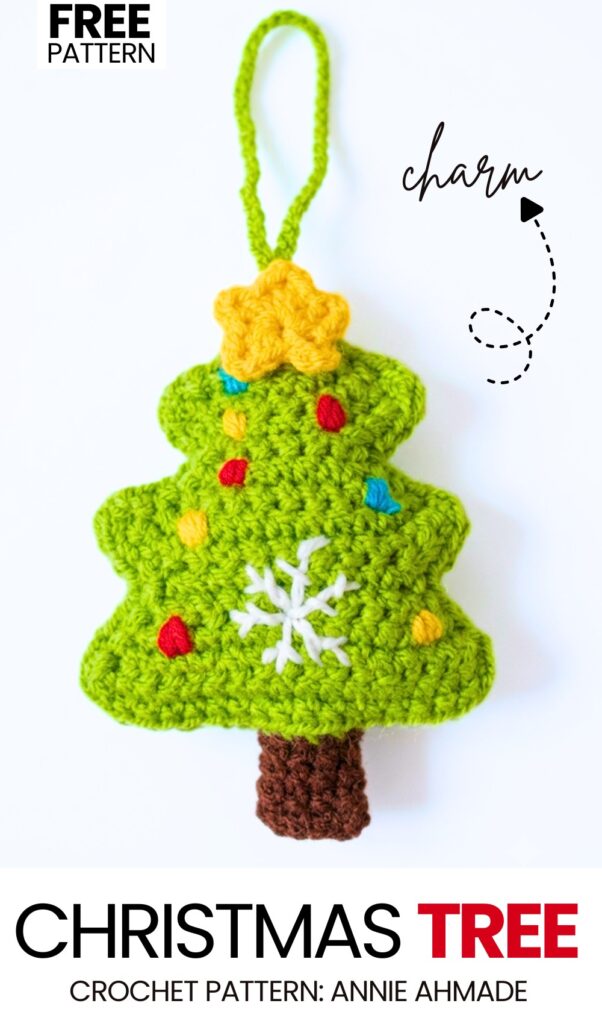
This project is a crochet tree for Christmas. It is a ragdoll-style tree. A ragdoll style means it has two flat pieces. You sew the two flat pieces together.
You put stuffing inside the tree. The tree is green. It has a brown trunk. It has a yellow star on top. It has a white snowflake on the front. You make a loop with yarn to hang the tree.
Materials
Yarn: Medium-weight yarn in Green, Brown, Yellow, and White.
Hook: 3.0mm or 3.5mm crochet hook.
Stuffing: Polyester fiberfill.
Tools: Yarn needle, scissors, and hot glue (optional for the star).
Abbreviations
Ch: Chain
Sc: Single crochet
Sl st: Slip stitch
Inc: Increase (2 sc in the same stitch)
St: Stitch
Dc: Double crochet
MR: Magic Ring
Are you a Beginner? Learn Crocheting Easily!
You can learn to crochet this UNIQUE way to crochet a Christmas Tree as a beginner by following this tutorial, too:
Crochet Ragdoll Christmas Tree Pattern
Tree Panels (Make 2)
Using Green yarn:
Row 1: Ch 2. In the 2nd ch from the hook, work 1 sc. Ch 1, turn. (1 st)
Row 2: Work 1 inc in the st. Ch 1, turn. (2 sts)
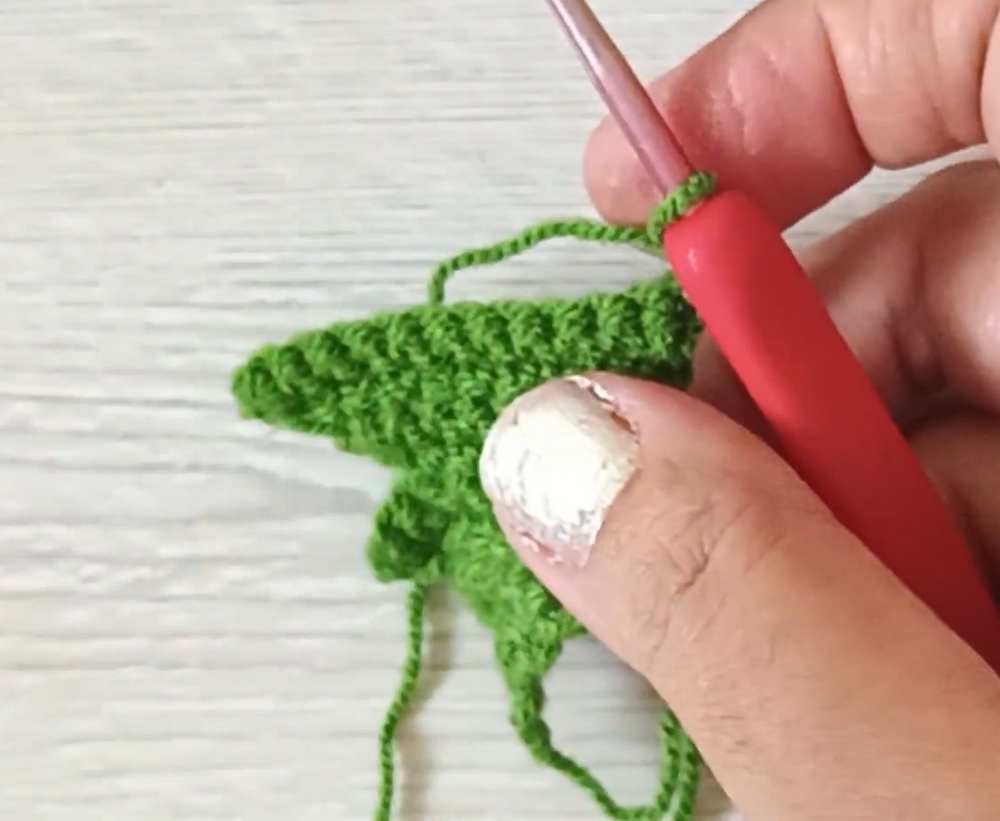
Row 3: Work 1 inc in each of the 2 sts. Ch 1, turn. (4 sts)
Row 4: Work 1 inc, 1 sc in next 2 sts, 1 inc. Ch 1, turn. (6 sts)
Row 5: Work 1 inc, 1 sc in next 4 sts, 1 inc. Ch 1, turn. (8 sts)
Row 6 (Starting the second tier): 4 sl st across the row. Ch 1. In the same st as the last sl st, work 1 inc. Work 1 sc in next 2 sts, then 1 inc in the next st. Ch 1, turn. (6 sts)
Row 7: Work 1 inc, 1 sc in next 4 sts, 1 inc. Ch 1, turn. (8 sts)
Row 8: Work 1 inc, 1 sc in next 6 sts, 1 inc. Ch 1, turn. (10 sts)
Row 9 (Starting the third tier): 4 sl st across. Ch 1. In the same st as the last sl st, work 1 inc. Work 1 sc in next 6 sts, 1 inc. Ch 1, turn. (10 sts)
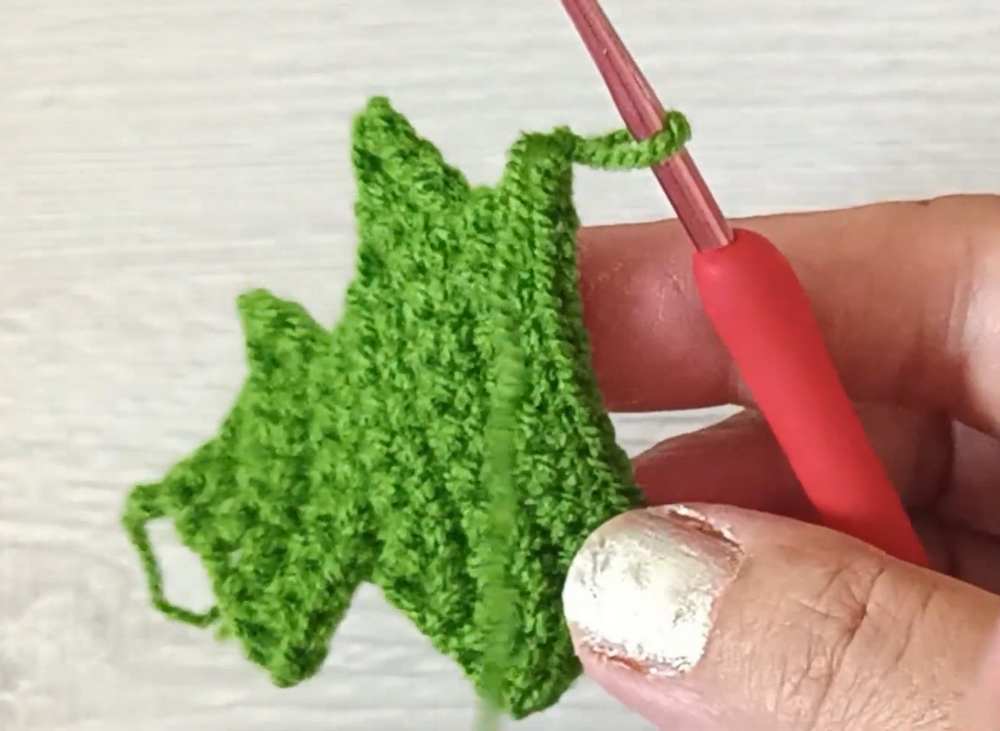
Row 10: Work 1 inc, 1 sc in next 8 sts, 1 inc. Ch 1, turn. (12 sts)
Row 11: Work 1 inc, 1 sc in next 10 sts, 1 inc. Ch 1, turn. (14 sts)
Row 12: Work 1 inc, 1 sc in next 12 sts, 1 inc. Ch 1, turn. (16 sts)
Edging: Sc evenly all the way around the entire green tree shape to create a clean edge. Fasten off.
Tree Trunk
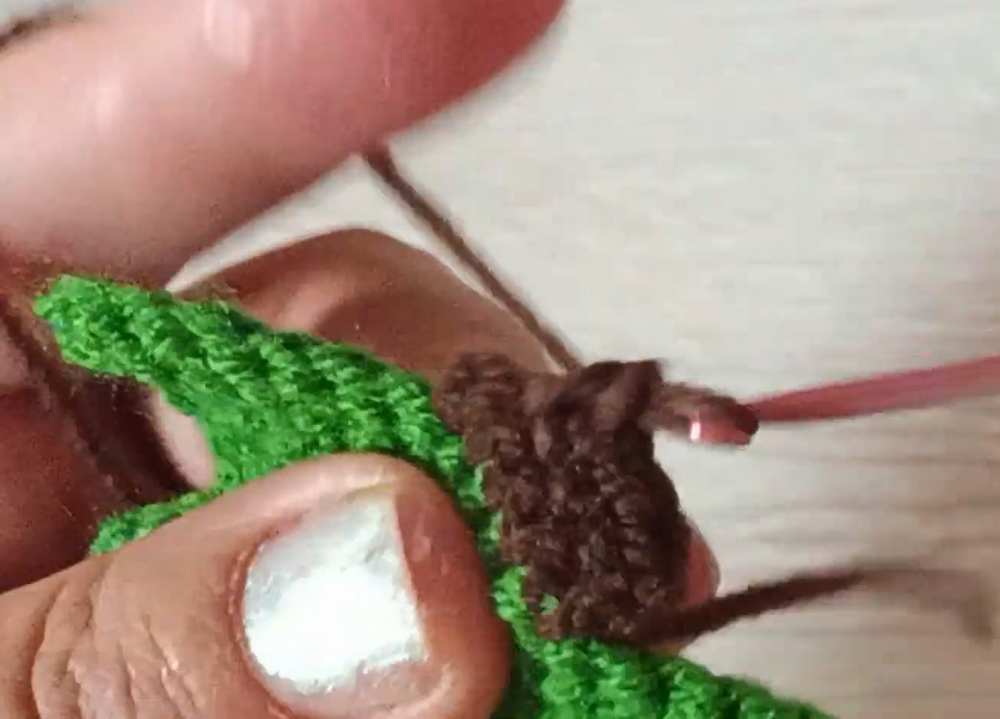
Attach Brown yarn to the center 5 stitches of the bottom of the tree:
Rows 1-4: Work 1 sc in each of the 5 sts. Ch 1, turn. (5 sts)
Fasten off after Row 4.
The Star
Using Yellow yarn:
Round 1: Create a MR. Work (1 dc, ch 2, 1 dc, 1 sc) into the ring. Repeat this sequence 5 times total to create the 5 points of the star.
Pull the ring tight and sl st to the first st to close. Fasten off.
Snowflake Embroidery
Using a yarn needle and White yarn:
On the front panel of one tree, stitch a large “X”.
Stitch a vertical line through the center of the “X”.
Add small “v” shapes to the ends of the lines to finish the snowflake look.
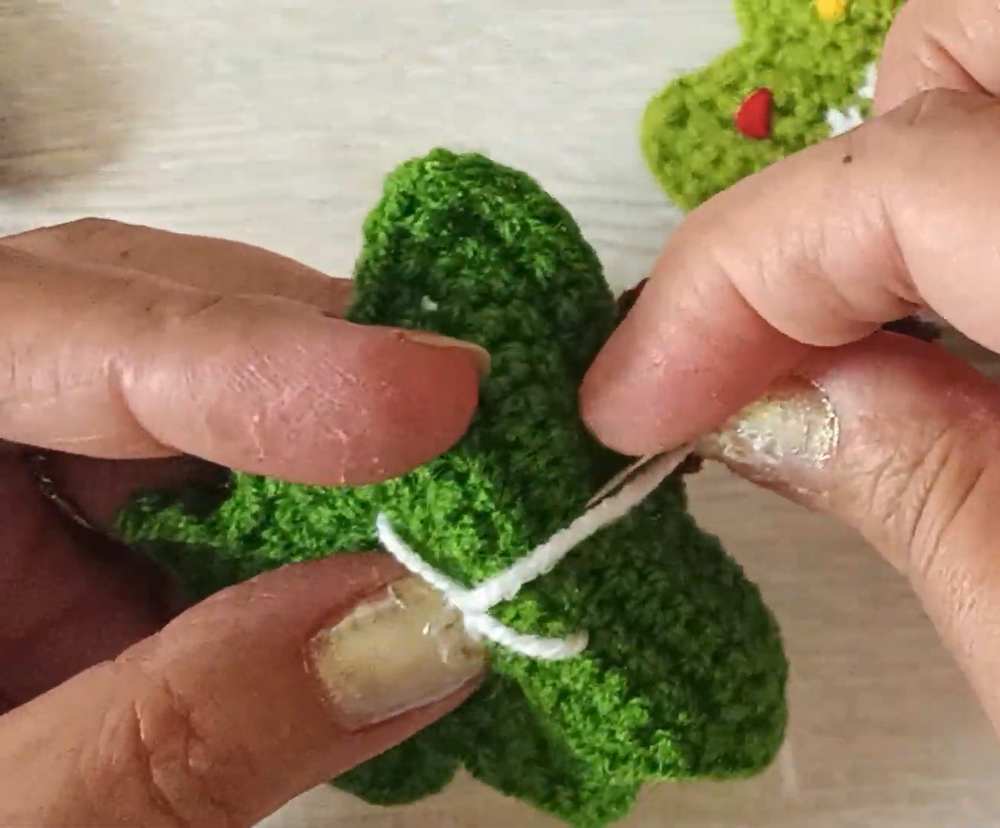
Assembly
Hanging Loop: Using Green yarn, Ch 60. Fasten off. Use a yarn needle to sew both ends of the chain to the very top point of the back tree panel.
Joining: Place the front panel (with the snowflake) on top of the back panel.
Using a yarn needle and Green yarn, sew the two pieces together through the edging stitches.
When you reach the trunk, switch to Brown yarn to sew the trunk section.
Stuffing: Before closing the tree completely, fill the inside with polyester fiberfill. Do not overstuff; the tree should remain relatively flat.
Finish sewing the edge closed and weave in all yarn ends.
Final Touch: Glue or sew the yellow star to the top of the tree, covering the base of the hanging loop.
Share on Social Media!
See More:
How to Crochet the Craziest FUNNY Christmas Tree Buddy Amigurumi Ornament
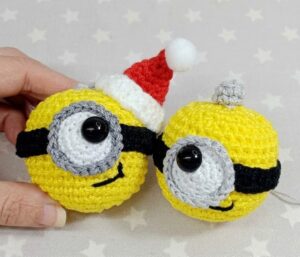
How to Crochet Christmas Yellow Goggle Character Bell Buddy in Santa Hat
![[PDF Pattern] How to Crochet Smiling Snowman Wind Spinner for Christmas](https://criazalblog.com/wp-content/uploads/2026/09/snowman-wind-spinner-224x300.jpg)
[PDF Pattern] How to Crochet Smiling Snowman Wind Spinner for Christmas
![[PDF Pattern] How to Crochet Mr. Cookie Crochet Christmas Gift Basket](https://criazalblog.com/wp-content/uploads/2026/09/crochet-gingerbread-basket-2-223x300.jpg)
[PDF Pattern] How to Crochet Mr. Cookie Crochet Christmas Gift Basket
![[PDF Pattern] How to Crochet A Green Christmas Character Basket in Santa Hat Pattern](https://criazalblog.com/wp-content/uploads/2026/09/crochet-grinch-basket-1-296x300.jpg)
[PDF Pattern] How to Crochet A Green Christmas Character Basket in Santa Hat Pattern

Tester Pattern: To Crochet A Snowball Christmas Dumpling in Basket Plush
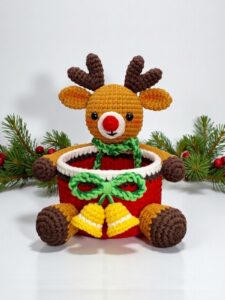
PDF Pattern | How to Crochet A Christmas Animal Basket for Gifting
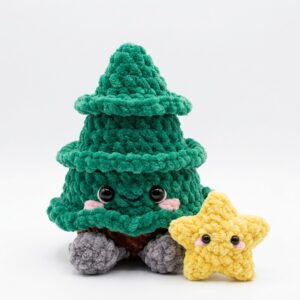
Featuring: Crochet Amuseables Sitting Christmas Tree & Star Are Buddies Plushie
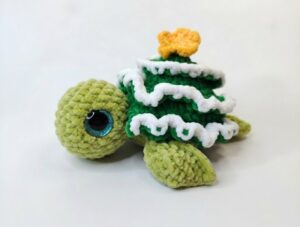
Featuring: How to Crochet A Christmas Tree Turtle Plushie for Gifting