Author: Talha
I am a crochet designer, macramé maker and a crafter who also loves doing MATH.
Contributor: Rina of Art of Crochet
She is a designer of trendy crochet and has been our contributor since mid 2026 via mycraftybasket.
Show support for Rina!
This is part 4 of the “crochet evil eye bag accessories” SERIES. Or I should say variation #2 of the crochet eyeball pouch keychain! In the previous tutorial, you learned how to crochet a small granny square evil pouch keychain that doubled as a pouch. Now, let’s crochet this round eyeball coin purse with a step-by-step tutorial + a written pattern as well. This eyeball purse has a beautiful cluster stitch texture (similar to sunburst granny square), unlike the usual double crochet rounds.
This crochet eyeball purse is made in the shape of a small drawstring pouch that makes it look SO CUTE! However, it has a “loop and string” closing method. So, you can also attach your room key to this eyeball pouch.
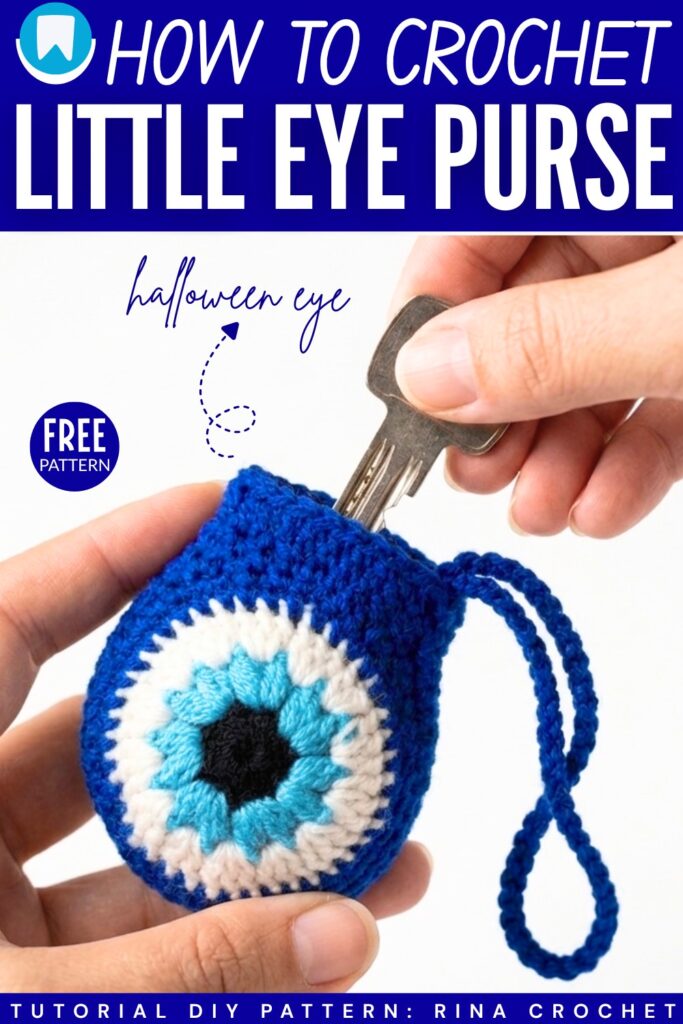
You can use this Halloween eyeball pouch till the Halloween starts in the fall. Crocheting this evil eye purse won’t take more than 30 minutes. So, be sure to crochet at least a pair of eyeball pouches for you. You can also use it as a small Halloween keychain pouch. Now, continue reading to learn more about this crochet evil eye Halloween project for absolute beginners.
Similar Project(s)
Pattern to Crochet the Eyeball Pouch & Keychain
Skill Level: Beginner – Level 4
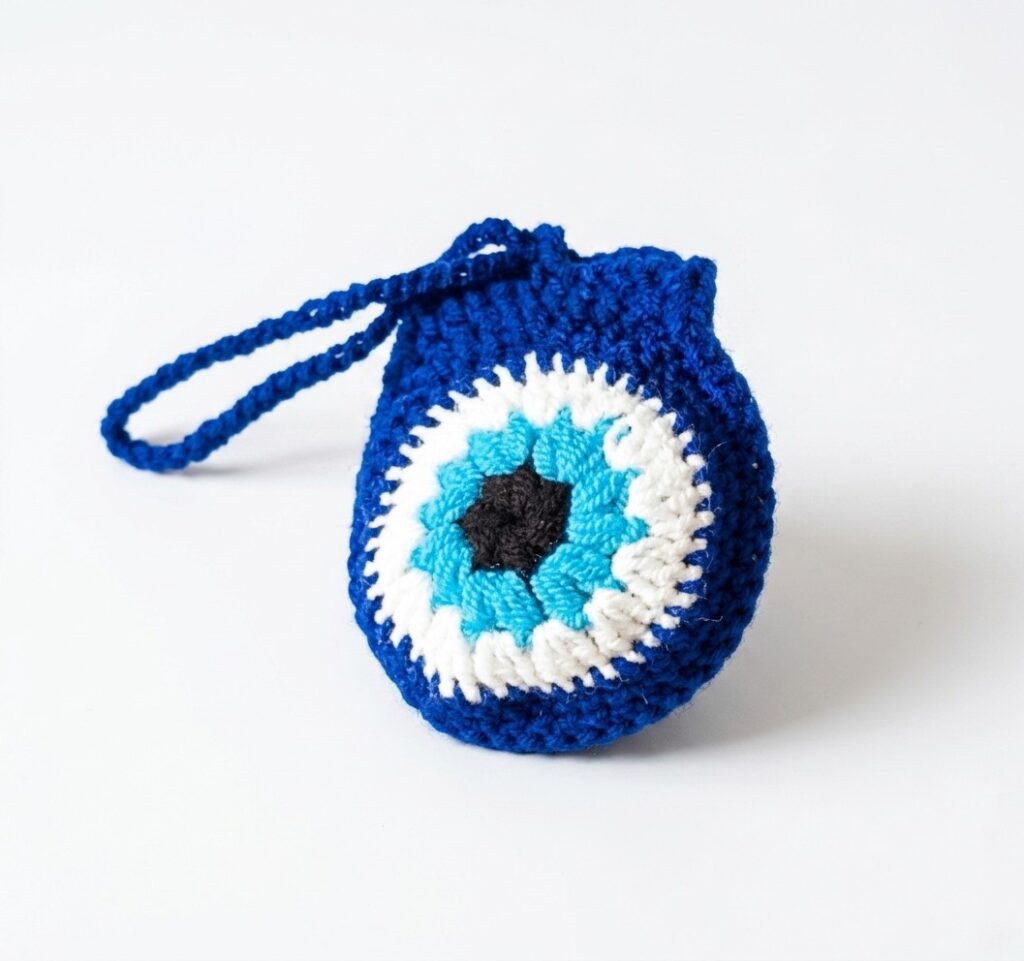
This is a small bag. It looks like an eye. You use four colors of yarn. The colors are black, light blue, white, and dark blue. You make two round circles. One circle has the eye colors. One circle is plain dark blue.
You sew the two circles together with a hook. You leave a hole at the top. You make a long string of chains. You can put money or a key inside the bag.
Materials List
Yarn: Acrylic yarn in Black, Turquoise (Light Blue), White, and Dark Blue.
Hook: 2.5 mm crochet hook.
Tools: Scissors and a yarn needle.
Abbreviations List
MR: Magic Ring
Ch: Chain
St: Stitch
Slst: Slip Stitch
SC: Single Crochet
HDC: Half Double Crochet
DC: Double Crochet
Are you a Beginner? Learn Crocheting Easily!
You can learn to crochet this spooky eyeball pouch as a beginner by following this tutorial, too:
Crochet Pattern Instructions
Part 1: The Front Eye Circle
Round 1 (Black Yarn):
Start with a MR.
Ch 2, then work 12 HDC into the ring.
Join with a slst to the first HDC and fasten off.
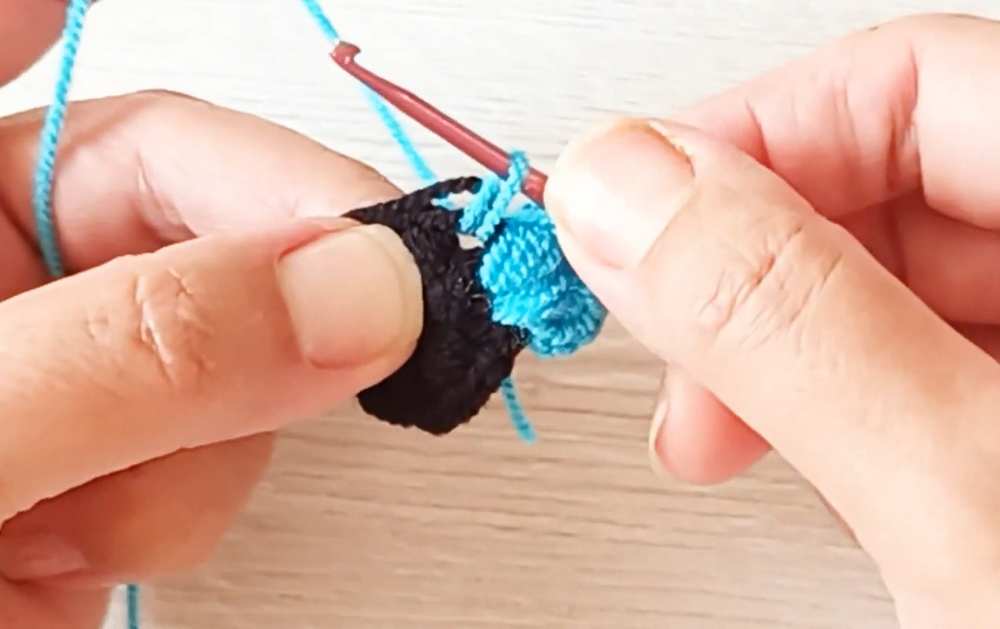
Round 2 (Turquoise Yarn):
Join yarn to any stitch. Ch 3.
Yarn over, insert hook, pull up a loop (repeat 3 times in the same stitch).
Pull through all 4 loops on the hook. Ch 2.
Repeat this “3-loop cluster + Ch 2” in every stitch around.
Join with a slst and fasten off.
Round 3 (White Yarn):
Join yarn in any Ch-2 space. Ch 3 (counts as 1 DC).
Work 2 DC in the same space.
Work 3 DC in every Ch-2 space around the circle (Total 13 groups of 3 DC).
Join with a slst and fasten off.
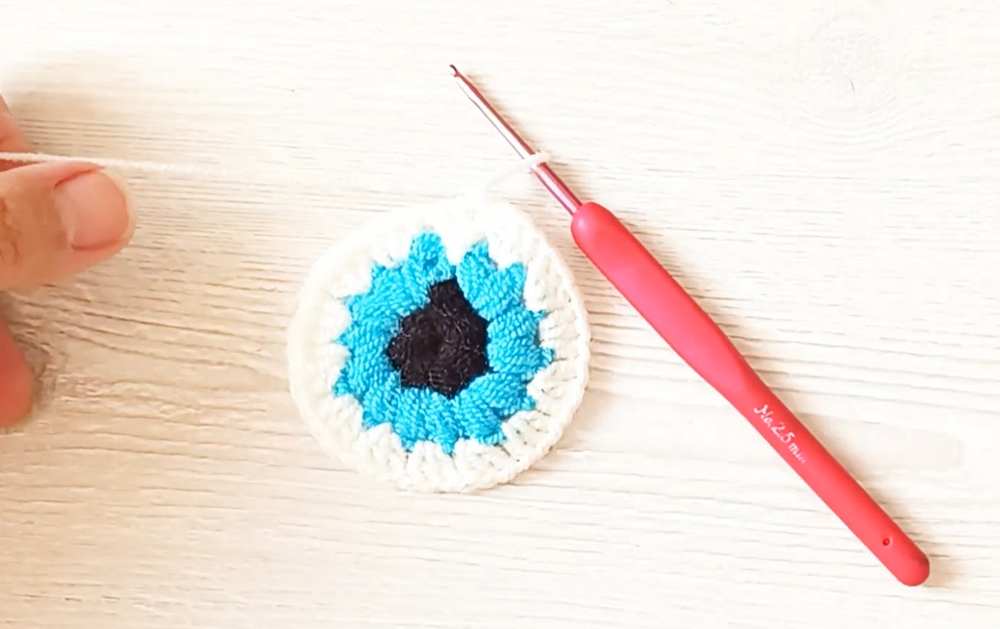
Round 4 (Dark Blue Yarn):
Join yarn. Ch 2.
Follow this sequence: 1 DC, 3 DC in one st, 2 DC, 2 DC in one st, 1 HDC.
Continue working around with SC to maintain a flat circle shape.
Join with a slst but do not fasten off yet if you are continuing to the joining phase.
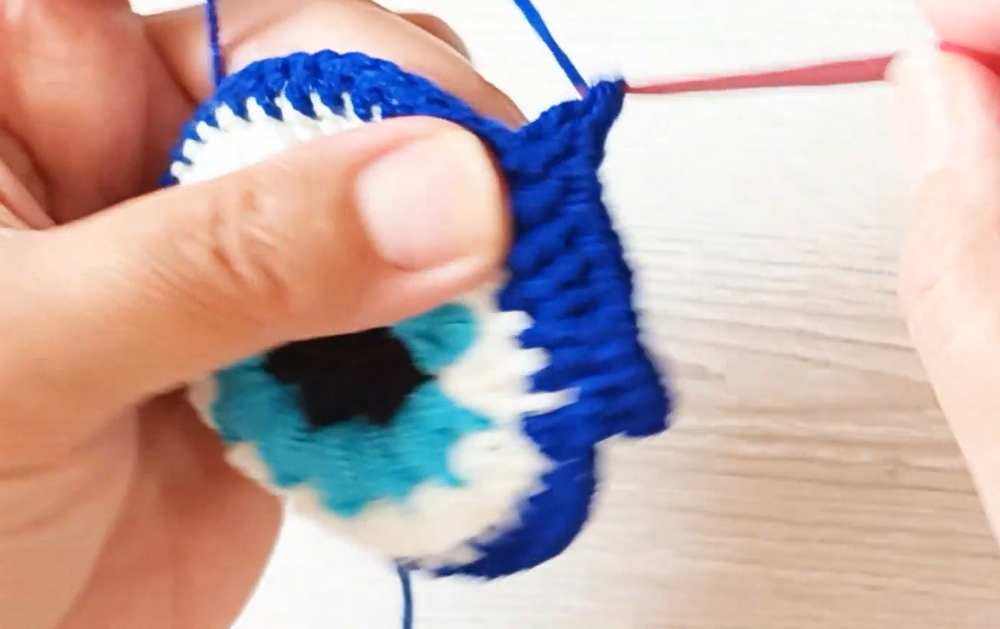
Part 2: The Back Circle (Dark Blue Yarn)
Round 1: MR, Ch 2, 12 HDC in ring. Slst to join.
Round 2: Ch 2, 2 HDC in each st (24 sts). Slst to join.
Round 3: Ch 2, 1 HDC, 2 HDC in next st repeat around (36 sts). Slst to join.
Round 4: Ch 2, 2 HDC, 2 HDC in next st repeat around (48 sts). Slst to join and fasten off.
Part 3: Assembly and Finishing
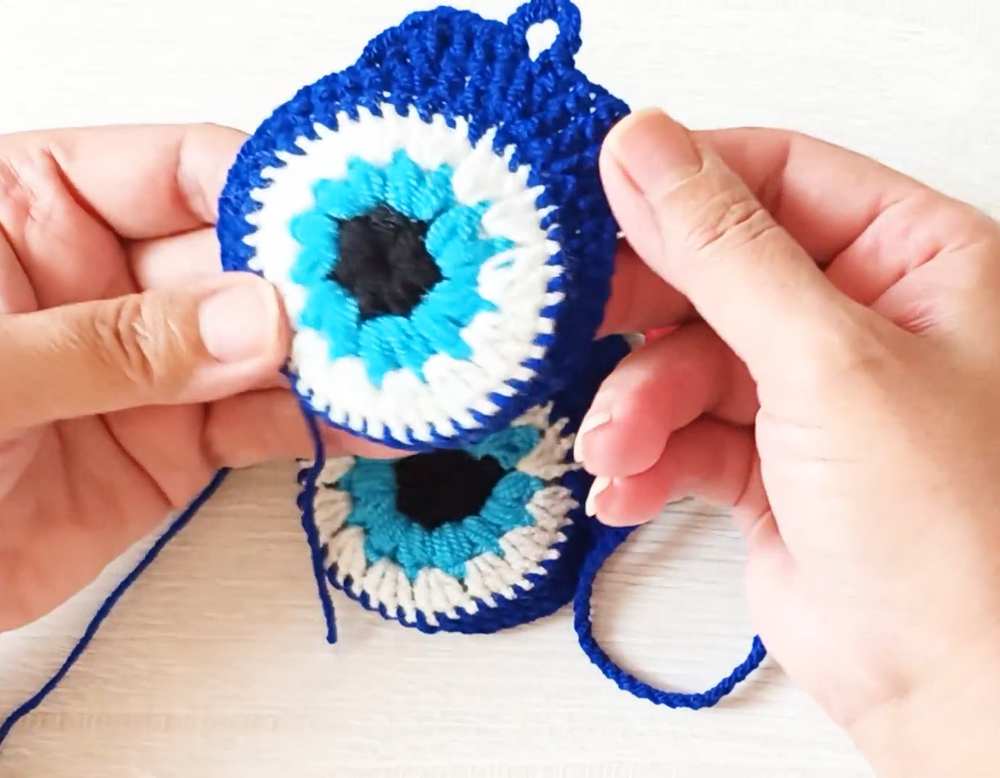
Joining: Place the front eye circle on top of the back dark blue circle (wrong sides facing each other).
Using dark blue yarn, SC through both layers to join them together.
Work SC around approximately 3/4 of the circle.
The Top Opening: When you reach the top section, stop joining the two pieces.
SC around the edge of the front piece only for the remaining stitches.
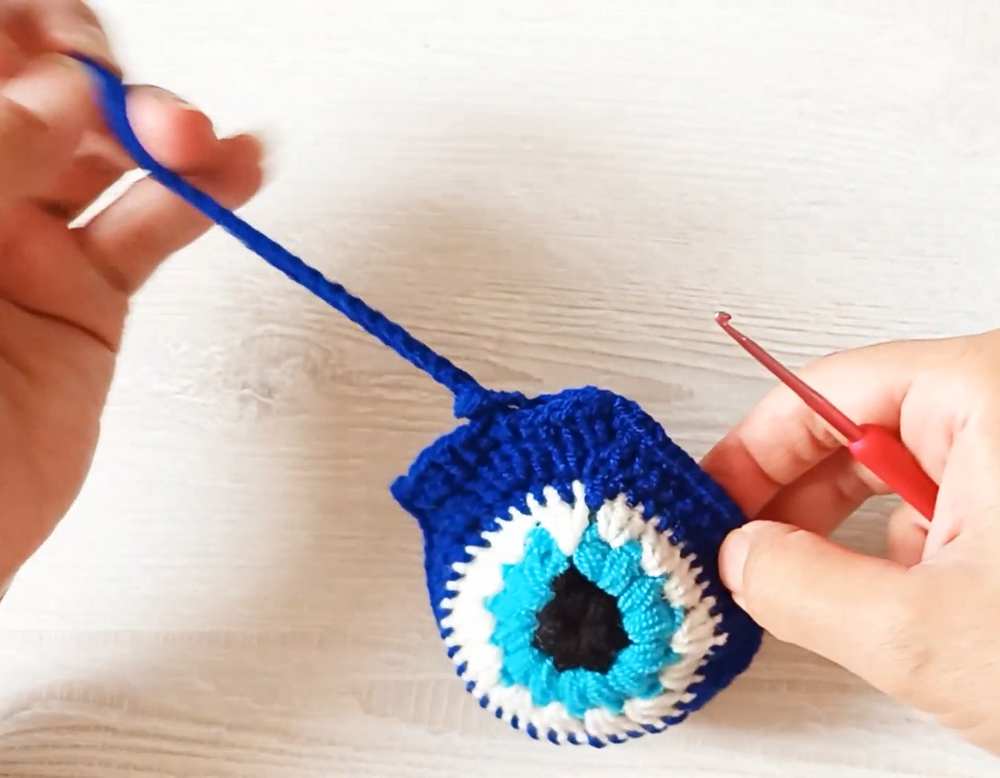
At the corner of the opening, work: 1 SC, 1 HDC, 1 DC, 2 DC in one st, 1 SC to create a slight “lip” or tab.
The Loop Handle: Ch 50. Slst back into the base of the chain to form a long loop.
Drawstring/Closure: To create the closure, Ch 10 and form a small loop on the opposite side of the opening. This allows the long Ch 50 loop to pass through and secure the pouch.
Fasten off and weave in all yarn ends.
See More:
Free Crochet Eyeball Dumpling in a Steamer Plushie for Halloween
Crochet the Mini Wobbly Eye No-Sew Bear Cutie Plushie
How to Crochet Tasseled Evil Eye Keychain for Halloween
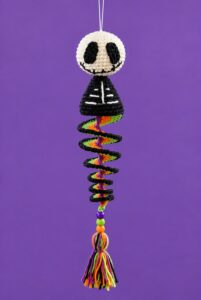
Featuring: How to Crochet the Skeleton Wind Spinner With Stripes of Halloween Colors
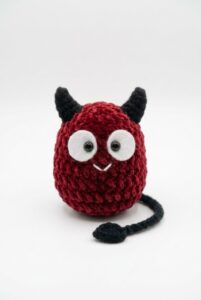
Tester Pattern: How to Crochet A Cape-Wearing Red Buddy Plushie for Halloween
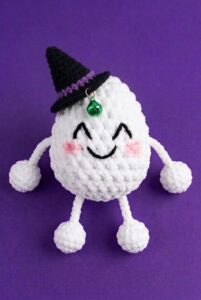
Tester Pattern: How to Crochet An Tug & Pull Witch Egg Halloween Plushie Toy
Featuring: Crochet SPOOKY-CUTE Black & White Ghost Plushie for Halloween
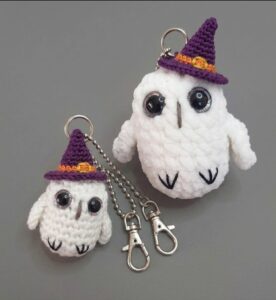
Tester Pattern: Crochet 10-Minute Pair of Ghost Owl Pals Plushies for Halloween
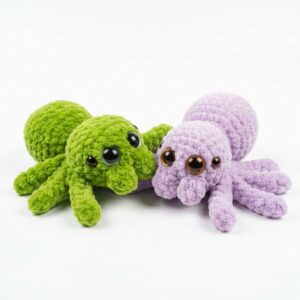
Featuring: Crochet 8-Legged & Four-Eyed Spider Plushie for Halloween