Show support for Otakulandia!
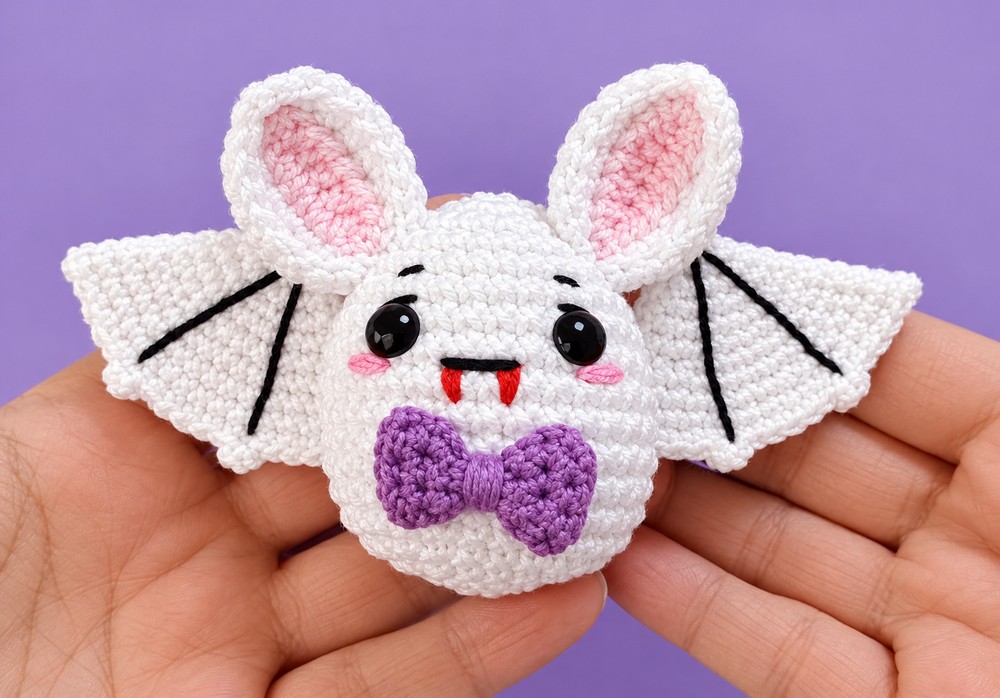
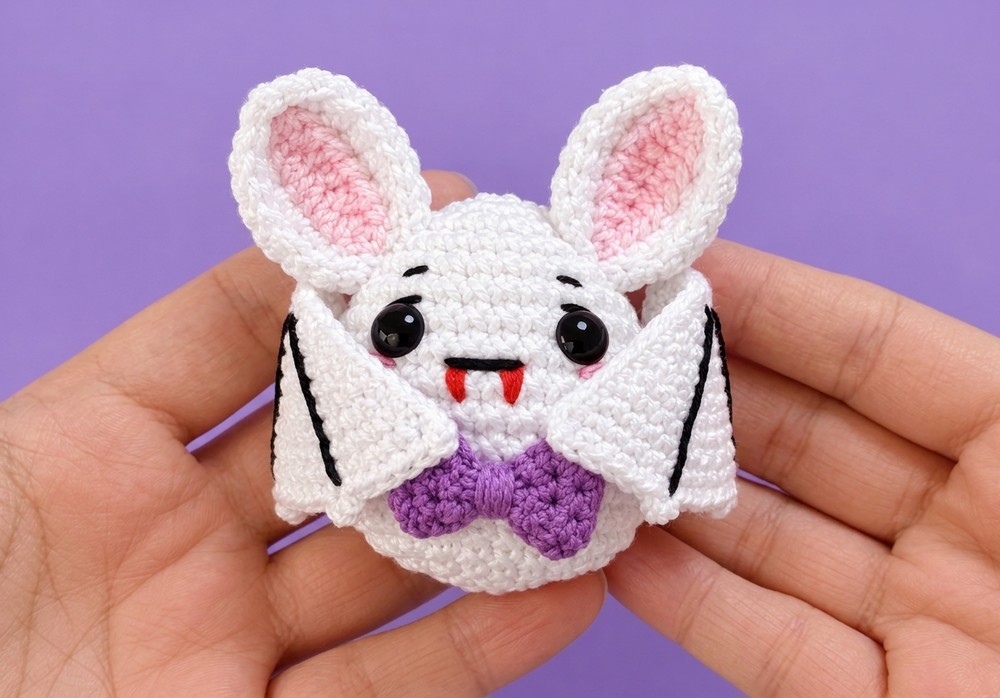
In today’s crochet DK yarn bat amigurumi tutorial, learn how to crochet this UNIQUE 2-in-1 bunny bat amigurumi! This has a small crochet egg body, foldable wings, and bunny ears, which is why I also call it the crochet egg bunny bat amigurumi! You can cut a small felt crown for your crochet amigurumi.
With yellow chosen for the body and wing embroidery in black, as well as the red mouth, this is the CUTEST crochet amigurumi bat keychain.
This little crochet bat wears a small crocheted bow as well, and I also call it the Mr. Bat amigurumi that you can crochet in less than 45 minutes. Choose from both the crochet cotton yarn bat amigurumi video tutorial and written pattern. I would also recommend using the skinny plush yarn to crochet your little bat amigurumi!
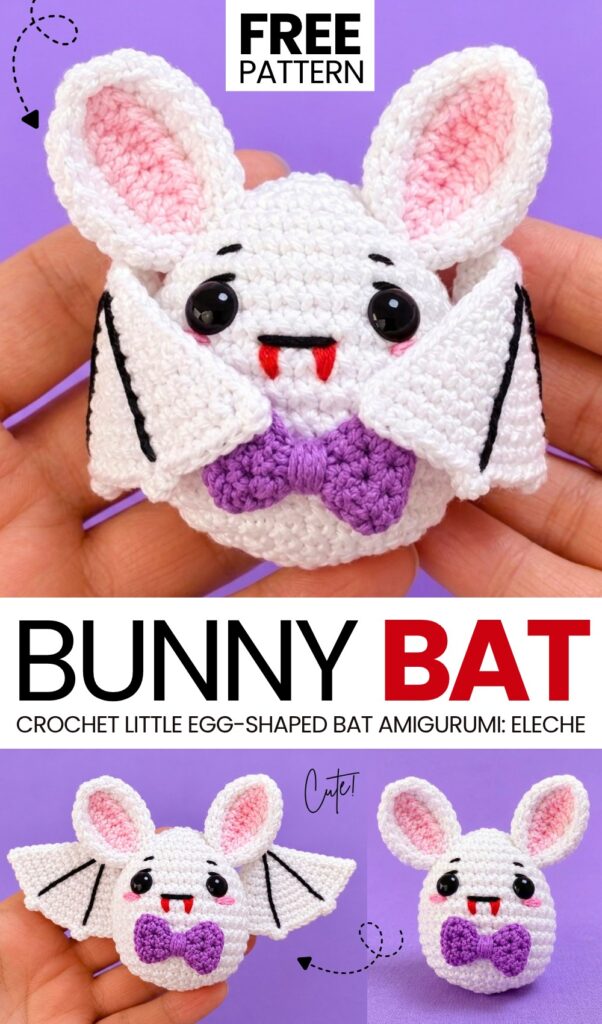
Pattern to Crochet the Amigurumi Foldable-Wings White Bat Amigurumi
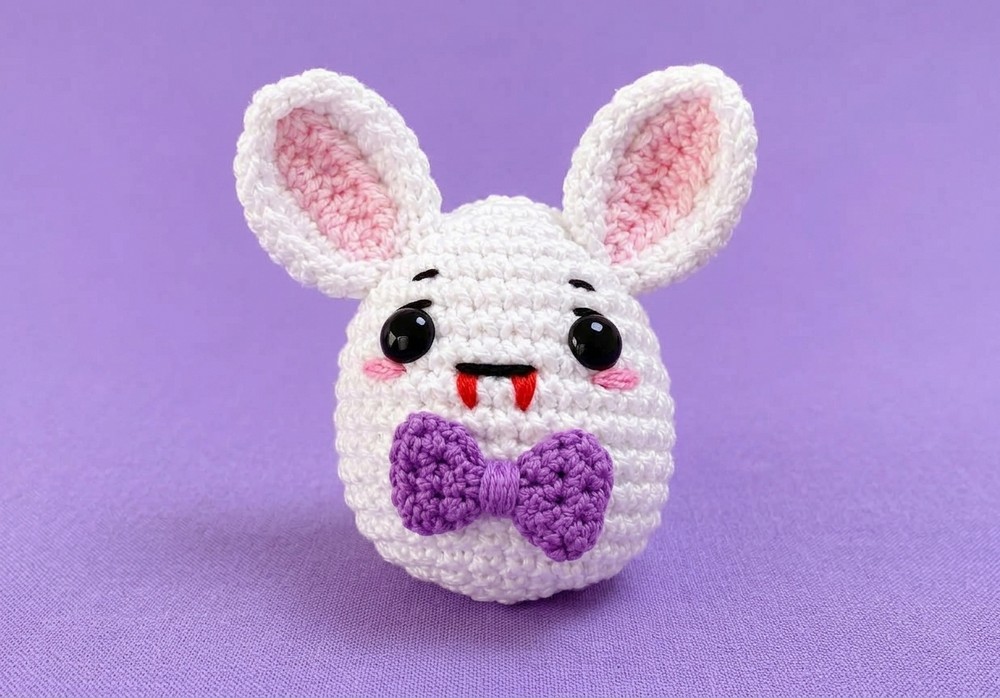
This project is a small white bat toy. It is also called a vampire. You use white yarn to make the round body, the two pointed ears, and the two bat wings. You use purple yarn to make a small bow tie for the neck. You fill the inside of the body with soft stuffing. You sew or glue the ears to the top of the head.
You sew the wings to the back of the body. You attach two black eyes to the face. You use black yarn to make the mouth and eyebrows. You use red yarn to make the teeth. You use pink yarn to make the cheeks. This project is fast and easy to make.
Materials Needed
Yarn: Cotton yarn in White (for body, wings, ears), Purple (for bow tie), Black (for mouth/eyebrows), Red (for teeth), and Pink/Fuchsia (for cheeks).
Hook: 1.75 mm crochet hook.
Eyes: Two 10 mm black safety eyes or beads.
Stuffing: Toy fiberfill stuffing.
Tools: Yarn needle, scissors, stitch marker, and hot glue (optional, for attaching wings/eyes).
Abbreviations (US Terms)
mr: Magic ring
ch: Chain
sc: Single crochet
hdc: Half double crochet
inc: Increase (2 sc in the same stitch)
dec: Invisible decrease (crochet 2 stitches together)
sl st: Slip stitch
st / sts: Stitch / Stitches
Are you a Beginner? Learn Crocheting Easily!
You can learn to crochet better with this amigurumi bat buddy using the following video tutorial, or continue with the pattern:
Pattern Instructions
1. Main Body / Head
Using White yarn:
Round 1: Make 6 sc in a magic ring. (6 sts)
Round 2: Make 1 inc in each stitch around. (12 sts)
Round 3: [1 sc, 1 inc] repeat 6 times. (18 sts)
Round 4: [2 sc, 1 inc] repeat 6 times. (24 sts)
Round 5: [3 sc, 1 inc] repeat 6 times. (30 sts)
Rounds 6 to 13 (8 rounds): Make 1 sc in each stitch around. (30 sts)
Round 14: [1 sc, 1 dec] repeat 10 times. (20 sts)
Begin stuffing the body firmly and continue stuffing as you go.
Round 15: Make 1 dec in each stitch around. (10 sts)
Round 16: [1 sc, 1 dec] repeat 3 times, then 1 sc in the last stitch. (7 sts)
Fasten off. Weave the yarn tail through the front loops of the remaining 7 stitches and pull tight to close the hole at the bottom.
2. Ears (Make 2)
Using White yarn:
Row 1: Chain 7. Starting in the 3rd chain from the hook, make 4 hdc. In the very last chain (the first one you made), make (1 sc, ch 1, 1 sc) to turn the corner. Working down the opposite side of the chain, make 5 hdc.
Row 2: Chain 2, turn your work. Make 5 hdc. Make 1 sc in the next stitch, 1 sc in the next stitch. At the top tip (in the ch 1 space), make a slip stitch. Then make 1 sc in the next stitch, and 5 hdc to finish the side.
Fasten off, leaving a long tail for sewing.
3. Wings (Make 2)
Using White yarn:
Round 1: Make 6 sc in a magic ring. (6 sts)
Round 2: Make 1 sc in each stitch around. (6 sts)
Round 3: Make 1 inc in each stitch around. (12 sts)
Round 4: [1 sc, 1 inc] repeat 6 times. (18 sts)
Round 5: Make 1 sc in each stitch around. (18 sts)
Round 6: [2 sc, 1 inc] repeat 6 times. (24 sts)
Round 7: Make 1 sc in each stitch around. (24 sts)
Round 8: [3 sc, 1 inc] repeat 6 times. (30 sts)
Round 9: Make 1 sc in each stitch around. (30 sts)
Round 10: [4 sc, 1 inc] repeat 6 times. (36 sts)
Round 11 (Scalloped Edge): [Make 1 sc in the next 5 sts, then in the next stitch make (1 sl st, ch 3, 1 sl st) to create a point]. Repeat this bracketed sequence 5 times. In the remaining 6 stitches, make 5 sc and 1 sl st.
Fasten off, leaving a tail for sewing. Flatten the wings.
4. Bow Tie
Using Purple yarn:
Row 1: Chain 5. Starting in the 2nd chain from the hook, make 4 sc. (4 sts)
Rows 2 to 7: Chain 1, turn. Make 4 sc. (4 sts)
Row 8: Turn (do not chain). Slip stitch down the edge to finish.
Fasten off. Pinch the middle of the rectangle and wrap the yarn tail tightly around the center several times to shape it into a bow tie. Tie a knot at the back.
Assembly Steps
Count down 6 rounds from the top center of the head. Attach the eyes between round 6 and 7, leaving 4 visible stitches between them. Using black yarn, embroider a straight mouth below the eyes, and two small, slanted eyebrows above the eyes.
Using red yarn, embroider small “V” shaped fangs hanging down from the outer edges of the black mouth. Using pink or fuchsia yarn, stitch thick horizontal lines under the eyes to create cheeks. You can also add a touch of real powder blush.
Position the ears on the top sides of the head. Angle them slightly forward or backward depending on the look you want. Sew them securely into place using the yarn tails.
Glue or sew the purple bow tie to the bottom front center of the body.
Position the flattened wings on the back of the body. The flat edge goes against the body. Leave 7 stitches of space between the wings and the front bow tie. Sew or hot glue the wings firmly to the back over a span of about 5 rows so they stand outward.
Share on Social Media!
See More:
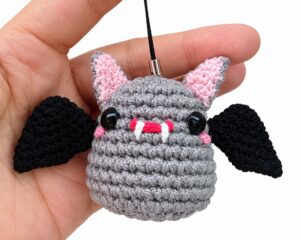
How to Crochet Red Mouth Spooky-Cute Grey and Black Bat Amigurumi
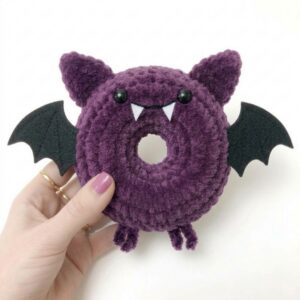
Pattern Tester: How to Crochet A Spooky-Cute Bat Food Ring Plush for Gifting
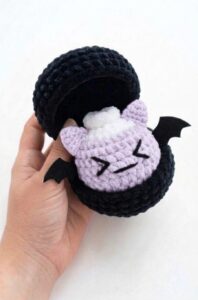
Tester Pattern: To Crochet A Plush Spooky Bat Bao Bun Plushie
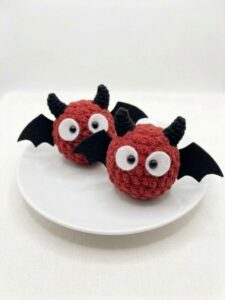
Tester Pattern: To Crochet A Red Soot Bat Amigurumi Plushie Pattern
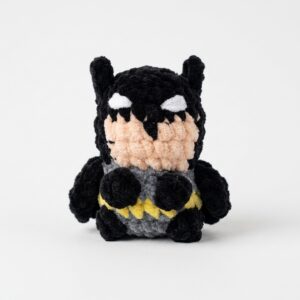
How to Crochet Low-Sew Mr. Bat Superhero Plushie for Kids
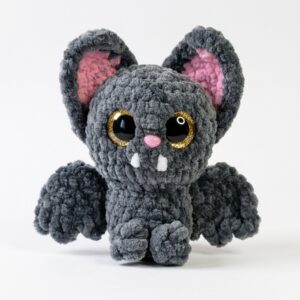
How to Crochet Glitter-Eyed Kawaiiest Bat Softie for Halloween
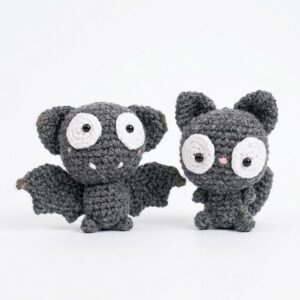
Featuring: Crochet Black Kitty Amigurumi But it is A Bat for Halloween (2-in-1 Tutorial)
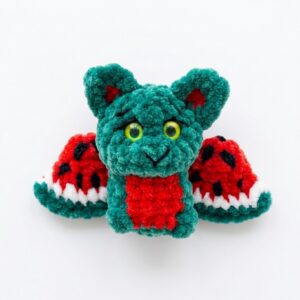
How to Crochet the Watermelon Bat No-Sew Plushie Pattern
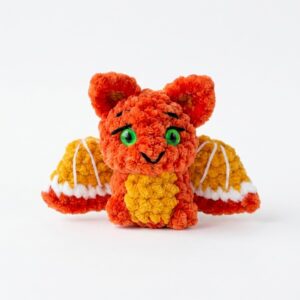
How to Crochet An Orange, Watermelon & Strawberry Fruit Bat Plushie