Author: Talha
I am a crochet designer, macramé maker and a crafter who also loves doing MATH.
Last month, too, I shared a crochet bow-wearing ghost amigurumi plushie holding a heart, but I recommend it as a love gift! If you are looking to crochet a girl gift that she can carry with her for trick-or-treating, learn how to crochet this big bow amigurumi ghost holding a small, spooky pumpkin treat basket! Depending upon your ease of mind and time before Halloween, you can learn to crochet both the video tutorial and a written pattern as well.
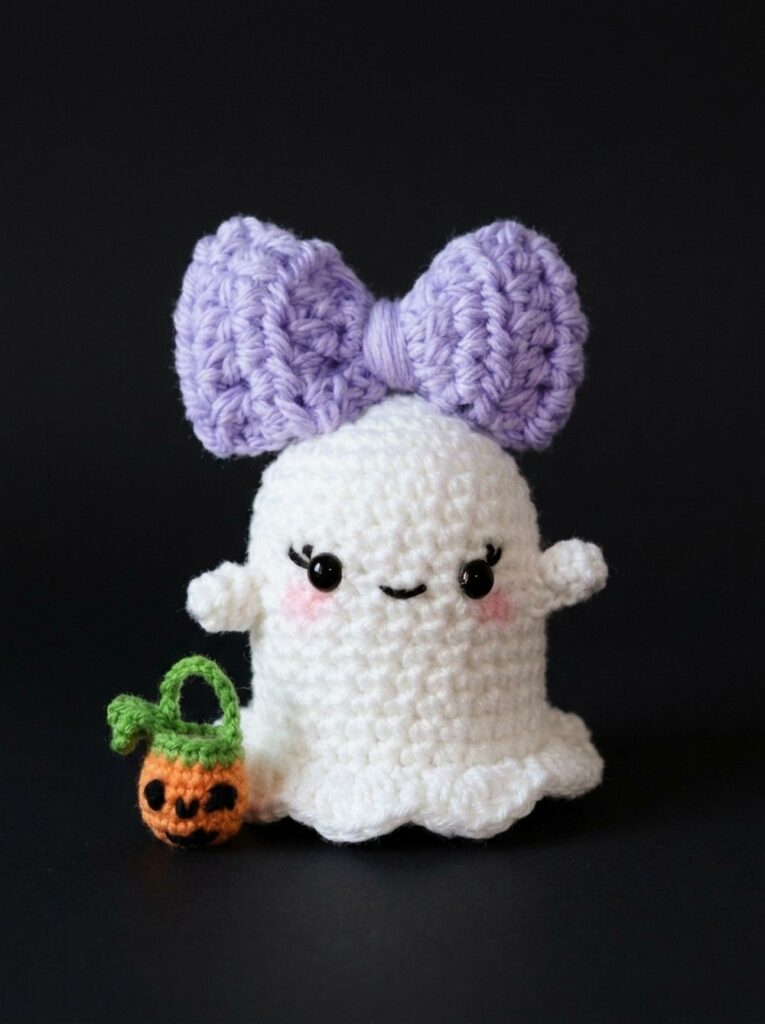
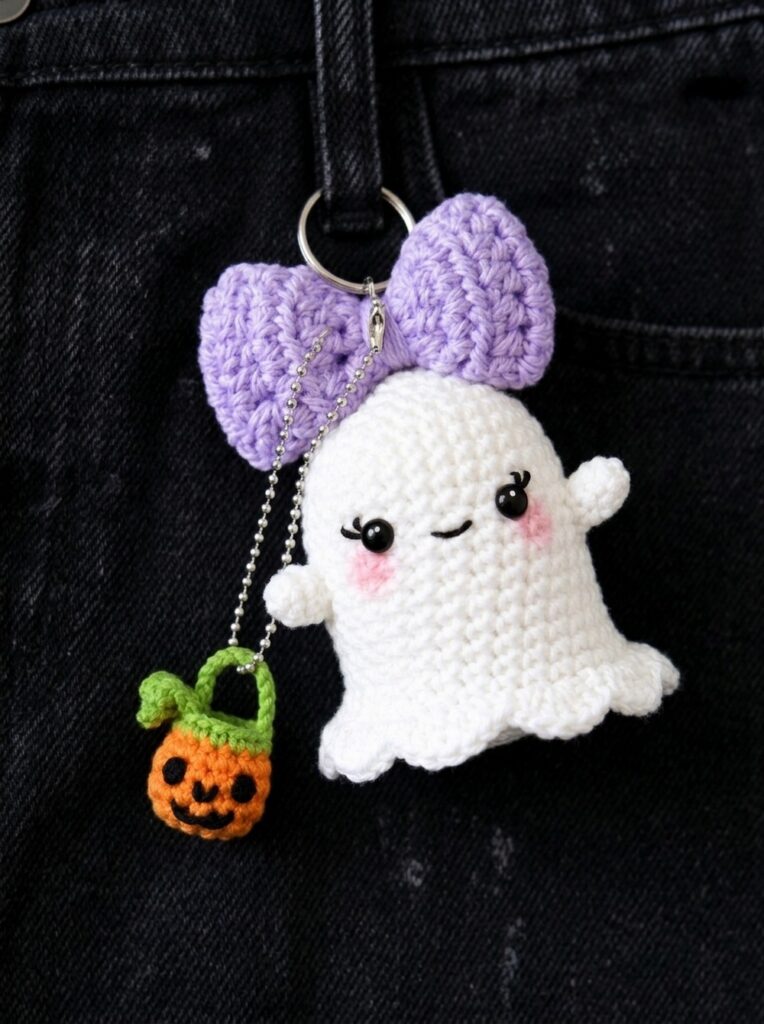
Our little crochet amigurumi has long eyelashes, blush on the cheeks, and small greeting arms. The crochet treat basket is small but well-detailed, with its crochet jack-o’-lantern face and a little crochet stem and leaf as well.
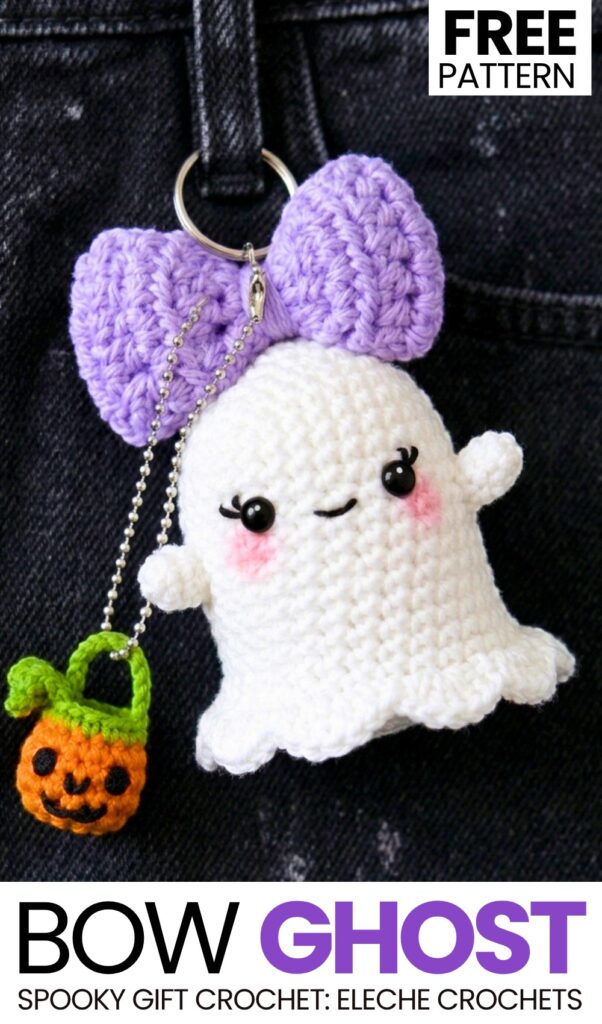
You can choose from the purple and the pink crochet bows. Anyway, continue reading to learn more about this crochet amigurumi buddy ghost project! You can also choose from others of my shared crochet ghost amigurumi, such as the ghost with a pumpkin hat and the ghost with a witch hat, and many more.
Similar Project(s)
Pattern to Crochet the Amigurumi Excited Ghosts in Bows
This project is a ghost toy for Halloween. The ghost holds a tiny pumpkin basket to trick-or-treat. You will make the head and body in one piece. Then you will make a flat base to close the bottom. You will make small arms and a cute bow. The pumpkin is made with orange and green yarn. You will stuff the ghost to make it soft. You can put eyes and blush on the face to make it look happy.
Materials
White yarn (for the ghost body, arms, and base)
Contrasting yarn (e.g., pink) for the bow (max 3mm thickness)
Orange yarn (size 5 cotton or similar, for the pumpkin basket)
Green yarn (size 5 cotton or similar, for the pumpkin top and leaves)
2.55 mm crochet hook (for the ghost and bow)
1.75 mm crochet hook (for the pumpkin basket)
4 mm or 5 mm black half-sphere eyes (flat back safety eyes or beads)
Black embroidery thread (for the mouth, eyelashes, and pumpkin face)
Hot glue gun (if using flat-back eyes)
Toy stuffing
Stitch marker
Yarn needle (tapestry needle)
Scissors
Blush or pink marker (for the ghost’s cheeks)
Abbreviations (US Terms)
MR: Magic Ring
ch: chain
sc: single crochet
hdc: half double crochet
dc: double crochet
inc: increase (2 single crochet in the same stitch)
sl st: slip stitch
st/sts: stitch/stitches
Rnd / Row: Round / Row
Are you a Beginner? Learn Crocheting Easily!
You can learn to crochet better with this miniature amigurumi big-nosed gnome using the following video tutorial or continue to the pattern:
Pattern Instructions
1. Ghost Body
Use White yarn and the 2.55 mm hook. We will work in a continuous spiral. Use a stitch marker to mark the beginning of each round.
Rnd 1: Make 7 sc in a Magic Ring. (7)
Rnd 2: Make 6 inc, then 1 sc in the last st. (13)
Rnd 3: (1 sc, 1 inc) repeat 6 times, 1 sc in the last st. (20)
Rnd 4: (2 sc, 1 inc) repeat 6 times, 2 sc in the last sts. (26)
Rnds 5 – 13: 1 sc in each st around. (26) (9 rounds total)
Rnd 14: (4 sc, 1 inc) repeat 5 times, 1 sc in the last st. (31)
Rnds 15 – 16: 1 sc in each st around. (31) (2 rounds total)
2. Ruffle Edge (Bottom of the Ghost)
Continue directly from Rnd 16. We will now create the wavy bottom edge of the ghost sheet.
Rnd 17: Repeat the following sequence exactly 8 times around the edge:
Stitch 1: 1 hdc
Stitch 2: (1 hdc, 1 dc, 1 hdc) all in the exact same stitch
Stitch 3: 1 hdc
Stitch 4: 1 sl st
Fasten off and hide the yarn tail.
3. Ghost Base
Use White yarn and the 2.55 mm hook. This flat circle will close the bottom of the ghost.
Rnd 1: Make 7 sc in a Magic Ring. (7)
Rnd 2: Make 6 inc, then 1 sc in the last st. (13)
Rnd 3: (1 sc, 1 inc) repeat 6 times, 1 sc in the last st. (20)
Rnd 4: (2 sc, 1 inc) repeat 6 times, 2 sc in the last sts. (26)
Rnd 5: (4 sc, 1 inc) repeat 5 times, 1 sc in the last st. (31)
Finish: Make a sl st to finish the circle. Fasten off, leaving a very long tail for sewing the base to the body later.
4. The Bow
Use contrasting yarn (like pink) and the 2.55 mm hook. Leave a long starting tail before chaining.
Row 1: Ch 8. Starting in the 2nd ch from the hook, make 7 hdc. (7)
Rows 2 – 15: Ch 2, turn your work. Make 7 hdc across. (7) (14 rows total)
Finish: Fasten off, leaving a very long tail.
Shaping: Fold the rectangle in half to find the center. Pinch the center tightly. Use the long yarn tail to wrap tightly around the center over and over until it forms a neat, pinched bow shape. Tie a tight knot at the back. Leave the remaining tail to sew the bow to the head.
5. Assembly (Part 1)
Sewing the Base: Thread your yarn needle with the long tail from the flat Base. Align the Base under the ghost body (just inside the Ruffle Edge). Begin sewing the outer loops of the Base to the inner loops of the ghost body.
Stuffing: Stop sewing when you have a 1-inch gap left. Stuff the inside of the ghost firmly with toy stuffing so it holds its shape, but do not overstuff to the point of stretching the stitches. Finish sewing the gap closed.
6. Arms (Make 2)
Use White yarn and the 2.55 mm hook. The arms are crocheted directly onto the body.
Positioning: Count down to Round 8 from the top of the head. Attach your white yarn directly to a stitch on the side of the body.
Arm: Ch 6.
Working back down the chain: Make 1 sc in the 2nd ch from the hook, then make 1 hdc in each of the remaining 4 chains.
Finish: Make a sl st into the stitch directly below where you started on the body to anchor the arm downwards. Cut the yarn, tie a double knot with your starting and ending tails, and hide the tails inside the body.
Repeat on the opposite side of the ghost body for the second arm.
7. Pumpkin Basket
Use Orange and Green yarn with the smaller 1.75 mm hook.
Rnd 1: With Orange, make 7 sc in a Magic Ring. (7)
Rnd 2: Make 5 inc, then 2 sc in the last sts. (12)
Rnds 3 – 6: 1 sc in each st around. (12) (4 rounds total)
Rnd 7: Change color to Green. Make 1 sc in each st around. (12)
Handle: Do not fasten off. Ch 11. Fold the chain over the top opening of the basket and sl st into the directly opposite side of the green rim.
Leaves (Make 2): From where you anchored the handle, ch 4. Working down the chain: 1 sc in the 2nd ch from the hook, an inc of hdc (2 hdc in the same ch) in the next ch, and 1 sc in the last ch. Sl st back into the green rim of the basket. Repeat this entire leaf process once more so you have two leaves side-by-side. Fasten off and weave in the ends.
Pumpkin Face: Stuff the tiny pumpkin slightly to give it shape. Use a scrap of black yarn to embroider two tiny stitches for a face.
8. Final Face Details
Eyes: Glue the 4mm-5mm black eyes between Rounds 8 and 9 of the ghost’s face. Leave exactly 4 stitches of open space between the two eyes.
Mouth: Take a single strand of black cotton thread. Embroider a tiny little horizontal smile straight in the center of the eyes.
Eyelashes: With the black thread, embroider one long diagonal line and one shorter diagonal line shooting upwards from the outer top corners of each eye.
Cheeks: Use a brush with real cosmetic blush, or a pink marker, and dab it gently right under the eyes for rosy cheeks.
Accessories: Sew the bow securely to the top side of the ghost’s head. Sew the handle of the tiny pumpkin basket firmly to the tip of one of the ghost’s arms.
See More:
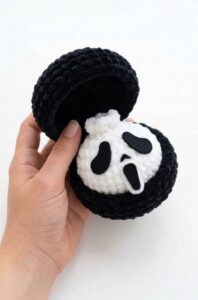
Tester Pattern: How to Crochet Mask Ghost Spooky Food Ball in Box Plush
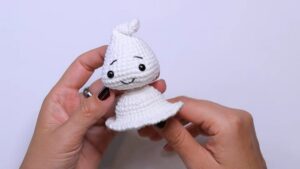
Free Crochet Flying Ghost Wind Spinner Plushie for Kids
Featuring: Crochet SPOOKY-CUTE Black & White Ghost Plushie for Halloween
Tester Pattern: How to Crochet Miniature UNIQUE Ghost with Ears and a Carrot Plush
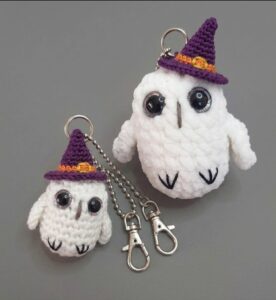
Tester Pattern: Crochet 10-Minute Pair of Ghost Owl Pals Plushies for Halloween
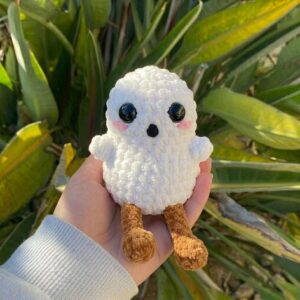
Tester Call: How to Crochet Jellycat Potato Ghost Plushie for Halloween
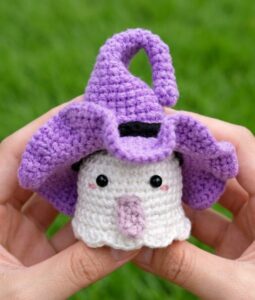
How to Crochet Funny Standing Ghost in the Most Detailed Witch Hat Amigurumi
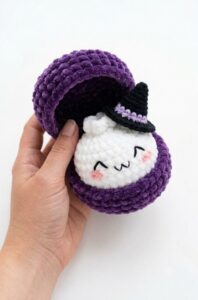
Tester Call: Crochet Spooky Ghost Dumpling Plushie Pattern
Free Crochet Keychain Baby Ghost Pattern Series