Author: Talha
I am a crochet designer, macramé maker and a crafter who also loves doing MATH.
Starting today, I’m beginning my promised “crochet spooky character donut rings” plush series. To begin with, learn how to crochet this oh-so-cute red-horned ghost donut ring plushie with a FREE written pattern for absolute beginners. With the cute “><” kawaii eyes, meow moth, and the arched horns, this makes the CUTEST anti-stress spooky festival gift.
You will also crochet a spooky red creature arrow tail with a 1-round crochet heart making the arrowhead.
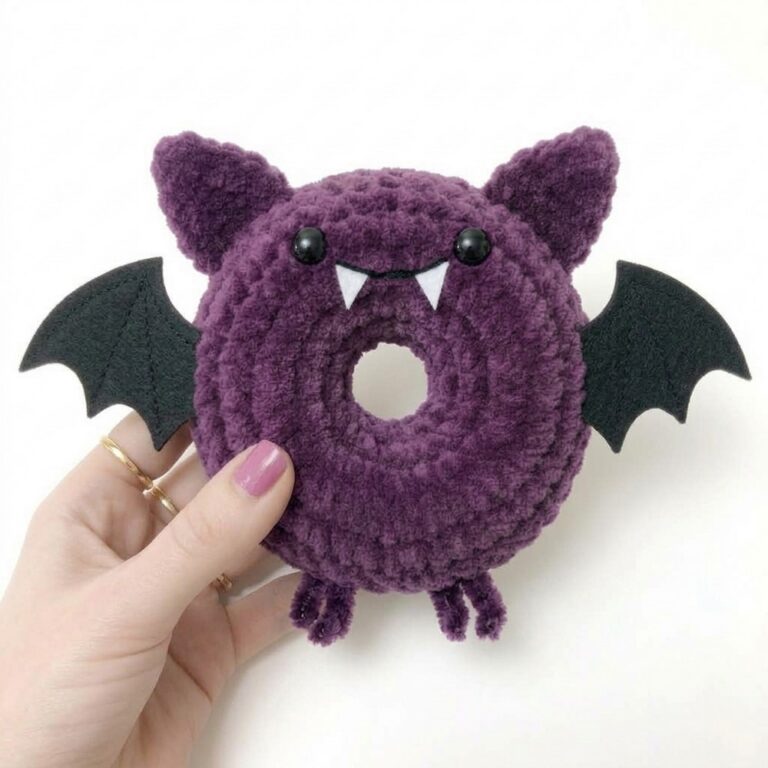
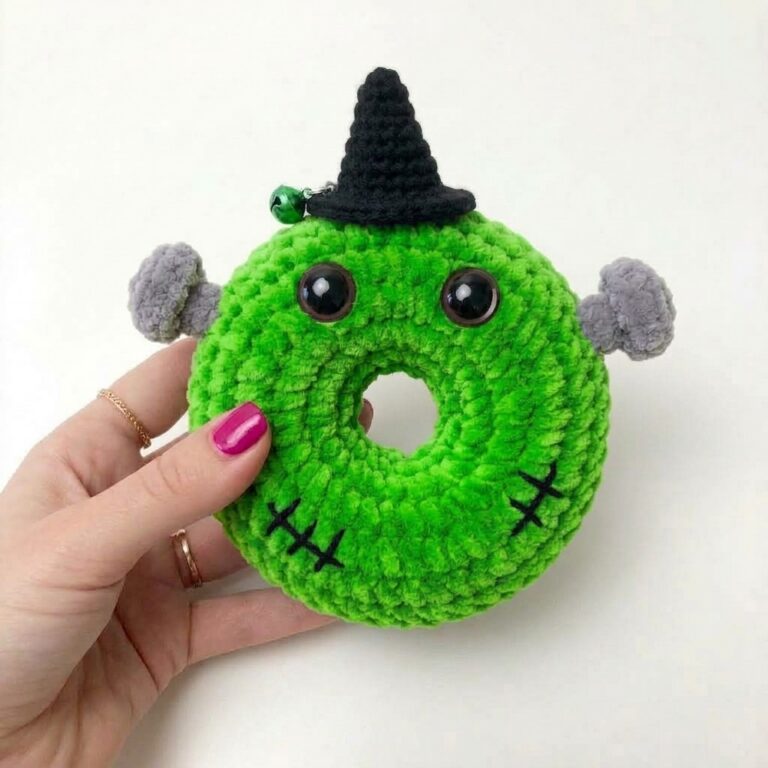
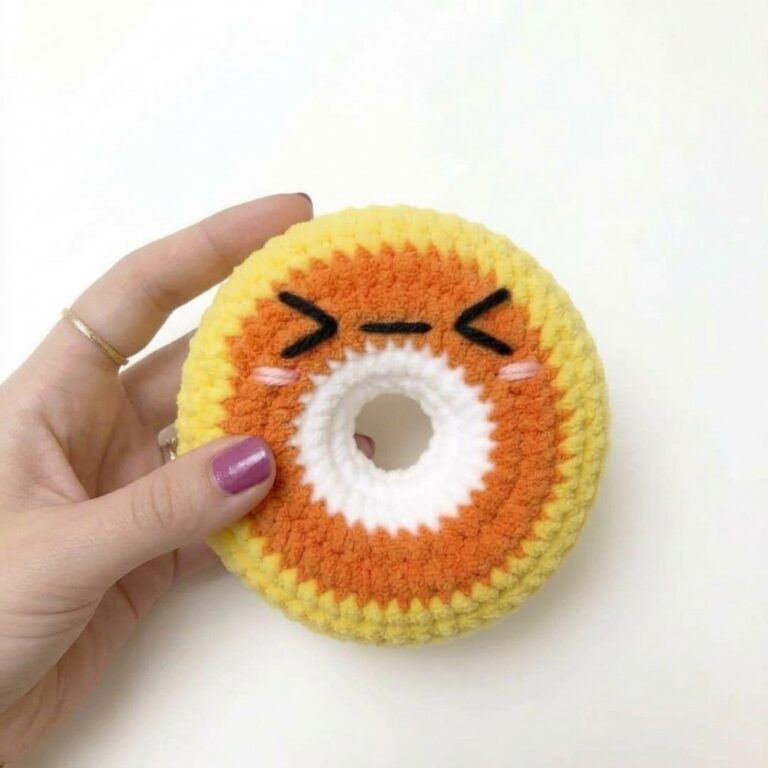
Using the same small crochet donut plush base, you will learn to crochet tons of more spooky donut variations from now on. We will also add the embroidery blush on the cheeks, making it the CUTEST crochet donut plush. Anyway, continue reading to learn more about this brand-new crochet spooky food gift plush.
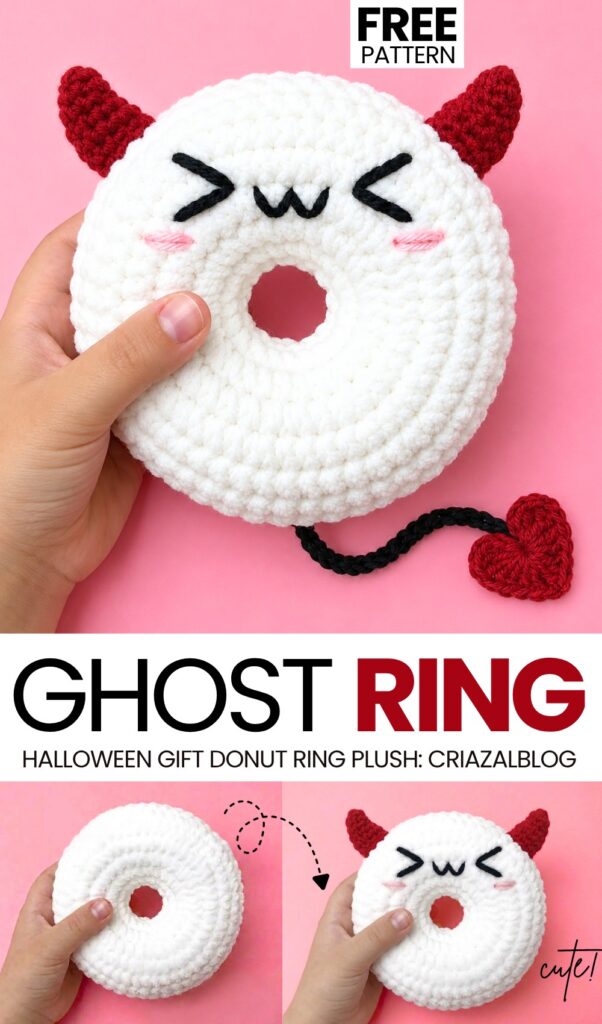
Pattern to Crochet the Plush Horned Ghost Ring
Skill Level: Beginner – Level 4
Materials & Tools
Super Bulky Chenille / Plush Yarn: White (for both donut panels)
DK Weight Yarn: Red (for horns and heart), Black (for the tail and facial features), Pink (for the cheek blush)
Hooks:
4.25 mm (US G/6) for the super bulky donut base
3.00 mm (US C/2) or 3.5 mm (US E/4) for the DK weight horns and heart
Tools & Notions: Yarn needle, polyester fiberfill stuffing, stitch markers, scissors.
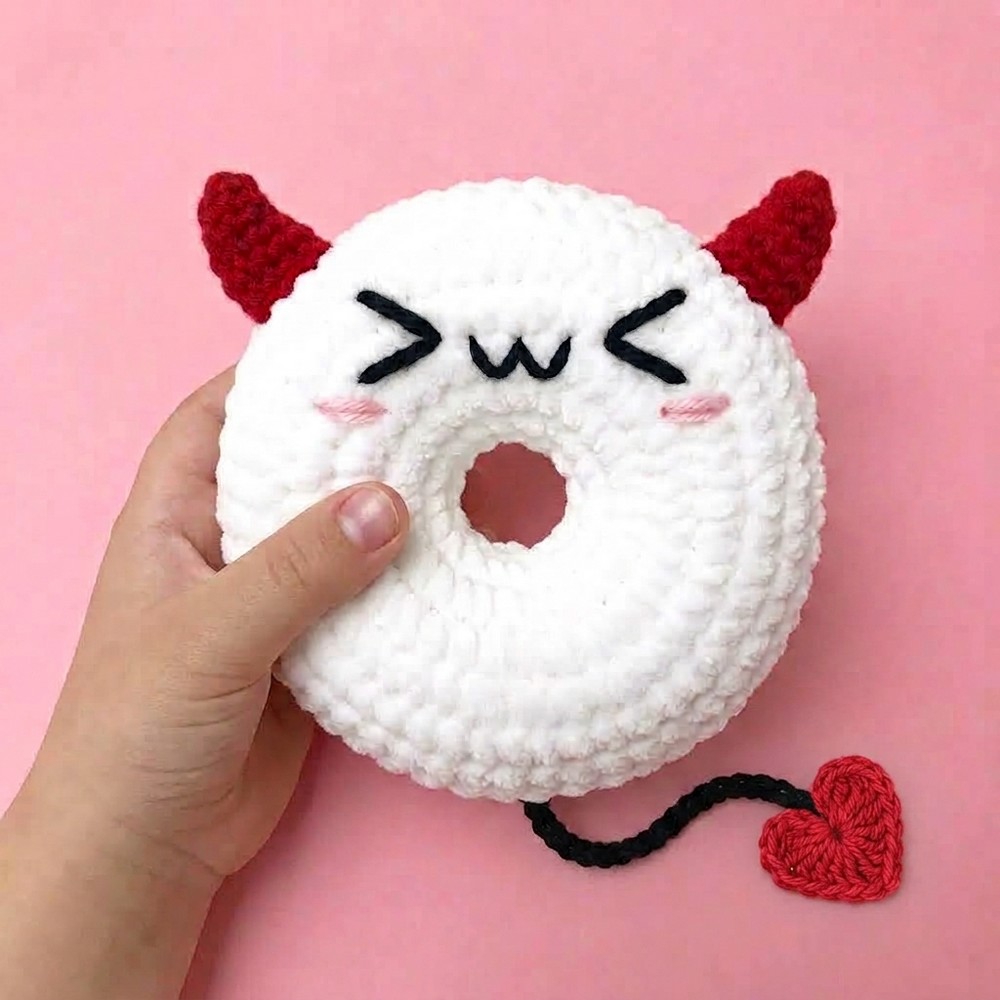
Stitch Abbreviations (US Terms)
Ch: Chain
SC: Single Crochet
Inc: Increase (2 SC in the same stitch)
Sl st: Slip Stitch
MR: Magic Ring
DC: Double Crochet
TR: Treble Crochet
[Count]: Total stitch count at the end of the round
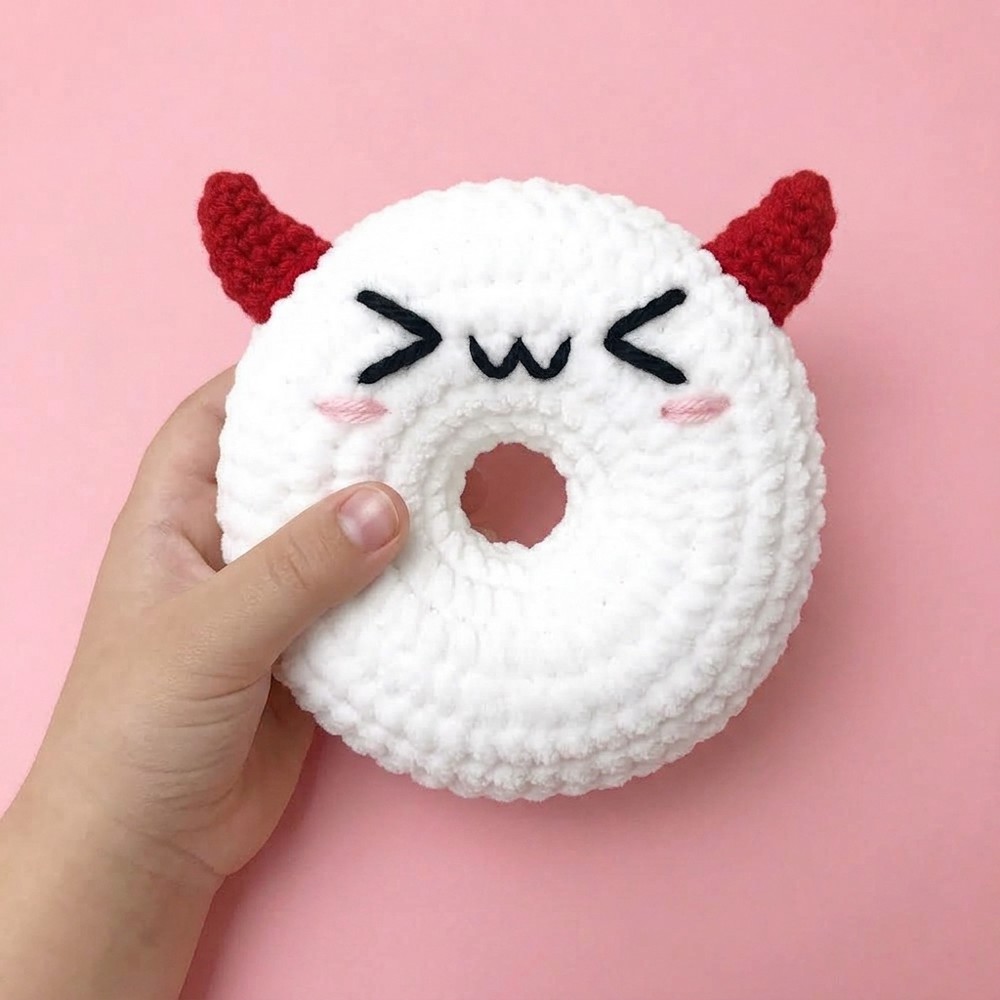
Part 1: The White Donut Base (Make 2)
Use White Super Bulky yarn and the 4.25 mm hook.
Important: For Panel 1, leave a long initial yarn tail (about 12 inches) before your slip knot, and a long tail when finishing (18–24 inches). For Panel 2, use standard-length tails.
Initial Chain: Leave your starting tail. Slip knot, Ch 20.
Form a ring by making 1 SC directly into the 1st chain made. Do not twist the chain ring. (This first SC counts as the 1st stitch of Round 1).
Round 1: (4 SC, Inc) × 4 [24 sts]
Round 2: (3 SC, Inc) × 6 [30 sts]
Round 3: (4 SC, Inc) × 6 [36 sts]
Round 4: (5 SC, Inc) × 6 [42 sts]
Round 5: (6 SC, Inc) × 6 [48 sts]
Rounds 6–8 (3 rounds): SC in each stitch around [48 sts] Fasten off with a Sl st to the next stitch. Cut yarn.
Part 2: Demon/Ghost Horns (Make 2)
Use Red DK yarn and the 3.00 mm hook.
By stacking the increase stitch at the exact same point in every round, the crochet fabric will naturally begin to pull and curve, creating an arched shape.
Round 1: 4 SC in MR [4 sts]
Round 2: 1 Inc, 3 SC [5 sts]
Round 3: 1 Inc, 4 SC [6 sts]
Round 4: 1 Inc, 5 SC [7 sts]
Round 5: 1 Inc, 6 SC [8 sts]
Round 6: 1 Inc, 7 SC [9 sts]
Round 7: 1 Inc, 8 SC [10 sts]
How to Arch the Horns: Fasten off, leaving a long tail for sewing. Do not overstuff the horns; use just a tiny pinch of fiberfill. As you sew the horns to the top of the donut, gently bend the tip toward the center of the head. Pin them in their curved position before sewing them down so they maintain that arched silhouette.
Part 3: The Tail & Heart
Use Red and Black DK yarn and the 3.00 mm hook.
The 1-Round Heart (Red Yarn):
Make a Magic Ring (MR).
Ch 2.
Work all of the following stitches directly into the MR: 3 TR, 3 DC, Ch 1, 1 TR, Ch 1, 3 DC, 3 TR.
Ch 2, Sl st into the MR.
Pull the magic ring tight to form the heart. Fasten off and weave in the red ends.
The Chained Tail (Black Yarn):
Join black yarn to the top center indent of the red heart with a Sl st.
Chain 15 to 20 stitches (depending on your desired tail length).
Fasten off, leaving a long tail to sew the chain directly to the bottom of the donut.
Part 4: Assembly & Embroidery
1. Facial Embroidery (Before Assembling the Donut): Using “ChatGPT Image Sep 17, 2026, 04_10_36 PM.png” as your guide, thread your yarn needle with Black DK yarn. On the “Top” white panel, embroider the >w< face. Ensure the design is centered above the donut hole. Use Pink DK yarn to sew three horizontal straight stitches on each side of the face for the blushing cheeks. Tie all knots securely on the back (wrong side) of the panel.
2. Sew the Inner Ring: Place the top (embroidered) panel and the bottom panel together, right sides facing out. Thread the long starting yarn tail left at the center chain through your needle. Whipstitch the inner chain edges of both panels together stitch-by-stitch around the center hole. Secure with a knot inside the work.
3. Sew the Outer Edge & Stuff: Thread the long outer yarn tail. Align the 48 stitches of the outer edge of both panels. Begin whipping or mattress stitching the outer edges together through both loops. When you are 3/4 of the way around, begin firmly stuffing the donut with fiberfill. Distribute evenly to maintain the ring shape. Finish sewing closed, tie off, and weave the end inside the donut.
4. Attach Horns & Tail: Pin the arched red horns symmetrically to the top of the donut, sitting just outside the face embroidery. Sew securely through the bottom loops of Round 7 of the horns into the bulky yarn of the donut. Pin the black chained tail to the bottom center of the donut base and sew it securely in place.
See More:
Tester Pattern: How to Crochet Mask Ghost Spooky Food Ball in Box Plush
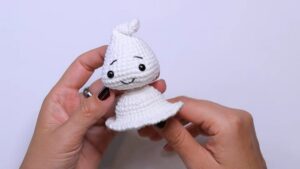
Free Crochet Flying Ghost Wind Spinner Plushie for Kids
Featuring: Crochet SPOOKY-CUTE Black & White Ghost Plushie for Halloween
Tester Pattern: How to Crochet Miniature UNIQUE Ghost with Ears and a Carrot Plush
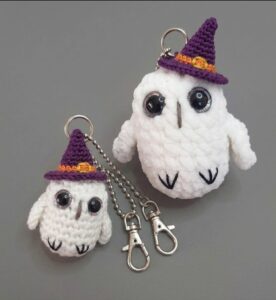
Tester Pattern: Crochet 10-Minute Pair of Ghost Owl Pals Plushies for Halloween
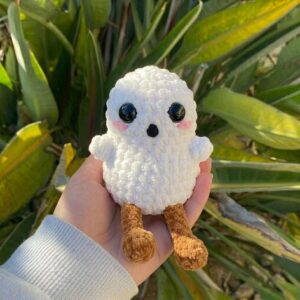
Tester Call: How to Crochet Jellycat Potato Ghost Plushie for Halloween
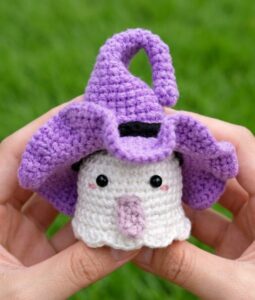
How to Crochet Funny Standing Ghost in the Most Detailed Witch Hat Amigurumi
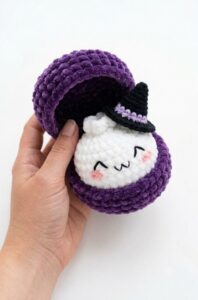
Tester Call: Crochet Spooky Ghost Dumpling Plushie Pattern
Free Crochet Keychain Baby Ghost Pattern Series