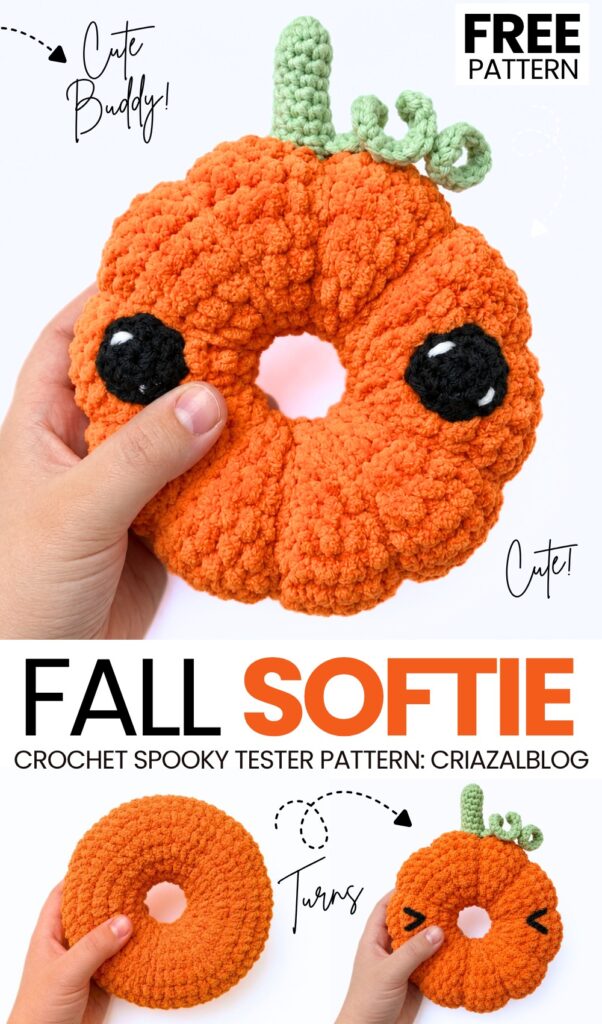
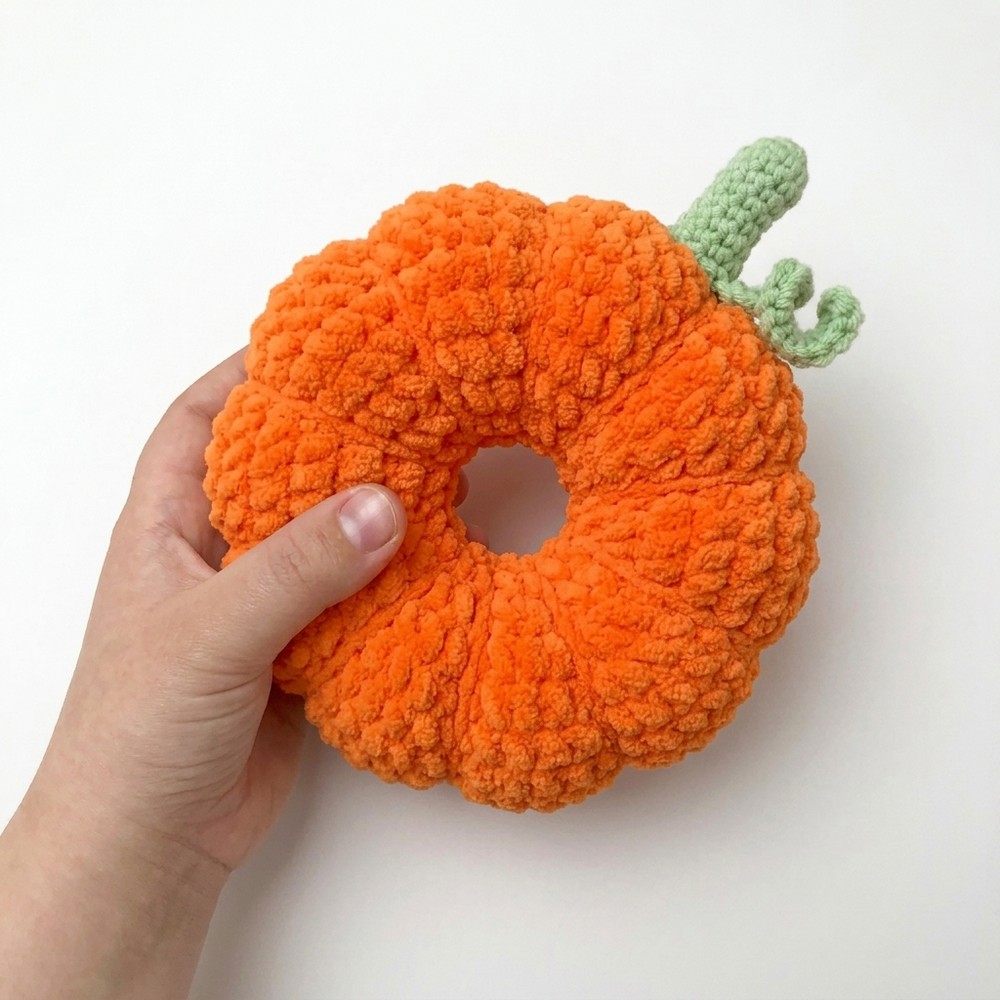
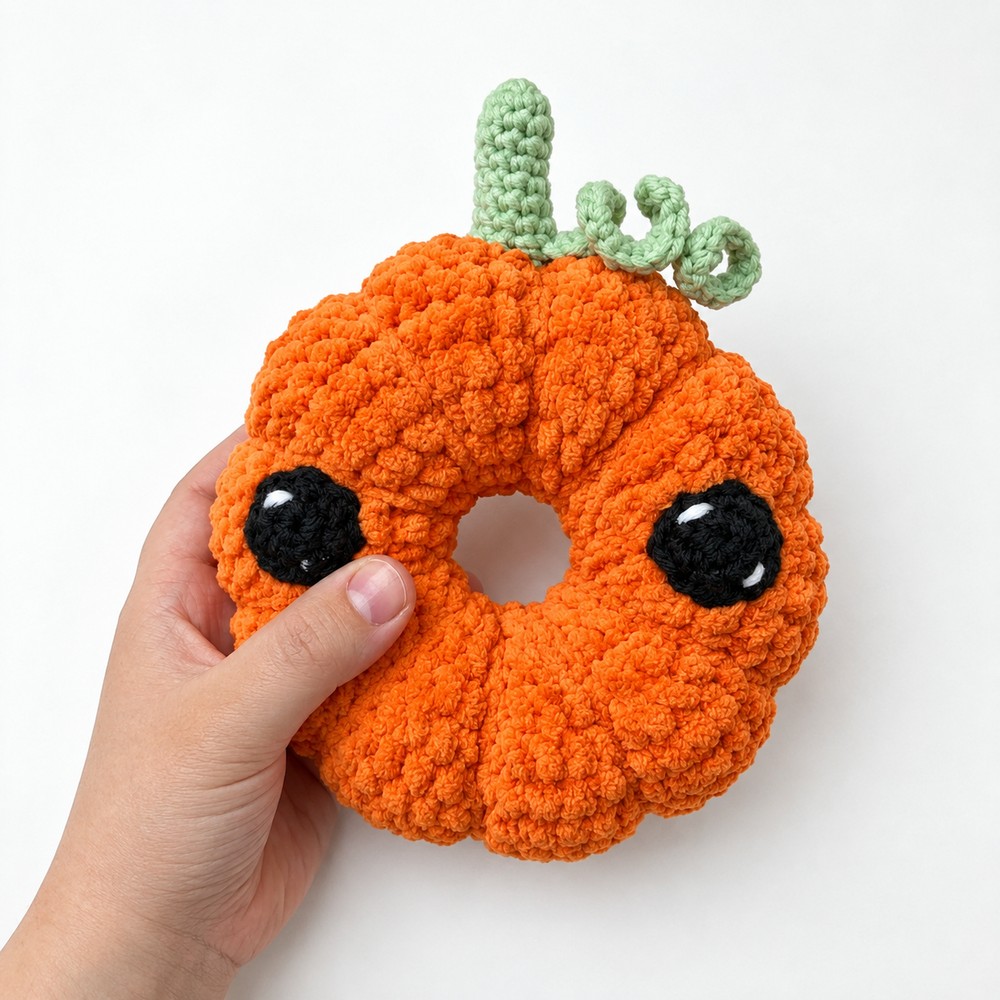
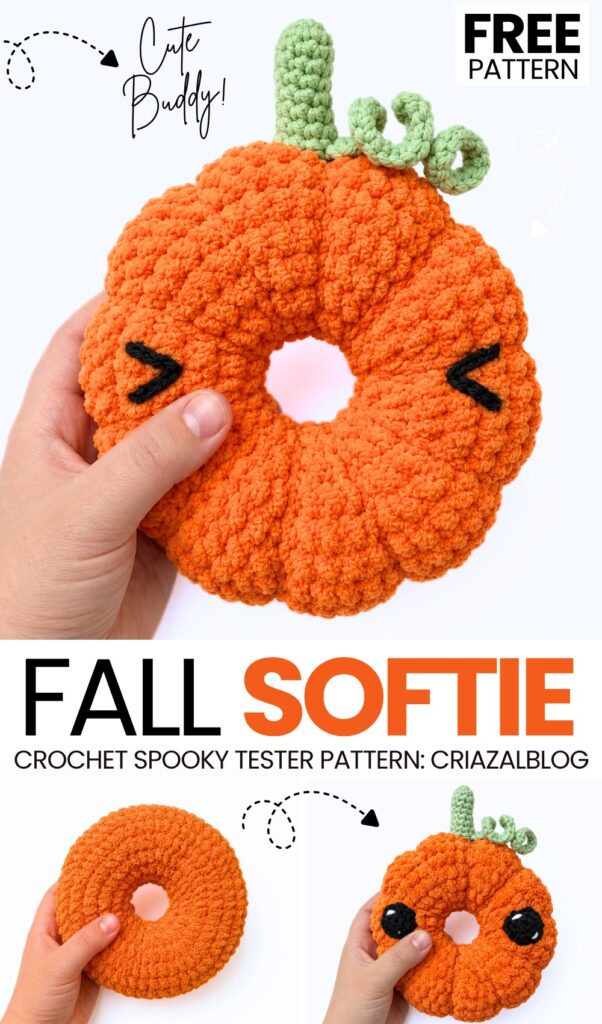
Continuing the crochet spooky donut plushie series, today, learn how to crochet this UNIQUE kawaii-eyed pumpkin-ridged donut ring plushie for Halloween. We will be using the same donut plushie base pattern, but using orange plush yarn and separately making the pumpkin stem and coiled vine using DK yarn. You can choose from the kawaii crocheted black eyes or my favorite, crochet “><” kawaii eyes.
I have found the eyes this time to be cuter on the sides instead of on the top of the donut, and that way, the hole of the donut looks like the quirky mouth of our crochet pumpkin.
You can crochet your pumpkin ring plushie with any number of ridges. Makes a COOL keychain, buddy, and a gift for little ones. Now, you can continue reading to learn more about this crochet plush donut pattern. I have already covered 5 of them, and this week, there will be 4 more.
[ez-toc]
Pattern to Crochet the Plush Pumpkin-Shaped Donut Ring Plushie
Skill Level: Beginner – Level 4
Pattern Details & Materials
Skill Level: Easy / Beginner
Terminology: US Crochet Terms
Recommended Yarn:
Main Color (Orange): Super Bulky Chenille / Plush Yarn (e.g., Premier Parfait Chunky, Hobbii Baby Snuggle) — 1 skein
Accent Color (Light Green): Worsted or DK weight yarn (or light green chenille) for the stem and vine
Scraps: Medium weight black yarn or embroidery thread for the eyes
Hook Size: 4.25 mm (US G/6) (or hook matching your chosen yarn weight)
Tools & Notions:
Tapestry / Yarn needle
Polyester fiberfill stuffing
Stitch marker
Scissors
Stitch Abbreviations
| Abbreviation | Meaning |
| Ch | Chain |
| SC | Single Crochet |
| Inc | Increase (2 single crochet stitches in the same stitch) |
| Sl st | Slip Stitch |
| MR | Magic Ring |
| St(s) | Stitch(es) |
| (…) × n | Repeat instructions within parentheses n times |
| [Count] | Total stitch count at the end of the round |
Pattern Instructions
1. Pumpkin Donut Panels (Make 2 in Orange Yarn)
Yarn Tail Note:
For Panel 1, leave a long starting yarn tail (about 12 inches) before making your slip knot, and a long finishing tail (about 24 inches).
For Panel 2, start and fasten off with standard-length tails.
Initial Chain: Slip knot, Ch 20. Form a ring by making 1 SC directly into the 1st chain made. (Ensure the chain isn’t twisted. This first SC counts as st 1 of Round 1).
Round 1: (4 SC, Inc) × 4 [24 sts]
Round 2: (3 SC, Inc) × 6 [30 sts]
Round 3: (4 SC, Inc) × 6 [36 sts]
Round 4: (5 SC, Inc) × 6 [42 sts]
Round 5: (6 SC, Inc) × 6 [48 sts]
Rounds 6–8 (3 rounds): SC in each stitch around [48 sts]
Fasten off with a Sl st to the next stitch. Cut yarn.
2. Pumpkin Stem (Light Green Yarn)
Round 1: Make a MR, work 6 SC into the ring [5 sts]
Rounds 2–7 (6 rounds): SC in each stitch around [5 sts]
Fasten off, leaving an 8-inch yarn tail for sewing. (Optionally, lightly stuff with a tiny piece of fiberfill or yarn scrap).
3. Curly Vine (Light Green Yarn)
Initial Chain: Ch 14.
Row 1: Starting in the 2nd chain from the hook, work 2 SC into each chain stitch across [26 sts]. (The row will naturally curl up into a spiral).
Fasten off, leaving a 6-inch yarn tail for sewing.
Step 1: Embroider the Face Details
Select one of your orange panels to be the Front Panel.
Using a tapestry needle and black scrap yarn, embroider two happy closed eyes shaped like inverted “V”s (
^ ^).Positioning: Place the eyes across Rounds 4 to 6 on opposite sides of the center donut hole, keeping them horizontally aligned.
Tie the yarn ends securely on the wrong (inside) side of the panel.
Step 2: Sew the Inner Ring
Align the front and back orange panels with their wrong sides facing each other (right sides facing outward).
Thread the long starting center tail left on Panel 1 through your yarn needle.
Whipstitch or mattress stitch the inner chain edges (20 sts) of both panels together stitch-by-stitch all the way around the hole.
Knot and hide the thread inside the piece.
Step 3: Sew Outer Edge & Stuff
Thread the long outer tail left on Panel 1.
Align the outer 48 stitches of both panels. Begin whipstitching through both loops of both panels to join the perimeter.
When you have sewn about 3/4 of the way around, firmly fill the ring with polyester fiberfill. Distribute the stuffing evenly around the doughnut ring without overstretching the stitches.
Continue sewing the remaining outer edge closed. Fasten off, weave in the yarn end inside, and snip.
Step 4: Attach the Stem
Thread the green tail from the Stem.
Positioning: Place the bottom base of the stem directly over the top outer seam of the donut, centered directly above the embroidered face.
Whipstitch the base of the stem securely into the stitches along the seam. Knot and weave the tail into the stem and donut interior.
Step 5: Attach the Curly Vine
Thread the green tail from the Curly Vine.
Positioning: Place the base of the curly vine directly against the right side of the stem base on the top seam.
Stitch the base of the vine firmly to the top seam. Weave in all remaining green tails and trim neatly.
Share on Social Media!
See More:
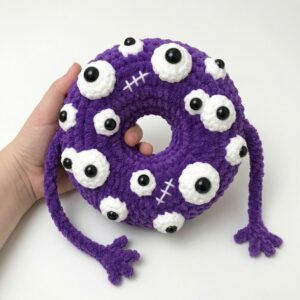
Pattern Tester: How to Crochet Eyes Donut Ring Plushie with Long Arms
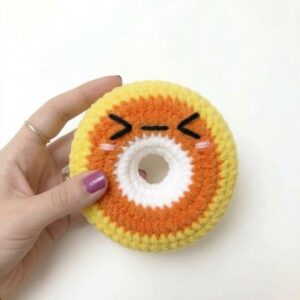
Pattern Tester: How to Crochet Orange, Yellow and White Donut Ring Plushie
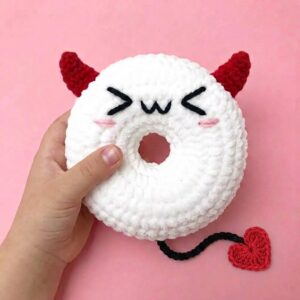
Pattern Tester: How to Crochet Red Horn Ghost Ring Donut Pluhsie for Gifting

Crochet CUTEST Guest-Welcoming BOO Ghost with Bow, Hat and Pumpkin Accessories

Tester Call: How to Crochet A Candy Corn, Pumpkin & Kawii Buddy Potted Plant Plushie

Featuring: How to Crochet the Smallest Pumpkin Fall Turtle Plushie with Orange & Parrot

How to Crochet An Amigurumi Long-Legged Kawaii Pumpkin in Shoes Buddy

How to Granny Square with Pumpkin Applique in the Middle