Author: Talha
I am a crochet designer, macramé maker and a crafter who also loves doing MATH.
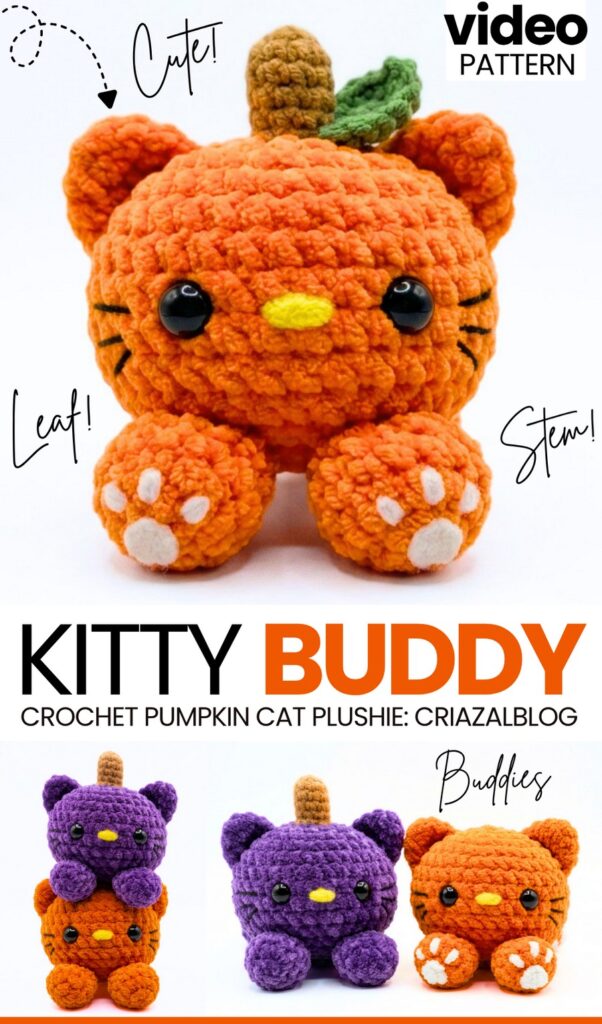
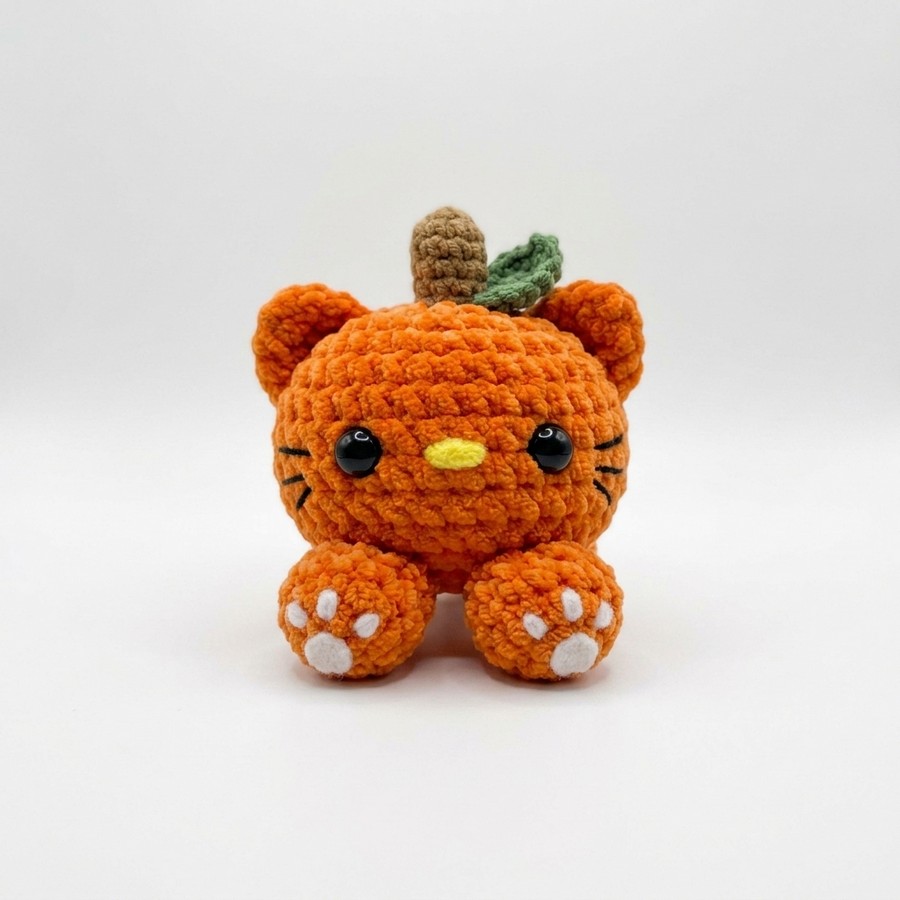
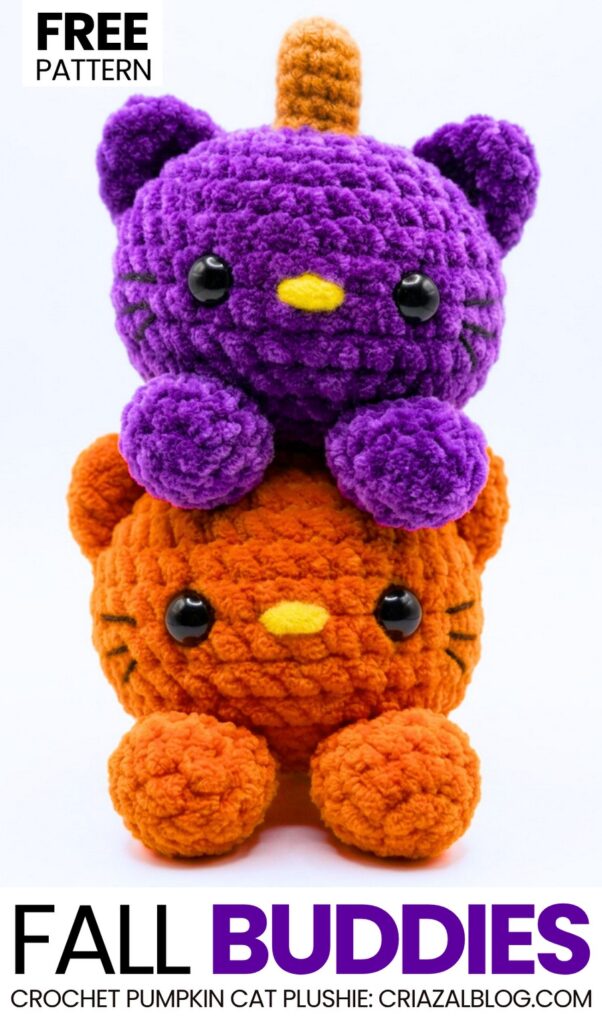
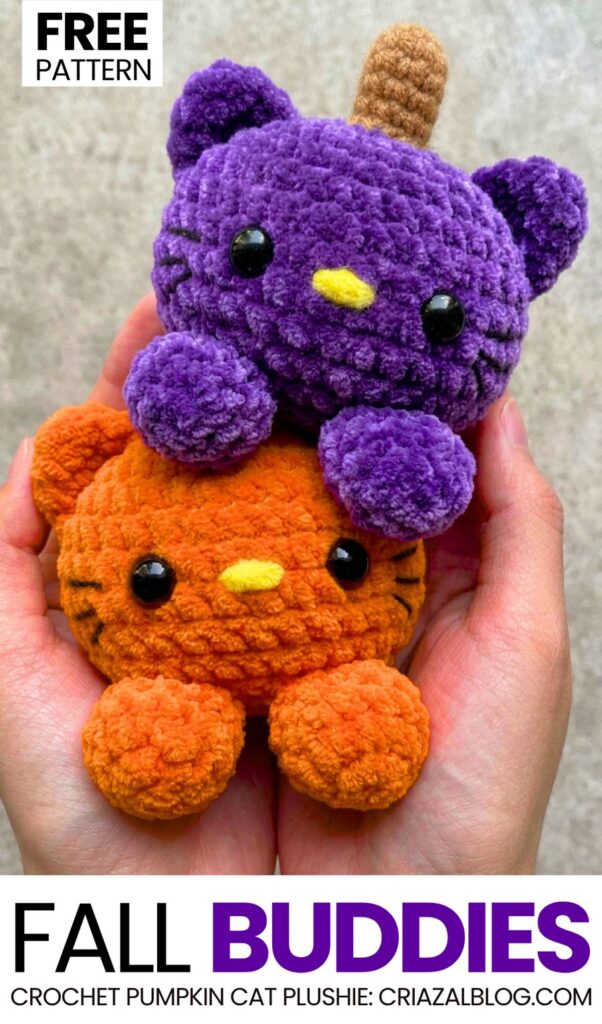
Are you looking for the CUTEST crochet fall buddy plush? Try my new tester WRITTEN pattern and crochet this oh-so-cute plush Hello Kitty pumpkin buddy in either orange or purple. This is perfect for both the spooky festivals and JUST BECAUSE, as you can crochet your cat plush without the stem and the leaf, too.
Our little crochet fruit kitty plushie has big stuffed paws that make it look so adorable and let it sit upright without support on your craft table.
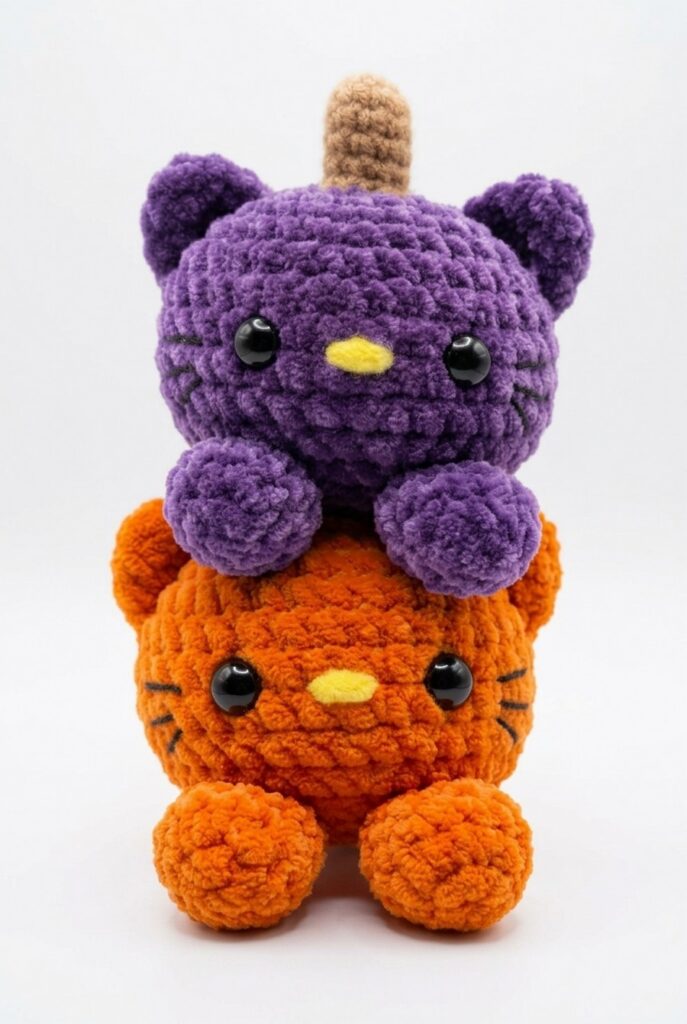
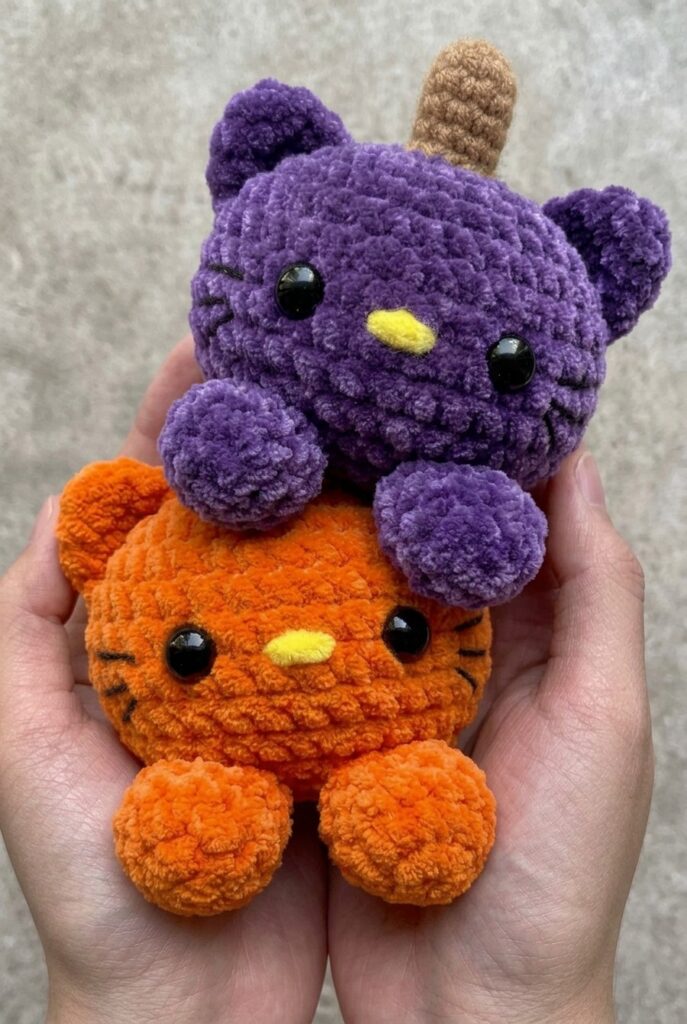
You can crochet both variations and stack the cat plushies, just like I show below. You can also call it the square pumpkin cat plush. Both the super bulky yarn and the DK yarn will be used for crocheting this oh-so cute cat pumpkin plush. Be sure to check out other cat plush ideas, too. Now, continue reading to learn more about this crochet pumpkin cat plush!
Similar Project(s)
Pattern to Crochet Hello Kitty Pumpkin Cat Plush
Skill Level: Intermediate
Thanks to Sophie for the base pattern!
Materials & Supplies
Yarn:
Super Bulky Plush Yarn (Weight 6) in Orange (Head/Body, Ears, Legs)
DK Weight Yarn (Weight 3) in Brown (Stem)
DK or Worsted Weight Yarn (Weight 3–4) in Green (Leaf)
Small amounts of Yellow plush yarn (Nose) and White plush yarn
Hooks: 5.0mm–6.0mm (for Super Bulky yarn) and 3.0mm–3.5mm (for Stem & Leaf)
Safety Eyes: 8mm black safety eyes
Felt & Embroidery: White felt sheet (cut into two small circles for paw pads), black embroidery thread (whiskers)
Tools: Fiberfill stuffing, stitch markers, tapestry needle, fabric glue or sewing thread (for felt pads), scissors
Abbreviations (US Terms)
MR: Magic Ring
ch: Chain
sc: Single crochet
hdc: Half double crochet
dc: Double crochet
inc: Increase (2 sc in same st)
dec: Decrease (Invisible decrease)
slst: Slip stitch
st(s): Stitch(es)
Pattern Instructions
1. Head / Main Body
(Worked in Orange Super Bulky Yarn with 5.0mm–6.0mm hook)
R1: 6 sc in MR (6)
R2: 6 inc (12)
R3: [1 sc, 1 inc] × 6 (18)
R4: [2 sc, 1 inc] × 6 (24)
R5: [3 sc, 1 inc] × 6 (30)
R6: [4 sc, 1 inc] × 6 (36)
R7–10: sc in each st around (36) (4 rounds total)
Eye Placement: Insert safety eyes between Rounds 8 and 9, leaving 6 stitches between them.
R11: [4 sc, 1 dec] × 6 (30)
R12: [3 sc, 1 dec] × 6 (24)
R13: [1 sc, 1 dec] × 8 (16)
Stuffing: Stuff the head firmly before closing.
R14: 8 dec (8)
Fasten off, leaving a tail. Weave through front loops of remaining 8 stitches, pull tight to close, and hide tail inside.
2. Ears
(Make 2 in Orange Super Bulky Yarn with 5.0mm–6.0mm hook)
Ch 4.
Starting in 2nd ch from hook, work: 1 sc, ch 1, 1 dc, ch 1, 1 sc, ch 1.
Fasten off. Tie yarn tails together tightly to shape ear curve, leaving a long tail for sewing.
3. Legs / Paws
(Make 2 in Orange Super Bulky Yarn with 5.0mm–6.0mm hook)
R1: 6 sc in MR (6)
R2: 6 inc (12)
R3–5: sc in each st around (12) (3 rounds total)
Fasten off, leaving a yarn tail for sewing. Stuff lightly with fiberfill.
4. Pumpkin Stem
(Worked in Brown DK Yarn with 3.0mm–3.5mm hook)
R1: 4 sc in MR (4)
R2: [1 sc, 1 inc] × 2 (6)
R3–6: sc in each st around (6) (4 rounds total)
Fasten off, leaving a tail for sewing. Lightly stuff or leave hollow.
5. Crochet Leaf
(Worked in Green DK Yarn with 3.0mm–3.5mm hook)
Ch 6.
Starting in 2nd ch from hook: slst, 1 sc, 1 hdc, 1 dc, 3 dc into the last ch stitch.
Rotate work to stitch along the opposite side of the chain: 1 dc, 1 hdc, 1 sc, slst into base.
Fasten off, leaving a long tail for attachment.
Assembly & Details
Paw Details: Attach a small round white felt circle to the front center of each leg using fabric glue or white thread. Using white yarn or embroidery floss, stitch 3 small vertical lines directly above each felt pad for the toe beans.
Attach Legs: Sew the two finished legs onto the lower front base of the body so it sits securely upright.
Attach Ears: Pin ears to the top sides of the head (~5 stitches out from eyes and 1 stitch up) and sew firmly into place.
Attach Stem & Leaf: Sew brown stem directly to top center of head. Sew green leaf adjacent to base of stem.
Embroider Nose: Using yellow yarn, stitch a small oval shape horizontally between the safety eyes, one row below center.
- Embroider Whiskers: Using black embroidery thread, make three horizontal lines on each side of face starting just outside the eyes.
Share on Social Media!
See More:
Pattern Tester: How to Crochet Cat in A Potion Box Plushie for Festivals

Tester Pattern: To Crochet A Witch Cat Plush Gifting You A Pumpkin Softie
Tester Pattern: How to Crochet Smiling Pumpkin Kitty Cat Plushie
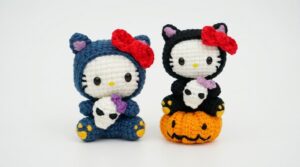
Featuring: Crochet A Black Cat Holding a Skull & Sitting Over a Pumpkin Amigurumi
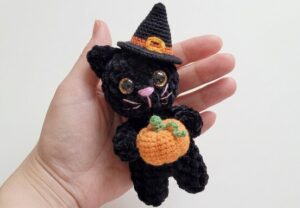
How to Crochet A Cosplay No-Sew Cat Plushie Holding A Pumpkin
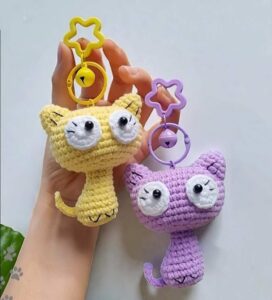
Crochet Googly-Eyed Cat Amigurumi Plush Pattern for Kids
Wanna Crochet Something Else?
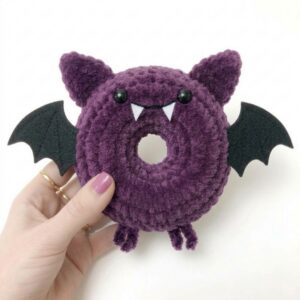
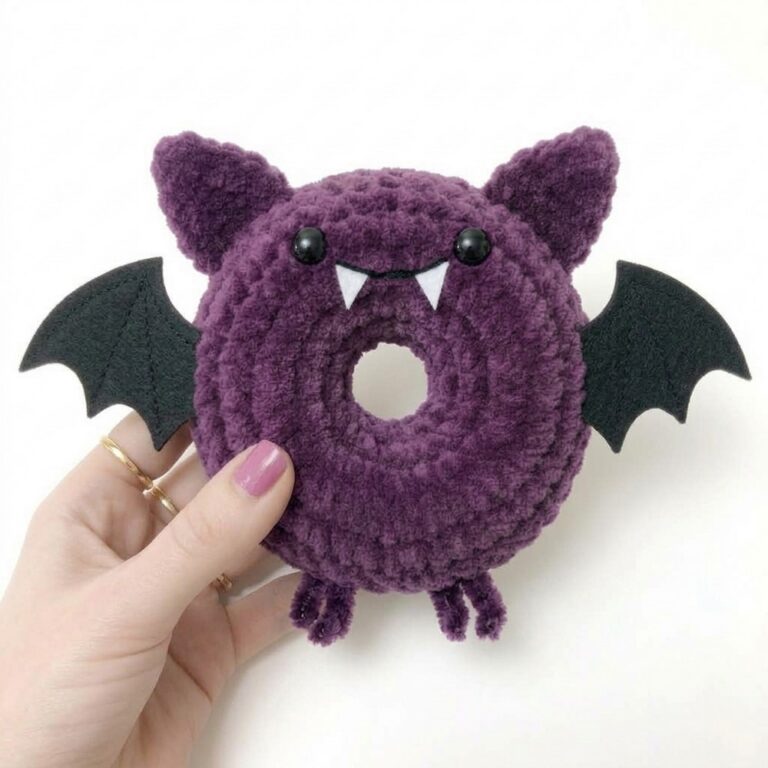
Pattern Tester: How to Crochet A Spooky-Cute Bat Food Ring Plush for Gifting
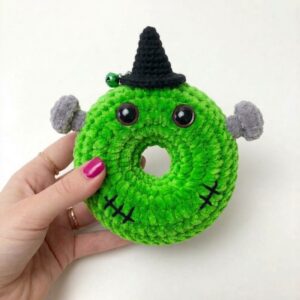
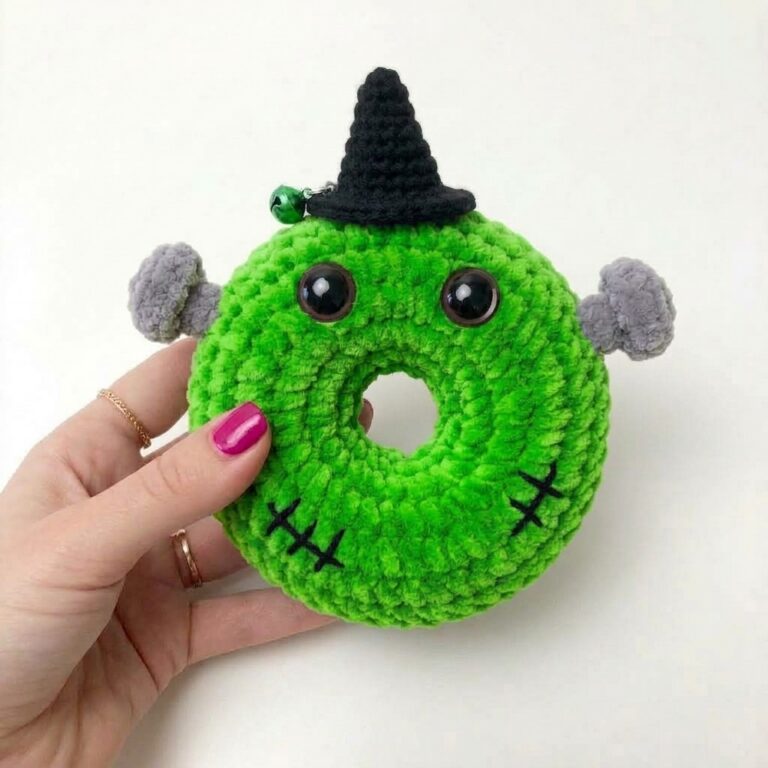
Pattern Tester: How to Crochet Anti-Stress Bolt Zombie Plush Ring for Gifting
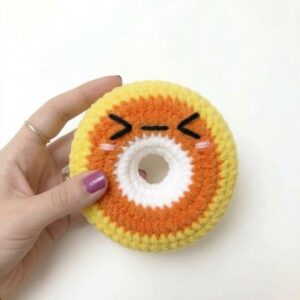
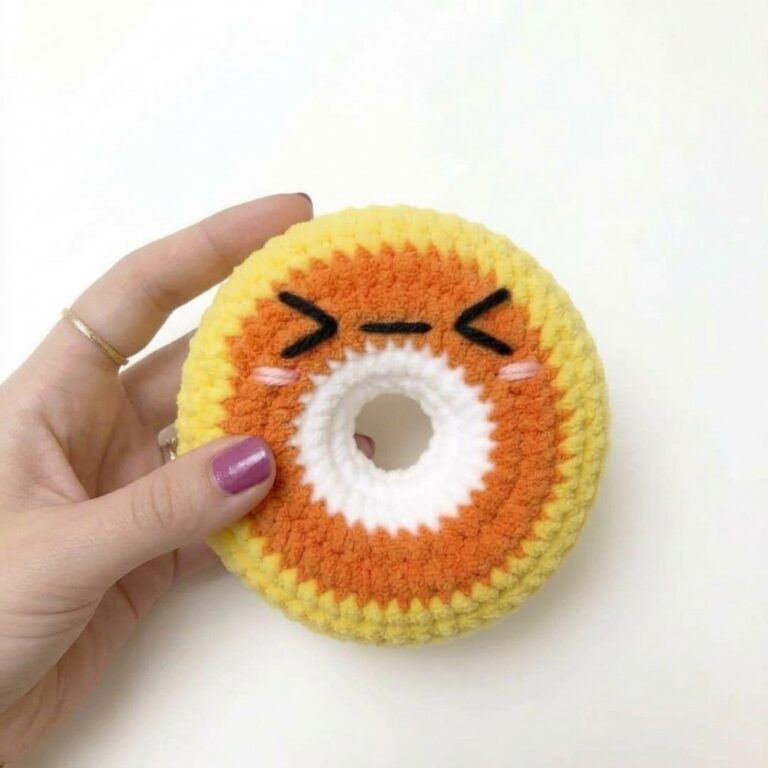
Pattern Tester: How to Crochet Orange, Yellow and White Donut Ring Plushie