

Thanks for the support for Nidy and Annie for this project!
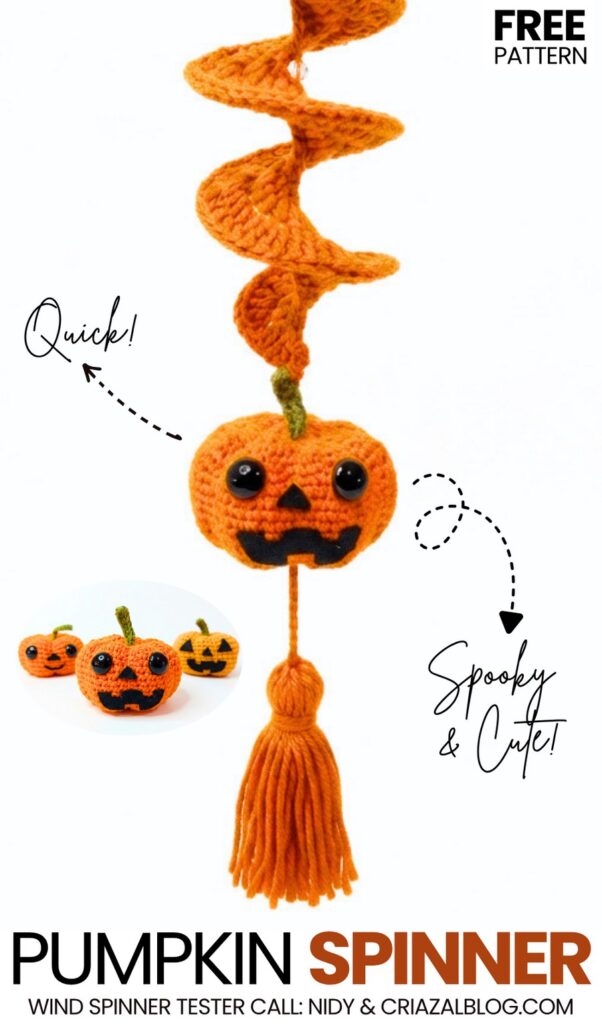
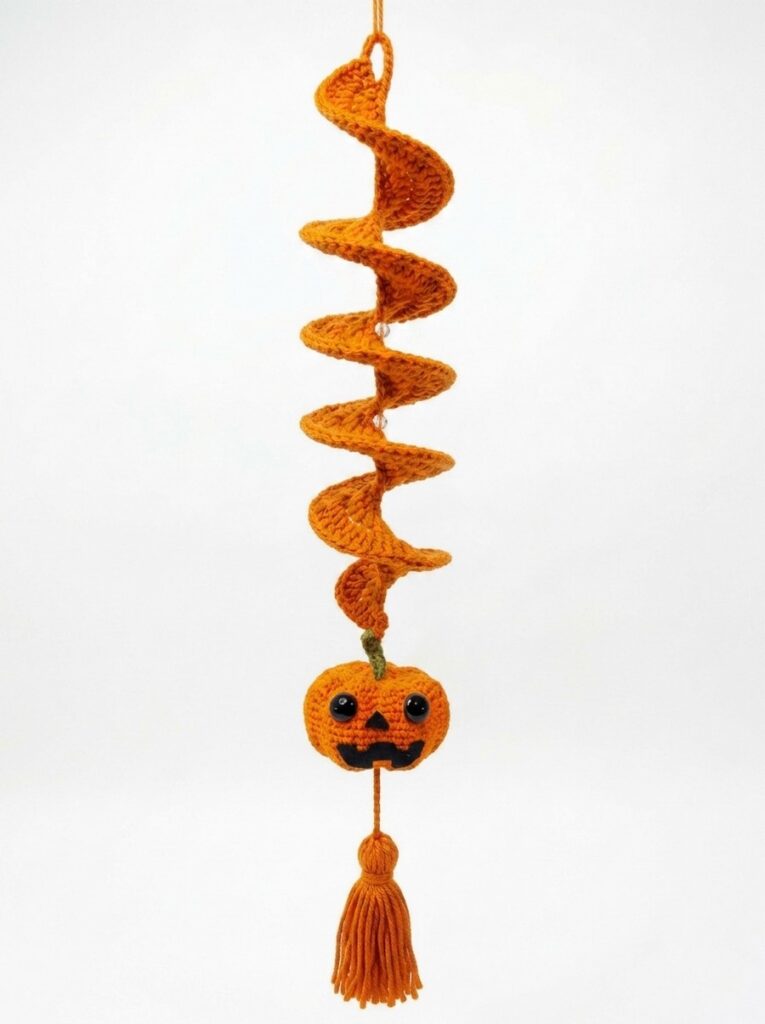
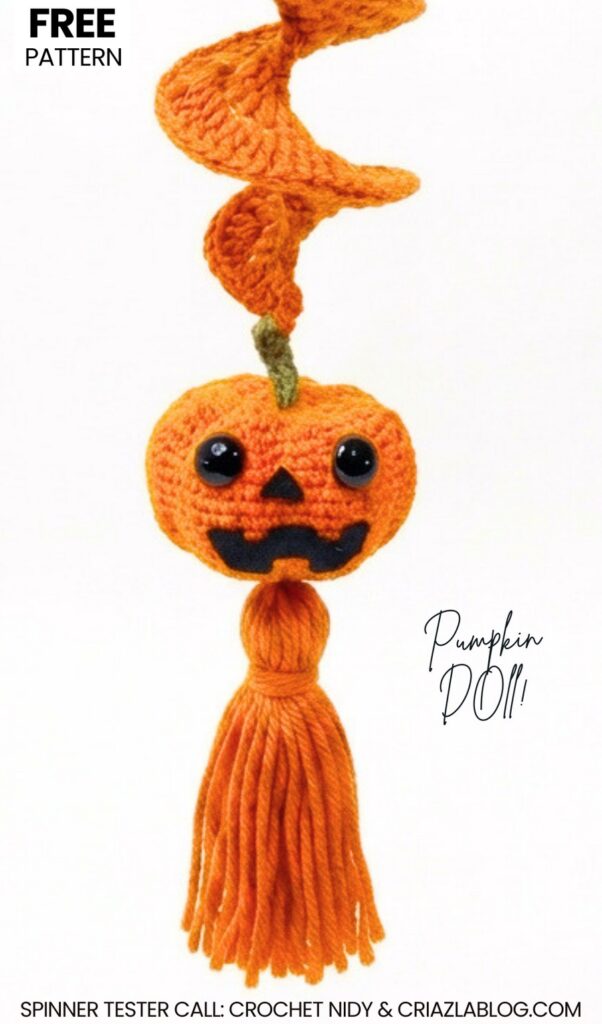
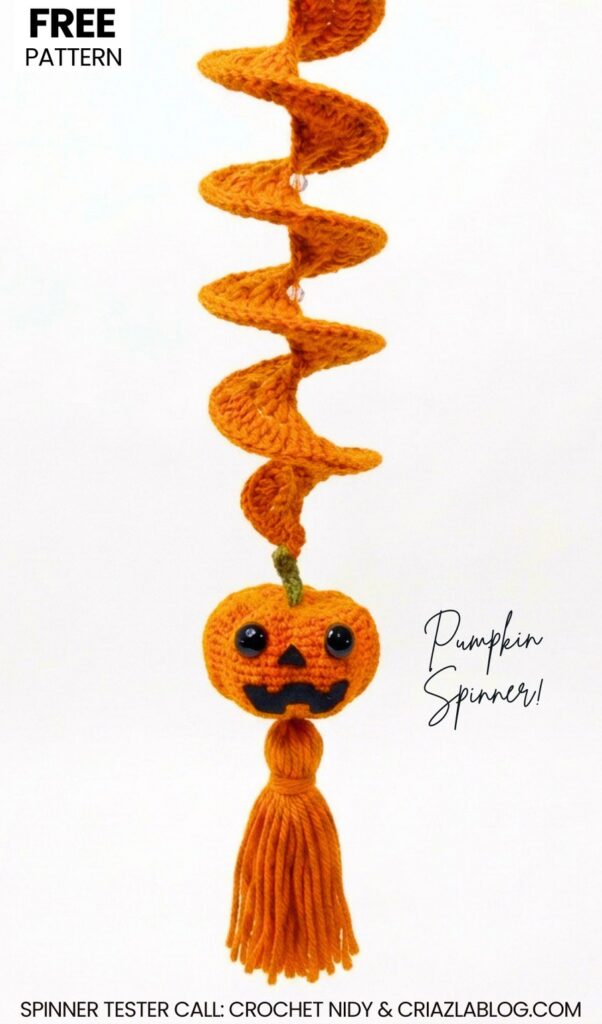
In today’s tester call, try this unique crochet pumpkin with a jack-o’-lantern face wind spinner pattern this fall with a FREE written pattern. This crochet wind spinner is a variation of our first crochet maple leaf wind spinner, but with a solid orange spinner color, a crochet pumpkin with felt expressions instead of large maple leaves, and a tassel hanging at the bottom. This is one of the CUTEST crochet fall and Halloween wind spinners I have shared a pattern for so far.
Normally, I would share only crochet plushie patterns in my tester calls, but this crochet amigurumi wind spinner was worth giving a shot. So, be sure to remake one this Halloween and make your home decorations truly awesome.
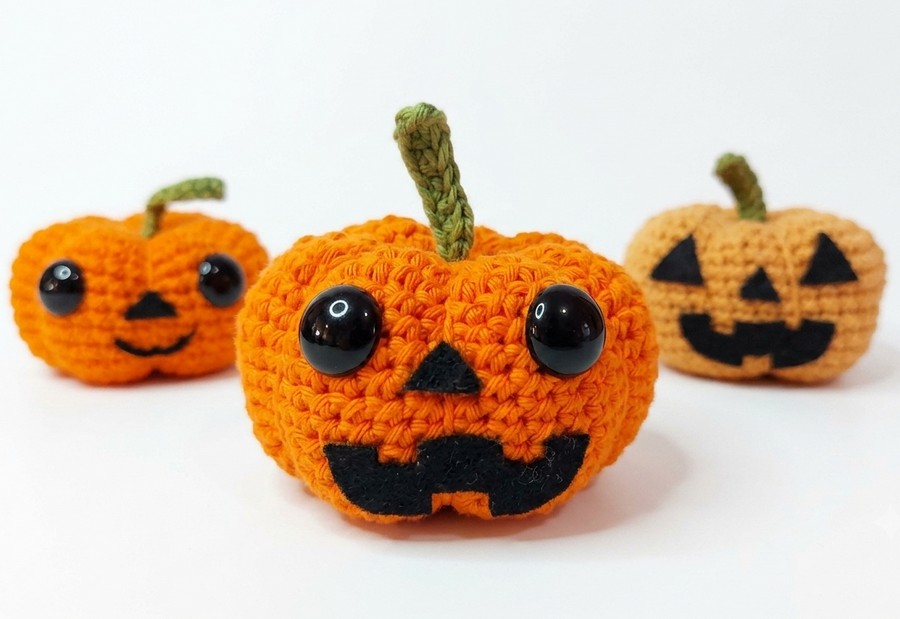
It looks so cute, and you can also just follow the crochet pumpkin pattern and use it as a keychain or an amigurumi buddy. You can also crochet the other variations of this crochet pumpkin. If you would still like the crochet striped green, yellow, and orange wind spinner, you can also follow the first color pattern in this series. Anyway, customization is up to you, so continue reading to learn more about this crochet project and the pattern.
[ez-toc]
Pattern for Crocheting The Kawaii Pumpkin Wind Spinner
Materials Needed
Yarn: 100% Cotton yarn in Orange (main color for pumpkin, full wind spinner, and tassel) and a small amount of Green (for the leaf/stem).
Crochet Hook: 3.0mm for wind spinner – 2.5 mm size hook for pumpkin
Stuffing: Polyfill / synthetic cotton stuffing.
Eyes: 14 mm safety eyes (optional).
Felt: Black felt (mouth/nose) and optionally green felt (bottom base cover).
Beads: 2–4 Clear/Transparent pearls or glass beads (to string into the spinner center).
Tools & Notions: Tapestry needle, scissors, liquid craft/fabric glue, 9 stitch markers (or scrap yarn), and a 4-inch piece of cardboard (for tassel and mouth cutting).
- Orange thread for the tassel!
Abbreviations (US Terms)
MR: Magic Ring
ch: Chain
sl st: Slip stitch
sc: Single crochet
hdc: Half double crochet
dc: Double crochet
inc: Increase (2 stitches in same st)
dec: Decrease (2 stitches together)
Part 1: The Pumpkin Body & Leaf
Crochet the Pumpkin Body (Orange Yarn)
Round 1: 8 sc into a MR. (8 sts)
Round 2: 1 inc in every st around. (16 sts)
Round 3: (1 sc, 1 inc) x 8. (24 sts)
Round 4: (2 sc, 1 inc) x 8. (32 sts)
Round 5: (3 sc, 1 inc) x 8. Place a stitch marker on every increase (8 markers total). (40 sts)
Rounds 6–17: 1 sc in every st around. (40 sts)
Round 18: (3 sc, 1 dec) x 8. (32 sts)
Round 19: (2 sc, 1 dec) x 8. (24 sts)
Round 20: (1 sc, 1 dec) x 8. (16 sts)
Insert 14 mm safety eyes between marker lines and stuff firmly with polyfill.
Round 21: 1 dec in every st around. (8 sts)
Fasten off leaving a long tail. Weave through front loops, pull tight to close, and wrap the long tail along the 8 marked ridges from top to bottom, pulling firmly to create pumpkin indents. Tie off securely at the bottom.
Crochet the Leaf/Stem (Green Yarn)
Step 1: Ch 10.
Step 2: Starting in 2nd ch from hook: 3 hdc, 3 sc, 3 sl st down the chain. (9 sts)
Step 3: Fasten off, leave long tail, and sew securely to the top center of the pumpkin. Glue black felt eyes/mouth to the front.
Part 2: All-Orange Wind Spinner
Work the entire spiral using Orange Yarn to match the pumpkin.
Row 1 (The Spiral Core): Ch 57. Starting in 2nd back bump from hook, sc inc across every back bump. (112 sts)
Row 2 (Inner Expansion): Ch 2, turn. Work 2 dc into every st across. (224 sts)
Row 3 (Outer Ruffle Edge): Ch 2, turn. Work 3 dc into every st across. Fasten off and weave in ends.
The Hanging Loop (Dark Green)
Foundation: Start with a slip knot in Dark Green.
Top Attachment: Join to the very top of the green spiral core with a slip stitch.
Strength: Work 4 sc into the top edge to create a sturdy base.
The Chain: Ch 45 (or your desired length for hanging).
Secure: Sl st back into the base sc. Fasten off and weave in ends.
Part 3: Making the Tassel
Wrap orange yarn around a 4-inch piece of cardboard roughly 25–30 times.
Thread an 8-inch strand of yarn under the wrapped loops at the top edge, pull tightly, and double knot to secure the top bundle.
Cut the bottom loops open with scissors and remove the cardboard.
Tie another strand of yarn firmly around the top bundle (about 0.75 inches below the top knot) to form the tassel head. Trim the bottom ends evenly.
Part 4: Assembly & Transparent Pearls
Top Hanging Loop: Cut a 12-inch piece of orange yarn, thread it through the very top chain of the wind spinner, and tie a secure hanging loop.
Adding Pearls to Spinner Center: Using a long tapestry needle, string 2–3 transparent pearls onto an orange yarn strand. Weave this strand up through the middle hollow core of the wind spinner spiral so the pearls rest visibly inside the twists.
Attaching Pumpkin & Tassel:
Thread the bottom yarn tail of the wind spinner straight down through the green leaf and the center of the pumpkin, exiting out the bottom center hole.
String 1 transparent pearl onto the tail at the bottom of the pumpkin (optional accent).
Tie the remaining yarn tail directly to the top loop of your yarn tassel. Knot securely and bury the loose ends inside the pumpkin body using your tapestry needle.
Share on Social Media!
See More:

Crochet CUTEST Guest-Welcoming BOO Ghost with Bow, Hat and Pumpkin Accessories

Tester Call: How to Crochet A Candy Corn, Pumpkin & Kawii Buddy Potted Plant Plushie

Featuring: How to Crochet the Smallest Pumpkin Fall Turtle Plushie with Orange & Parrot

Pattern Tester: How to Crochet Pumpkin Ridges Face Donut Ring Plushie for Fall

How to Crochet An Amigurumi Long-Legged Kawaii Pumpkin in Shoes Buddy

How to Granny Square with Pumpkin Applique in the Middle

Tester Pattern: To Crochet Pumpkin Hello Kitty Plushie with Big Paws Buddy

Featuring: How to Crochet Tiered Unusual Texture Pumpkin Decoration (3 Sizes)

Tester Pattern: To Crochet A Grizzly Bear Presenting You A Pumpkin Plushie



