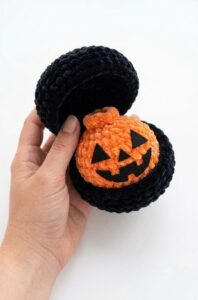
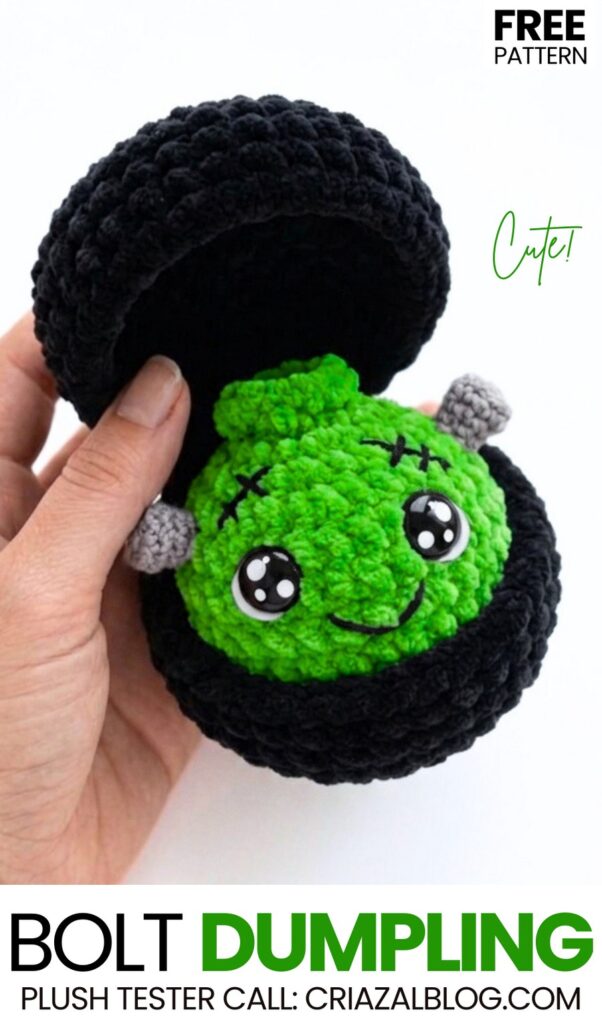
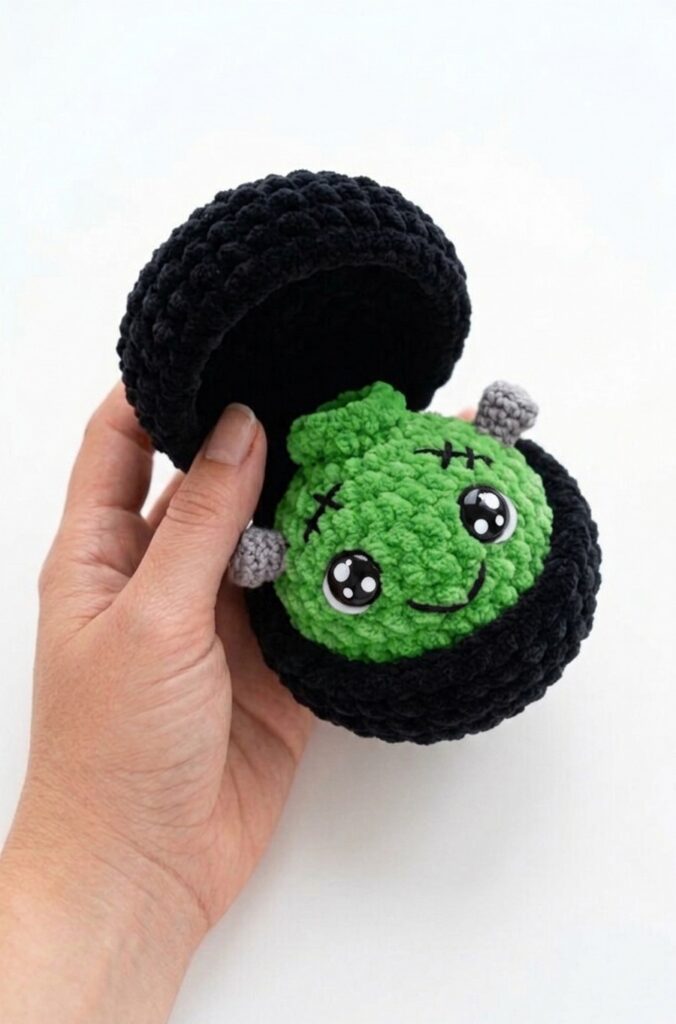
For this week’s pattern tester call, I am bringing two more crochet “Halloween dumpling plushie patterns.” Let’s start with this crochet bolt zombie dumpling plushie that is finished with oh-so-cute kawaii safety eyes and DK yarn stuffed bolts, embroidery smile, and wound stitch eyebrows. Crochet this with the black steamer basket this time using the super bulky yarn, and be sure to check the other crochet dumpling plushies for Halloween as well.
[ez-toc]
Tutorial to Crochet the Frankenstein Dumpling
This project is a plush crochet dumpling toy that comes with a small round basket. You make the dumpling toy in rounds with soft yarn and put safety eyes and a smile on the face. You also make a round basket with a top cover that opens and closes, plus a small handle on top. The dumpling fits inside the basket. It is easy and quick to make.
Green Plush Yarn: Super Bulky / Size 6 (for the monster).
Black Plush Yarn: Super Bulky / Size 6 (for the basket).
Grey DK Yarn: For the side bolts.
Hardware: 4.0 mm crochet hook and one pair of 12 mm kawaii safety eyes.
Finishing Supplies: Black cotton yarn (for embroidery), thin semi-cotton yarn (for closing), fiberfill, tapestry needle, and scissors.
Part 1: Monster Dumpling (Green)
R1: Start with a magic ring and work 8 sc into the ring. (8 sts)
R2: [Inc] around by increasing evenly to reach 16 stitches. (16 sts)
R3: [Sc in next st, inc in next st] around. (24 sts)
R4: [Sc in each of the next 2 sts, inc in next st] around. (32 sts)
R5–R8: 1 sc in each stitch around. (32 sts)
R9: [2 sc, 1 dec] 8 times. (24 sts)
Note: Place the safety eyes between R7 and R8, leaving 6 stitches between them.
R10: [1 sc, 1 dec] 8 times. (16 sts)
Stuff the piece lightly.
R11: Work 8 consecutive decreases. (8 sts)
R12 (Ruffle): Work in FLO (Front Loops Only): [1 inc, 1 sc] around.
Fasten off, leaving a tail. Use your thin yarn in the BLO (Back Loops Only) of R11 to weave through the stitches and pull tight to cinch the top completely closed.
Part 2: Black Basket Container
The Base
R1: Start with a magic ring and work 6 sc into the ring. (6 sts)
R2: [Inc] around. (12 sts)
R3: [Sc in next st, inc in next st] around. (18 sts)
R4: [Sc in each of the next 2 sts, inc in next st] around. (24 sts)
R5: [Sc in each of the next 3 sts, inc in next st] around. (36 sts)
R6: Work in BLO (Back Loops Only): 1 sc in each stitch around. (36 sts)
R7–R8: 1 sc in each stitch around. (36 sts)
Fasten off and weave in your ends. This completes your base.
The Lid
R1–R5: Repeat the exact same increase rounds as the base. Start with a magic ring of 6 sc, then increase up to 36 stitches (R1: 6, R2: 12, R3: 18, R4: 24, R5: 36).
R6: Work in BLO: 1 sc in each stitch around. (36 sts)
R7–R8: 1 sc in each stitch around. (36 sts)
Do not cut the yarn after finishing R8.
Joining the Hinge
Place the lid directly on top of the base, aligning the edges of both pieces so they match up evenly.
Insert your hook through corresponding stitches on both the lid and the base.
Work 1 single crochet across 6 stitches through both thicknesses to securely attach them together and form your hinge.
Fasten off and weave in any remaining tails.
Embellishments & Assembly
Bolt Pattern:
R1: Using your DK grey yarn, make 6 sc in a magic ring.
R2: [2sc, inc] * 3 (9).
[2sc, dec] * 3. (6)
R3-6: sc in each stitch across.
Make two bolts and attach them securely to the lower sides of the monster’s head. To complete the look perfectly, use your black cotton yarn to stitch a curved smile one row below the eyes. For the Frankenstein scars, embroider a thick diagonal line crossed by two smaller perpendicular dashes on the upper right forehead, and a distinct “X” shape on the upper left.
See More:
Tester Call: How to Crochet Gingerbread Bao Bun Dumpling Plushie for Christmas
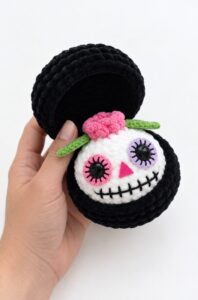
Pattern Tester: Flower on the Top Tribute Spooky Dumpling Plushie Pattern
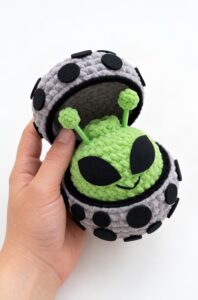
Pattern Tester: How to Crochet An Alien Dumpling in A Pod Box Plushie
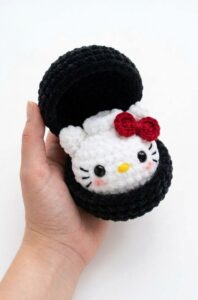
Tester Pattern: How to Crochet Hello Kitty Dumpling Plushie for Playing With
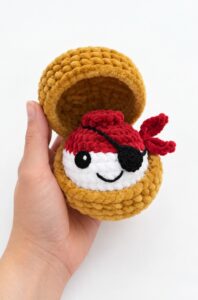
Tester Call: How to Crochet Mr. Pirate Dumpling Plushie in A Treasure Box
Tester Pattern: How to Crochet Birthday-Popper Dumpling Plushie for Gifting

Tester Pattern: How to Crochet Dumpling Buddy in A Steamer Costume Plushie

Tester Pattern: To Crochet A Snowball Christmas Dumpling in Basket Plush
Tester Call: Free Crochet Orange, Yellow & White Dumpling Plushie