Author: Talha
I am a crochet designer, macramé maker and a crafter who also loves doing MATH.
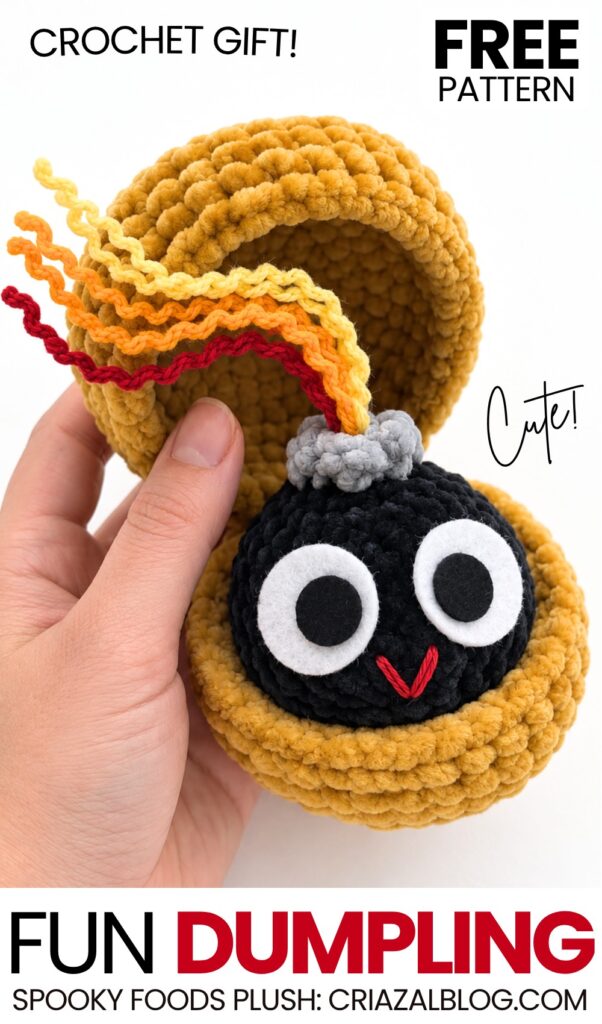
Today’s crochet community-fav eatable plushie variation is the MOST CREATIVE and clever of all I have shared so far. Introducing, the crochet birthday-F-bomb dumpling plushie that you can crochet for both Christmas and fall festivals. And with its cute googly eyes and floating strand red, yellow and orange hairs (the string of birthday popper!), it is one of the CUTEST crochet bao bun plush variation so far.
Yesterday, I realized our crochet dumpling plush if in black and grey color would look exactly the same as a birthday-F-bomb and so that’s why I wanted to design it as a birthday, NEW year and Christmas gift.
You can also crochet a variation with the white wired crochet string between the hairs if you don’t want to insert the wires in the hair of this crochet birthday-popper dumpling plushie. Now, continue reading for learning more about this crochet birthday plush!
Similar Project(s)
Pattern to Crochet the Plush Fun Dumpling for All
Skill Level: Beginner – Level 4
Required Materials List
Black Plush Yarn (100g / 120m): For the bomb main body.
Grey Plush Yarn (100g / 120m): For the top fuse cap collar.
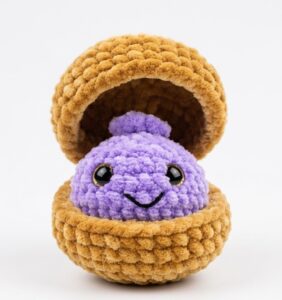
Mustard / Golden-Brown Plush Yarn (100g / 120m): For the basket box base and lid.
Semi-Cotton Yarn (Red, Orange, Yellow): For the flame/spark fuse cords.
Red Semi-Cotton Yarn / Embroidery Floss: For the embroidered “V” mouth.
White & Black Felt Craft Sheets: For the big expression eyes.
Thin Craft Wire (18–22 gauge) or Pipe Cleaners: To shape and hold the fuse cords.
Crochet Hooks: 4.0 mm (for plush yarn) and 2.5 mm – 3.0 mm (for fine fuse yarn).
Fabric Glue or Black Sewing Thread: To attach felt eyes.
Toy Stuffing, Wire Cutters, Yarn Needle, Scissors.
Bomb Body Pattern (Black & Grey)
Using Black plush yarn and 4.0 mm hook.
R1: 8 sc in MR (8)
R2: 8 inc (16)
R3: (1 sc, inc) repeat 8 times (24)
R4: (2 sc, inc) repeat 8 times (32)
R5–R8 (4 rounds): 32 sc (32)
R9: (2 sc, dec) repeat 8 times (24)
R10: (1 sc, dec) repeat 8 times (16)
Stuff the bomb body firmly with toy stuffing.
R11: 8 dec (8)
Change to Grey plush yarn for the top fuse collar.
R12: Working in FLO (front loops only), (inc, 1 sc) repeat 4 times (12 sc).
Sl st to join, cut yarn, leaving a short tail to weave in.
Flame Fuse Cords (Make 3: 1 Red, 1 Orange, 1 Yellow)
Using 2.5 mm – 3.0 mm hook and semi-cotton yarn.
Red Cord (Shortest): Chain 18. Starting in 2nd ch from hook, sc in each chain stitch across (17 sc). Fasten off, leaving a long sewing tail.
Orange Cord (Medium): Chain 22. Starting in 2nd ch from hook, sc in each chain stitch across (21 sc). Fasten off, leaving a long sewing tail.
Yellow Cord (Longest): Chain 26. Starting in 2nd ch from hook, sc in each chain stitch across (25 sc). Fasten off, leaving a long sewing tail.
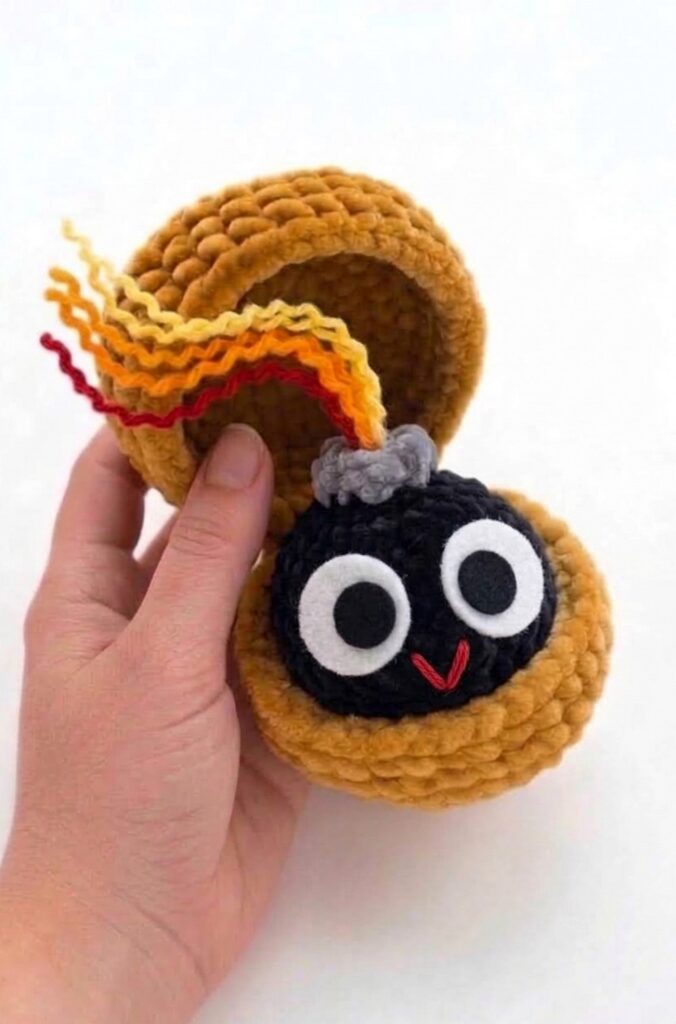
Wire Insertion & Shaping Guide:
Cut 3 pieces of thin craft wire matching the length of each crocheted cord strand.
Use pliers to bend the tip of each wire end back onto itself into a small smooth loop so sharp edges do not poke through the yarn.
Thread each wire piece through the center stitches of each crochet cord strand from bottom to top until fully concealed inside the yarn spine.
Gather the 3 wire-enclosed cords together at the base (Yellow at top, Orange middle, Red bottom) and twist their bottom wire tails together tightly to form a single anchor stem.
Gently bend each individual cord into squiggly, wavy “S” shapes to mimic glowing spark trails.
Facial Features (Felt Eyes & Red Mouth)
Felt Eyes:
Cut 2 large circles from white felt sheet (approx. 2.5 cm diameter).
Cut 2 smaller circles from black felt sheet (approx. 1.2 cm diameter).
Glue or stitch the black pupils onto the lower-inner portion of each white circle to create a wide-eyed look.
Red “V” Mouth:
Thread red semi-cotton yarn onto a tapestry needle.
Embroider a sharp, narrow “V” shape in the center of the face on R6–R7 (centered directly below where the felt eyes will sit).
Mustard Basket / Box Pattern
Make 2 parts using Mustard plush yarn and 4.0 mm hook.
R1: 8 sc in MR (8)
R2: 8 inc (16)
R3: (1 sc, inc) repeat 8 times (24)
R4: (2 sc, inc) repeat 8 times (32)
R5: (7 sc, inc) repeat 4 times (36)
R6: 36 sc in BLO (36)
R7–R8 (2 rounds): 36 sc (36)
Top Lid: Fasten off and weave in end.
Bottom Base: Do not cut yarn.
Connecting Box & Handle:
Align top lid and bottom base together side-by-side.
Join with 5–6 sc stitches through back loop of lid and front loop of base to create a flexible hinge.
Handle: Join yarn to one side of box, chain 20, sl st to opposite side, ch 1, turn, sc back along chain, sl st to secure, and weave in ends.
Final Assembly Guide
Attach Eyes: Position the felt eye cutouts onto R6–R8 of the black bomb body, spaced evenly above the red embroidered “V” mouth. Secure with fabric glue or neat stitches using black thread around the borders.
Attach Fuse Cords: Insert the twisted wire anchor base of the 3-cord flame bundle directly down into the top center opening of the grey plush cap on the bomb.
Secure Fuse: Use a yarn needle to thread the yarn tails from the fuse cords through the top opening, tie them securely inside the body stitches, and bury all ends inside the plush body.
Final Styling: Adjust the squiggly wire curves of the Red, Orange, and Yellow fuse strands so they fan outward cleanly. Place the completed bomb plushie securely inside the open mustard basket box.
See More:

Tester Pattern: How to Crochet Dumpling Buddy in A Steamer Costume Plushie

Tester Pattern: To Crochet A Snowball Christmas Dumpling in Basket Plush
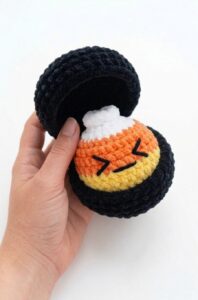
Tester Call: Free Crochet Orange, Yellow & White Dumpling Plushie
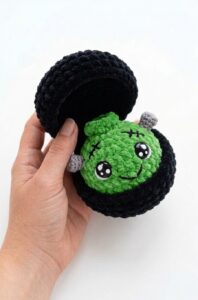
Tester Call: Free Crochet Kawaii-Eyes Bolt Zombie Dumpling Plushie
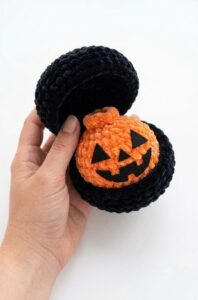
Tester Call: How to Crochet A Pumpkin Dumpling Plush for Halloween
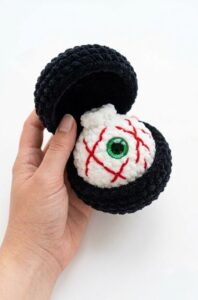
Free Crochet Eyeball Dumpling in a Steamer Plushie for Halloween
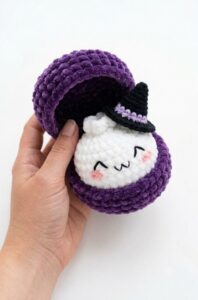
Tester Call: Crochet Spooky Ghost Dumpling Plushie Pattern
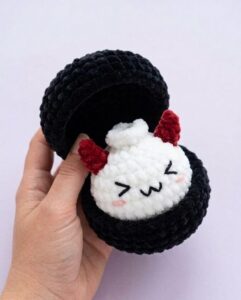
How to Crochet Spooky Dumpling with Red Horns Plushie Variation