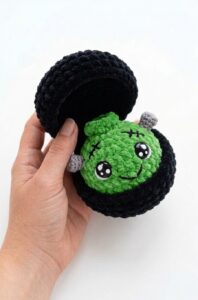
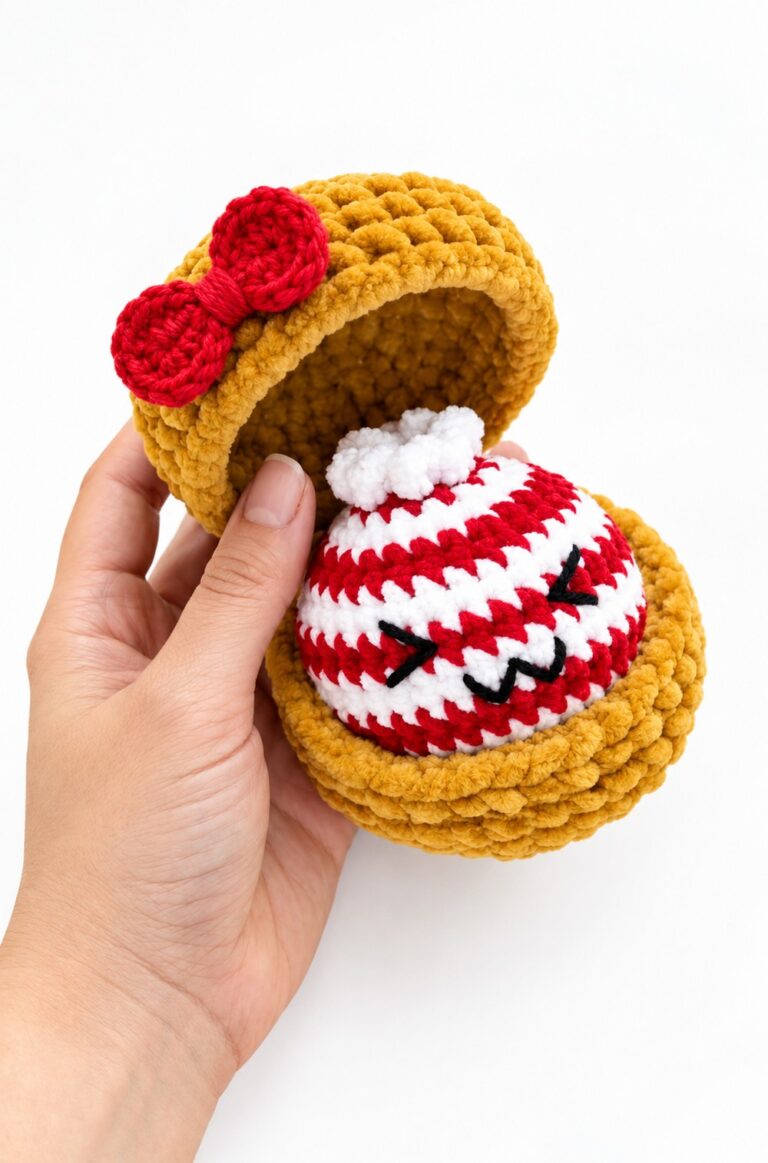
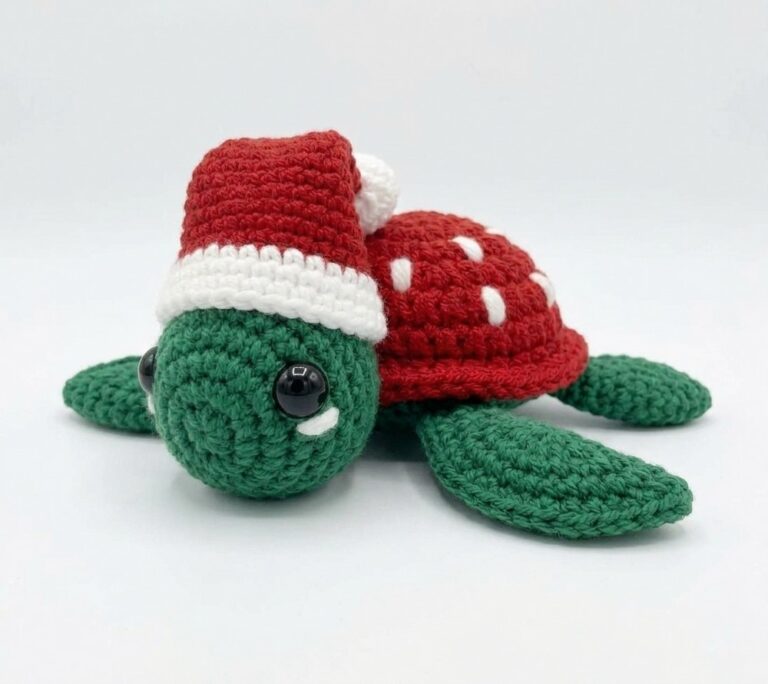
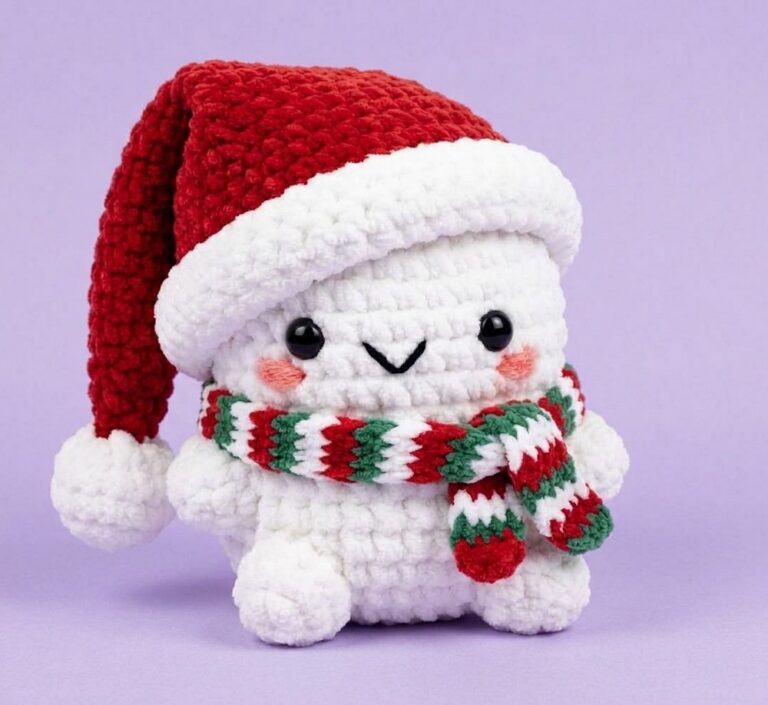
For this week’s tester call, I am back with another crochet Christmas bao bun in a steamer plushie! Introducing the crochet plush polar bear wearing a curled-top Santa hat, with a black crochet steamer basket; you can learn to crochet it with a FREE written pattern.
Our crochet dumpling is now looking like a plush polar bear! This time, unlike both the green character and the crochet snowman dumpling plush, the hat is attached right above the dumpling top.
So, you can also just crochet this plush dumpling as a grizzly bear food plush. Now, continue reading to learn more about this crochet plush dumpling for winter!
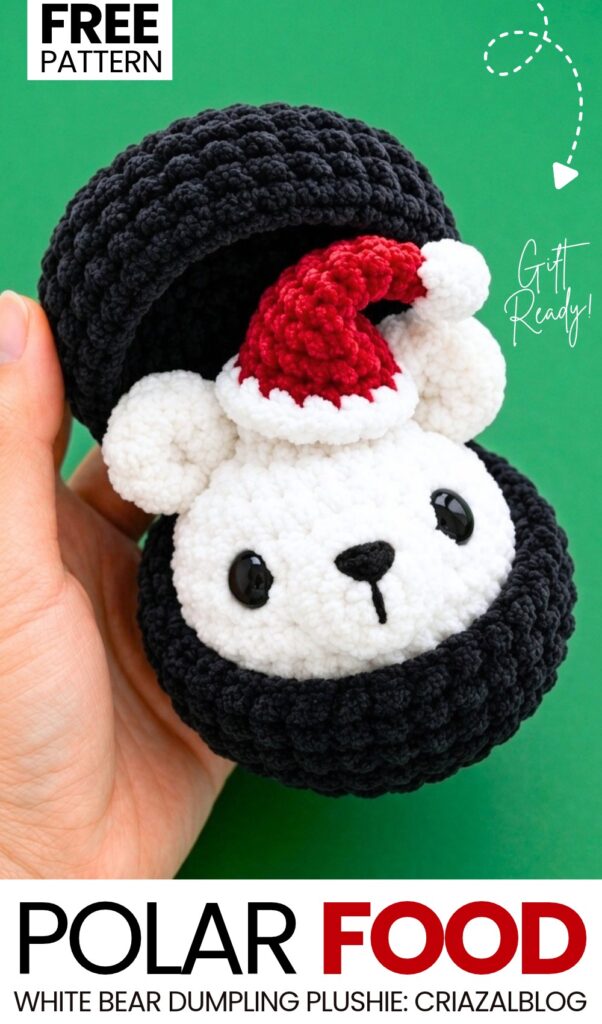
Pattern to Crochet a Polar Bear in a Santa Hat Dumpling Plushie
Here is the complete, detailed pattern for your adorable Plush Dumpling Bear Box featuring a festive Santa hat, nestled inside its black steamer basket.
Materials & Tools
Super Bulky Chenille / Plush Yarn (~100 g / 120 m):
Color A (Bear / Dumpling Body & Ears): White / Cream
Color B (Steamer Basket): Black
Thin Plush Yarn / Fingering Yarn:
White: For the Santa hat pom-pom and trim
Red: For the Santa hat body
Fine Yarn / Thread (e.g., YarnArt Jeans / semi-cotton):
Black: For embroidering the nose, mouth, and muzzle details
Matching White: Strong thread to cinch the top hole closed
Crochet Hook: 4.0 mm (or size appropriate for your plush yarn)
Safety Eyes: 12 mm (plain black)
Stuffing: Polyester fiberfill
Notions: Stitch marker, yarn needle, sewing pins, scissors, ruler
Abbreviations (US Terms)
MR: Magic Ring (adjustable loop)
ch: Chain stitch
sc: Single crochet
hdc: Half double crochet
inc: Increase (2 sc in the same stitch)
dec: Decrease (sc 2 stitches together / invisible decrease)
sl st: Slip stitch
FLO: Front loops only
BLO: Back loops only
st(s): Stitch(es)
[ … ]: Total stitch count at the end of the round
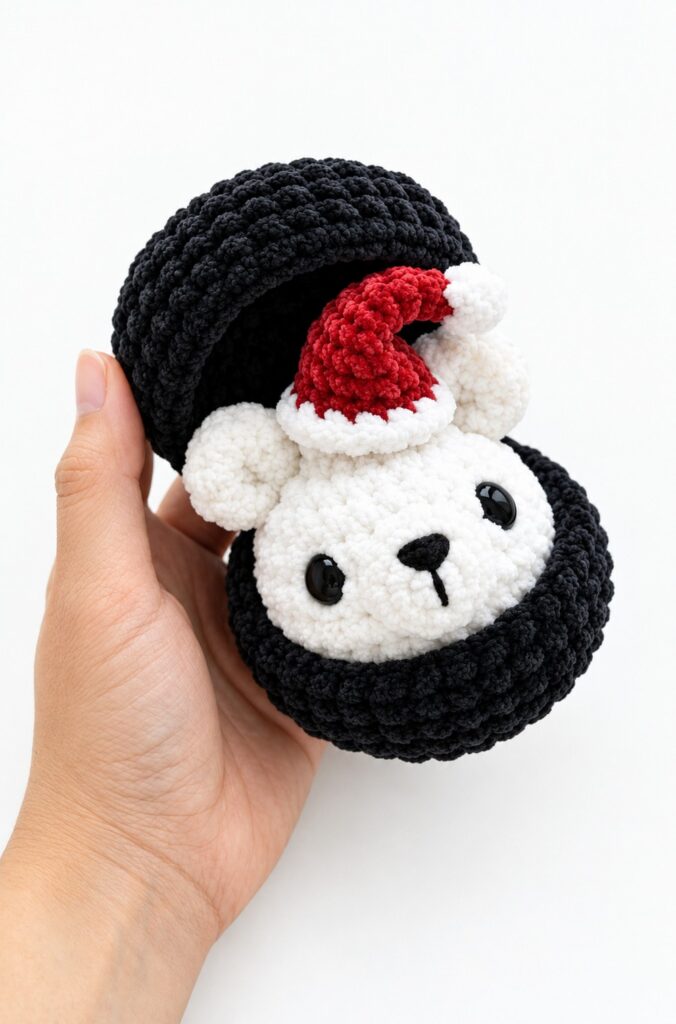
Part 1: Bear Dumpling Body & Face Details
Worked in continuous spirals using Color A (White).
Round 1: In a MR, work 8 sc. Pull ring closed. [8]
Round 2: 8 inc (2 sc in each st around). [16]
Round 3: (1 sc, inc) * 8. [24]
Round 4: (2 sc, inc) * 8. [32]
Rounds 5–8 (4 rounds): 32 sc around. [32]
Round 9: (2 sc, dec) * 8. [24]
Safety Eye Placement:
Insert the 12 mm safety eyes between Rounds 7 and 8, spaced approximately 6 stitches apart. Secure with washers inside.
Round 10: (1 sc, dec) * 8. [16]
Stuff the body lightly to medium firmness with fiberfill. Keep it squishy and soft.
Round 11: 8 dec. [8]
Dumpling Top Pleat / Frill:
Round 12: Working in FLO only: (inc, 1 sc)* 4. [12]
Fasten off with a sl st, cut yarn leaving a short tail, and pull through.
Closing the Top Hole:
Thread a needle with a piece of strong white thread/yarn.
Weave through all 8 unused back loops from Round 11 inside the frill.
Pull tight to cinch the hole completely shut, tie a secure double knot, and hide the tails inside.
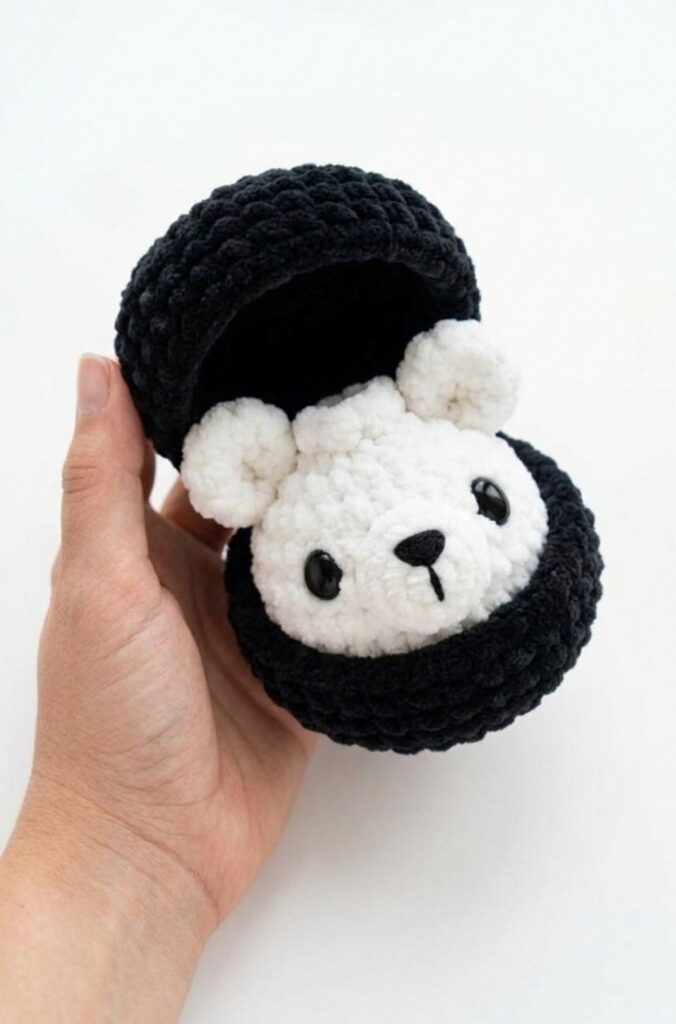
Muzzle Pattern:
Using White thin plush yarn and a 4.0 mm hook:
Round 1: In a MR, work 6 sc, sl st to join. [6]
- Round 2: ch 1, work 2 sc in each st around, sl st to join. [12]
- Round 3: ch 1, [sc, inc] * 6 [12]
Fasten off, leaving a long tail for sewing.
Embroidery: Using fine black yarn, stitch a small vertical nose and a cute curved smile right in the center of the muzzle. Pin the muzzle centered just below and between the safety eyes, then sew it securely onto the bear’s face.
Ears (Make 2):
Using White plush yarn:
In a MR, work 10 hdc, join with a sl st to the first hdc.
Fasten off, leaving a tail for sewing.
Position the ears on top of the head (roughly spanning Rounds 10–12 on either side of the top pleat) and sew them down.
Part 2: Santa Hat Pattern (14 Rounds)
Using thin white plush yarn and red plush yarn:
Rounds 1–3 (White Tip / Pom):
Round 1: In a MR with White, work 6 sc. [6]
Round 2: (1 sc, inc) * 3. [9]
Round 3: 9 sc around. [9]
Rounds 4–14 (Red Cone & Brim):
Round 4: Switch to Red yarn. (2 sc, inc) $\times$ 3. [12]
Round 5: 12 sc around. [12]
Round 6: (3 sc, inc)* 3. [15]
Round 7: 15 sc around. [15]
Round 8: (4 sc, inc) * 3. [18]
Round 9: 18 sc around. [18]
Round 10: (2 sc, inc) * 6. [24]
Rounds 11–13 (3 rounds): 24 sc around. [24]
Round 14 (White Brim): Switch back to White yarn. Work 24 sc around to form the fuzzy brim.
Fasten off, weave in ends, and optionally tack the tip of the hat down to the side so it flops over cutely as seen in the reference image. Place the hat on top of the bear between the ears.
Part 3: Steamer Basket / Box (Make 2)
Worked in continuous spirals using Color B (Black).
First Half (Bottom Bowl):
Round 1: In a MR, work 8 sc. [8]
Round 2: 8 inc. [16]
Round 3: (1 sc, inc) * 8. [24]
Round 4: (2 sc, inc)* 8. [32]
Round 5: (7 sc, inc) * 4. [36]
Round 6: Working in BLO only: 36 sc around. [36] (This creates the crisp flat base rim).
Rounds 7–8 (2 rounds): Working through both loops: 36 sc around. [36]
Fasten off, cut yarn, and weave in the tail.
Second Half (Top Lid):
Repeat Rounds 1–8 exactly as the first half.
Do NOT cut the yarn at the end of Round 8.
Part 4: Basket Assembly & Handle
1. Connecting the Hinge:
Place both basket halves together with their open rims touching.
Align the connection point at the back.
Using the working yarn left on the second half:
Insert your hook through the stitch on the current half (front loop) and the corresponding stitch on the other half (back loop).
Work 4 to 5 sc across to join them together and create a flexible hinge.
Fasten off, weave in the tail, and tuck it inside.
2. Adding the Handle:
Fold the lid shut. Using pins, mark two points across the center of the top lid where the handle will arch across.
Join Black yarn with a slip stitch at one pinned point on the top lid.
Chain 14–16 (adjust length so it spans comfortably across the top dome with slight slack).
Attach the end of the chain to the opposite pinned point with a sl st / sc.
Turn and crochet 1 sc into each chain back down to the starting point to give the handle thickness and sturdiness.
Fasten off securely and weave in all remaining yarn tails.
Place your finished festive bear dumpling inside the black steamer basket box, close the lid halfway, and enjoy your holiday creation!
See More:
Tester Call: How to Crochet Gingerbread Bao Bun Dumpling Plushie for Christmas
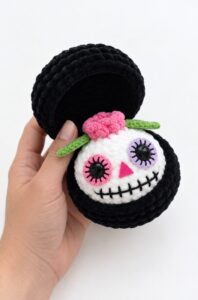
Pattern Tester: Flower on the Top Tribute Spooky Dumpling Plushie Pattern
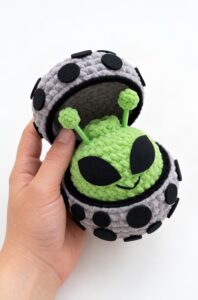
Pattern Tester: How to Crochet An Alien Dumpling in A Pod Box Plushie
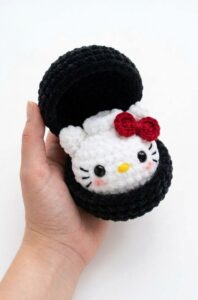
Tester Pattern: How to Crochet Hello Kitty Dumpling Plushie for Playing With
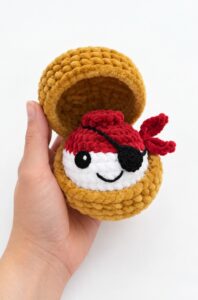
Tester Call: How to Crochet Mr. Pirate Dumpling Plushie in A Treasure Box
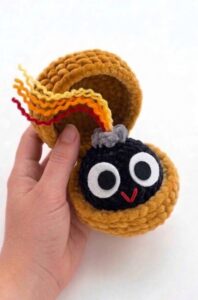
Tester Pattern: How to Crochet Birthday-Popper Dumpling Plushie for Gifting

Tester Pattern: How to Crochet Dumpling Buddy in A Steamer Costume Plushie

Tester Pattern: To Crochet A Snowball Christmas Dumpling in Basket Plush
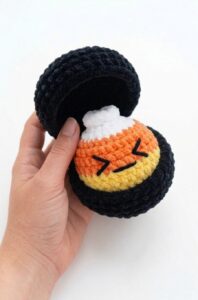
Tester Call: Free Crochet Orange, Yellow & White Dumpling Plushie