Author: Talha
I am a crochet designer, macramé maker and a crafter who also loves doing MATH.
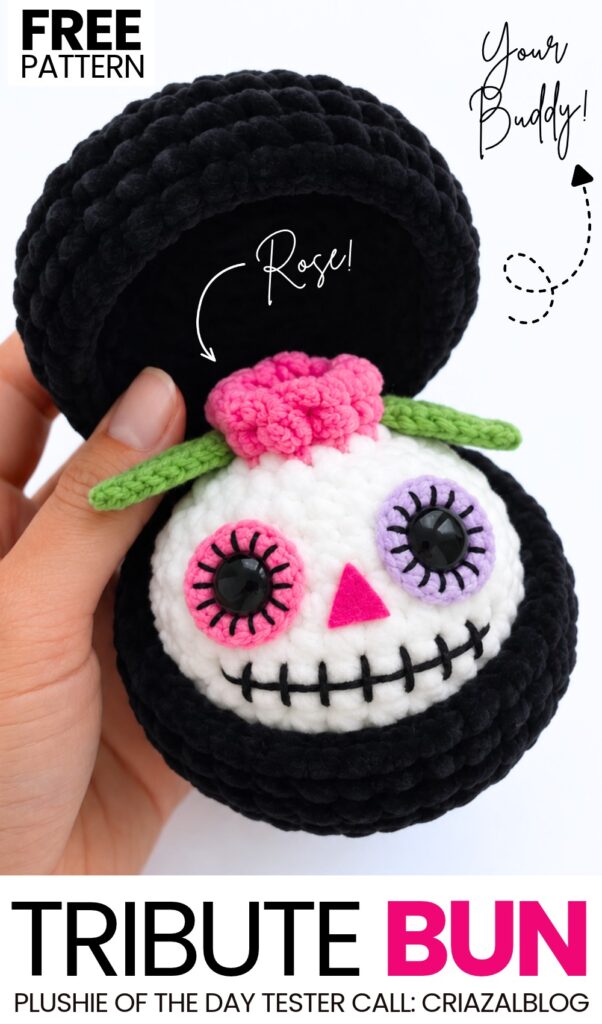
In this tutorial, learn to crochet the last and the MOST COLORFUL crochet spooky round food plushie! Introducing the crochet purple, pink, and green tribute-to-gone-aways spooky bun plushie that you can learn to crochet with a FREE written pattern.
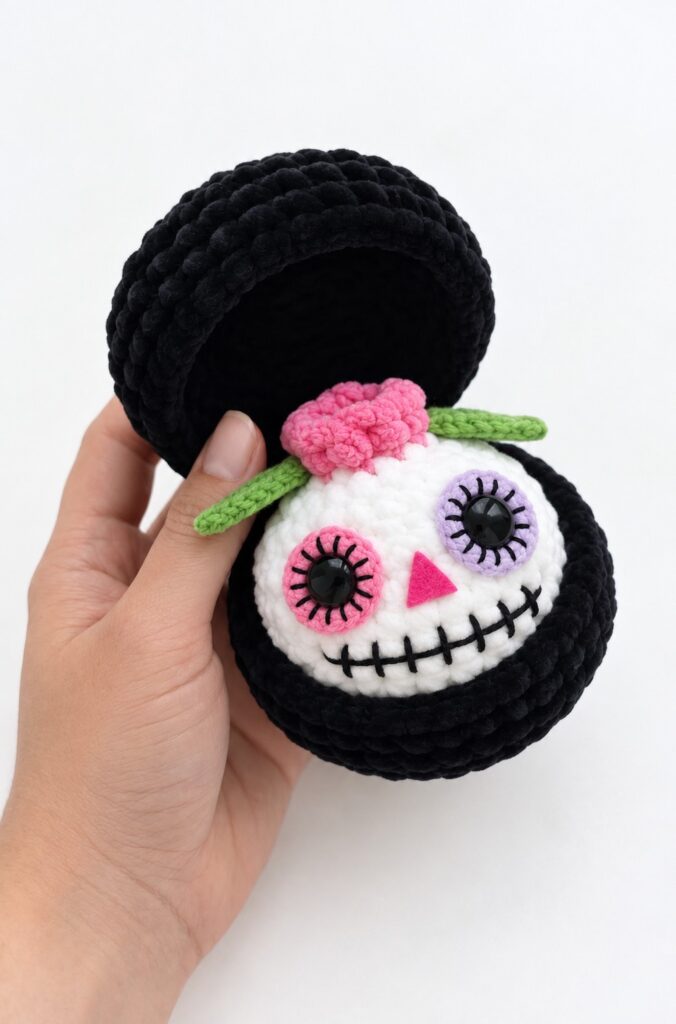
This crochet plush has cute purple and pink eyes with dashed-point embroidery as well. I thought the dumpling top would perfectly turn into a rose.
That’s why you will crochet it in pink and attach two small crochet leaves on either side. Makes a PERFECT gift for kids and can be completed in less than 45 minutes. So, continue reading for learning more about this plush crochet spooky dumpling project!
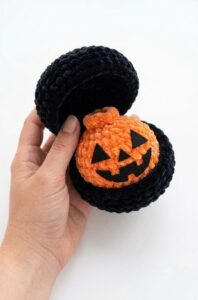
Similar Project(s)
Pattern to Crochet the Day of the Dead Dumpling Plushie
Skill Level: Beginner – Level 5
Materials & Abbreviations
- White Plush yarn (100g / 120m): For the sugar skull dumpling body.
- Pink Plush yarn (100g / 120m): For the top flower ruffle.
- Black Plush yarn (100g / 120m): For the coffin/shadow box container.
- Green DK cotton yarn: For the 2 small top leaves.
- Pink DK cotton yarn: For the left eye socket ring.
- Purple DK cotton yarn: For the right eye socket ring.
- Black DK cotton yarn / embroidery thread: For embroidering eyelashes, radial eye accents, and the stitched skull smile.
- Bright Pink felt sheet: Small piece cut into a triangle for the nose.
- Black plastic safety eyes (10mm – 12mm): 2 pieces.
- Crochet hooks: 4.0 mm (for plush yarn) and 2.5 mm – 3.0 mm (for DK yarn elements).
- Tools: Toy stuffing, yarn needle, craft/fabric glue, scissors.
Abbreviations:
MR = Magic Ring | sc = single crochet | hdc = half double crochet | dc = double crochet | inc = increase | dec = decrease | sl st = slip stitch | ch = chain | BLO = back loops only | FLO = front loops only | R = Round | St(s) = Stitch(es)
Day of the Dead Dumpling Pattern
(Worked in continuous rounds using White Plush yarn with 4.0 mm hook)
- R1: 8 sc in MR (8).
- R2: 8 inc (16).
- R3: (1 sc, inc) repeat 8 times (24).
- R4: (2 sc, inc) repeat 8 times (32).
- R5 to R8 (4 rounds): 32 sc (32).
- Note: If using safety backs for the eyes, attach the Eye Sockets and Safety Eyes between R6 and R8 now before stuffing (see Assembly section).
- R9: (2 sc, dec) repeat 8 times (24).
- R10: (1 sc, dec) repeat 8 times (16). Stuff firmly with toy stuffing.
- R11: 8 dec (8).
- Color Change: Switch to Pink Plush yarn at the last yarn over of R11.
- R12 (Top Flower Ruffle): Working in FLO only, (inc, 1 sc) repeat all the way around until the end of the round. Cut pink yarn and finish with a sl st. Weave in the pink tail.
- Closing the hole: Thread a needle with white or pink yarn, weave through the remaining unworked back loops of R11, pull tightly to cinch the top closed, tie off, and hide thread inside.
Eye Socket Circles & Leaf Patterns
Crochet Eye Sockets (Make 1 Pink & 1 Purple using DK yarn & 2.5–3.0 mm hook)
- R1: 8 sc in MR, sl st to 1st sc to join (8). (Leave the center magic ring slightly loose to insert the safety eye shank).
- R2: 8 inc (16), sl st to join.
- Fasten off, leaving a long tail for sewing onto the face.
Small Crochet Leaves (Make 2 using Green DK yarn & 2.5–3.0 mm hook)
- Ch 7.
- Row 1: Starting in 2nd ch from hook, work: 1 sl st, 1 sc, 1 hdc, 1 dc, 1 hdc, 3 sc in the last ch st.
- Rotate piece 180 degrees to work along the opposite side of the chain: 1 hdc, 1 dc, 1 hdc, 1 sc, 1 sl st.
- Fasten off, leaving a tail for sewing.
Coffin / Box Pattern
(Make 2 parts using Black Plush yarn with 4.0 mm hook)
- R1: 8 sc in MR (8).
- R2: 8 inc (16).
- R3: (1 sc, inc) repeat 8 times (24).
- R4: (2 sc, inc) repeat 8 times (32).
- R5: (7 sc, inc) repeat 4 times (36).
- R6: 36 sc in BLO (36).
- R7 to R8 (2 rounds): 36 sc (36).
- For the top lid: Fasten off, cut yarn, and hide the end.
- For the bottom base: Do not cut yarn. Align base and lid, sc across 6 stitches through the back loop of the lid and front loop of the base to make a secure rear hinge. Fasten off and weave in ends.
Detailed Assembly & Embroidery
- Eye Setup & Eyelash Detail:
- Take the pink crocheted eye circle and insert a black safety eye through its center hole. Insert into the viewer’s left side of the face between R6 and R7.
- Take the purple crocheted eye circle and insert the second black safety eye through its center hole. Insert into the viewer’s right side of the face between R6 and R7.
- Secure safety washers on the inside of the body.
- Sew down the outer perimeter of both crocheted eye rings onto the white face.
- Eyelash Embroidery: Thread a needle with black DK yarn/embroidery thread. Stitch straight radial lines around the outer edges of both eye circles, making short, evenly spaced lashes all the way around each circle.
- Nose:
- Cut a small triangle out of bright pink felt.
- Apply fabric glue to the back and press it firmly between the bottom edges of the eyes with the point facing upward.
- Sugar Skull Smile Embroidery:
- Using black DK yarn, embroider a smooth curved line across R8 and R9 spanning below the nose.
- Stitch 7 to 8 short vertical lines perpendicular across the main mouth curve to create the iconic stitched skull teeth look.
- Top Leaves:
- Position the two green DK leaves on opposite sides directly underneath the base of the top pink flower ruffle (R12).
- Stitch them securely into place so they extend horizontally outward to the left and right.
See More:
Tester Call: How to Crochet Gingerbread Bao Bun Dumpling Plushie for Christmas

Pattern Tester: How to Crochet An Alien Dumpling in A Pod Box Plushie
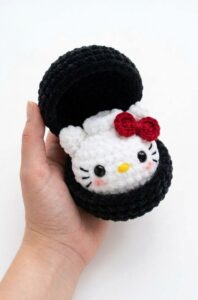
Tester Pattern: How to Crochet Hello Kitty Dumpling Plushie for Playing With
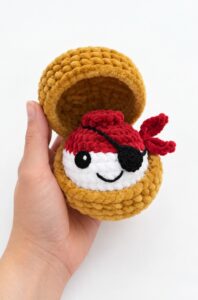
Tester Call: How to Crochet Mr. Pirate Dumpling Plushie in A Treasure Box
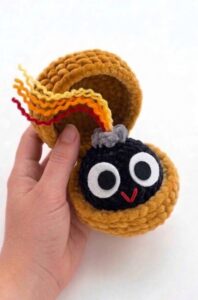
Tester Pattern: How to Crochet Birthday-Popper Dumpling Plushie for Gifting

Tester Pattern: How to Crochet Dumpling Buddy in A Steamer Costume Plushie

Tester Pattern: To Crochet A Snowball Christmas Dumpling in Basket Plush
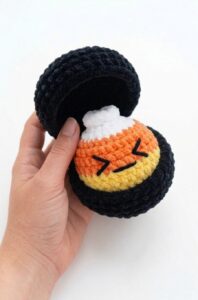
Tester Call: Free Crochet Orange, Yellow & White Dumpling Plushie
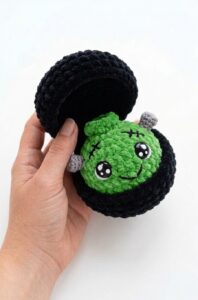
Tester Call: Free Crochet Kawaii-Eyes Bolt Zombie Dumpling Plushie