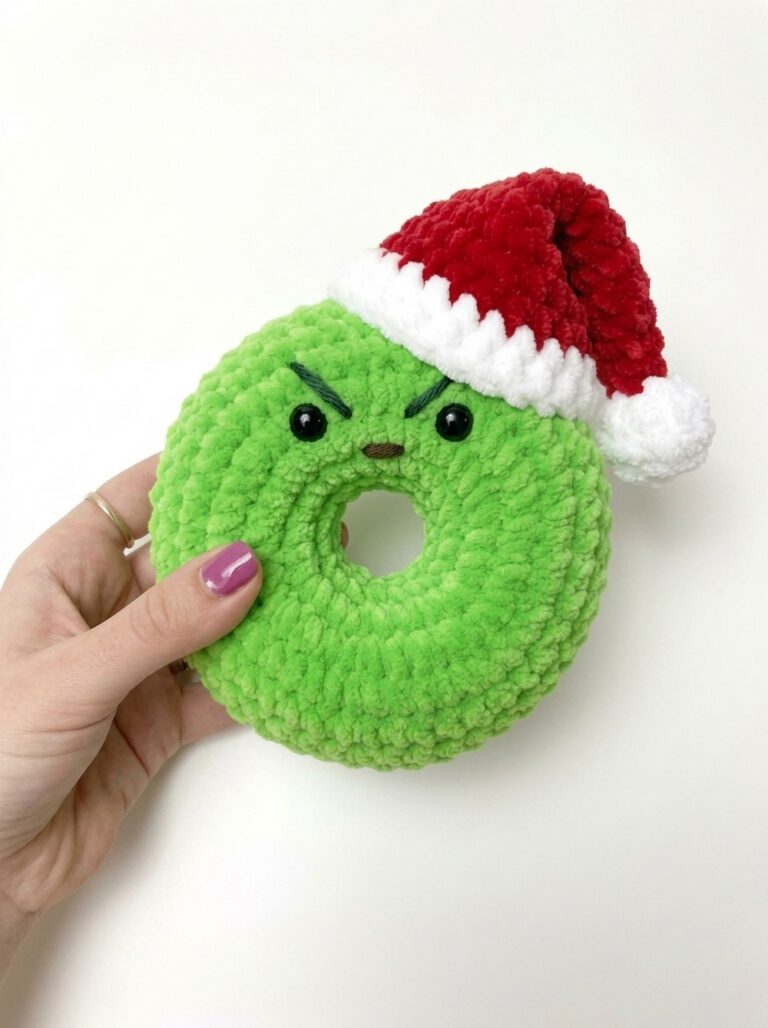
This Christmas, I am bringing our donut plushie series to life with new versions of Christmas ring plushies for all skill levels! Starting today, crochet a snowman wearing a little red scarf ornament and a buddy ring plushie, with a FREE written pattern for absolute beginners!
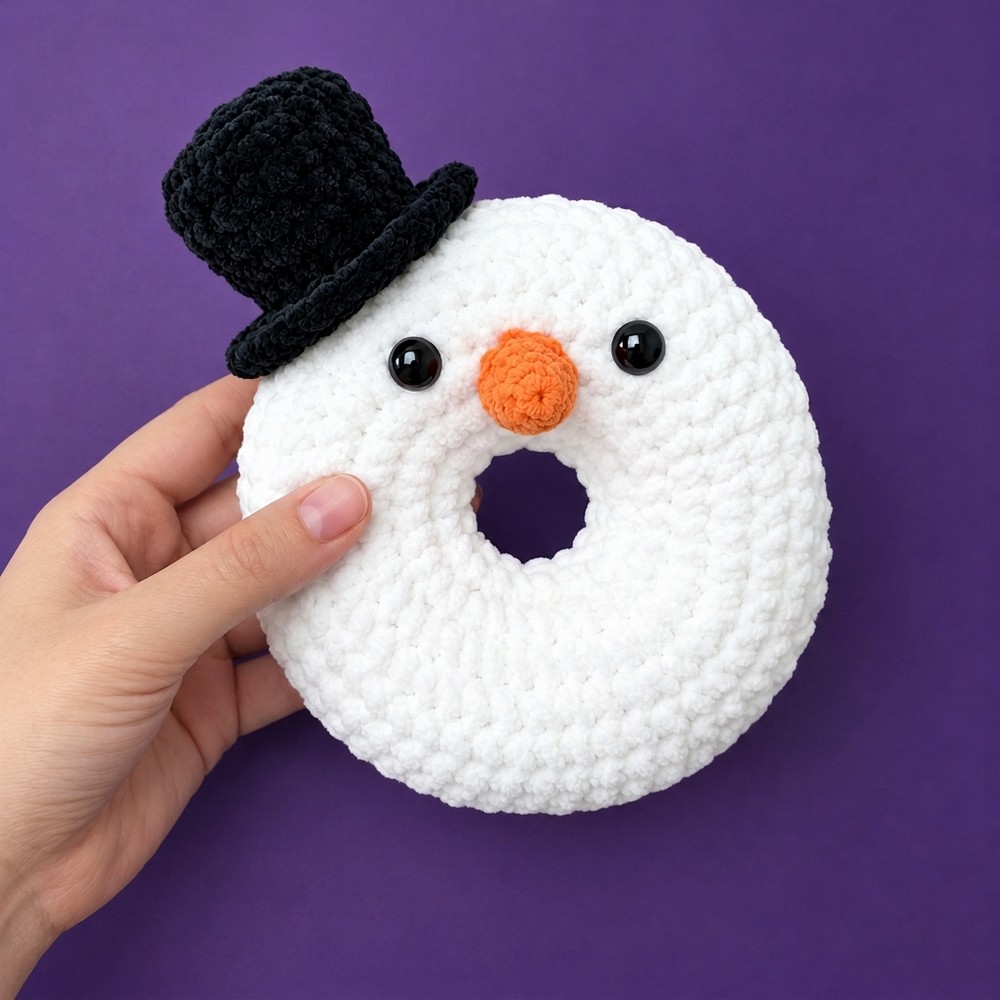
It also features the snowman’s iconic black hat as well as the carrot nose made using the DK yarn. You can also use a combination of skinny plush yarn and the super bulky chennile yarn to crochet your snowman ring plushie for anti-stress gifting!
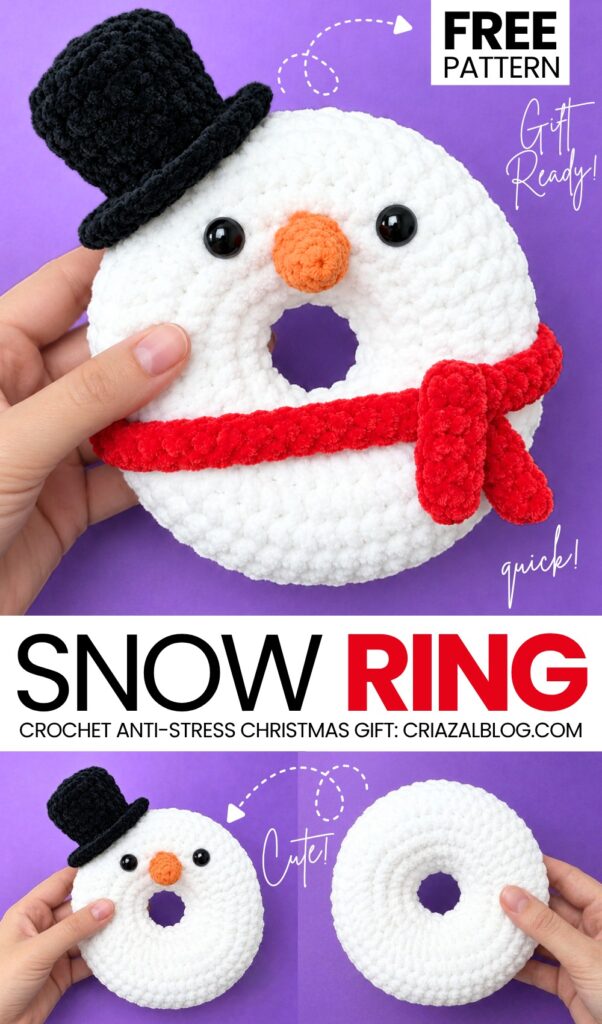
Snowman Donut Ring Plush Pattern
Skill Level: Beginner – Level 4
Pattern Details & Materials
Skill Level: Easy / Beginner
Terminology: US Crochet Terms
Hook Size: 4.25 mm (US G/6)
Recommended Yarn: Super Bulky Chenille / Plush Yarn (e.g., Hobbii Baby Snuggle or Premier Parfait Chunky)
Color A: White (for the front and back donut panels)
Color B: Black (for the top hat)
Color C: Red (for the scarf)
- Thin plush yarn in orange aka skinny plush yarn
Tools & Notions:
Black safety eyes (approx. 12mm – 14mm)
Yarn needle (tapestry needle)
Polyester fiberfill stuffing
Stitch marker (optional, for tracking rounds)
Scissors
Stitch Abbreviations
Ch: Chain
SC: Single Crochet
HDC: Half Double Crochet
Inc: Increase (2 SC in the same stitch)
Dec: Decrease (Combine 2 SC into one)
Sl st: Slip Stitch
BLO: Back Loop Only
FLO: Front Loop Only
MR: Magic Ring
St(s): Stitch(es)
(…) x n: Repeat instructions within parentheses n times
[Count]: Total stitch count at the end of the round
Snowman Body Panels (Make 2)
Use White plush yarn.
Note: For ONE panel, leave a long initial yarn tail before making your slip knot (about 12 inches) AND a long tail when finishing (about 18–24 inches). For the SECOND panel, you can start and cut yarn with standard-length tails.
Initial Chain: Slip knot, Ch 20. Form a ring by making 1 SC directly into the 1st chain made. (Be careful not to twist the chain ring. This first SC counts as the 1st stitch of Round 1).
Round 1: (4 SC, Inc) × 4 [24 sts]
Round 2: (3 SC, Inc) × 6 [30 sts]
Round 3: (4 SC, Inc) × 6 [36 sts]
Round 4: (5 SC, Inc) × 6 [42 sts]
Round 5: (6 SC, Inc) × 6 [48 sts]
Rounds 6–8: SC in each stitch around [48 sts]
Fasten off with a Sl st to the next stitch. Cut yarn.
Top Hat
Use Black plush yarn.
Rnd 1: Start 8 sc in a magic ring [8 sts]
Rnd 2: Inc 8 times [16 sts]
Rnd 3: (sc, inc in next st) repeat 8 times [24 sts]
Rnd 4: BLO sc in all 24 st [24 sts]
Rnd 5: (sc in next 4 st, dec) repeat 4 times [20 sts]
Rnd 6: sc in all 20 st [20 sts]
Rnd 7: (sc in next 3 st, dec) repeat 4 times [16 sts]
Rnd 8: sc in all 16 st [16 sts]
Rnd 9: FLO (sc in next st, inc in next st) repeat 8 times [24 sts]
Rnd 10: (sc in next 2 st, inc in next st) repeat 8 times [32 sts]
Rnd 11: sc in next st, slst in next st, do not crochet in remaining stitches [1 st]
Fasten off and sew the remaining yarn to round 7 to secure the brim. Leave a long tail for sewing the hat to the snowman.
Scarf
Use Red plush yarn.
Initial Chain: Ch 47. Crochet in rows.
Row 1: Start in the third ch from the hook, hdc in the next 45 ch [45 sts]
Fasten off and sew in the remaining yarn tails.
Carrot Nose
Use Orange thin plush yarn.
Rnd 1: Start 4 sc in a magic ring [4 sts]
Rnd 2: (sc in next st, inc in next st) repeat 2 times [6 sts]
Rnd 3: (sc in next 2 st, inc in next st) repeat 2 times [8 sts]
Rnd 4: sc in all 8 st [8 sts]
Rnd 5: (sc in next 3 st, inc in next st) repeat 2 times [10 sts]
Rnd 6: sc in all 10 st [10 sts]
Fasten off, leaving a long tail for sewing. Lightly stuff the nose.
Assembly & Finishing
1. Facial Features: Take the front White donut panel. As seen in Gemini_Generated_Image_8ayjm78ayjm78ayj.jfif, insert the black safety eyes into the upper half of the donut ring, spacing them evenly apart. Secure the backing washers on the wrong side. Sew the lightly stuffed orange carrot nose perfectly centered between and slightly below the eyes.
2. Sew Inner Ring:
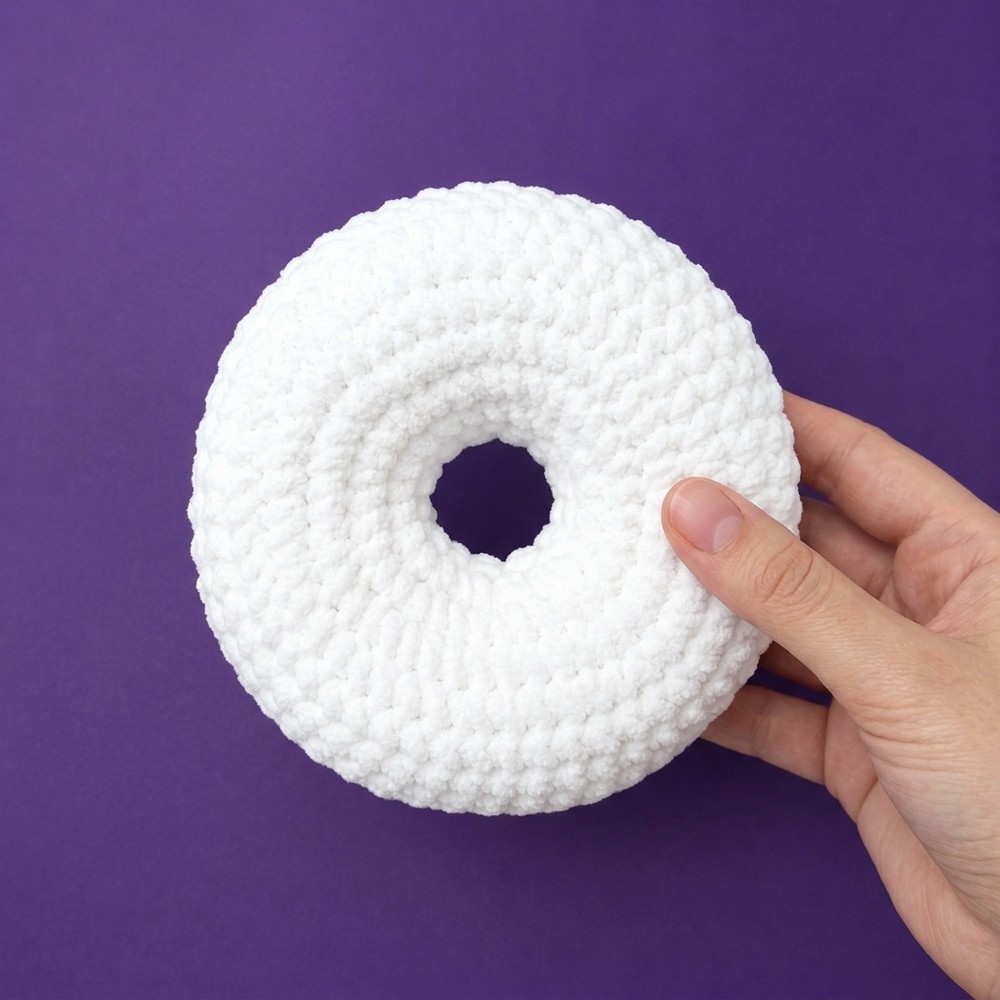
Place the two white donut panels together with their wrong sides facing each other (right sides pointing out). Thread the long yarn tail left at the center starting chain through your yarn needle. Whipstitch or mattress stitch the inner chain edges of both panels together stitch-by-stitch all the way around the hole. Knot and secure the tail inside.
3. Sew Outer Edge & Stuff:
Thread the long outer yarn tail. Align the 48 stitches of the outer edge of both panels. Begin sewing the outer edges together through both loops of both pieces. As you reach about 3/4 of the way around, begin firmly stuffing the donut with fiberfill. Ensure the stuffing is distributed evenly without overstretching the stitches. Finish sewing the rest of the outer ring closed, weave in all remaining ends, and snip.
4. Attach Accessories: Lightly stuff the main cylinder of the black top hat to help it hold its shape. Sew the bottom of the hat to the top-left side of the snowman’s head, angled slightly backward. Finally, wrap the red scarf around the lower-right quadrant of the donut ring, overlapping the ends to look like a tied scarf, and use a yarn needle to tack it securely into place.