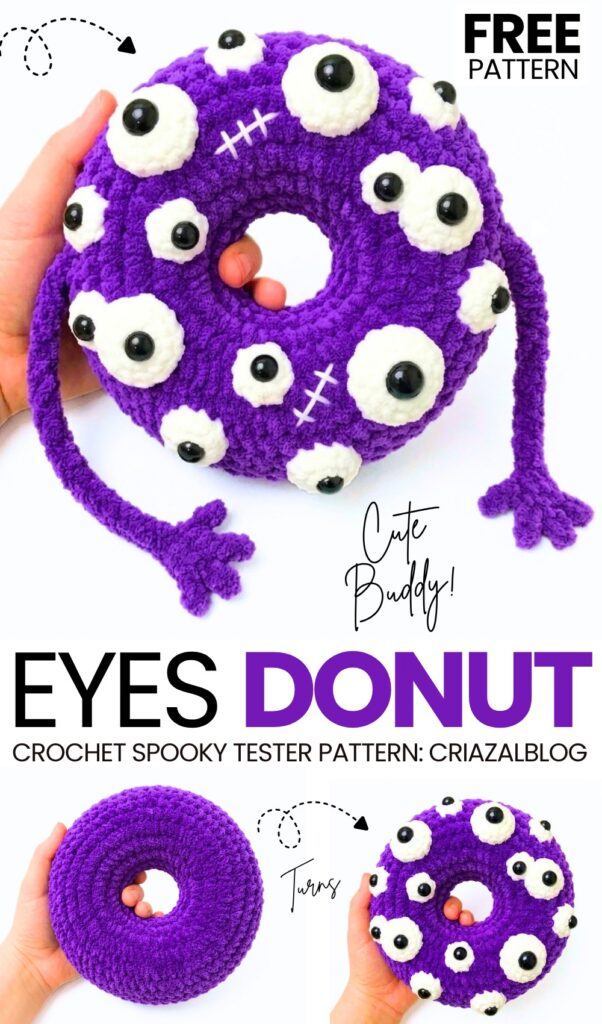
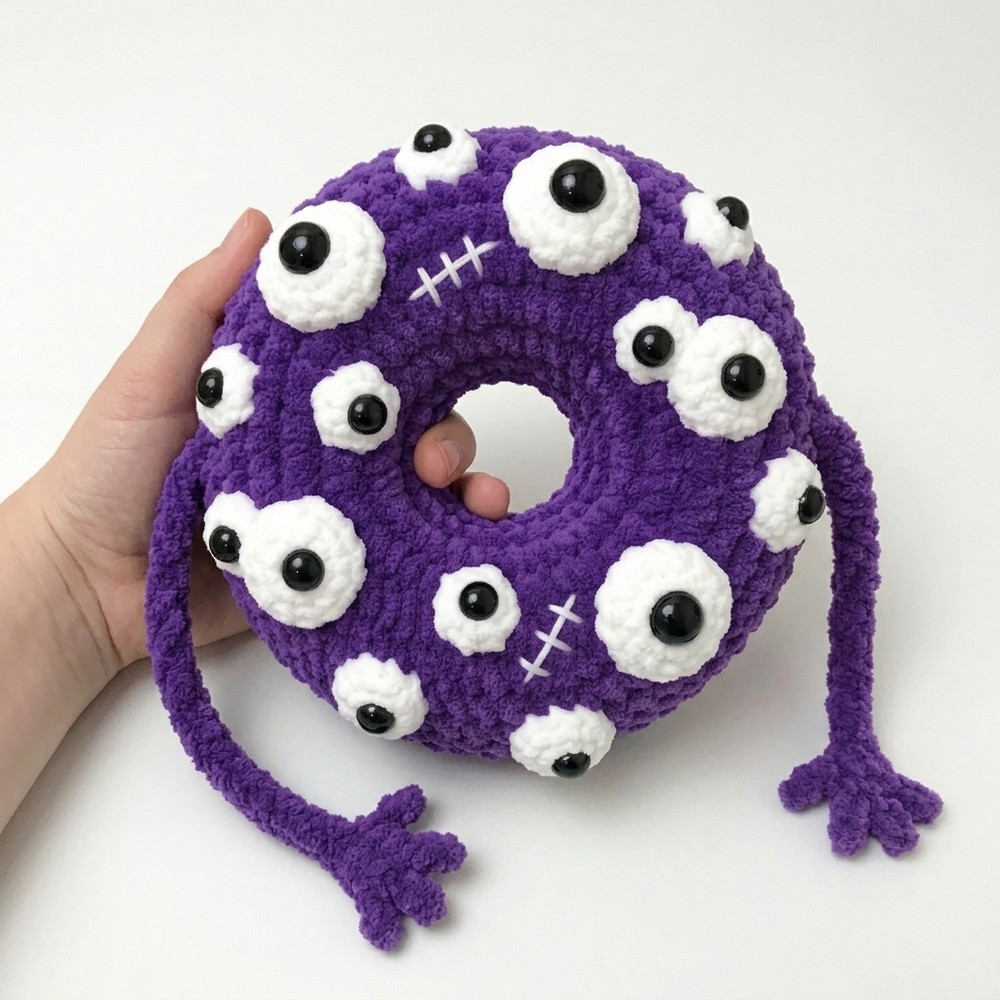
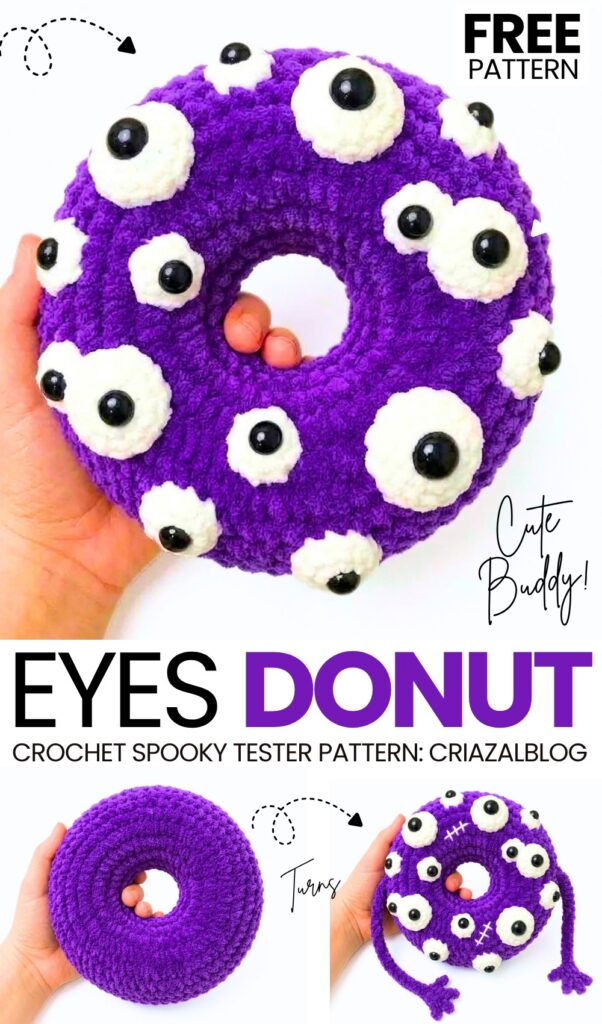
This is part 6 of my newly started crochet donut rings in spooky character themes series. This is my 2nd series after the crochet dumpling-in-a-box plushies, with the most variations. And today, you will be learning my favorite crochet ring plush so far. So, be sure to try today’s crochet purple ring with so many googly eyes plushie buddy that also has two long crochet legs with detailed crochet hands. I have also added wound embroidery to make it look even spookier.
Makes a perfect buddy to hang, especially if you also crochet the long arms. You can also turn this donut plush into your anti-stress plushie.
Made using the same plush donut base that makes it quick to complete. I have added a new feature to this variation, and this is the joined small-and-large eyes. Anyway, you will for sure love it, so continue reading to learn more about this quick and spooky plush donut project for Halloween!
[ez-toc]
Pattern to Crochet A Purple Donut Plush Full of Eyes
Pattern Details & Materials
Skill Level: Easy / Beginner
Terminology: US Crochet Terms
Main Yarn: Super Bulky Chenille / Plush Yarn in Purple (for Donut body)
Eye Base Yarn: Skinny Plush yarn in White
Arm & Hand Yarn: Thin / Skinny Plush Yarn in Purple
Embroidery Yarn: Medium-weight white yarn (for stitched scars)
Safety Eyes: Mix of large (12 mm) and small (8 mm) black safety eyes
Hook Size: 4.25 mm (US G/6) (or size matching yarn choice)
Tools & Notions: Yarn needle, polyester fiberfill stuffing, stitch markers, scissors
Stitch Abbreviations
| Abbreviation | Meaning |
| Ch | Chain |
| SC | Single Crochet |
| Inc | Increase (2 single crochet stitches in the same stitch) |
| Sl st | Slip Stitch |
| MR | Magic Ring |
| St(s) | Stitch(es) |
| (…) × n | Repeat instructions within parentheses n times |
| [Count] | Total stitch count at the end of the round |
Pattern Instructions
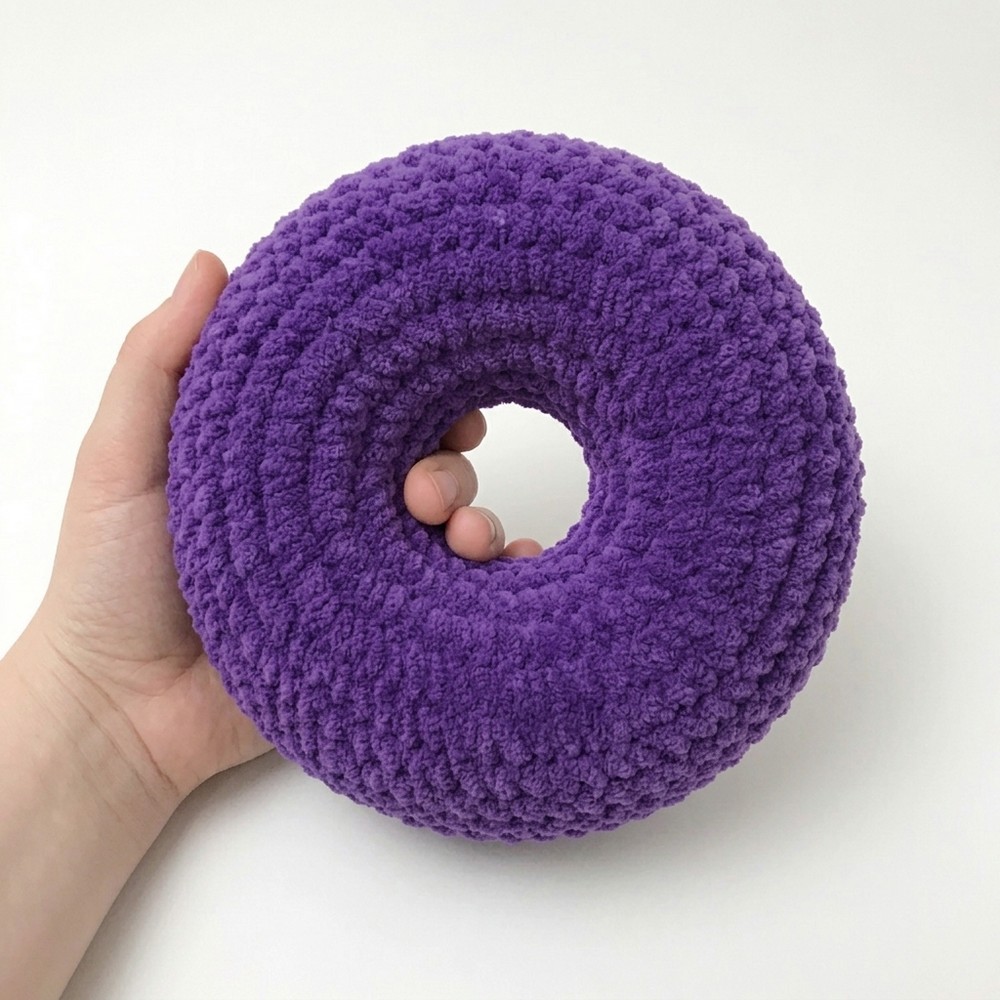
1. Donut Panels (Make 2 in Purple Super Bulky Yarn)
Yarn Tail Note:
For Panel 1, leave a long starting yarn tail (about 12 inches) before making your slip knot, and a long finishing tail (about 24 inches) for seaming.
For Panel 2, start and fasten off with standard-length tails.
Initial Chain: Slip knot, Ch 20. Form a ring by making 1 SC directly into the 1st chain made. (Be careful not to twist the ring. This first SC counts as st 1 of Round 1).
Round 1: (4 SC, Inc) × 4 [24 sts]
Round 2: (3 SC, Inc) × 6 [30 sts]
Round 3: (4 SC, Inc) × 6 [36 sts]
Round 4: (5 SC, Inc) × 6 [42 sts]
Round 5: (6 SC, Inc) × 6 [48 sts]
Rounds 6–8 (3 rounds): SC in each stitch around [48 sts]
Fasten off with a Sl st to the next stitch. Cut yarn.
2. Eye Base Patterns (In White Super Bulky Yarn)
Large Eyes (Make 4–5)
Round 1: Work 8 hdc into a MR [8 sts]
Round 2: Inc in each st around [16 sts]
Fasten off, leaving a long white tail for sewing. Insert a 15 mm safety eye through the center MR hole and attach the back washer securely.
Small Eyes (Make 8–10)
Round 1: Work 8 SC into a MR [8 sts]
Fasten off, leaving a long white tail for sewing. Insert a 10 mm safety eye through the center MR hole and attach the back washer securely.
3. Arms (Make 2 using Thin / Skinny Purple Plush Yarn)
Round 1: Work 5 SC into a MR [6 sts]
Rounds 2–15 (14 rounds): SC in each stitch around [6 sts]
Fasten off, leaving a tail for attachment.
4. Hands (Make 2 using Thin / Skinny Purple Plush Yarn)
Round 1: Work 6 SC into a MR [6 sts]. Do not join.
Round 2 (Creating Fingers):
Finger 1: Ch 3, Sl st in 2nd & 3rd Ch from hook, Sl st back into the 1st st of the magic ring.
Finger 2: Ch 3, Sl st in 2nd & 3rd Ch from hook, Sl st back into the 2nd st of the magic ring.
Finger 3: Ch 2, Sl st in 2nd & 3rd Ch from hook, Sl st back into the 3rd st of the magic ring.
Sl st into the 4th st of the ring.
Finger 4: Ch 2, Sl st in 2nd Ch from hook, Sl st back into the 5th st of the magic ring.
Fasten off, leaving an 8-inch yarn tail for sewing the hand to the arm.
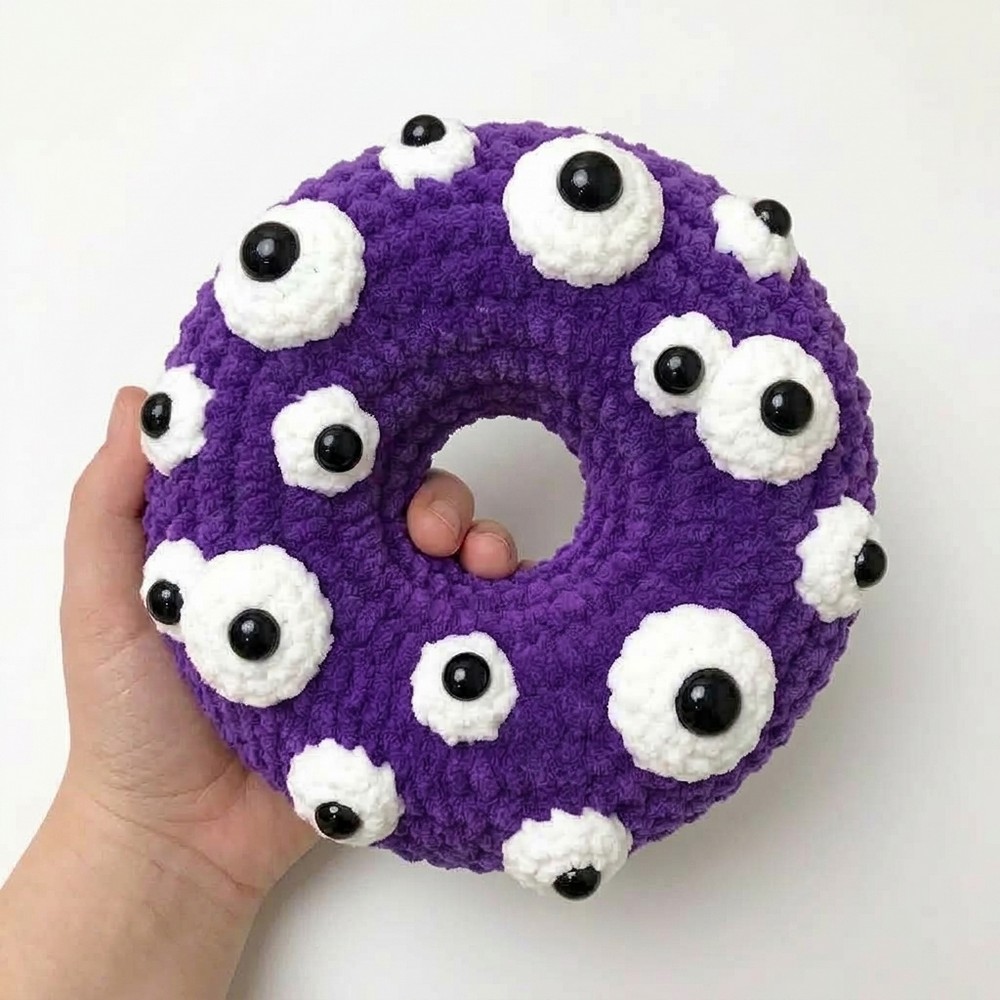
Step 1: Decorate the Front Panel
Position Eyes: Scatter the large and small white eye bases randomly across the face of one purple donut panel. Use a yarn needle and the white yarn tails to whipstitch each eye circle flat against the surface. Securely knot the ends inside.
Embroider Scars: Thread medium-weight white yarn onto your tapestry needle. Embroider 2 to 3 straight line “scars” across the front panel between the eyes. Add 3 to 4 small cross-stitches over each scar to look like suture stitches. Tie off tightly on the inside.
Step 2: Attach Hands to Arms
Thread the end tail of each Hand.
Align the base of the hand with the bottom end of an Arm I-cord/tube.
Stitch the base of the hand securely to the end of the arm, knot, and weave the remaining tail up into the arm.
Step 3: Sew Inner Ring
Place the front (decorated) panel and back panel together with wrong sides facing each other.
Thread the long starting tail from Panel 1’s center ring.
Whipstitch or mattress stitch the 20 inner chain loops of both panels together st-by-st. Knot and secure inside.
Step 4: Attach Arms & Sew Outer Perimeter
Thread the long 24-inch outer yarn tail from Panel 1.
Align the 48 stitches around the perimeter of both panels.
Position Arms: Place the open top end of each arm between the two panels at opposite sides (roughly 9 o’clock and 3 o’clock).
As you stitch around the perimeter, sew directly through the front panel, the top of the arm, and the back panel to lock the arms into the outer seam.
Stuffing: When about 3/4 of the outer seam is closed, firmly fill the donut ring with polyfill. Ensure the stuffing is evenly distributed around the ring.
Complete the remaining stitches around the outer edge, fasten off, weave in all yarn ends, and snip.
Share on Social Media!
See More:

Pattern Tester: How to Crochet Pumpkin Ridges Face Donut Ring Plushie for Fall
Pattern Tester: How to Crochet Orange, Yellow and White Donut Ring Plushie
Pattern Tester: How to Crochet Red Horn Ghost Ring Donut Pluhsie for Gifting

Featuring: How to Crochet A Plush Blushing Flying Mr. Soul Ghost Plushie for Halloween

How to Crochet Bunny Bat White Foldable Wings Amigurumi with Bow for Halloween
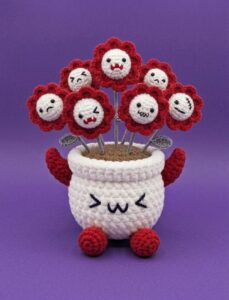
Tester Call: How to Crochet A Spooky Flowers Red Horns Potted Buddy Plushie for Halloween
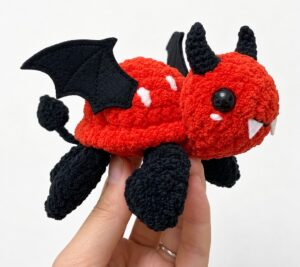
Tester Call: How to Crochet A Red & Black Spooky Turtle Plushie for Halloween
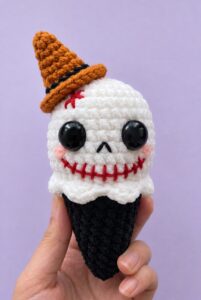
Tester Call: How to Crochet REALLY Spooky Witch Halloween Treat Plushie
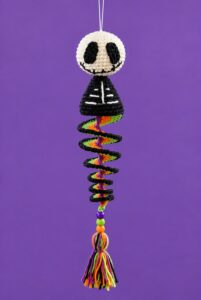
Featuring: How to Crochet the Skeleton Wind Spinner With Stripes of Halloween Colors