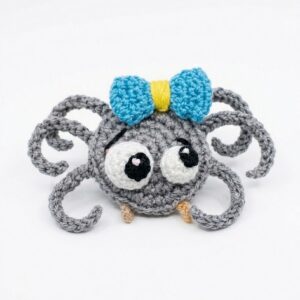
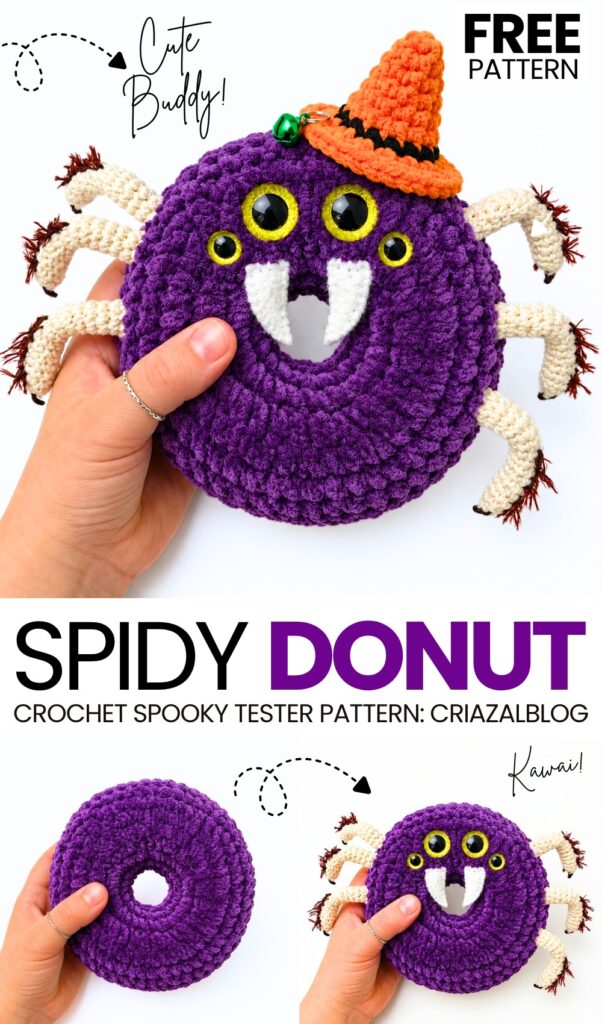
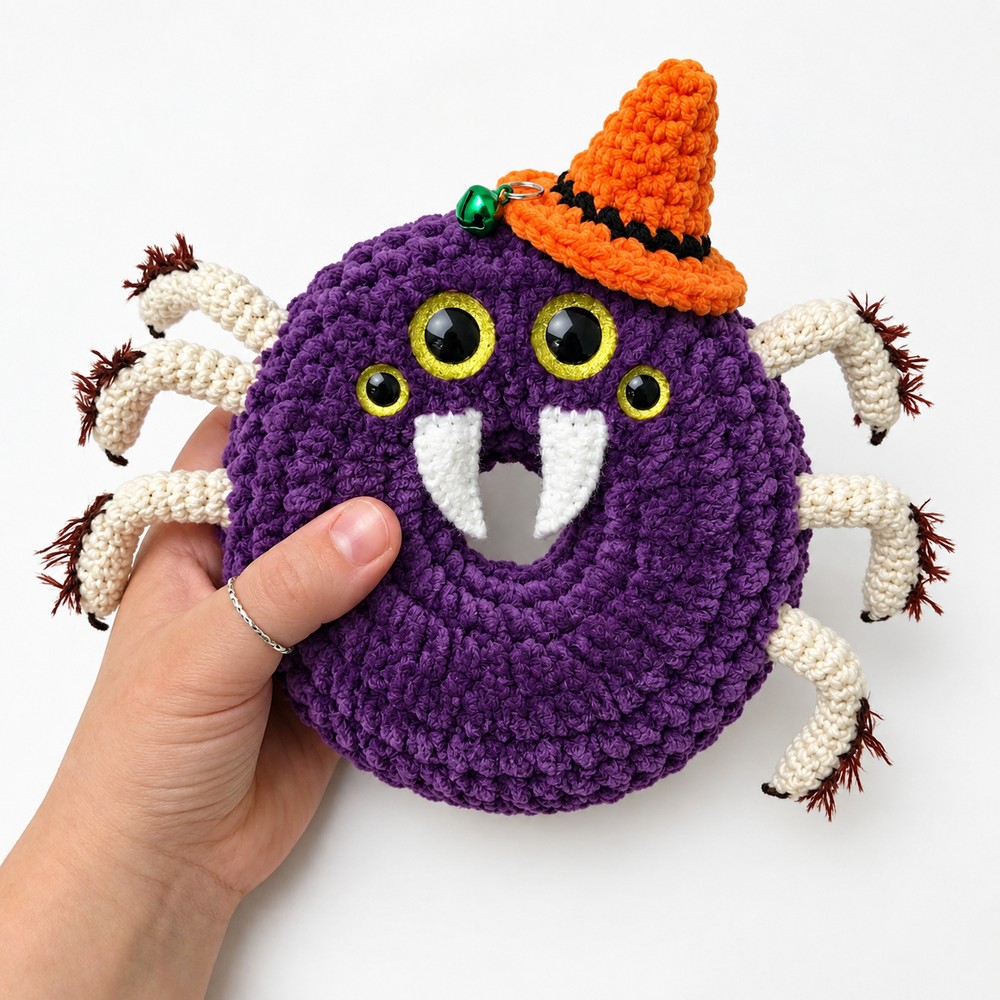
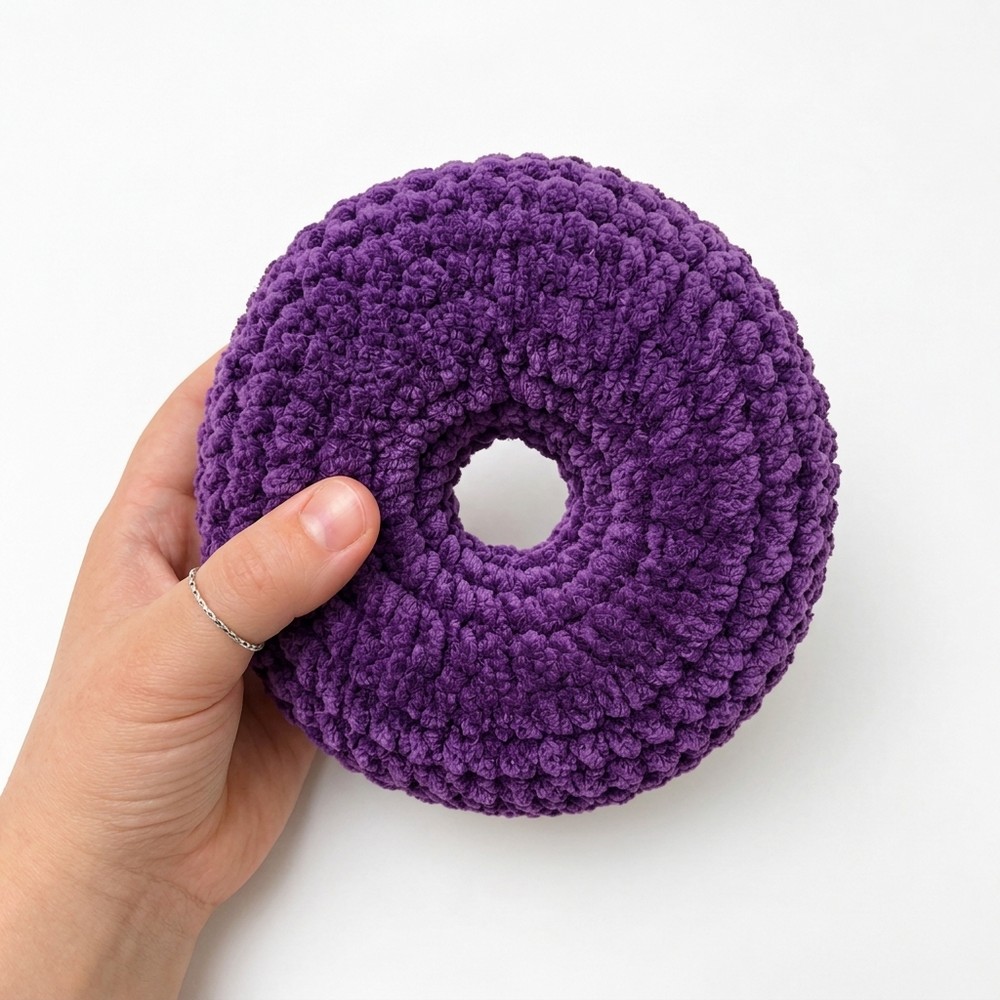
Today’s theme for my crochet anti-stress character doughnut plushie series is the SPIDER! It is one of the most CHERISHED spooky festival themes. So, I am sure you will all want to test this NEW design of a crochet spider in a witch hat donut ring plushie, following a FREE written pattern for absolute beginners. We are using the same crochet donut base as we are using for all members in this series.
So, all you have to learn as a NEW stitch is how to crochet the bendable 6 spider legs using DK yarn that also have the spider hairs.
Our crochet spider also has the felt fangs and 4 glitter eyes (2 sizes!). The witch hat is crocheted in purple that provides a NICE contrast. Anyway, continue reading for learning more about this crochet gift-ready plush donut!
[ez-toc]
Pattern to Crochet the Plush 6-Legged Spider Donut Plushie
Skill Level: Beginner – Level 4
Materials & Notions
Yarn
Super Bulky Chenille / Plush Yarn: Deep Purple (for top and bottom body panels)
DK Weight Yarn:
Cream / Off-White (for legs)
Pure White (for fangs)
Thin Plush / Sport / DK Yarn:
Bright Orange (for witch hat)
Black (for witch hat band)
Specialty / Scraps: Dark Brown eyelash or faux-fur yarn (for hairy leg tips). Or use a thinner thread in brown.
Hardware & Notions
Crochet Hooks:
4.25 mm (US G/6) for plush body
2.5 mm – 3.0 mm for DK yarn (legs, fangs, and hat)
Safety Eyes:
Two 16 mm Yellow/Black safety eyes
Two 10 mm Yellow/Black safety eyes
Leg Support: 18-gauge craft wire or chenille pipe cleaners (for poseable legs)
Optional Accent: 1 small green jingle bell & small metal jump ring
Standard Notions: Polyester fiberfill, tapestry yarn needle, stitch marker, scissors, wire cutters (if using craft wire).
Abbreviations (US Terms)
| Abbreviation | Meaning |
| Ch | Chain |
| SC | Single Crochet |
| HDC | Half Double Crochet |
| DC | Double Crochet |
| Tr | Treble (Triple) Crochet |
| Inc | Increase (2 SC in the same st) |
| Dec | Decrease (SC 2 together) |
| Sl st | Slip Stitch |
| St(s) | Stitch(es) |
| MR | Magic Ring |
| (…) x n | Repeat instructions in parentheses n times |
| [Count] | Total stitch count at the end of the round |
1. Donut Body Panels (Make 2)
Use 4.25 mm hook and Deep Purple Plush Yarn.
Yarn Tail Note: On Panel 1, leave a 12-inch starting tail before the initial slip knot and a 24-inch tail at the end for seaming. On Panel 2, standard short tails are fine.
Initial Chain: Slip knot, Ch 20. Form a ring by making 1 SC directly into the 1st chain made (ensure ring is not twisted; this SC counts as stitch 1 of Round 1).
Round 1: (4 SC, Inc) × 4 [24 sts]
Round 2: (3 SC, Inc) × 6 [30 sts]
Round 3: (4 SC, Inc) × 6 [36 sts]
Round 4: (5 SC, Inc) × 6 [42 sts]
Round 5: (6 SC, Inc) × 6 [48 sts]
Rounds 6–8 (3 rounds): SC in each stitch around [48 sts]
Fasten off with a Sl st to the next stitch. Cut yarn.
2. Spider Legs (Make 8)
Use 2.75 mm – 3.0 mm hook and Cream/Off-White DK Yarn.
Round 1: MR, 6 SC [6 sts]
Rounds 2–18 (17 rounds): SC in each st around [6 sts]
Fasten off, leaving an 8-inch tail for sewing.
Furry Leg Tips:
Join dark brown eyelash or fur yarn to the tip (Rounds 1–3) of each leg. Work 4–6 short surface stitches or embroidery loops around the tip to give each foot a hairy look and then cut the loops.
Internal Wiring / Shaping:
Wire Method: Cut four 10-inch pieces of craft wire or pipe cleaners. Bend both ends over to prevent sharp edges. Fold each wire into a long U-shape and slide one leg onto each end. Curve each leg outward into an inverted “L” or arch shape.
Needle-Sculpting Method (No Wire): Thread a tapestry needle with cream yarn, insert at the base of the desired bend (around Round 12), bring it out 3 rounds higher, pull tight to pinch the elbow into an arch, knot securely, and hide the thread inside.
3. Fangs (Make 2)
Use 2.5 mm – 3.0 mm hook and White DK Yarn.
Row 1: Ch 5. Starting in the 2nd chain from hook: 1 Sl st, 1 SC, 1 HDC, 1 DC [4 sts]
Fasten off, leaving a 6-inch tail for attachment.
4. Mini Witch Hat
Use 2.5 mm – 3.0 mm hook, Orange & Black Thin Plush / DK Yarn.
Round 1 (Orange): MR, 4 SC, sl st to join [4 sts]
Round 2: Ch 1, (1 SC, Inc) × 2, sl st to join [6 sts]
Round 3: Ch 1, (2 SC, Inc) × 2, sl st to join [8 sts]
Round 4: Ch 1, (3 SC, Inc) × 2, sl st to join [10 sts]
Round 5: Ch 1, (4 SC, Inc) × 2, sl st to join [12 sts]
Round 6: Ch 1, (5 SC, Inc) × 2, sl st to join [14 sts]
Round 7 (Switch to Black): Ch 1, 14 SC around, sl st to join [14 sts]
Round 8 (Switch to Orange): Ch 1, Inc with HDC in every stitch (2 HDC in each st), sl st around the brim [28 sts]
Fasten off, leaving a long tail for sewing. Lightly stuff the cone with fiberfill.
Step 1: Face & Details Setup
Work entirely on the Top Purple Panel before joining the two halves:
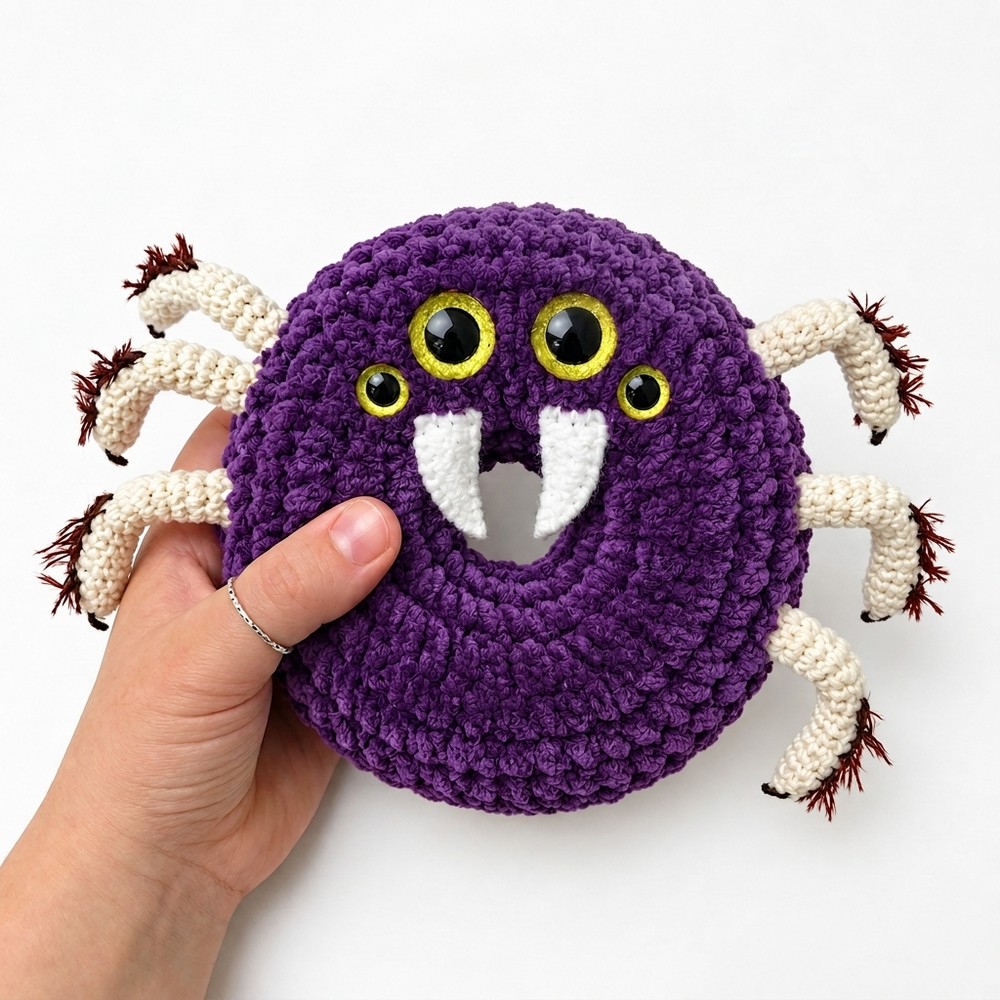
Safety Eyes: Position all 4 eyes above the central hole on the top half of the panel.
Place the two 16 mm eyes side-by-side in the center.
Place the two 12 mm eyes directly on the outer sides of the larger eyes, angled slightly downward to form an arch. Secure backings tightly.
Fangs: Position the two fangs on the inner edge of the central opening directly below the eyes. Sew the top flat edges to the inner chain edge so the pointed tips hang down into the center hole.
Step 2: Inner Ring Join
Place the top panel and bottom panel together with wrong sides facing each other.
Thread the long starting tail from the inner ring onto a yarn needle.
Whipstitch or mattress stitch the inner chain loops (20 sts) of both panels together st-by-st all the way around. Knot securely on the inside.
Step 3: Leg & Outer Edge Assembly
Align the 48 outer stitches of both purple panels.
Group the legs into two sets of 4 (4 for the left side, 4 for the right side).
Thread the long outer purple tail onto your needle and begin whipstitching the outer loops together.
Insert the open base of each leg into the outer seam as you sew:
Right Side: Insert 4 legs spaced about 2 stitches apart along the right mid-section of the donut body.
Left Side: Insert 4 legs spaced about 2 stitches apart along the left mid-section.
Catch both the donut panel loops AND the open stitches of the leg base in your seam stitches to anchor them firmly.
Step 4: Stuffing & Sealing
When about 3/4 of the outer edge is joined, firmly stuff the body ring with polyfill.
Ensure stuffing is distributed evenly around the ring without overstretching the stitches.
Finish whipstitching the edge closed, weave in the yarn end, and snip.
Step 5: Hat & Bell Attachment
Position the mini witch hat on top of the donut, angled toward the upper-right corner.
Sew the brim securely to the top purple panel using the orange yarn tail.
Attach a small green jingle bell using a jump ring directly to the purple panel right next to the left side of the hat base.
See More:
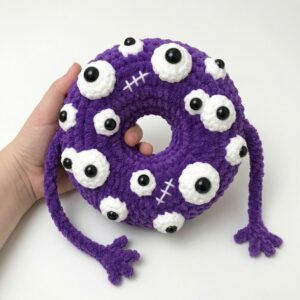
Pattern Tester: How to Crochet Eyes Donut Ring Plushie with Long Arms

Pattern Tester: How to Crochet Pumpkin Ridges Face Donut Ring Plushie for Fall
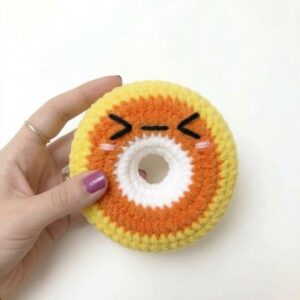
Pattern Tester: How to Crochet Orange, Yellow and White Donut Ring Plushie
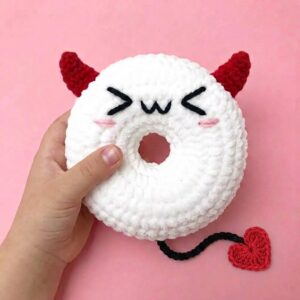
Pattern Tester: How to Crochet Red Horn Ghost Ring Donut Pluhsie for Gifting
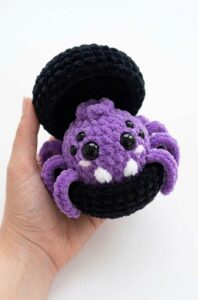
Tester Pattern: How to Crochet Spider in Black Food Box Plush for Gifting
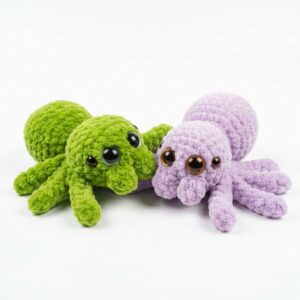
Featuring: Crochet 8-Legged & Four-Eyed Spider Plushie for Halloween