


Looking for an ultimate guide to crochet a decor & gift-ready pumpkin? Learn how to crochet a PERFECT pumpkin amigurumi with this FREE written pattern and a tutorial for beginners as well. Decorate for fall, Thanksgiving, or Halloween (with a modified version) with this crochet stuffed pumpkin pattern.
Crocheting this fall pumpkin amigurumi is not messier at all, as it is worked in rounds as a single piece, unlike the ribbed pumpkin from a rectangular pattern. There is also a curling vine along with the stalk.
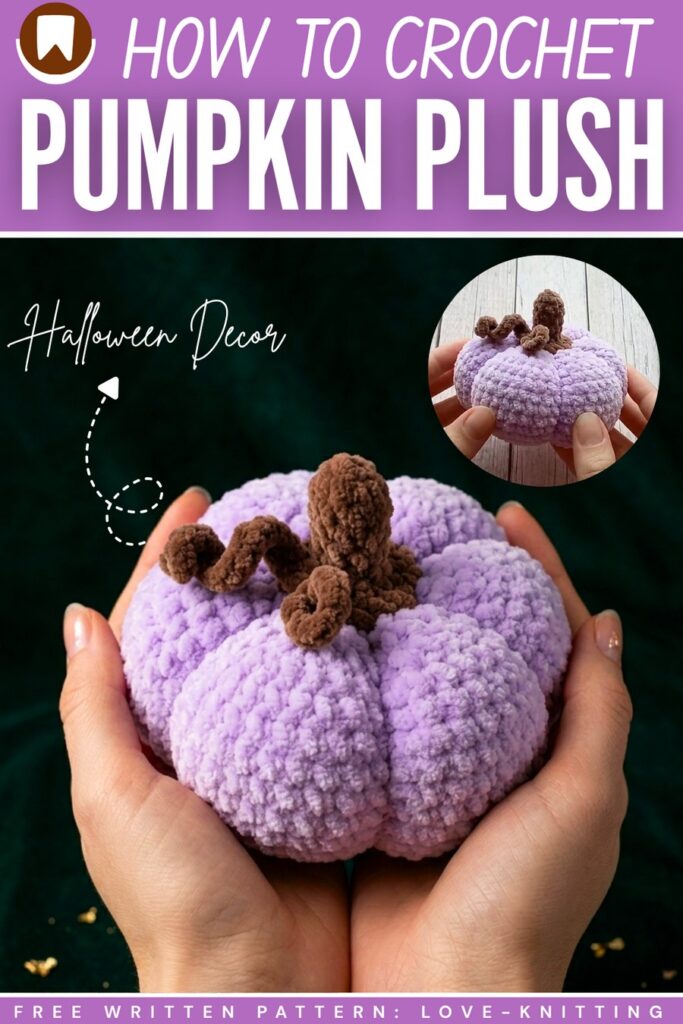
To make the pumpkin ridges, we shall use the traditional yarn-wrapping method. Crochet this pumpkin amigurumi in traditional orange, light for a farmhouse look, or even in green; it is the ultimate crochet pumpkin pattern. You can also make a plush version of this amigurumi pumpkin. Anyway, continue reading for the full pattern.
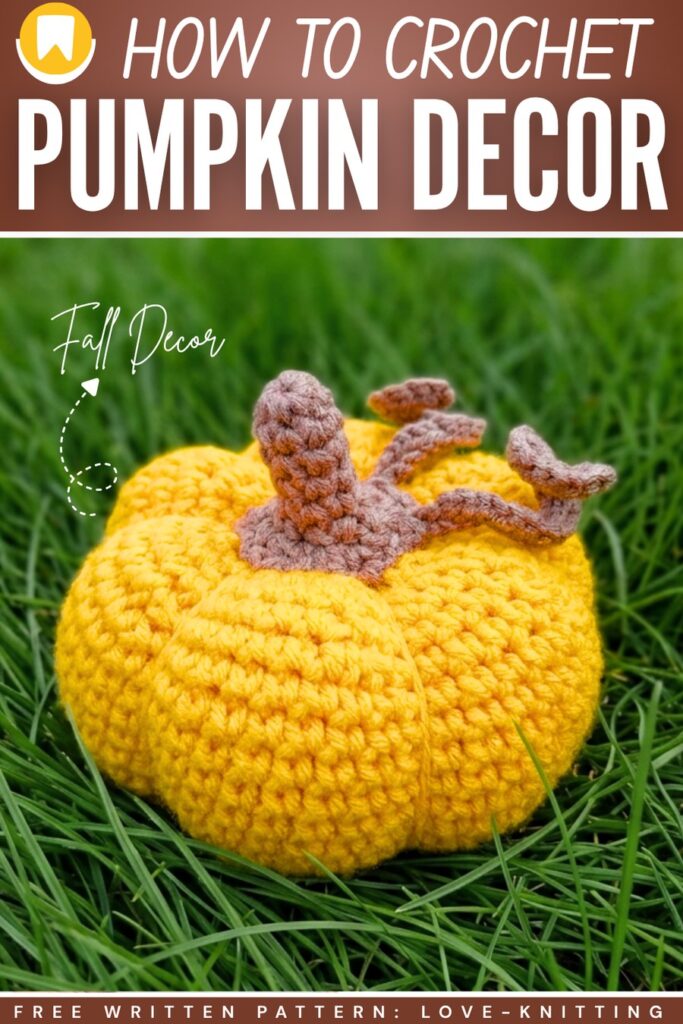
How to Crochet an Amigurumi Pumpkin with Curly Vine
This crochet pumpkin is a quick decor project! Crocheted from the bottom up in continuous rounds, you create a simple sphere that gets stuffed and then shaped with yarn tied vertically around the outside to create those classic pumpkin ridges.
The stem is worked separately using brown yarn and features adorable little curling vines that twist naturally by placing two slip stitches into every chain. It’s a wonderful, versatile design that you can easily size up or down simply by adding or removing increase and decrease rows.
Abbreviations (US Terms)
- ch = chain
- sc = single crochet
- sl st = slip stitch
- inc = increase (2 sc in one stitch)
- dec = decrease (sc 2 together)
- st(s) = stitch(es)
- MR = magic ring
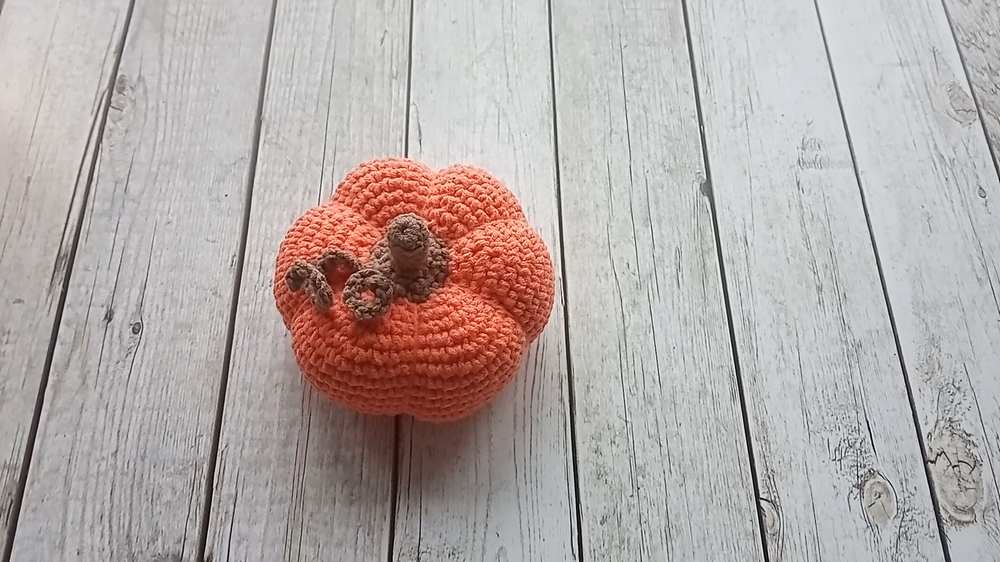
Materials Needed
- Yarn: Cotton/polyacrylic blend yarn (or your favorite yarn) in Yellow/Orange for the pumpkin and Brown for the stem. (The creator uses a 50g/160m weight yarn).
- Hooks: 2.0 mm hook for the main pumpkin and stem base, and a 1.5 mm hook for the curled vines.
- Extras: Hollowfiber or toy stuffing, scissors, stitch markers, and a long tapestry needle for shaping.
Are you a Beginner?
If you can’t follow the written pattern, continue with the tutorial or the pattern below!
Share On Social Media!
See More:

Crochet CUTEST Guest-Welcoming BOO Ghost with Bow, Hat and Pumpkin Accessories

Tester Call: How to Crochet A Candy Corn, Pumpkin & Kawii Buddy Potted Plant Plushie

Featuring: How to Crochet the Smallest Pumpkin Fall Turtle Plushie with Orange & Parrot

Pattern Tester: How to Crochet Pumpkin Ridges Face Donut Ring Plushie for Fall

How to Crochet An Amigurumi Long-Legged Kawaii Pumpkin in Shoes Buddy

How to Granny Square with Pumpkin Applique in the Middle

Tester Pattern: To Crochet Pumpkin Hello Kitty Plushie with Big Paws Buddy

Featuring: How to Crochet Tiered Unusual Texture Pumpkin Decoration (3 Sizes)

Tester Pattern: To Crochet A Grizzly Bear Presenting You A Pumpkin Plushie
