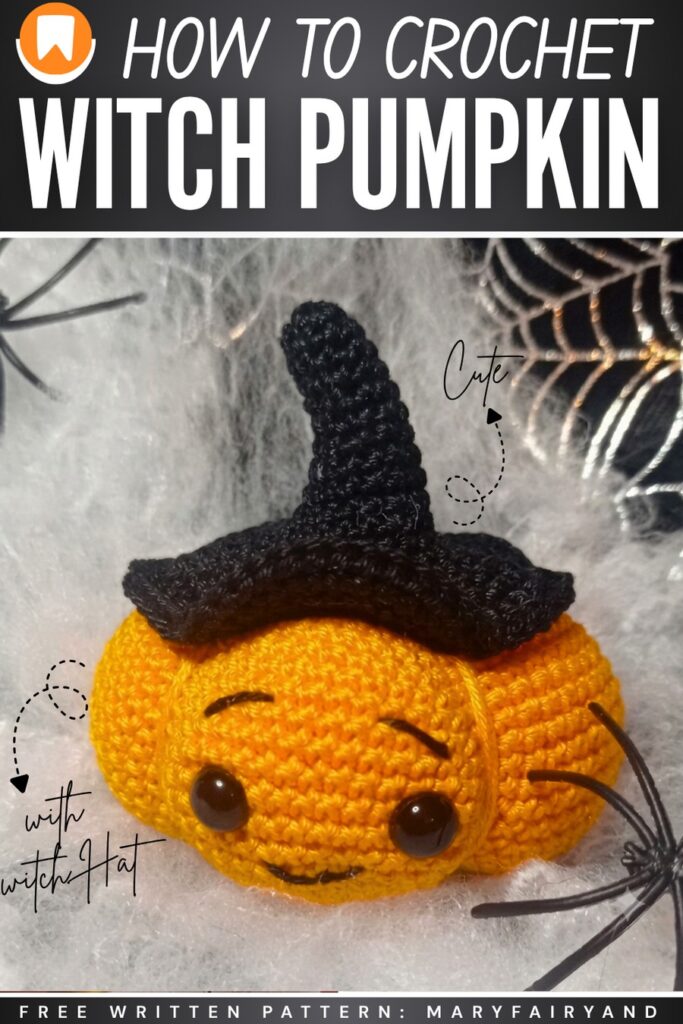
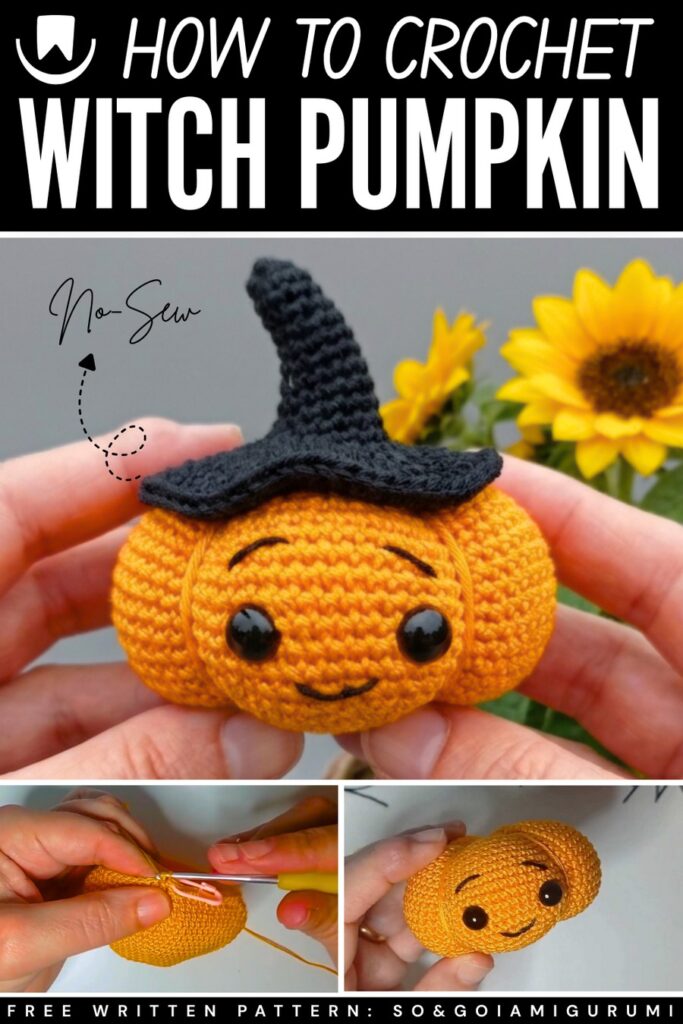
For the Halloween decoration of this year and to make an irresistible present for kids, learn how to crochet this smiling pumpkin amigurumi wearing a ruffled witch hat. Unlike the ribbed fall pumpkin and similar to the crochet pumpkin cat, this is worked in the rounds, which makes it no-sew. Present this Halloween table to welcome the guests, and they will LOVE its cuteness.
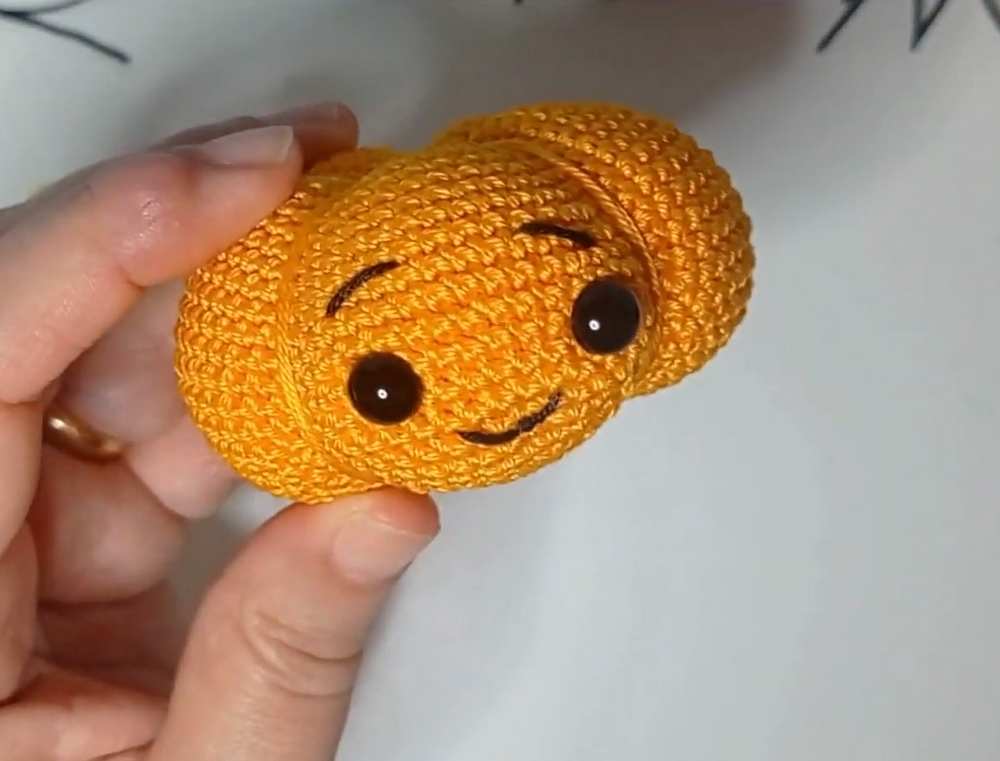
This crochet pumpkin also has eyebrows, black safety bead eyes, and the CUTEST smile. It is perfect for beginners, as we shall only crochet a sphere and then use the thread to make the pumpkin ridges after stuffing. This crochet pumpkin amigurumi method is the best. So, continue reading for the full crochet pumpkin amigurumi pattern.
[ez-toc]
How to Crochet Smiling Pumpkin Amigurumi for Halloween
Below is the full pattern to crochet this lovely pumpkin amigurumi with a smile and plastic eyes:
Abbreviations Used
The following are the abbreviations you have to understand the meaning of for crocheting this pumpkin amigurumi:
- dec: Decrease (single crochet two stitches together)
- inc: Increase (work two single crochet stitches into the same stitch)
- Rnd(s): Round(s)
- sc: Single crochet
- st(s): Stitch(es)
- [ ] × x: Repeat the sequence brackets inside the brackets the specified number of x times
Supplies Needed
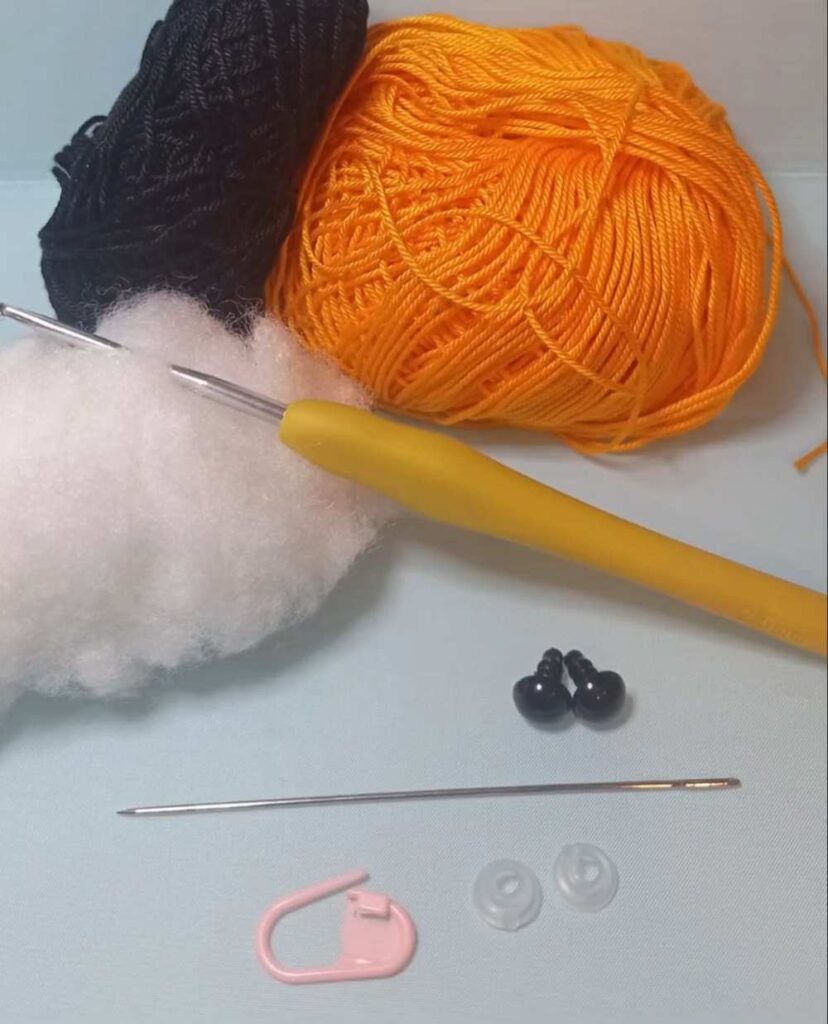
The following are the materials and tools needed for crocheting this pumpkin amigurumi:
- 100% Cotton yarn, such as the Milk Cotton yarn
- Colors: Orange, black, purple, and green.
- Crochet hook no. 2.50 mm
- Needle, stitch marker, stuffing.
- 8.00 mm eyes.
Pumpkin Body
Using Orange Yarn.
- Rnd 1: 5 sc in Magic Ring (5)
- Rnd 2: 5 inc (10)
- Rnd 3: [1 sc, inc] × 5 (15)
- Rnd 4: 1 sc, inc, [2 sc, inc] × 4, 1 sc (20)
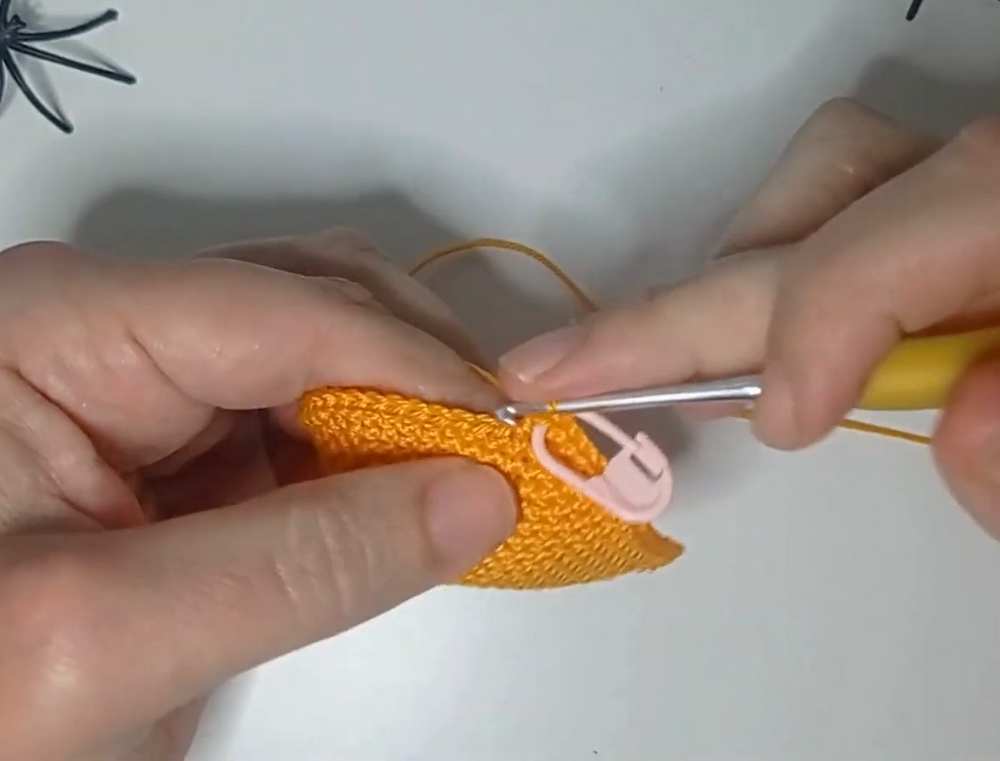
- Rnd 5: [3 sc, inc] × 5 (25)
- Rnd 6: 2 sc, inc, [4 sc, inc] × 4, 2 sc (30)
- Rnd 7: [5 sc, inc] × 5 (35)
- Rnd 8: 3 sc, inc, [6 sc, inc] × 4, 3 sc (40)
- Rnd 9: [7 sc, inc] × 5 (45)
- Rnd 10: 4 sc, inc, [8 sc, inc] × 4, 4 sc (50)
- Rnd 11: [9 sc, inc] × 5 (55)
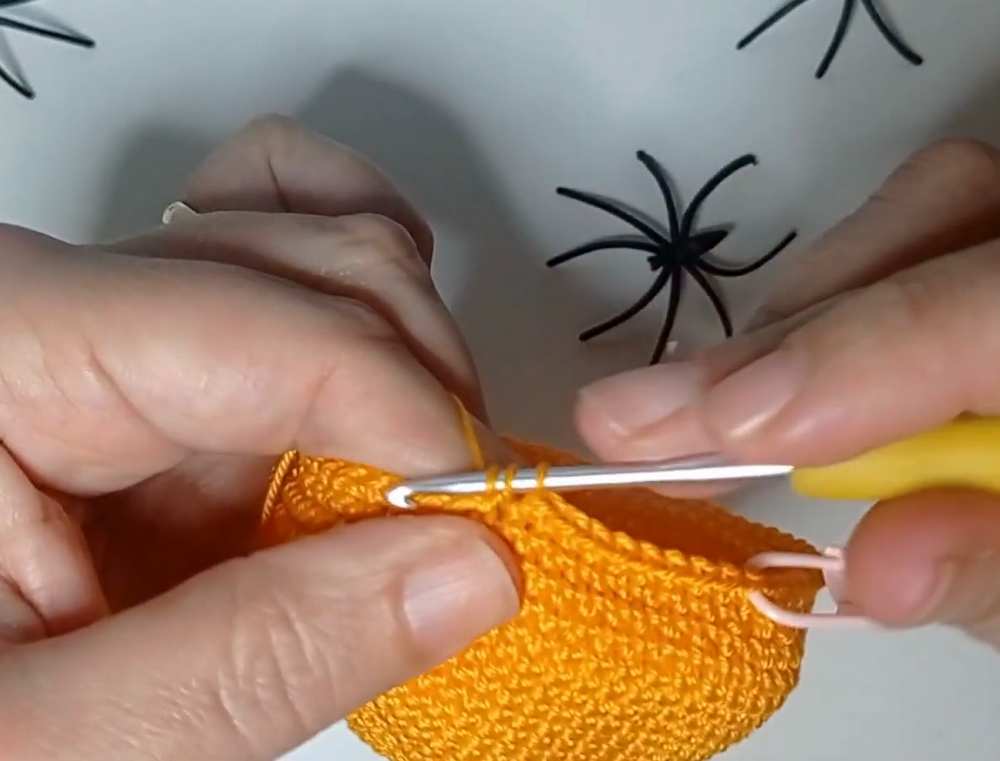
- Rnd 12: 5 sc, inc, [10 sc, inc] × 4, 5 sc (60)
- Rnd 13: [11 sc, inc] × 5 (65)
- Rnd 14: 6 sc, inc, [12 sc, inc] × 4, 6 sc (70)
- Rnd 15–20: sc in each st around (70)
Are you a Beginner?
In case you can’t follow the written pattern, continue with the following tutorial or the written pattern below!
Eye Placement: Insert safety eyes between Rounds 17 and 18,
leaving a distance of 8 sc between them.
- Rnd 21: 6 sc, dec, [12 sc, dec] × 4, 6 sc (65)
- Rnd 22: [11 sc, dec] × 5 (60)
- Rnd 23: 5 sc, dec, [10 sc, dec] × 4, 5 sc (55)
- Rnd 24: [9 sc, dec] × 5 (50)
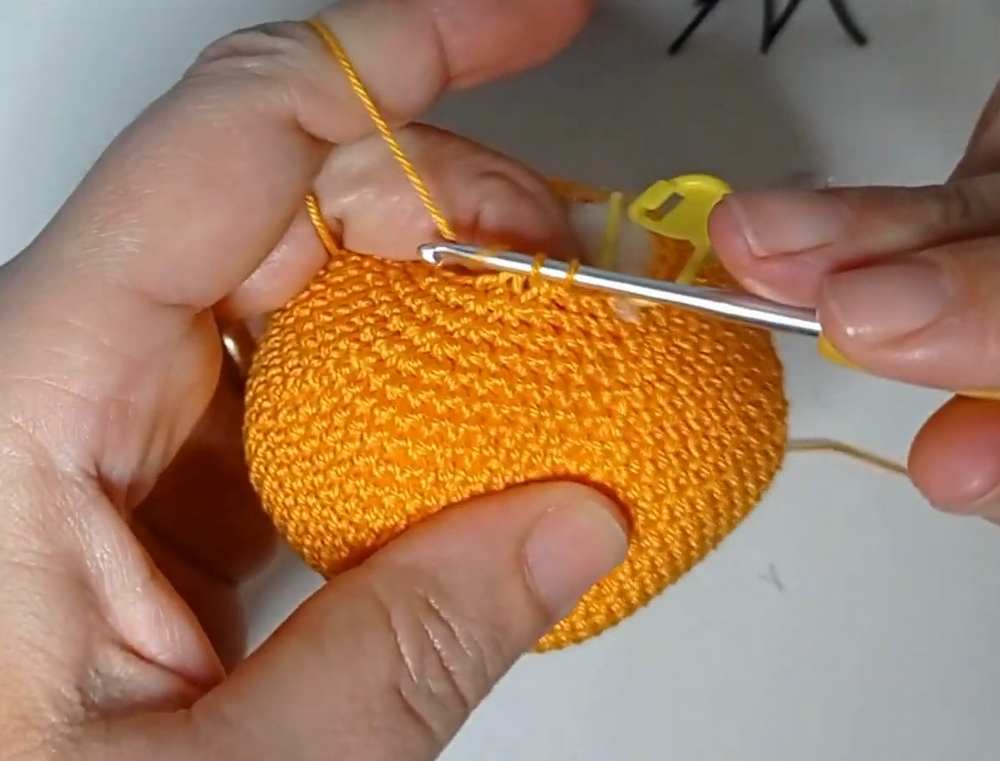
- Rnd 25: 4 sc, dec, [8 sc, dec] × 4, 4 sc (45)
- Rnd 26: [7 sc, dec] × 5 (40)
- Rnd 27: 3 sc, dec, [6 sc, dec] × 4, 3 sc (35)
- Rnd 28: [5 sc, dec] × 5 (30)
- Rnd 29: 2 sc, dec, [4 sc, dec] × 4, 2 sc (25)
- Stuff the piece firmly with fiberfill at this point.
- Rnd 30: [3 sc, dec] × 5 (20)
- Rnd 31: 1 sc, dec, [2 sc, dec] × 4, 1 sc (15)
- Rnd 32: [1 sc, dec] × 5 (10)
Fasten off, leaving an exceptionally long thread for sculpting.
Sculpting the Pumpkin Segments
- Thread your long tail onto a yarn needle.
- Pass the thread vertically from the bottom center, opening up through the top center opening.
- Wrap the thread around the outside of the body, alignment-guided by the visible valleys formed by your increases/decreases.
- Pull tightly to indent the surface and create 5 clean pumpkin segments. Repeat this path for all 5 lines, securing tightly at the base when finished.
Witch Hat
Using Black Yarn.
- Rnd 1: 7 sc in Magic Ring (7)
- Rnd 2: sc in each st around (7)
- Rnd 3: 6 sc, inc (8)
- Rnd 4: 7 sc, inc (9)
- Rnd 5: 8 sc, inc (10)
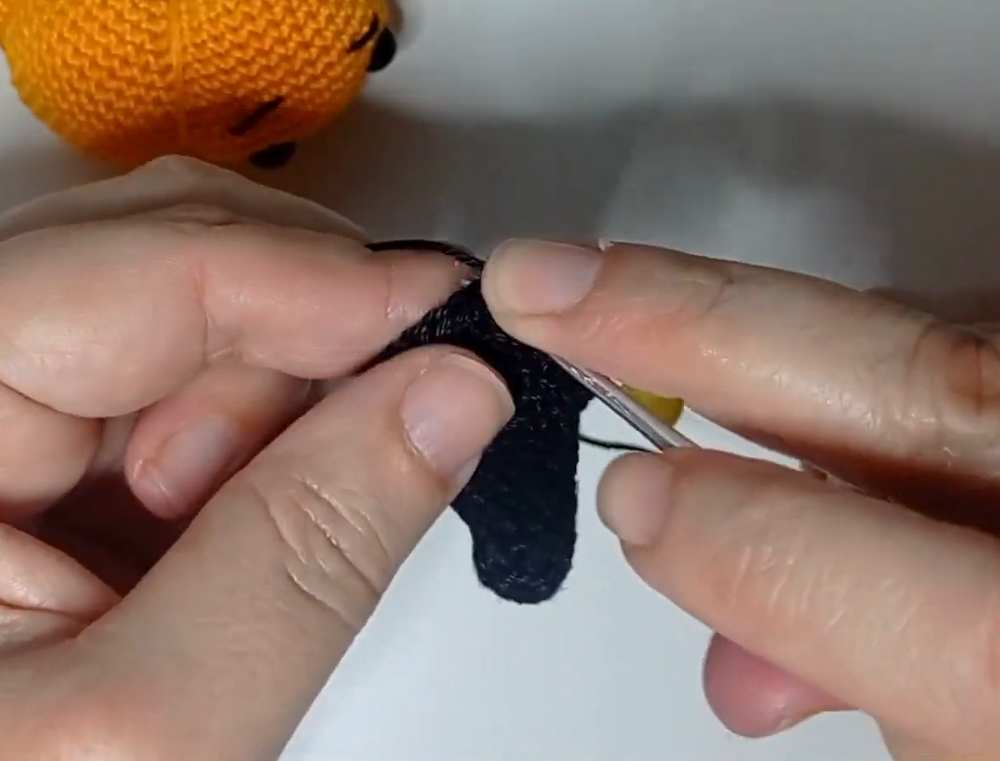
- Rnd 6: 9 sc, inc (11)
- Rnd 7: 10 sc, inc (12)
- Rnd 8: [5 sc, inc] × 2 (14)
- Rnd 9: 13 sc, inc (15)
- Rnd 10: [7 sc, inc] × 1, 7 sc (17)
- Rnd 11: 16 sc, inc (18)
- Rnd 12: [8 sc, inc] × 2 (20)
- Rnd 13: 19 sc, inc (21)
- Rnd 14: [2 sc, inc] × 7 (28)
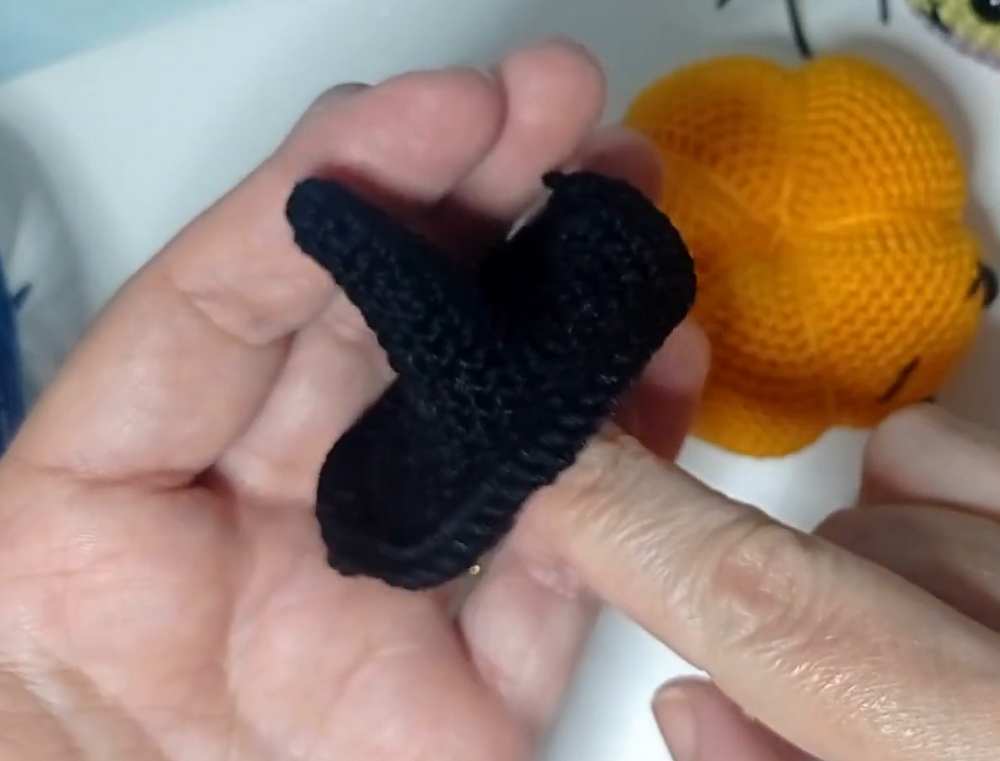
- Rnd 15: [3 sc, inc] × 7 (35)
- Rnd 16: 2 sc, inc, [4 sc, inc] × 6, 2 sc (42)
- Rnd 17: [1 sc, inc] × 21 (63)
- Rnd 18: sc in each st around (63)
Share on Social Media
See More:

Crochet CUTEST Guest-Welcoming BOO Ghost with Bow, Hat and Pumpkin Accessories

Tester Call: How to Crochet A Candy Corn, Pumpkin & Kawii Buddy Potted Plant Plushie

Featuring: How to Crochet the Smallest Pumpkin Fall Turtle Plushie with Orange & Parrot

Pattern Tester: How to Crochet Pumpkin Ridges Face Donut Ring Plushie for Fall

How to Crochet An Amigurumi Long-Legged Kawaii Pumpkin in Shoes Buddy

How to Granny Square with Pumpkin Applique in the Middle

Tester Pattern: To Crochet Pumpkin Hello Kitty Plushie with Big Paws Buddy

Featuring: How to Crochet Tiered Unusual Texture Pumpkin Decoration (3 Sizes)

Tester Pattern: To Crochet A Grizzly Bear Presenting You A Pumpkin Plushie
![[PDF Pattern] Crochet A Plush Autumn Acorn-Lover Plushie for Fall](https://criazalblog.com/wp-content/uploads/2026/09/crochet-squirrel-2-225x300.jpg)