Author: Talha
I am a crochet designer, macramé maker and a crafter who also loves doing MATH.

Sponsor: Tata Crochet
Tata is our dear affiliate partner and a SUPER-Human crochet designer.
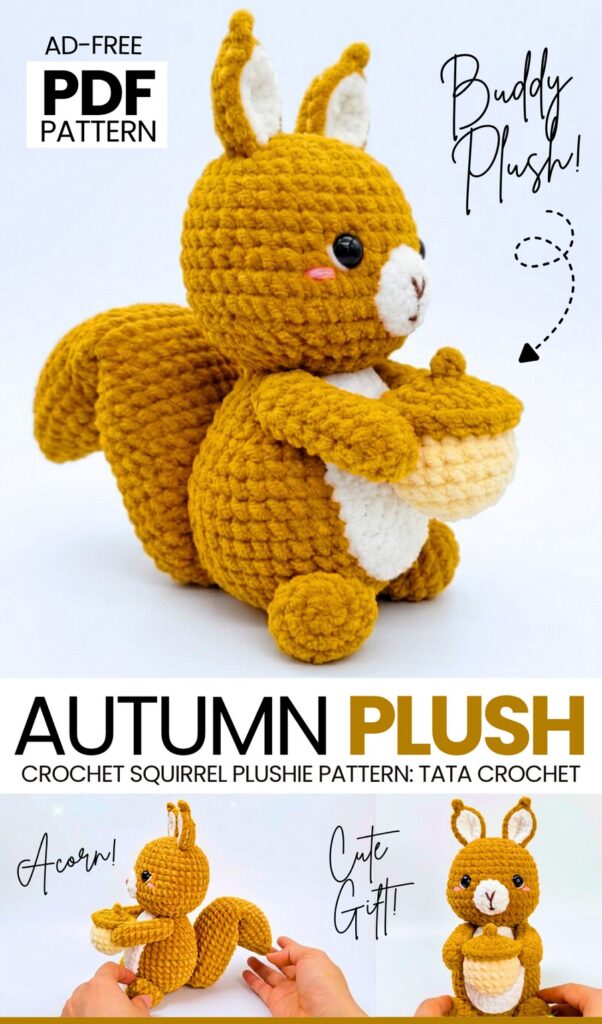
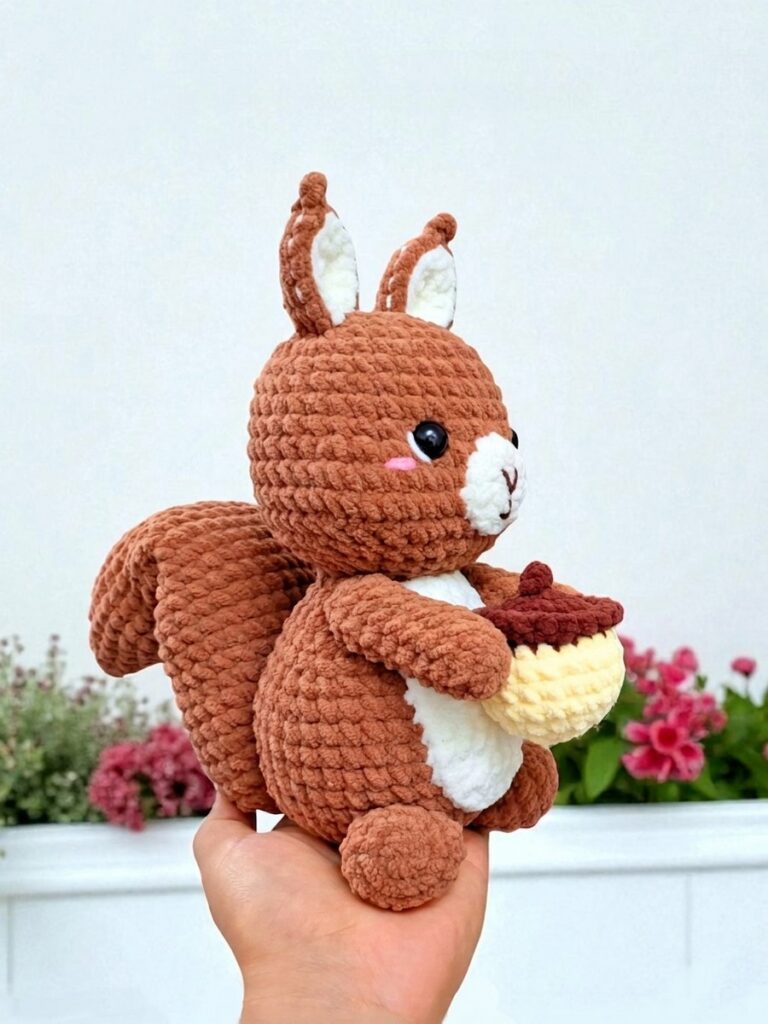
Today, learn how to crochet a cute little squirrel plushie holding an acorn amigurumi, following an ad-free pattern and a tutorial as well. This makes a perfect gift for autumn and a crochet sitting buddy plushie for your table. Sits upright without support, has cute blush on the cheeks, and a long, curled crochet tail that is also stuffed. This is the only crochet buddy you need for this fall.

$3.99 $3.59 – Special Discount Applied for You with TAHAOFF10
Get the Pattern for Just $3.79 →
Materials
Plush/chenille yarn (light brown, dark brown, off-white/cream)
Pink yarn (for embroidered cheeks) and thin dark brown/black thread (for nose and mouth)
4.50 mm crochet hook
12 mm safety eyes
Fiberfill stuffing
Yarn needle & sewing pins
Scissors
Hot glue gun (optional, for temporary placement)
This pattern shows how to crochet a plush squirrel holding an acorn. First, you crochet the head and insert safety eyes. Next, you crochet the body, arms, legs, and a large curved tail. Then, you make two-toned ears, an embroidered muzzle patch, and a belly patch. After that, you crochet a two-toned acorn.
You stuff the pieces with fiberfill as you work. Finally, you sew the head, limbs, ears, and patches onto the body, attach the tail to the back, embroider the face details, and sew the acorn into the squirrel’s hands.
Difficult Stitches Explained
1. Half Double Crochet Decrease (hdc-dec)
(Used on Round 31 of the tail to shape the curve)
Yarn over and insert your hook into the next stitch.
Yarn over and pull up a loop (3 loops on hook).
Yarn over and insert your hook into the following stitch.
Yarn over and pull up a loop (5 loops on hook).
Yarn over and pull through all 5 loops on your hook at once.
2. Chain 3-Picot
(Used at the tip of the ears to create a pointed tuft)
Work your stitches up to the ear tip.
Chain 3.
Insert your hook into the third chain from the hook (or the base of the first chain).
Yarn over and pull through both the stitch and the loop on your hook (slip stitch) to form a tiny sharp point.
Share on Social Media!