Show support for Gulnara!
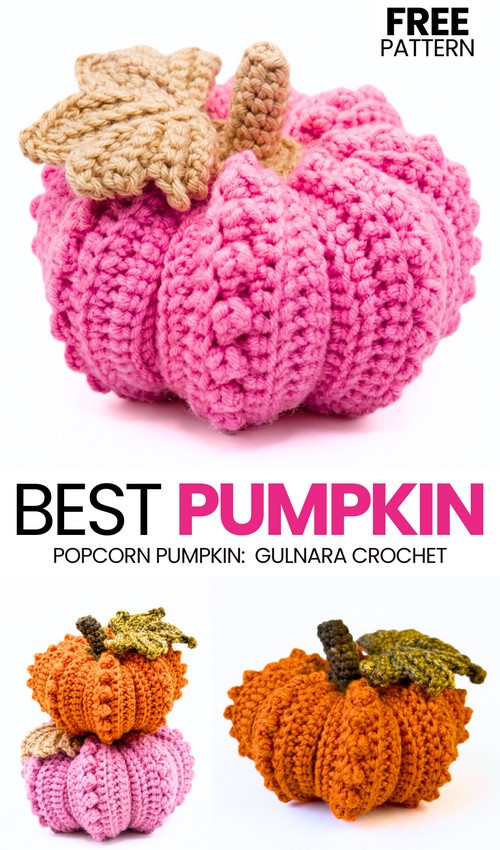
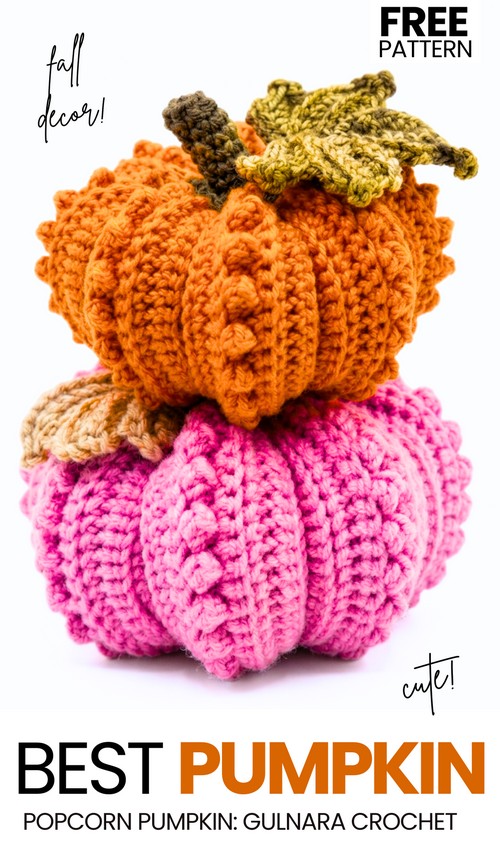
In today’s crochet “decorative pumpkin amigurumi” tutorial, learn how to crochet the most elegant fall-decoration pumpkin with UNIQUE color ideas! Introducing the crochet-popcorn-textured ribbed fall pumpkin that you can crochet with a Tunisian maple leaf, following the same written crochet pattern + a tutorial. The idea is to crochet alternating rows of popcorn stitch on the crochet rectangle (yes, this uses the same popular pumpkin from a rectangle method). Decorate the entryway or dining table, or use them as pincushions with these crochet pumpkins. You can crochet this in a big size in less than 45 minutes.
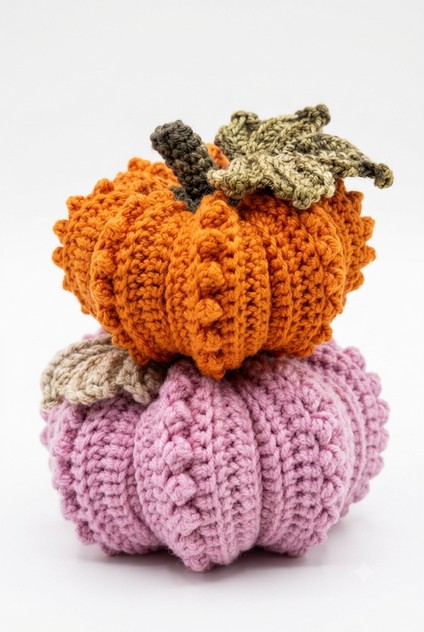
Be sure to crochet a pair in dull orange and dull pink (that color variation is a unique and irresistible gift idea). You can also make a tier of crochet pumpkins, including the aqua version, too. Crocheting this pumpkin would be as easy as crocheting the small ribbed fall pumpkin once you learn the popcorn stitch, and I will detail that below, too.
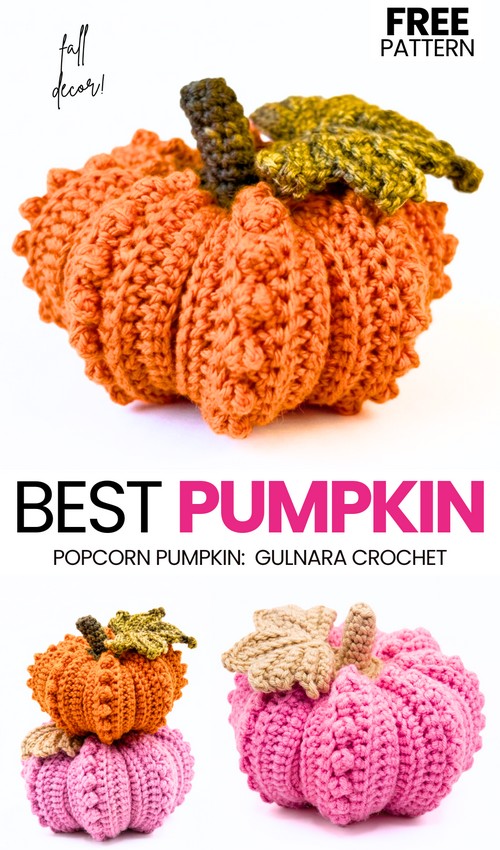
Since we are crocheting the popcorn stitch after every 7 rows, this crochet decorative pumpkin will work up fast and should be easier for beginners. But make sure you understand the stitch anatomy, including the Front Post, Back Post, and Back Loop. You can also attach a cinnamon stick stalk to it for a more rustic crochet pumpkin look. If you are looking for a bright crochet pumpkin, you can also choose the color combination recommended in the realistic crochet pumpkin amigurumi pattern. Continue reading for the popcorn stitch pumpkin pattern.
[ez-toc]
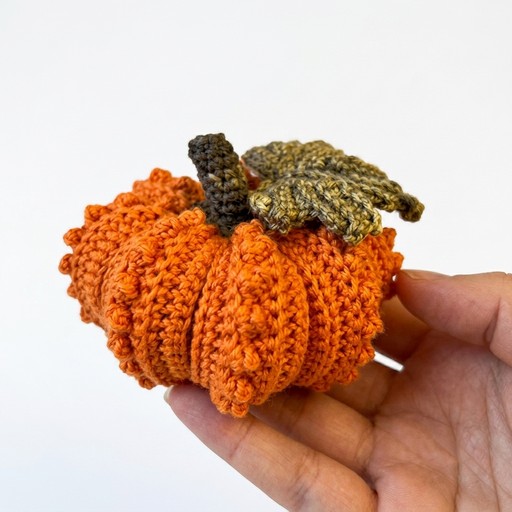
Pattern for Crocheting Textured Fall Decor Amigurumi
This project is for a crochet popcorn pumpkin. You will crochet in turning rows to create the pumpkin body. You use popcorn crochet to make the bumps on the pumpkin. After the rows are done, you sew the sides together and fill the pumpkin with stuffed fiberfill.
You tighten the top and bottom to make the round shape. You use the yarn to form lobes on the pumpkin. Finally, you crochet a tail and a leaf to sew onto the top.
Materials
Yarn: 2 colours (Orange/Pink and Brown/Green)
Hook: 2.5 mm
Tools: Scissors, sewing needle
Filling: Tuffed fiberfill
Abbreviations
st/sts: stitch/stitches
sl st: slip stitch
sc: single crochet
inc: increase (2 sc in one st)
pc: popcorn crochet
mr: magic ring
ch: chain
BL: back loop only
Are you a Beginner? Learn Crocheting Easily!
You can learn to crochet better with this crochet the pink pumpkin tutorial as a beginner:
Pumpkin Body Pattern
Note: Crochet in turning rows.
Start: Chain 28.
- Row 1: In 2nd loop after hook: 3 sl st; 21 sc; 3 sl st. Ch 1, turn.
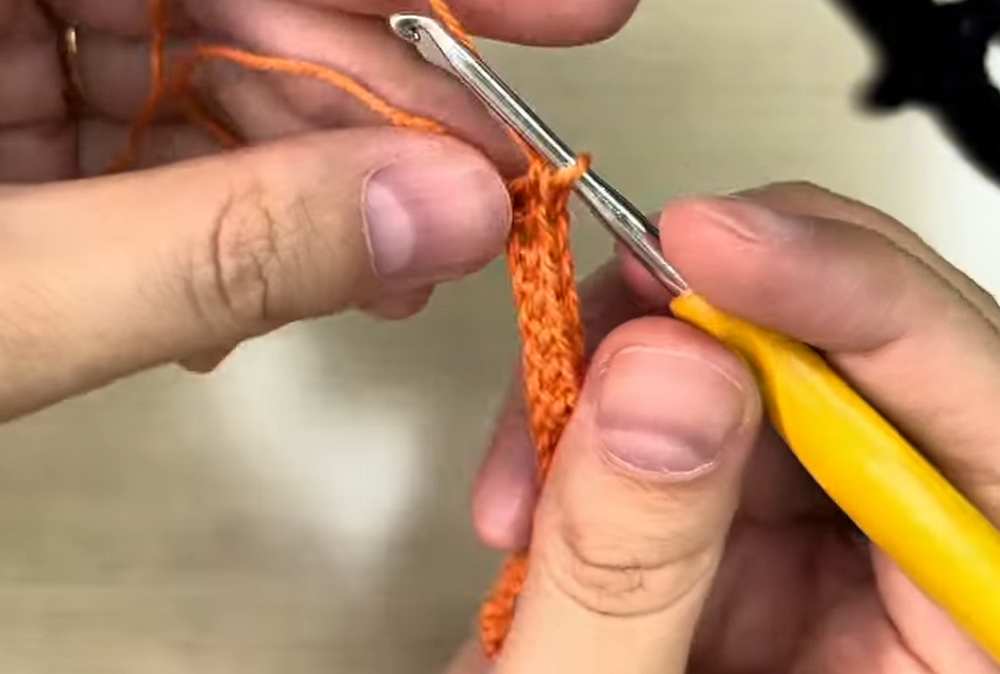
Row 2 (Popcorn Row): In 2nd loop after hook: (BL) 3 sl st; (1 sc; pc) x 10; 1 sc; 3 sl st. Ch 1, turn.
Row 3–9: In 2nd loop after hook: (BL) 3 sl st; 21 sc; 3 sl st. (Repeat for 7 rows).
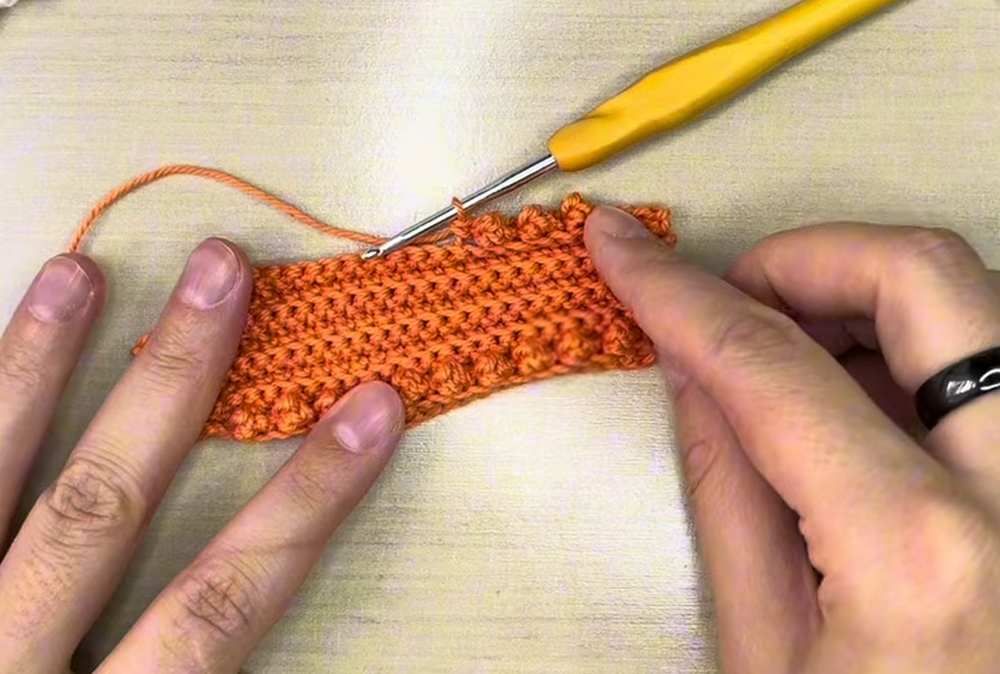
Row 10: Repeat Row 2.
Repeats: Repeat Rows 2–9 until the 64th row. Popcorn rows occur in rows 2, 10, 18, 26, 34, 42, 50, and 58.
End Rows: After the 58th row, crochet 6 rows of {3 sl st; 21 sc; 3 sl st}.
Assembly:
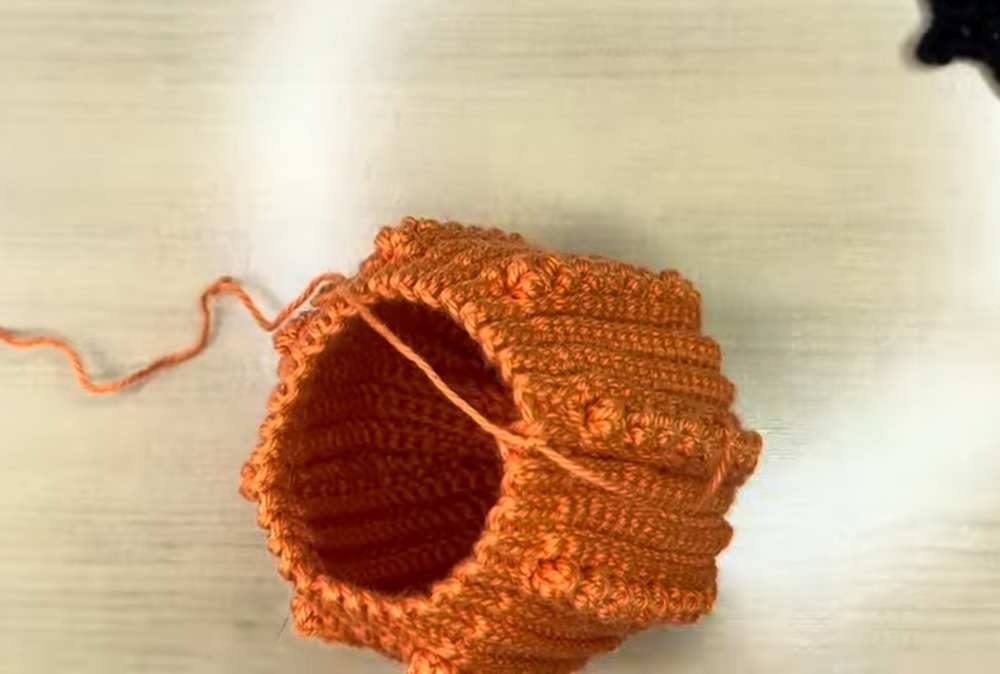
Sew the two sides together using 27 sl st.
Tighten the bottom edge of the pumpkin with a needle and yarn.
Fill the pumpkin with fiberfill.
Tighten the top edge.
Do not cut the yarn yet; use it to wrap around the outside of the pumpkin to form the lobes.
Close and cut the yarn.
To make a bigger pink pumpkin: Start with Chain 31. Popcorn rows: {3 sl st; (1 sc; pc) x 12; 3 sl st}. Sc rows: {3 sl st; 25 sc; 3 sl st}.
Tail (Stem) Pattern
Note: Crochet in the round.
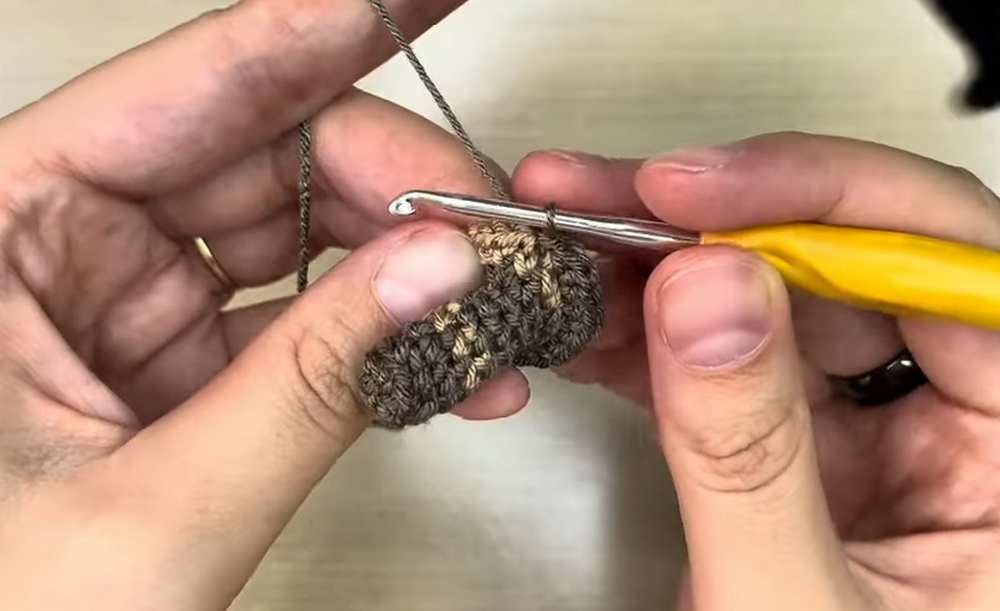
Row 1: 7 sc in mr.
Row 2: (BL) 7 sc.
Row 3–8: 7 sc.
Row 9: 7 inc (14 sc).
Row 10: (1 sc; 1 inc) x 7 (21 sc).
Finish: Sl st, leave a tail for sewing, and cut the yarn.
Assembly: Sew the tail to the top center of the pumpkin.
Leaf Pattern
Part 1:
Chain 10.
In 2nd loop after hook: 8 sc; (3 sc in one loop); 6 sc. Ch 1, turn.
Part 2:
In 3rd loop after hook: (BL) 6 sc; (3 sc in one st); (BL) 7 sc. Ch 3, turn.
In 2nd loop after hook: (BL) 5 sc; 1 sc in turning chain; (BL) 1 sl st in base of leaf. Ch 1, turn.
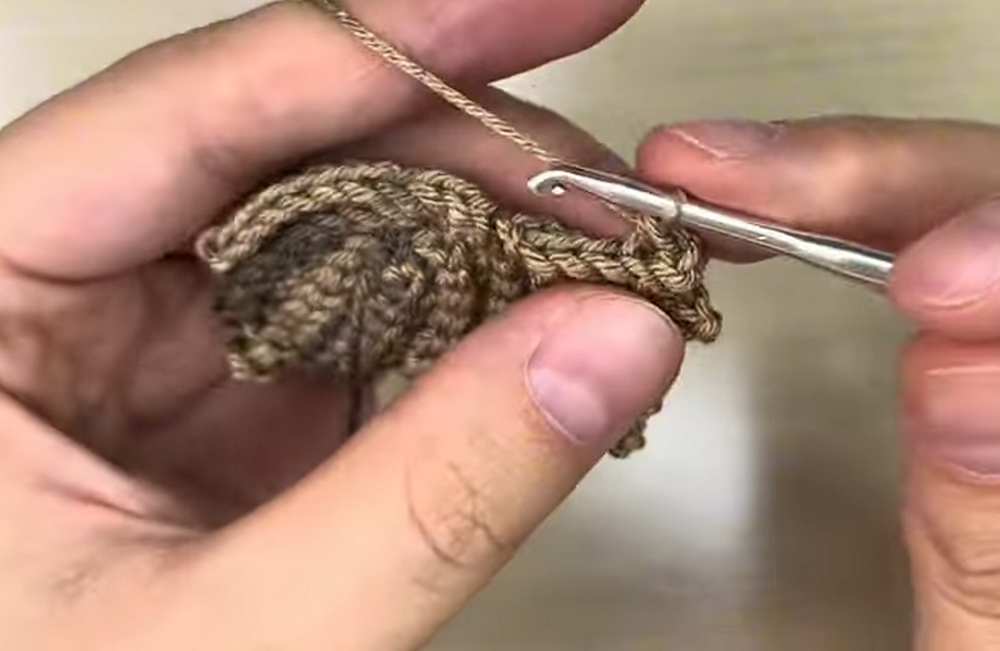
Part 3:
In 3rd loop after hook: (BL) 7 sc; (3 sc in one st); (BL) 6 sc. Ch 3, turn.
In 2nd loop after hook: (BL) 5 sc; 1 sc in turning chain; (BL) 1 sl st in base of leaf. Ch 1, turn.
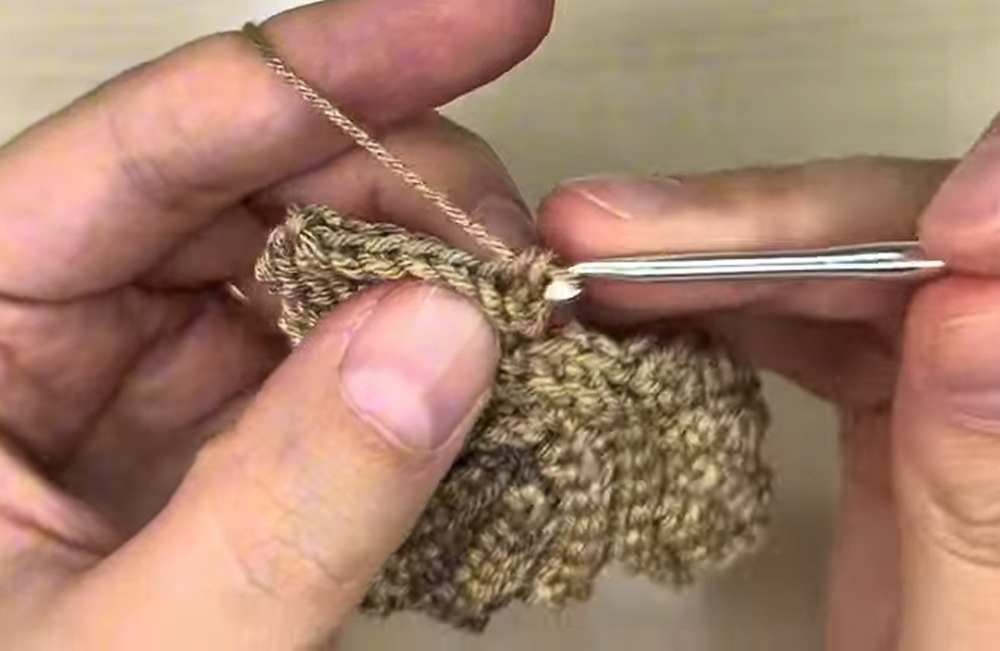
Part 4:
In 3rd loop after hook: (BL) 8 sc; (3 sc in one st); (BL) 7 sc. Ch 3, turn.
In 2nd loop after hook: (BL) 5 sc; 1 sc in turning chain; (BL) 1 sl st in base of leaf. Ch 1, turn.
Part 5:
In 3rd loop after hook: (BL) 4 sc. Ch 2, turn.
In 2nd loop after hook: (BL) 4 sc; 1 sc in turning chain; (BL) 1 sl st in base of leaf. Ch 1, turn.
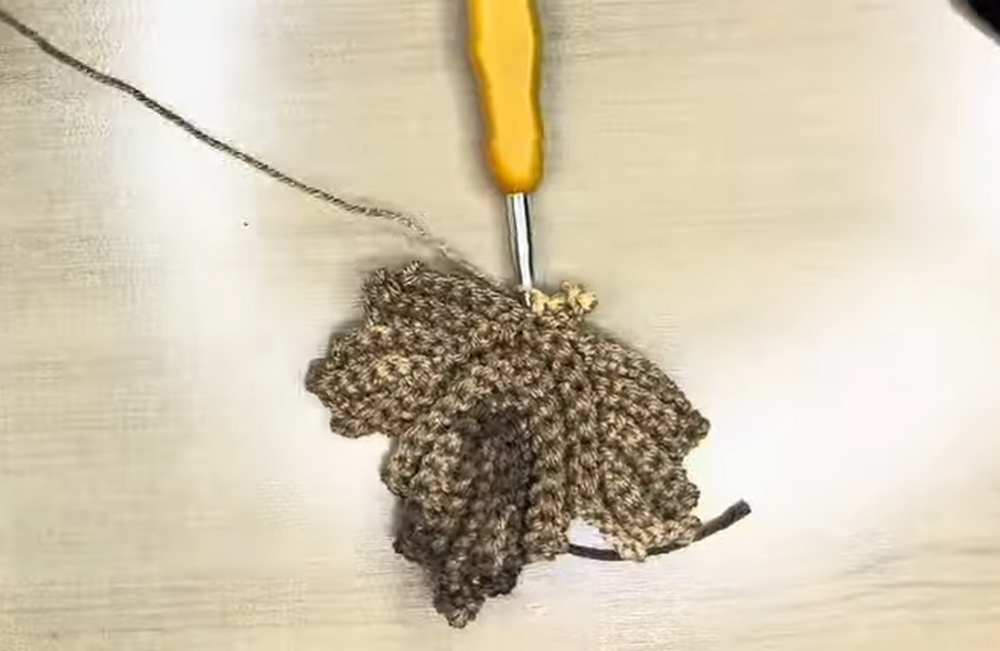
Part 6:
In 3rd loop after hook: (BL) 4 sc. Ch 2, turn.
In 2nd loop after hook: (BL) 5 sc; 1 sc in turning chain; (BL) 1 sl st in base of leaf.
Finish: Leave a tail for sewing and cut the yarn.
Assembly: Sew the leaf to the pumpkin next to the tail.
Share on Social Media!
See More:

Crochet CUTEST Guest-Welcoming BOO Ghost with Bow, Hat and Pumpkin Accessories

Tester Call: How to Crochet A Candy Corn, Pumpkin & Kawii Buddy Potted Plant Plushie

Featuring: How to Crochet the Smallest Pumpkin Fall Turtle Plushie with Orange & Parrot

Pattern Tester: How to Crochet Pumpkin Ridges Face Donut Ring Plushie for Fall

How to Crochet An Amigurumi Long-Legged Kawaii Pumpkin in Shoes Buddy

How to Granny Square with Pumpkin Applique in the Middle

Tester Pattern: To Crochet Pumpkin Hello Kitty Plushie with Big Paws Buddy

Featuring: How to Crochet Tiered Unusual Texture Pumpkin Decoration (3 Sizes)

Tester Pattern: To Crochet A Grizzly Bear Presenting You A Pumpkin Plushie