Author: Talha
I am a crochet designer, macramé maker and a crafter who also loves doing MATH.
Contributor: Iryna of Crochet Toys
Based in Ukraine, she is a crochet amigurumi designer and has been our contributor via mycraftybasket in mid 2026.
Show support for Iryna!
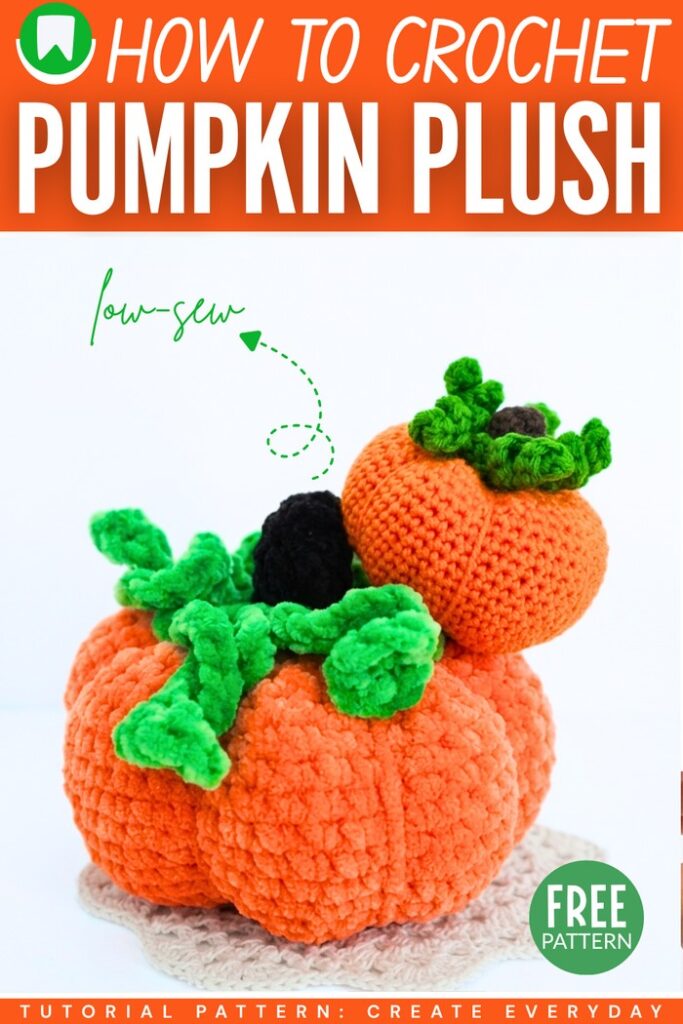
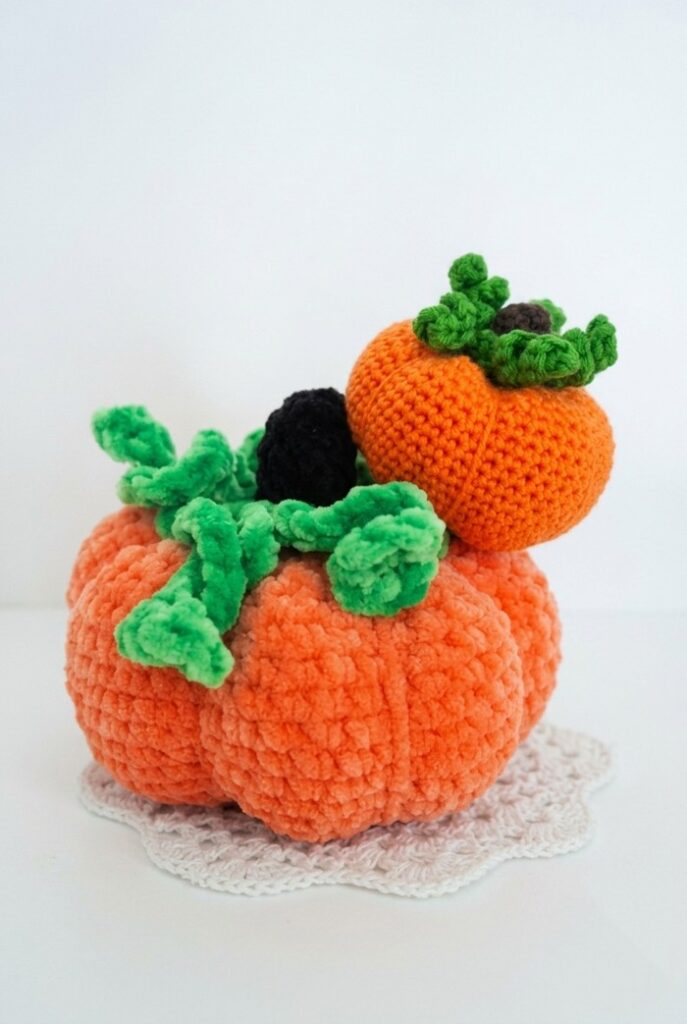
THE PERFECT crochet FALL DECOR? Learn how to crochet this CHUBBY pumpkin plushie with 3 coiled lines and a brown stem, following a written pattern + video tutorial as well. To complete your fall decoration centrepiece, you can also crochet a small amigurumi pumpkin using cotton yarn and put it beside the large plush pumpkin. You can also add this crochet pumpkin to make the “pattern-tester pumpkin turtle plushie.”
Crocheting this pumpkin plush would be easier for a beginner, as we only have to crochet a sphere and stuff it. Even if you are not familiar with the method to make the pumpkin ridges using the needle, this pattern has enough explanation to learn it from scratch.
You can also crochet your pumpkin plush with a crochet spider plush, just like the spider + cobweb + ribbed pumpkin plush. Or, just like the crochet jack-o-lantern pumpkin, you can crochet it with the felt spooky face as a Halloween decoration. Anyway, continue reading to learn more about this Halloween & fall pumpkin project.
Similar Project(s)
Pattern to Crochet the Plushie Pumpkin
This adorable amigurumi pumpkin is the ultimate cozy fall stash-buster! It’s a super satisfying WIP (work in progress) that works up quickly in the round, whether you’re using a squishy, chunky chenille yarn for a large plushie or a smaller acrylic weight for a cute desk accessory.
You’ll start with a classic magic ring, work continuous rounds of single crochets and increases to build the body, and stuff it generously with poly-fil.
The real magic happens when you fasten off and use a long yarn tail to sculpt those classic pumpkin ridges. Top it off by crocheting a separate piece for the whimsical curly vines and stem, sewing them on to complete the perfect autumnal FO (finished object) to celebrate the season!
Simple Crochet Pumpkin Pattern
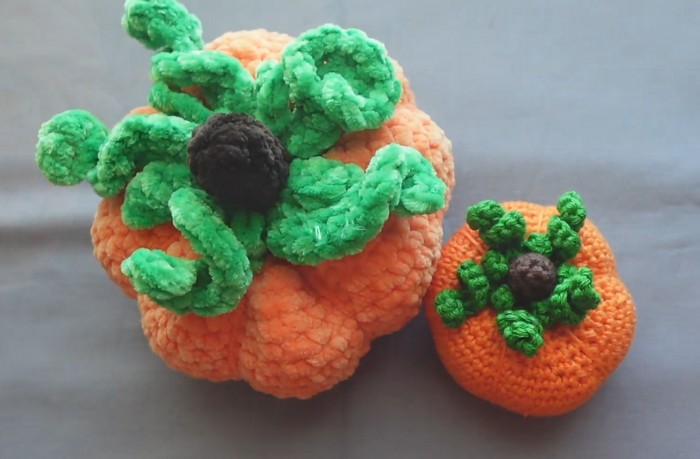
This pattern is easily adjustable based on yarn weight. The tutorial demonstrates a large version using super bulky yarn (with a 5.0 mm hook) and a small version using finer yarn (with a 3.0 mm hook). The stitch counts remain exactly the same for both!
Materials Needed
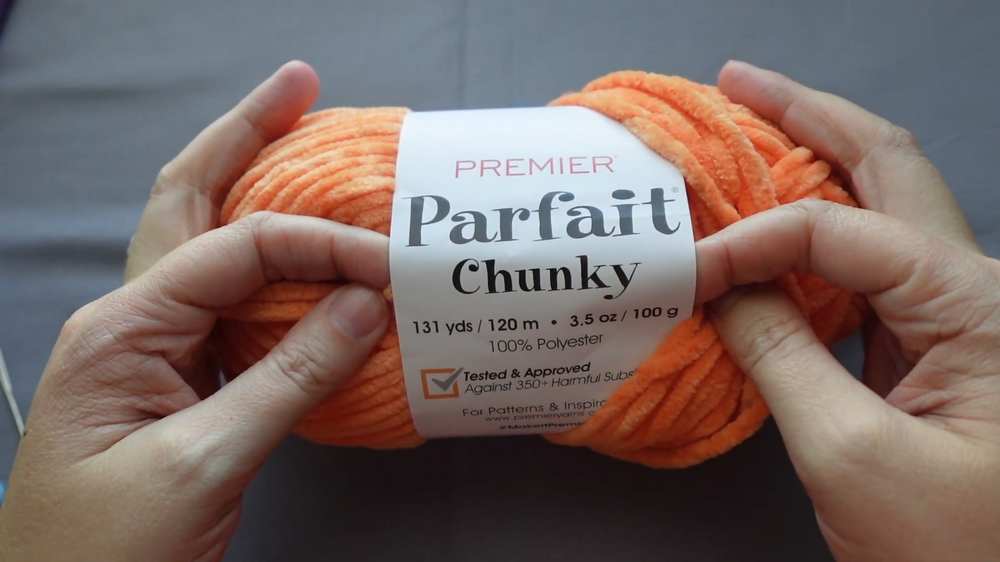
Orange Yarn: (e.g., Premier Parfait Chunky in Tangerine or Premier Minikins in Clementine)
Green Yarn: (e.g., Premier Just Chenille in Lily Pad)
Brown Yarn: (e.g., Premier Parfait Chunky in Espresso)
Crochet hook to match your yarn (5.0 mm for chunky, 3.0 mm for light weight)
Poly-fil stuffing
Yarn needle, stitch marker, and scissors
Abbreviations (US Terms)
MR: Magic Ring
sc: single crochet
hdc: half double crochet
dc: double crochet
inc: increase (2 sc in the same stitch)
dec: decrease (single crochet 2 together)
ch: chain
sl st: slip stitch
st(s): stitch(es)
Pumpkin Body
Use orange yarn. Work in continuous rounds.
Round 1: 6 sc in MR (6 sts)
Round 2: 6 inc (12 sts)
Round 3: [1 sc, inc] around (18 sts)
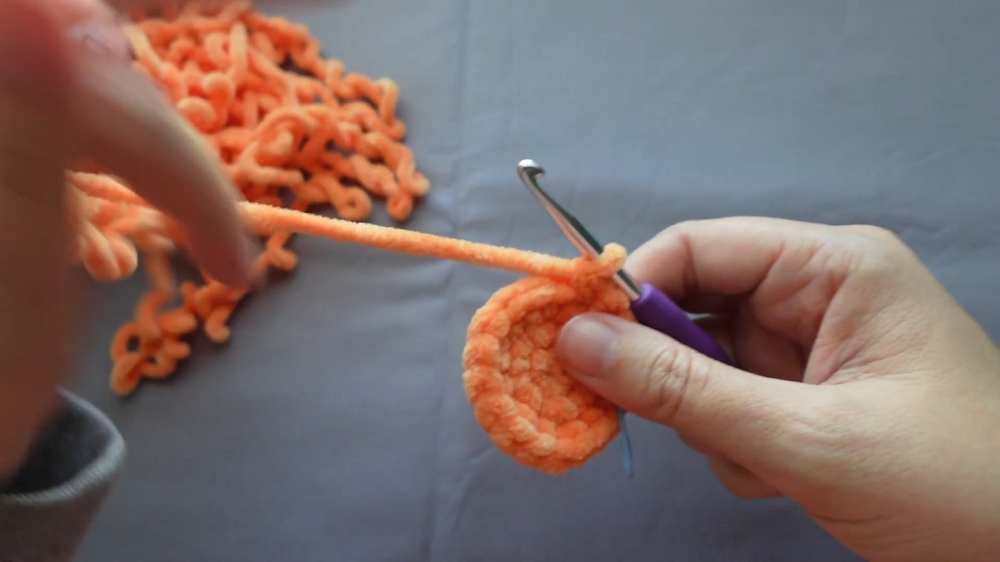
Round 4: [2 sc, inc] around (24 sts)
Round 5: [3 sc, inc] around (30 sts)
Round 6: [4 sc, inc] around (36 sts)
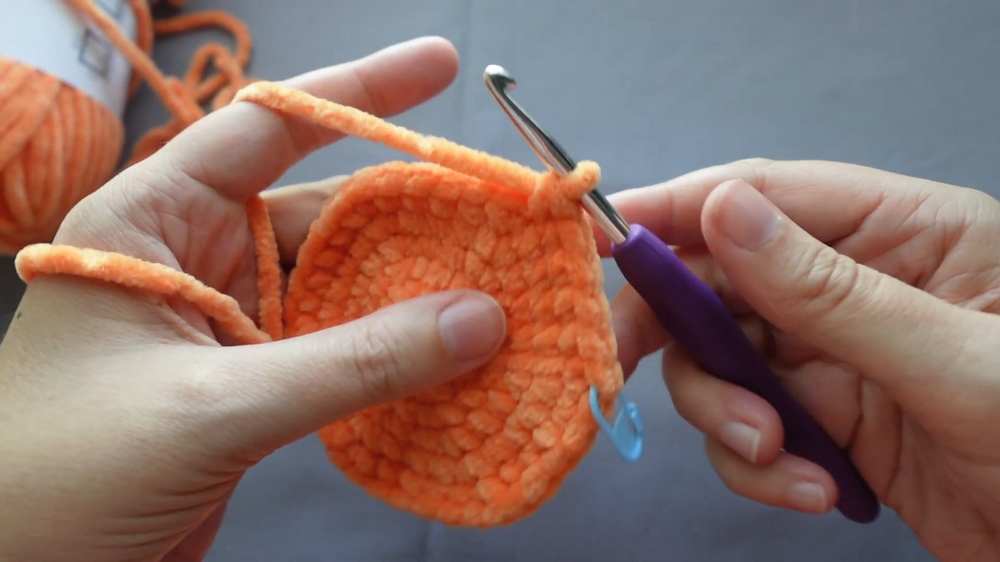
Round 7: [5 sc, inc] around (42 sts)
Are you a Beginner?
If you can’t follow the written pattern, continue with the tutorial or the pattern below!
Round 8: [6 sc, inc] around (48 sts)
Rounds 9–18 (10 rounds): 1 sc in each st around (48 sts)
Round 19: [6 sc, dec] around (42 sts)
Round 20: [5 sc, dec] around (36 sts)
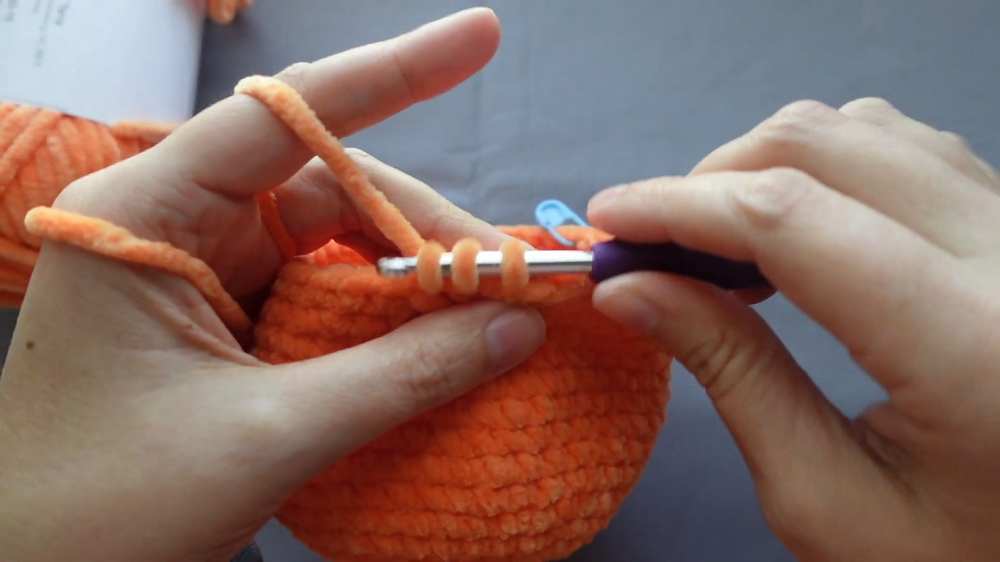
Round 21: [4 sc, dec] around (30 sts)
Round 22: [3 sc, dec] around (24 sts)
Round 23: [2 sc, dec] around (18 sts)
Begin stuffing the pumpkin firmly.
Round 24: [1 sc, dec] around (12 sts)
Round 25: 6 dec (6 sts)
Add any final stuffing.
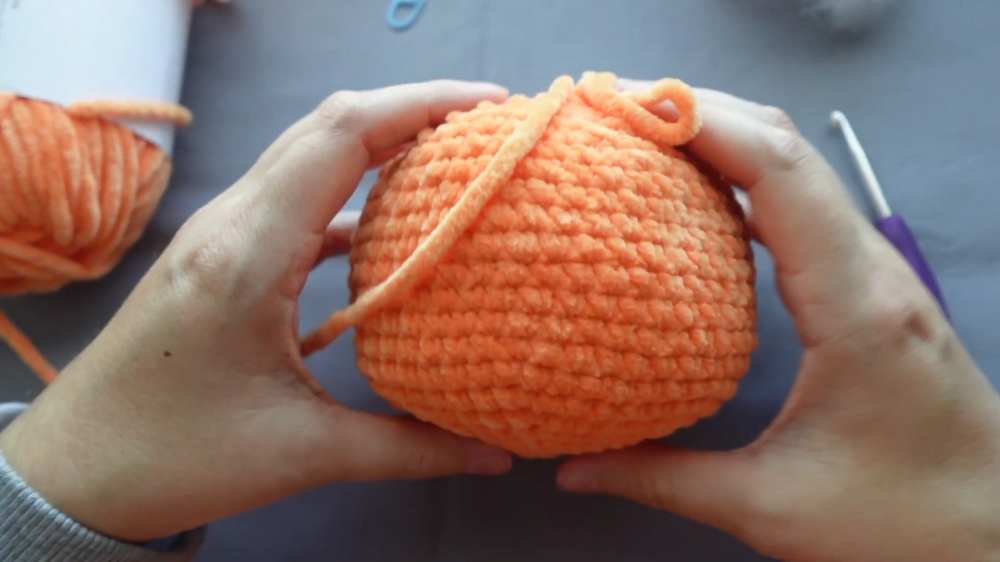
Fasten off, leaving a very long tail (about 24 inches). Weave the tail through the front loops of the remaining 6 stitches and pull tight to cinch the hole closed. Do not cut the tail — it will be used for shaping during assembly!
Leaves and Curls
Use green yarn.
Base: Make a MR and place 11 sc into the ring. Ch 1, turn.
First Leaf: Sl st into the first st. Ch 4. Working down the chain, place 1 sc in the 2nd ch from the hook, 1 hdc in the next ch, and 1 dc in the last ch. Sl st into the next st on the MR.
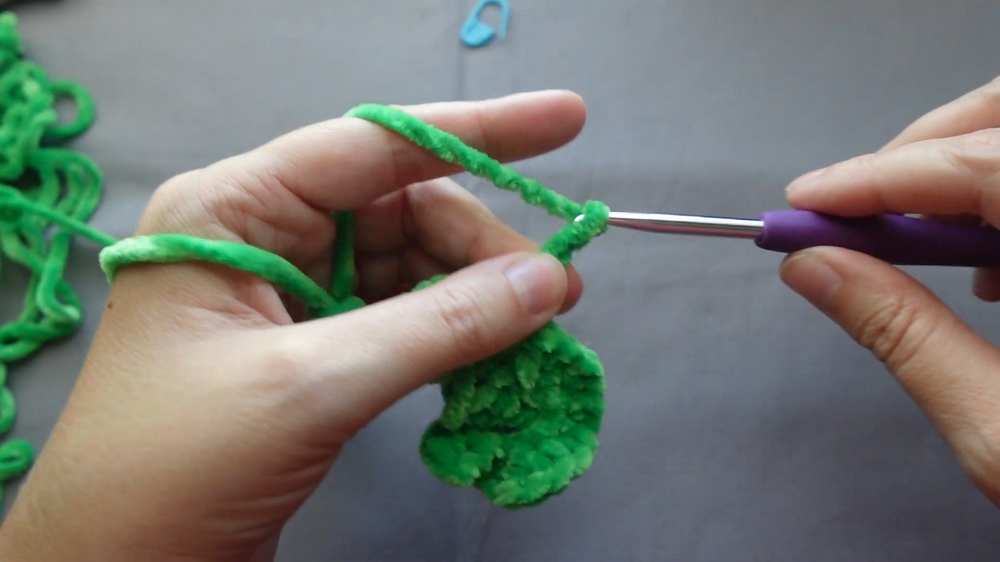
First Curl: Ch 10. Place 2 sc in the 2nd ch from the hook and 2 sc in every remaining ch down the line (18 sc total). Sl st into the next st on the MR.
Remaining Leaves & Curls: Repeat the Leaf and Curl instructions 4 more times (creating 5 leaves and 5 curls alternating around the ring).
Finish: Sl st into the first st of the MR. Fasten off, pull the magic ring tight, and tie your starting and ending tails together in a double knot to secure. Trim the excess.
Stem
Use brown yarn. Work in continuous rounds.
Round 1: 4 sc in MR (4 sts)
Round 2: 4 inc (8 sts)
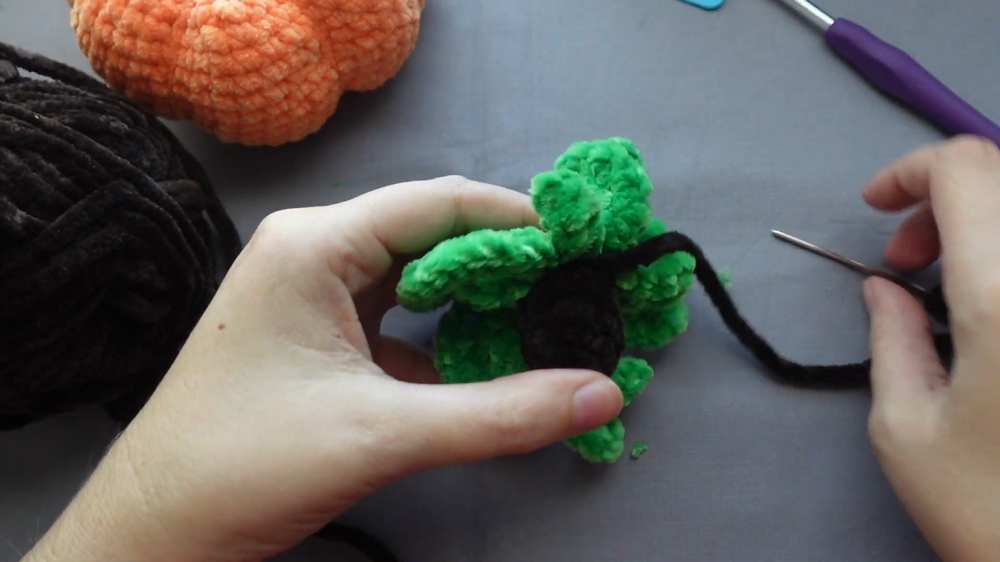
Rounds 3–5 (3 rounds): 1 sc in each st around (8 sts)
Fasten off, leaving an 18-inch tail for sewing. You can lightly stuff the stem if desired, though it isn’t strictly necessary.
Assembly & Shaping
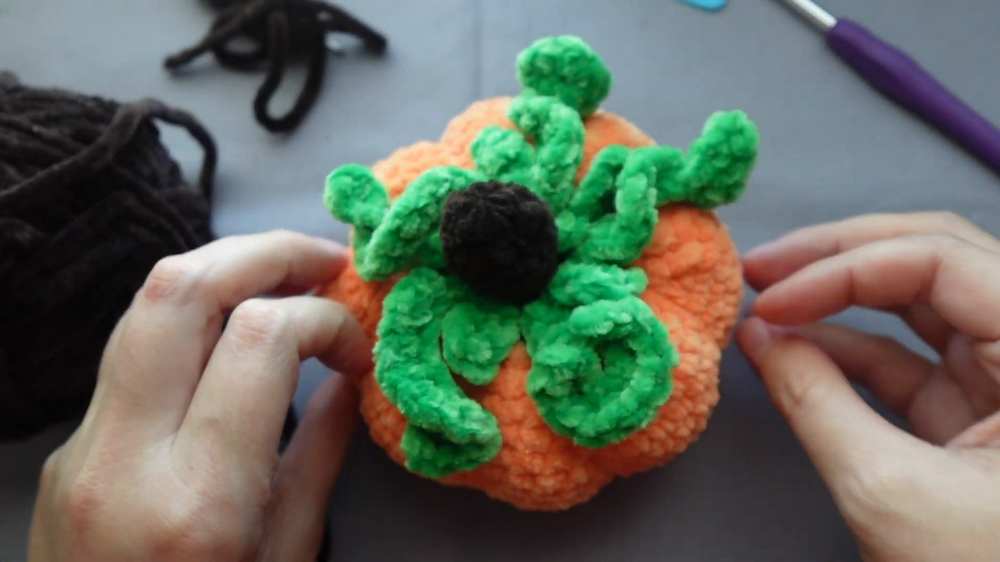
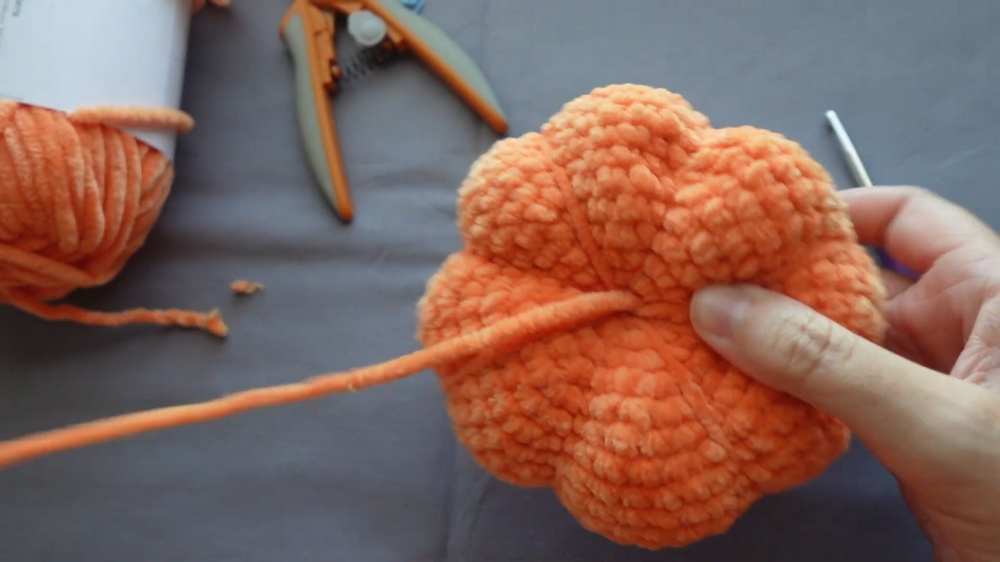
Thread the long orange tail onto your yarn needle. Insert the needle straight down through the top center hole and out through the bottom center hole. Pull the yarn completely through, wrap it around the outside of the pumpkin, and insert the needle back into the top center hole. Pull gently to create an indented “ridge” on the side.
Repeat the wrapping process, spacing the yarn evenly to divide the pumpkin into 6 or 8 equal sections. Make sure your tension is even so the pumpkin looks uniform. Secure the yarn with a sturdy knot at the top and weave the end completely inside the body.
Attach Stem to Leaves
Place the brown stem directly over the center hole of the green leaves/curls piece. Sew the stem onto the leaves securely. Do not cut the remaining brown yarn tail — leave it attached for the final step.
Place the combined leaves and stem onto the top center of the sculpted pumpkin. Using the remaining brown tail, sew the entire piece firmly to the top of the pumpkin, keeping your stitches close to the base of the stem so the brown yarn stays hidden. Tie a knot and hide the tail inside the pumpkin to finish!