Author: Talha
I am a crochet designer, macramé maker and a crafter who also loves doing MATH.

Contributor: Creator of Smile Crochet
SmileB is an amazing amigurumi designer who has been our contributor since mid 2026 via mycraftybasket.
Show support for Smileb!
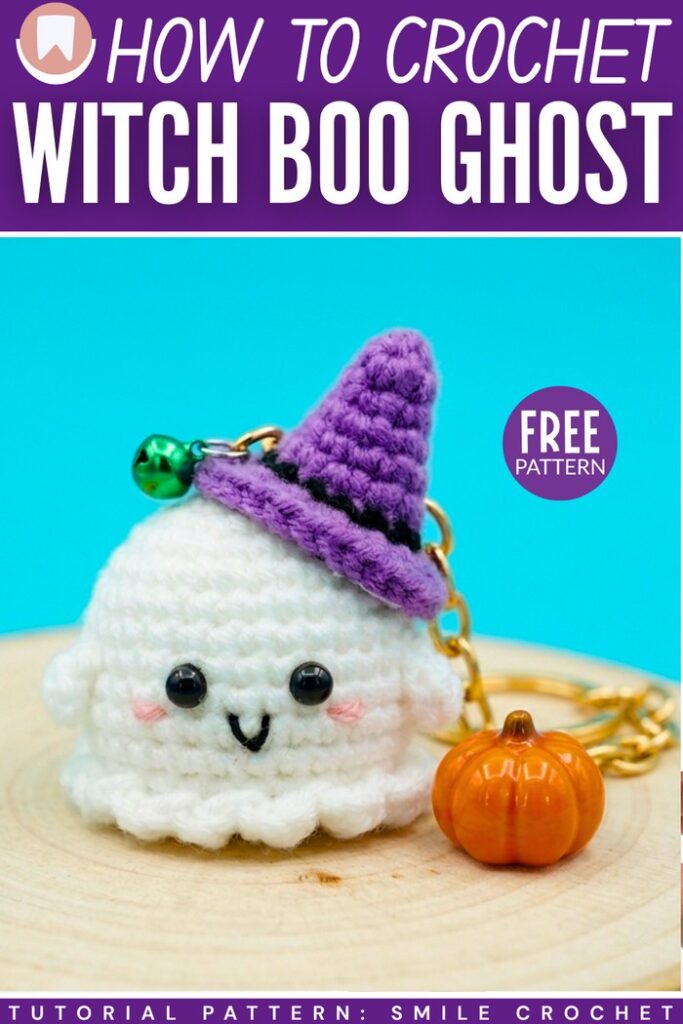
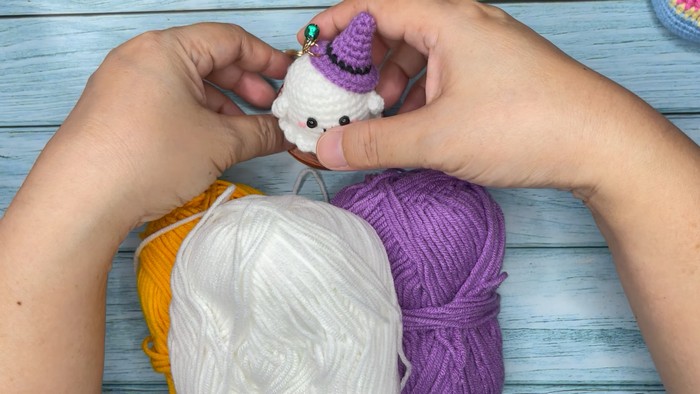
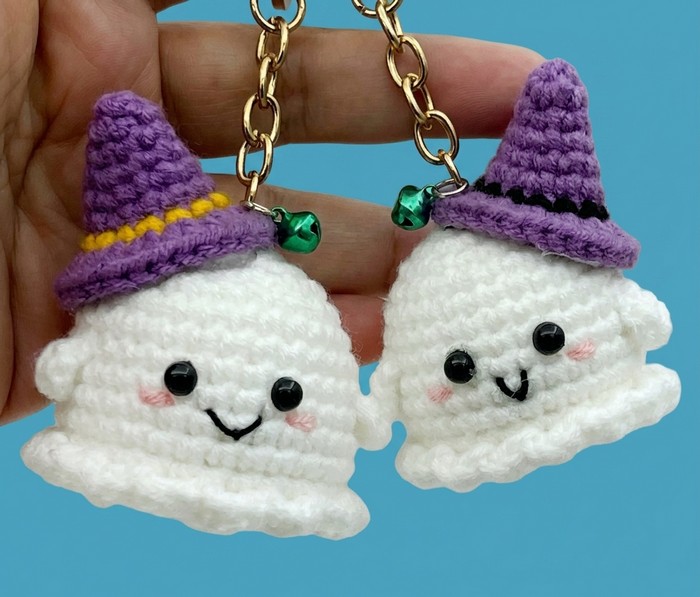
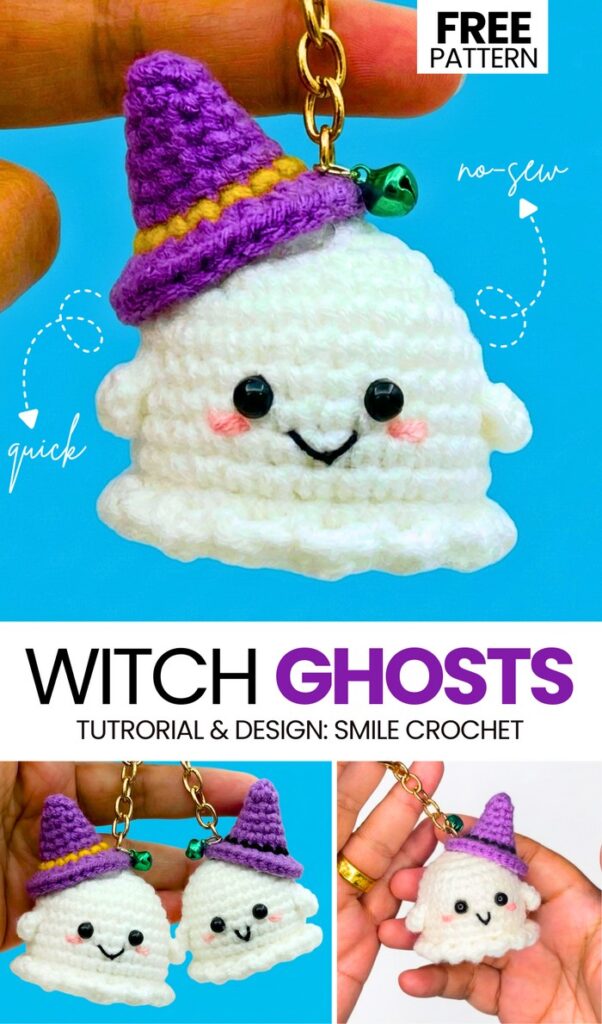
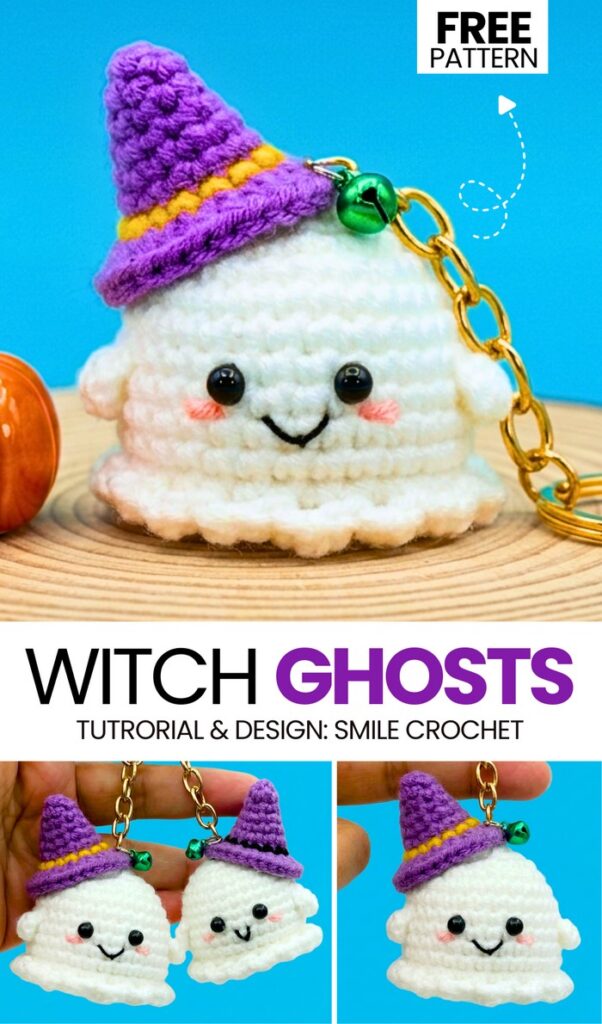
Learn how to crochet a CUTE little kawaii ghost amigurumi wearing a tilted witch hat following this free pattern + a tutorial as well. We will be crocheting a quick and easy classic BOO ghost amigurumi with a smiling face and a crochet witch hat separately. You can also make your crochet hat removable. This is an irresistible Halloween candy holder, charm for a trick-or-treating bag, and buddy.
You can crochet this ghost buddy in minutes following the quick pattern for absolute beginners. Since we are making the classic Baby Ghost amigurumi, you can also crochet it using thin plush yarn.
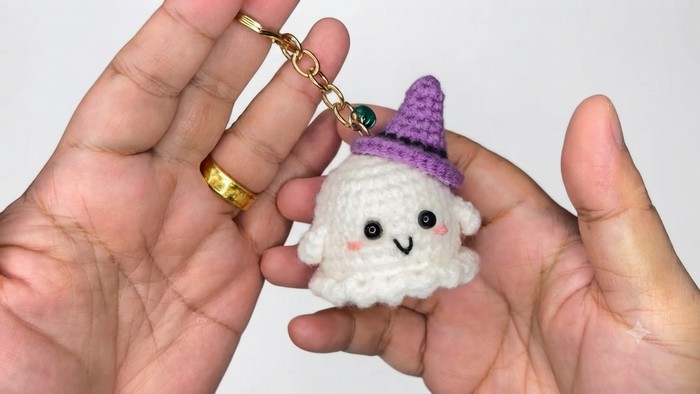
You can also attach a keyring to your ghost. However, I recommend crocheting a small hanging loop so you can also attach it to your fall tote bag or Halloween trick-or-treating bag by knotting it around the handle. Anyway, customizations are always up to you. You can continue reading below to learn crocheting the ghost with a FREE pattern.
=
Similar Project(s)
Materials Needed
Yarn: Cotton or acrylic yarn in White, Purple, and Yellow (medium/4-ply recommended).
Crochet Hook: 2.5 mm (4/0).
Other Tools: Black safety eyes (or small beads), black and pink embroidery thread, polyester fiberfill stuffing, scissors, tapestry needle, stitch markers, hot glue gun, and a keychain ring.
II. Crochet Abbreviations
R: Round
mr: Magic ring
ch: Chain
sc: Single crochet
hdc: Half double crochet
inc: Increase (2 sc in the next stitch)
dec: Decrease (join next 2 stitches into 1)
sl st / SL: Slip stitch
BLO: Back loop only
FLO: Front loop only
st: Stitch
F.O.: Finish off
[ ]: Total number of stitches at the end of the round
( ) x 6: Repeat the sequence in brackets 6 times
III. Ghost Body Pattern (White Yarn)
R1: Magic ring, 6 sc into ring [6]
R2: 6 inc [12]
R3: (1 sc, inc) x 6 [18]
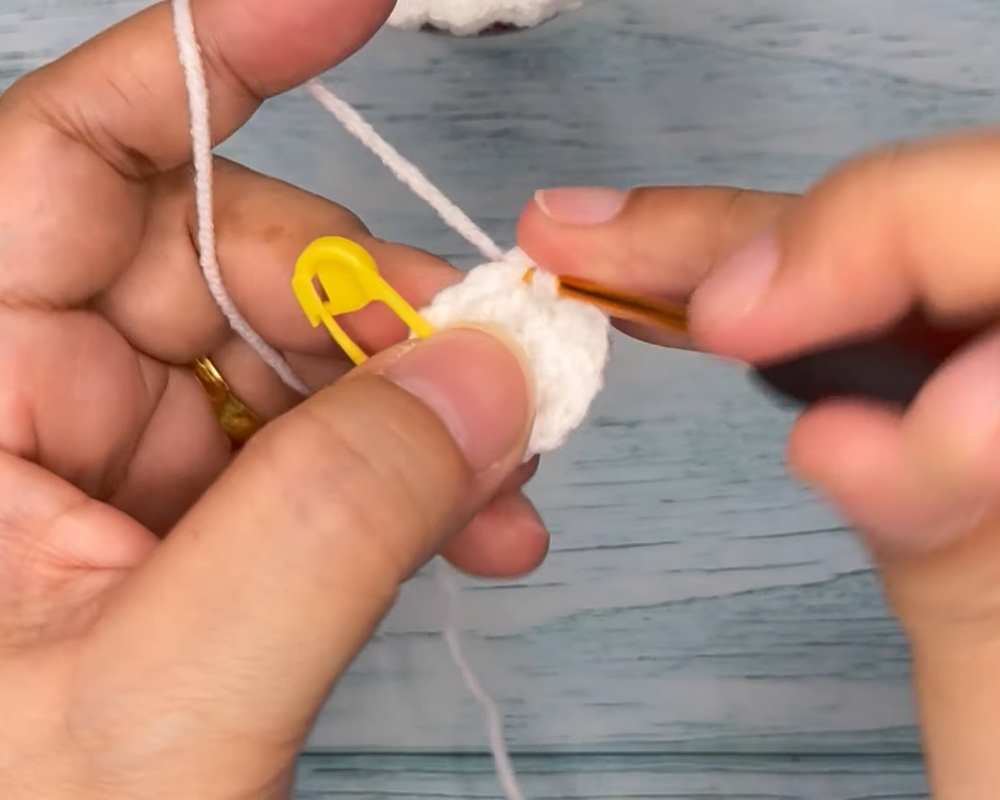
R4: 1 sc, inc, (2 sc, inc) x 5, 1 sc [24]
R5: (3 sc, inc) x 6 [30]
Are you a Beginner?
Tutorials are great when you are confused about any part! Learn how to crochet this miniature ghost with the following tutorial:
R6–R12: 30 sc around (7 rounds total) [30]
R13: BLO (3 sc, dec) x 6 [24]
R14: 1 sc, dec, (2 sc, dec) x 5, 1 sc [18]
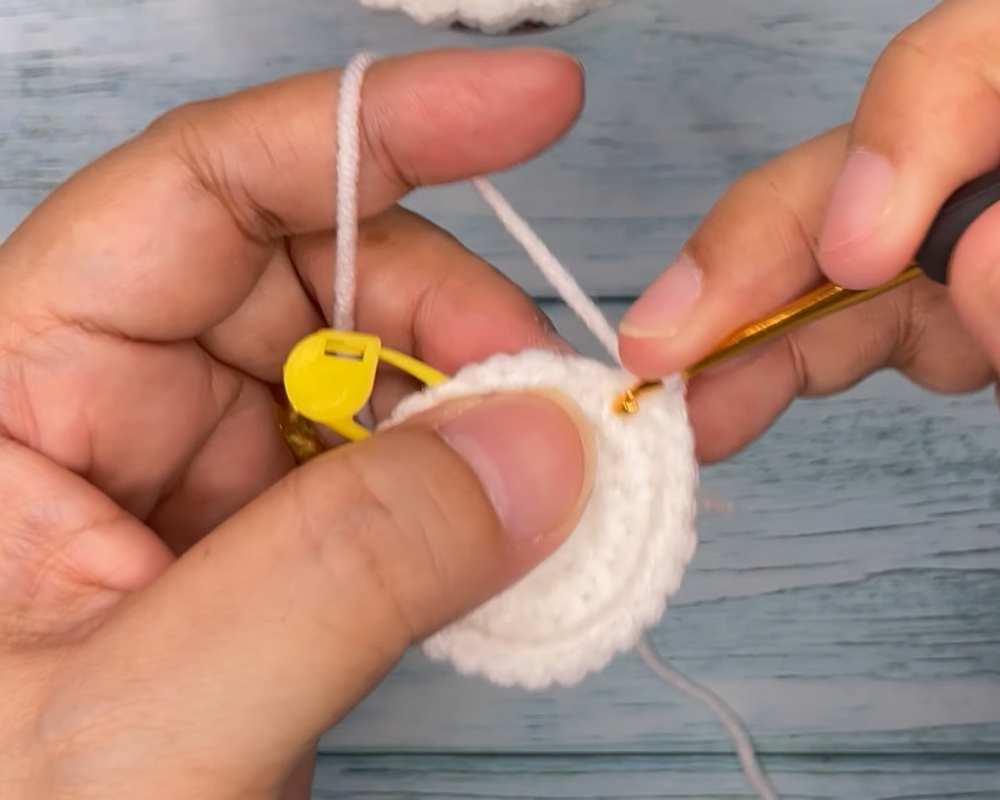
R15: (1 sc, dec) x 6 [12]
Stuff the body firmly with fiberfill at this point.
R16: 6 dec [6]
F.O.: Cut yarn leaving a tail; use a tapestry needle to sew the remaining hole closed.
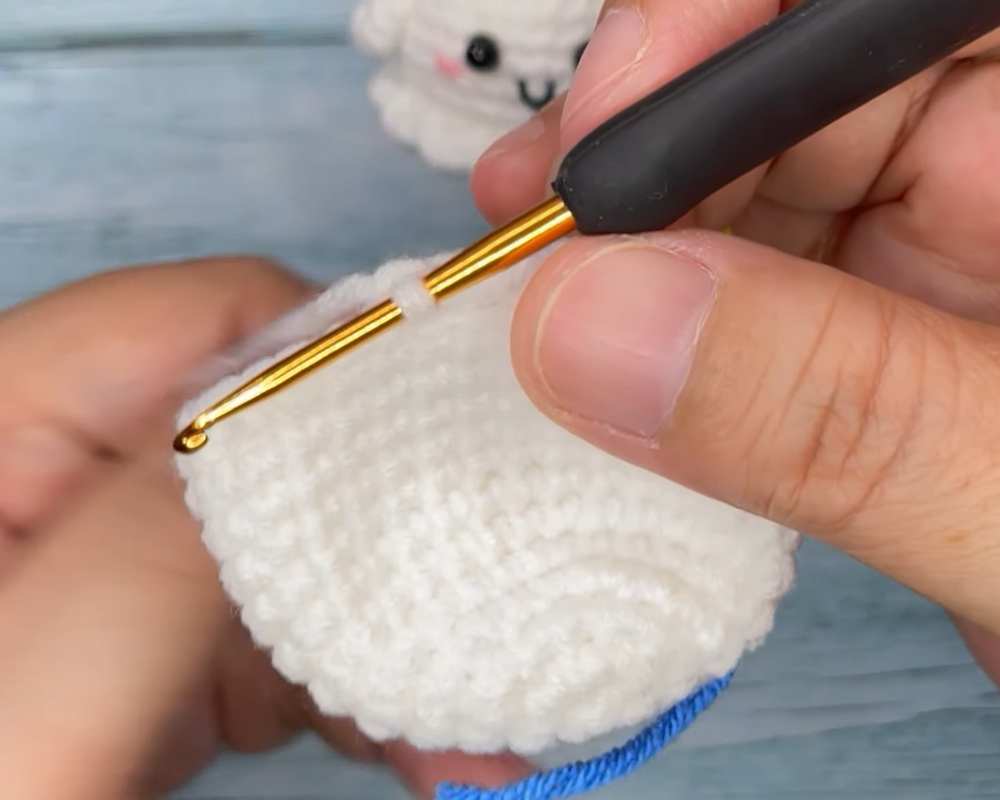
Bottom Lace Frill:
Go back to the front loops of R13 (FLO).
Attach white yarn to any front loop.
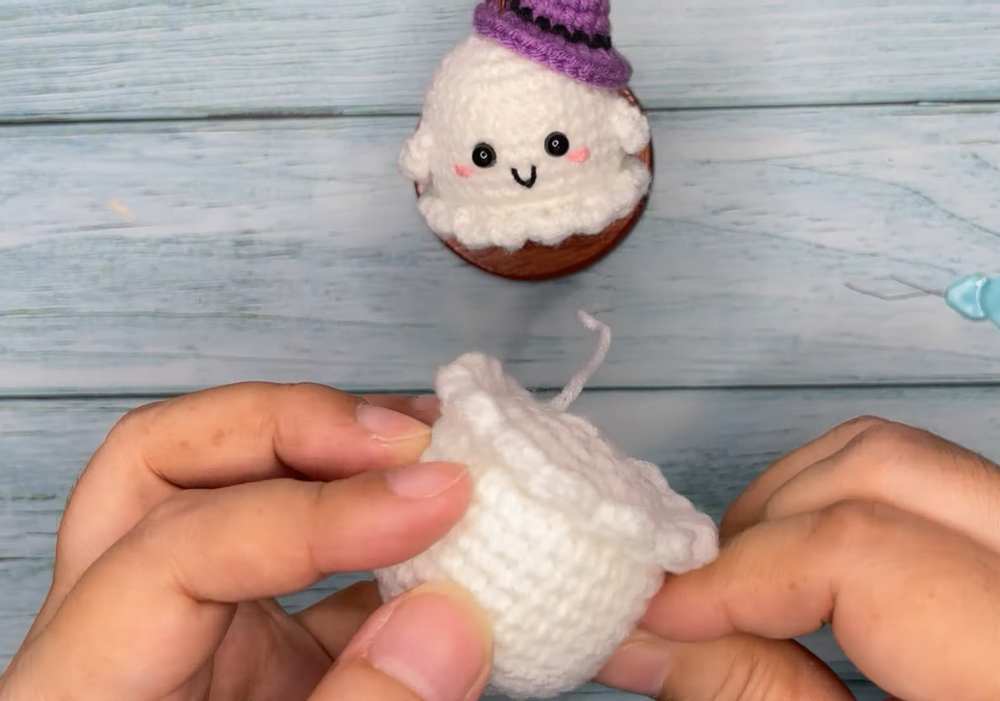
Pattern: (3 hdc in one stitch, 1 sl st in the next stitch). Repeat this sequence all the way around the base of the ghost.
F.O. and weave in ends.
IV. Witch Hat Pattern
R1 (Purple): Magic ring, 4 sc, sl st to join [4]
R2: ch 1, (1 sc, inc) x 2, sl st [6]
R3: ch 1, (2 sc, inc) x 2, sl st [8]
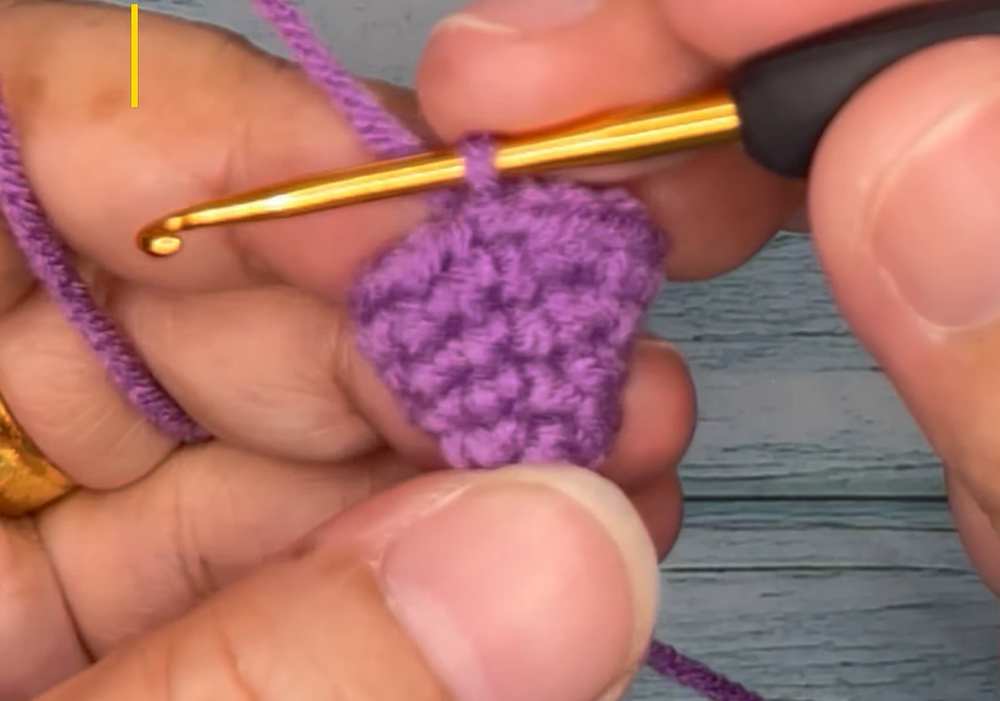
R4: ch 1, (3 sc, inc) x 2, sl st [10]
R5: ch 1, (4 sc, inc) x 2, sl st [12]
R6: ch 1, (5 sc, inc) x 2, sl st [14]
R7 (Switch to Yellow): ch 1, 14 sc around, sl st [14]
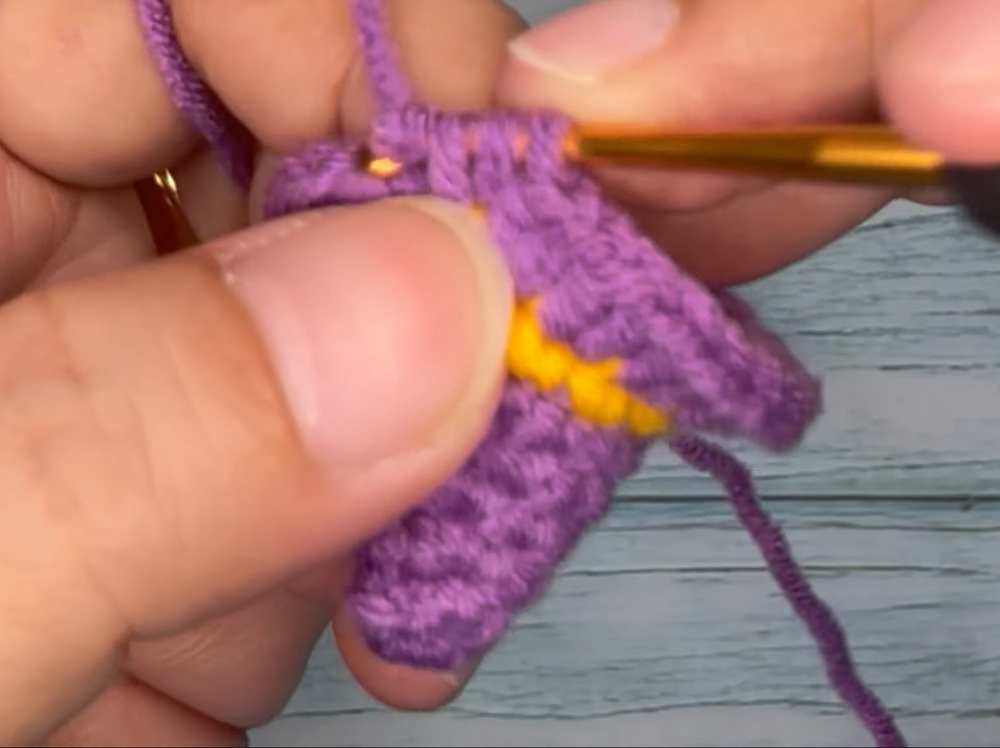
R8 (Switch to Purple): ch 1, inc with hdc in every stitch (2 hdc in each st), sl st around the rim [28]
F.O.: Cut yarn and weave in ends.
V. Ghost Arms (White Yarn – Make 2)
ch 3.
Starting from the 2nd chain from the hook, work 2 hdc.
ch 1 and F.O. Leave a long tail for sewing.
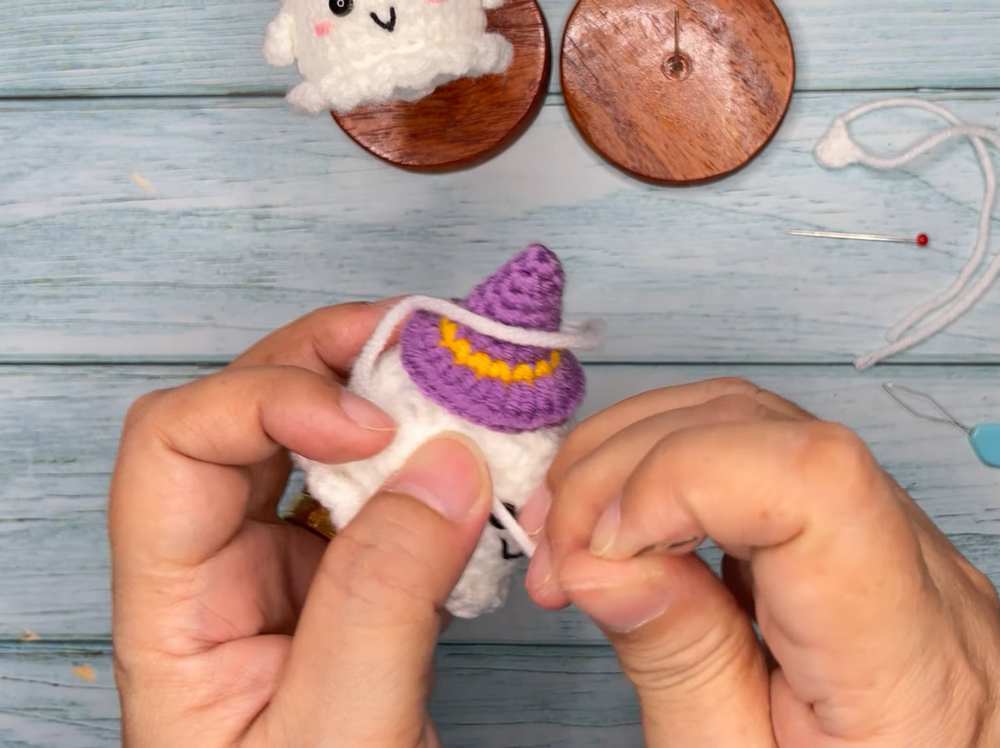
VI. Assembly & Finishing
Eyes: Use hot glue to attach the black beads/safety eyes between R8 and R9, roughly 4-5 stitches apart.
Mouth: Using black embroidery thread, sew a small “V” shape directly between and slightly below the eyes.
Cheeks: Using pink thread, sew two small horizontal lines just below the outer corner of each eye.
Arms: Sew the two arms to the sides of the body at R10.
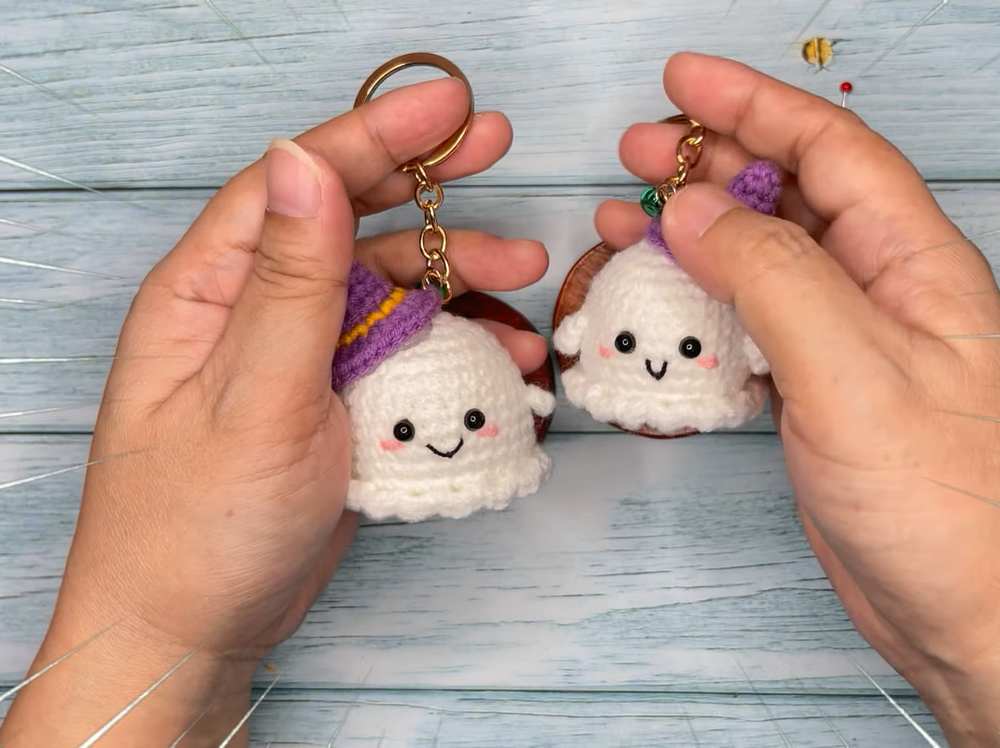
Hat: Apply hot glue to the inside of the witch hat and press it firmly onto the top of the ghost’s head, slightly tilted for a cute look.
Keychain: Attach the metal keychain ring through the top of the hat or the top of the ghost’s head.
- Your Baby Ghost Keychain is now complete!
Share on Social Media!
See More:
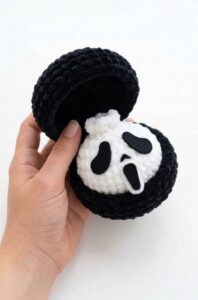
Tester Pattern: How to Crochet Mask Ghost Spooky Food Ball in Box Plush
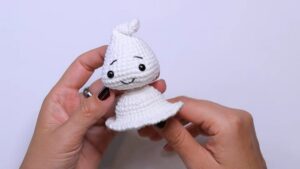
Free Crochet Flying Ghost Wind Spinner Plushie for Kids
Featuring: Crochet SPOOKY-CUTE Black & White Ghost Plushie for Halloween
Tester Pattern: How to Crochet Miniature UNIQUE Ghost with Ears and a Carrot Plush
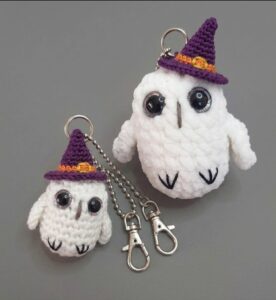
Tester Pattern: Crochet 10-Minute Pair of Ghost Owl Pals Plushies for Halloween
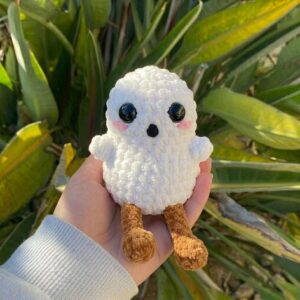
Tester Call: How to Crochet Jellycat Potato Ghost Plushie for Halloween
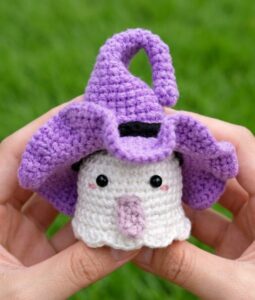
How to Crochet Funny Standing Ghost in the Most Detailed Witch Hat Amigurumi