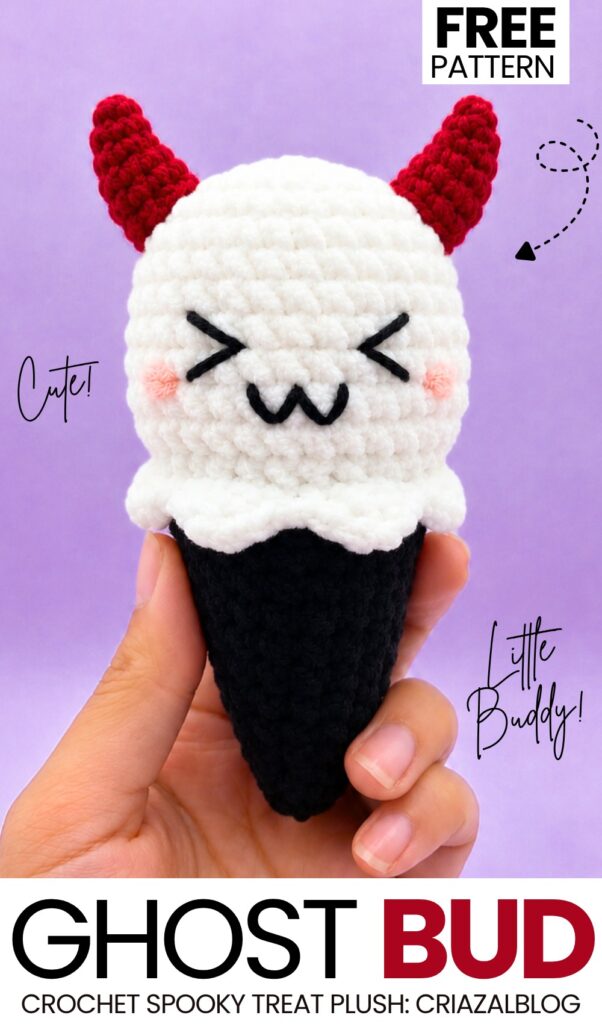
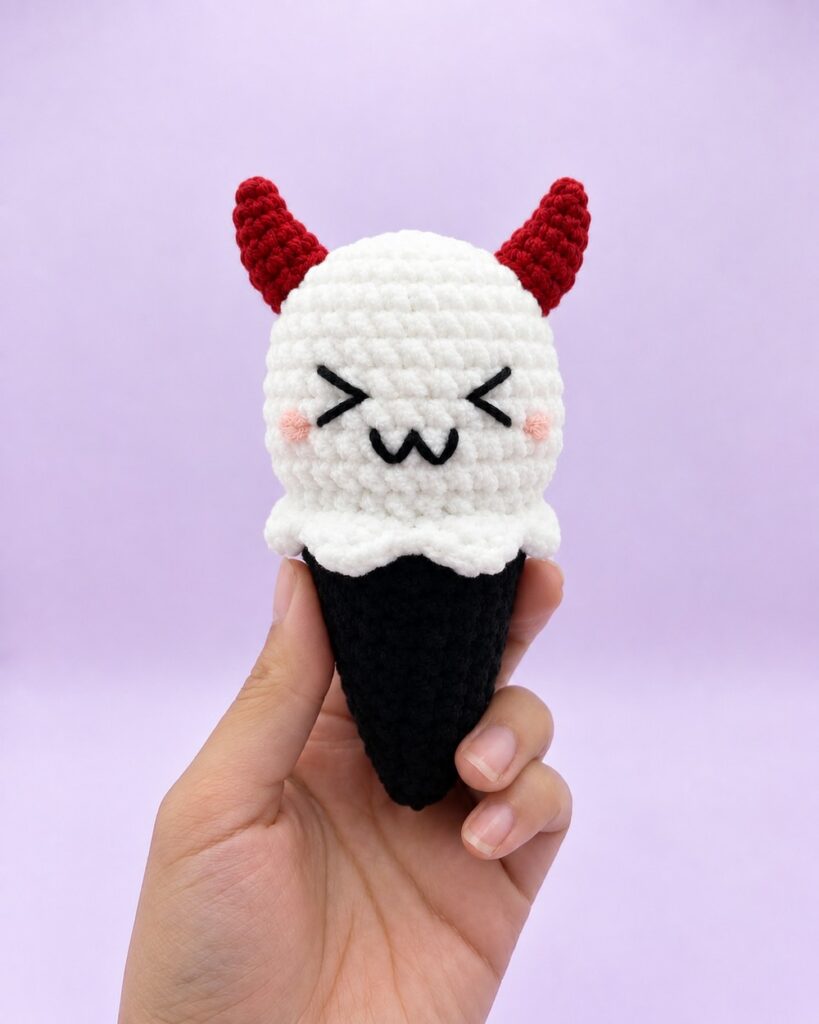
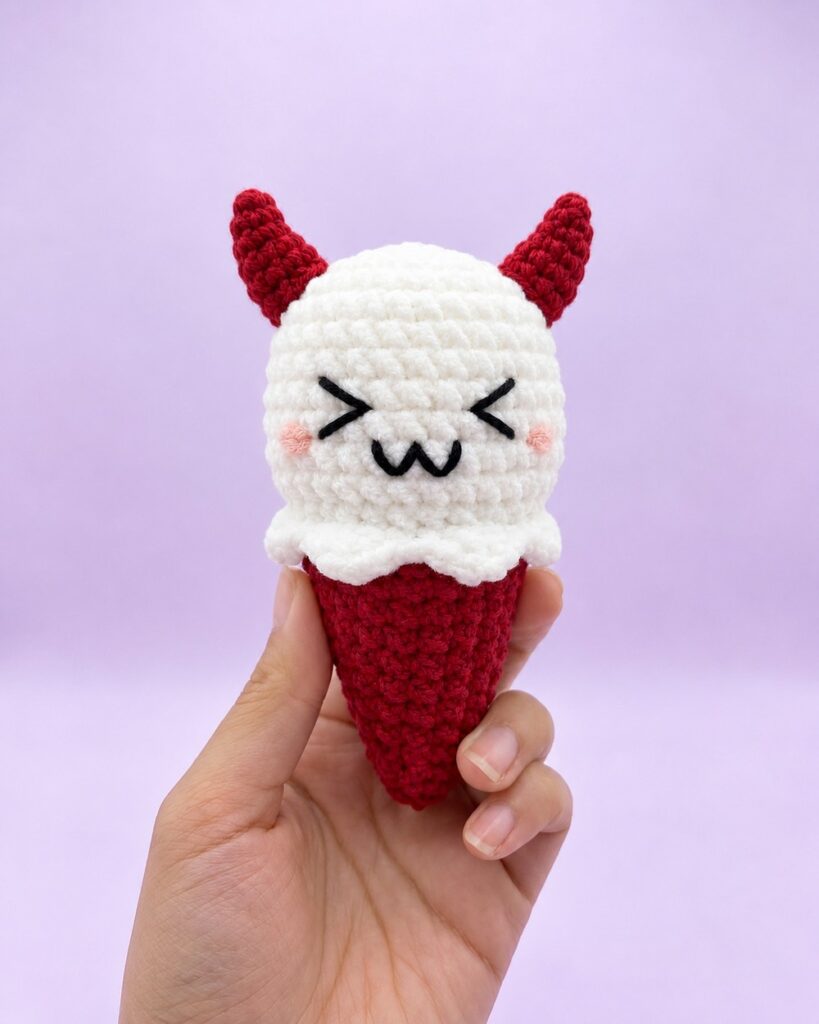
Here is the 3rd pattern from the crochet plush “spooky ice cream presents” series! This is a variation of our crochet horned meow ghost dumpling plushie and looks even cuter as a treat gift than that! So, with a FREE written pattern, learn how to crochet an arched red-horned meow ghost cone treat plushie that makes a LOVELY anti-stress toy and a treat bag charm as well.
Again, we will embroider the “><” kawaii eyes and also add the blush on the cheeks. Now, continue reading to learn more about this crochet plush red-horned buddy. It is also a part of my red buddies series. So, let’s get started!
[ez-toc]
Pattern to Crochet the Ghost Buddy Treat Plushie for Kids
Materials List
Plush/Bulky Chenille Yarn:
White (for the ghost scoop)
Black (for the cone)
DK Cotton Yarn:
Red (for the devil horns)
Black (for embroidered eyes and mouth)
Pink (for embroidered blush/cheeks)
Stuffing & Hardware:
Polyester fiberfill stuffing
Hooks & Tools:
5.0 mm crochet hook (for bulky scoop and cone)
2.5 mm crochet hook (for DK yarn horns)
Tapestry needle / Yarn needle
Stitch markers & Scissors
Pattern Abbreviations (US Terms)
MR: Magic Ring
sc: Single Crochet
hdc: Half Double Crochet
inc: Increase (2 sc in same st)
dec: Decrease (sc 2 together)
sl st: Slip Stitch
FLO: Front Loops Only
BLO: Back Loops Only
st(s): Stitch(es)
1. Ghost Scoop (White Plush Yarn)
Worked in continuous rounds.
Rnd 1: 6 sc in a MR [6]
Rnd 2: Inc in each st around [12]
Rnd 3: [1 sc, inc] × 6 [18]
Rnd 4: [2 sc, inc] × 6 [24]
Rnd 5: [3 sc, inc] × 6 [30]
Rnds 6–10: Sc in each st around [30 for 5 rounds]
Rnd 11: [3 sc, dec] × 6 [24]
Rnd 12 (Ruffle Rim): Work in FLO for this round. [sl st in next st, skip 1 st, 4 hdc in next st, skip 1 st] repeat around to create the ruffled ice cream bottom. Fasten off white yarn.
2. Facial Embroidery
Before moving to the cone, embroider the face onto the front of the white ghost scoop:
Eyes: Using black DK yarn or embroidery floss, embroider two happy squinting eyes shaped like “>” and “<“ between Rnds 7 and 8, spaced about 4 stitches apart.
Mouth: Using black DK yarn, embroider a small “w” (cat-like mouth) centered directly between and slightly below the eyes.
Cheeks: Using pink yarn or cosmetic blush, add two small round cheek spots right beneath the outer points of each eye.
Stuff the head firmly with fiberfill.
3. Cone (Black Plush Yarn)
Attach black yarn to the first unworked Back Loop (BLO) of Rnd 11 behind the white ruffle.
Rnd 13: Working in BLO of Rnd 11, sc in each st around [24]
Rnd 14: [2 sc, dec] × 6 [18]
Rnds 15–16: Sc in each st around [18 for 2 rounds]
Rnd 17: [1 sc, dec] × 6 [12]
Rnds 18–19: Sc in each st around [12 for 2 rounds]
Stuff the top of the cone firmly, continuing to add fiberfill as you decrease.
Rnd 20: Dec × 6 [6]
Rnd 21: Sc in each st around [6]
Finish: Fasten off, leaving a tail. Thread the tail through the front loops of the remaining 6 stitches, pull tight to close the bottom tip, and weave in the end.
4. Horns Pattern
Make 2 using Red DK Yarn and a 2.5 mm hook. Worked in CONTINUOUS ROUNDS (do not join).
Rnd 1: 3 sc in MR [3]
Rnd 2: sc across [3]
Rnd 3: [2sc, inc] *2 [5]
Rnd 4: sc across [5]
Rnd 5: [sc, inc] × 2 [7]
Rnd 6: sl st in each stitch across [7]
Fasten off, leaving a long tail for arching and sewing onto the scoop.
5. How to Arch the Horns
To pull each horn into a curved arch, follow these steps:
Thread your yarn needle with the long tail left on the horn.
Start sewing a loop of running stitches from the horn base up to the tip along the side you want to be concave (the inner curve).
Once you reach the tip, turn and sew back down along the exact same path to the base.
Gently pull the yarn tails from the base. This will cinch the side and make the horn arch more dramatically.
Tie the yarn securely at the base to lock in the arched shape.
6. Assembly
Position the two red horns symmetrically on top of the ghost scoop between Rnds 3 and 5, pointing the curved tips outward.
Using the remaining yarn tails and a tapestry needle, whip stitch the base of each horn securely onto the head.
Weave all loose yarn ends into the inside of the plushie.
See More:
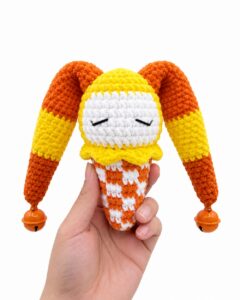
How to Crochet Candy Corn Mr. Enternainer Scoop & Cone Plushie for Gifting
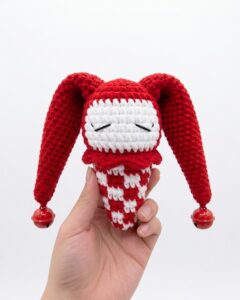
Tester Call: How to Crochet Mr. Enternainer Funny Character Cone Plushie for Gifting
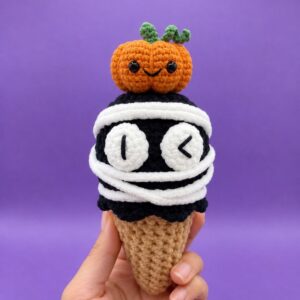
Pattern Tester: How to Crochet Funny Mummy Scoop & Cone in Orange Hat Plushie
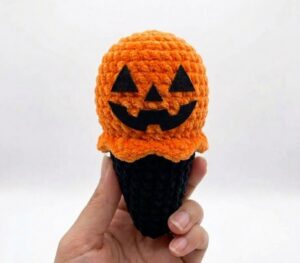
Tester Call: How to Crochet Spooky Face Ice Witch Cone Plushie
Tester Call: Crochet Orange, Yellow & White Treat Cone Plushie for Gifting
How to Crochet CUTE Pumpkin Ice Cream Cone Plushie for Fall & Halloween
Tester Call: How to Crochet Mr. Santa Anti-Stress Donut Ring Plushie for Christmas
Pattern Tester: How to Crochet Eyes Donut Ring Plushie with Long Arms

Pattern Tester: How to Crochet Pumpkin Ridges Face Donut Ring Plushie for Fall