

Show Support for Heather!
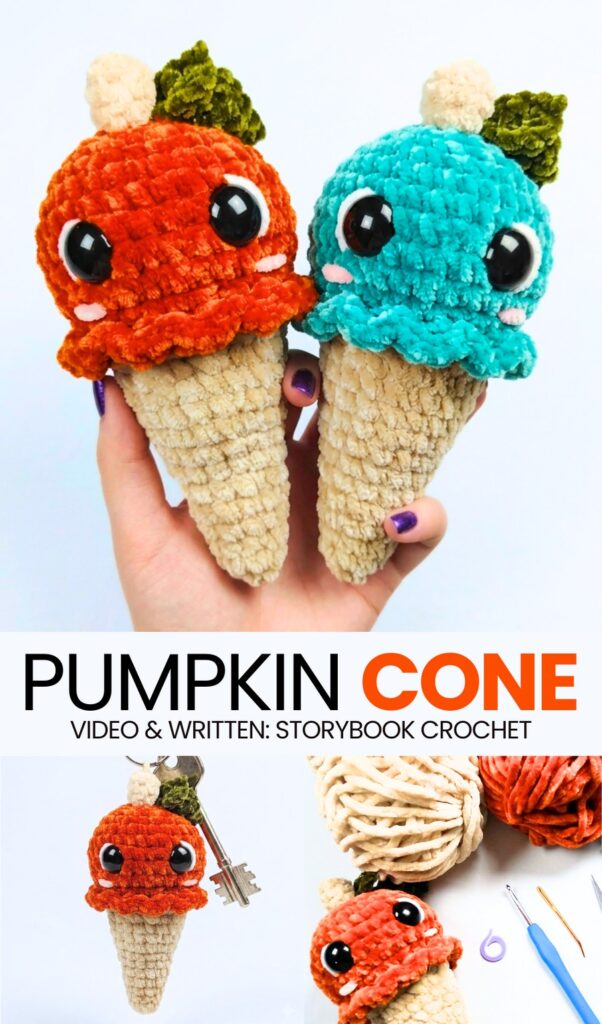
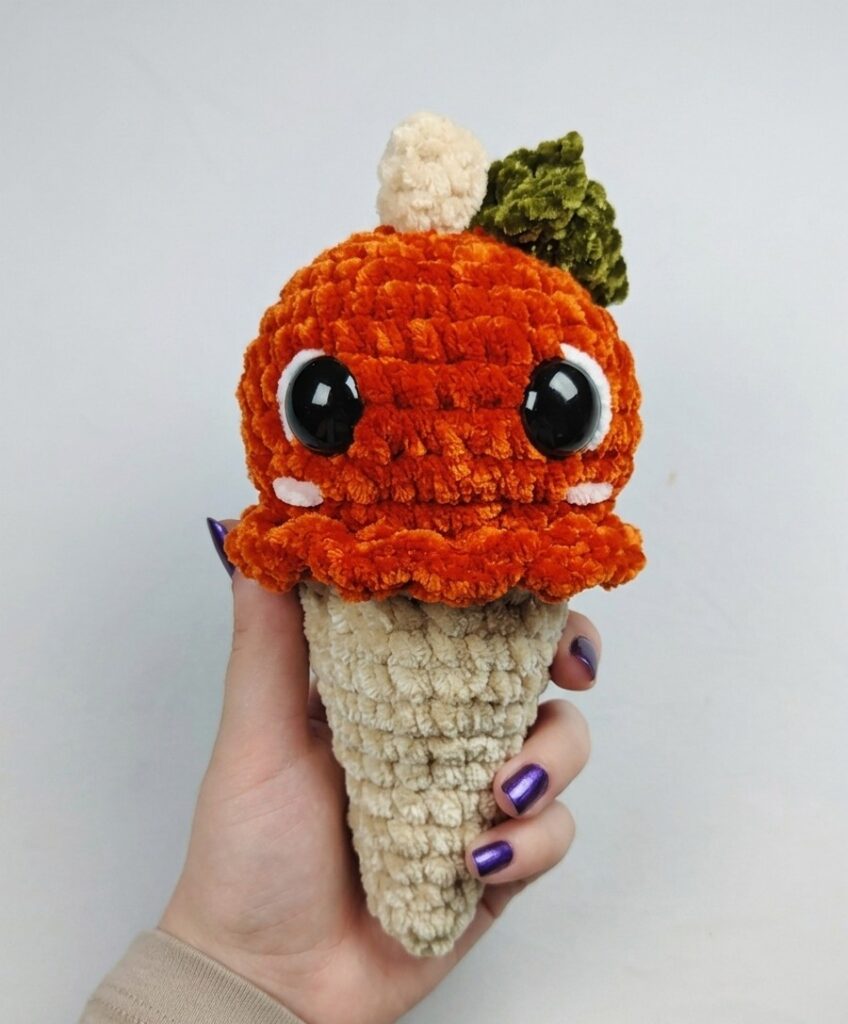
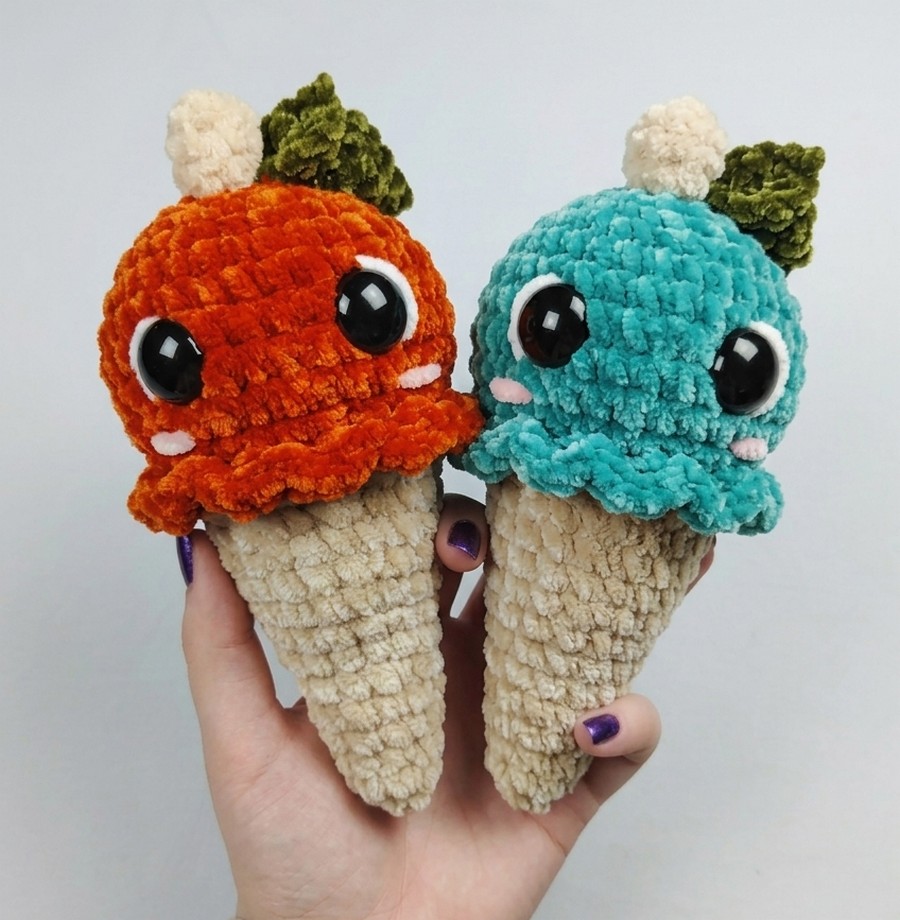
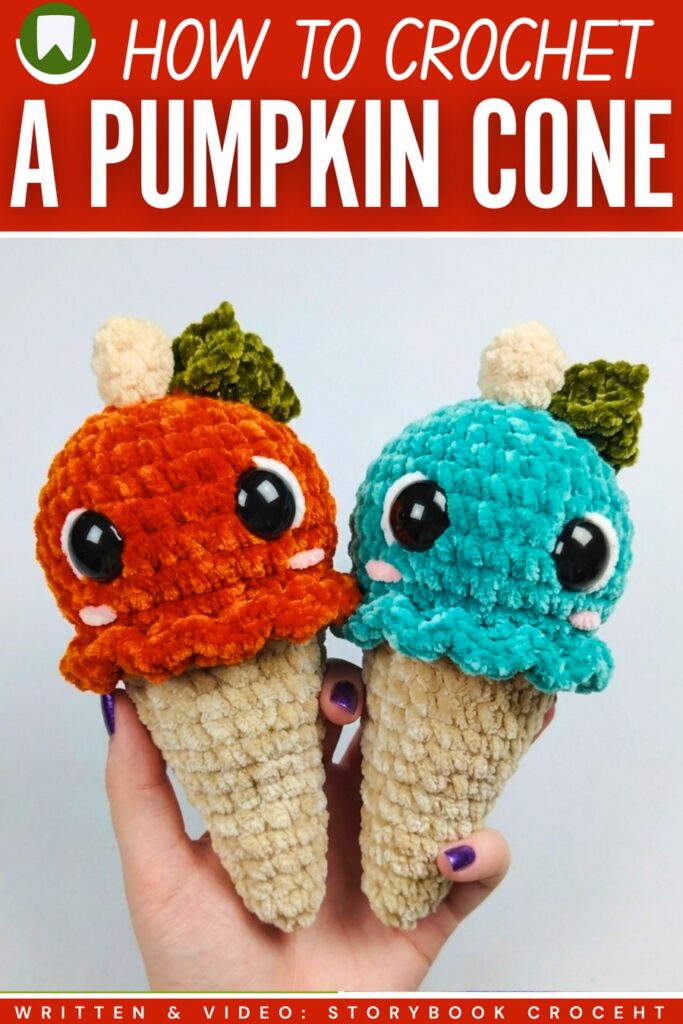
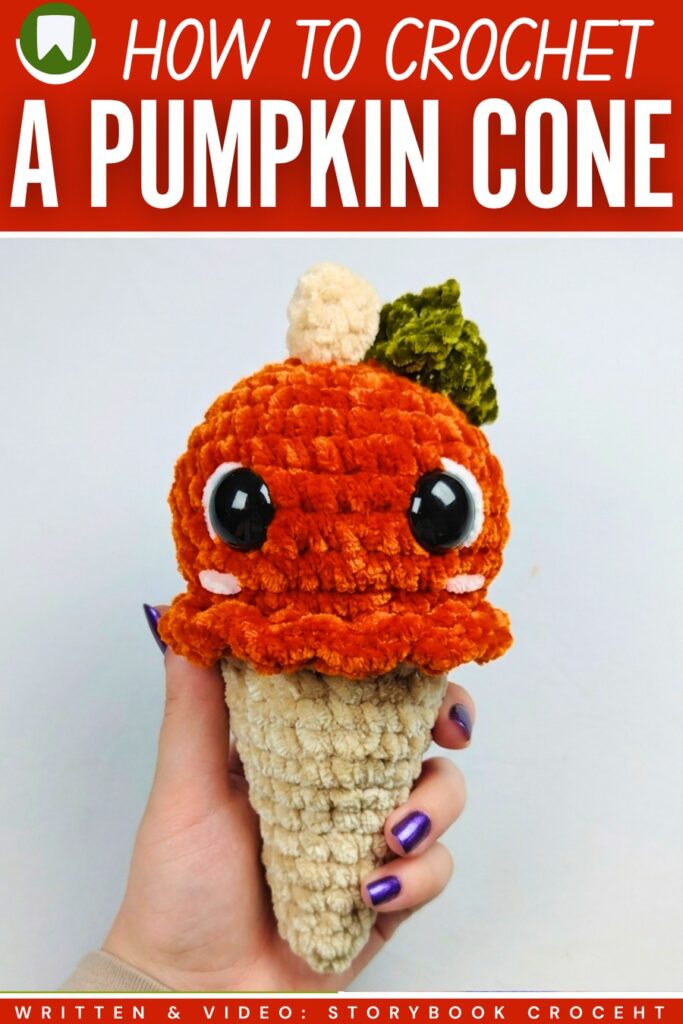
Well, why not a summer treat for the fall festival? This Halloween or Thanksgiving, crochet this KAWAII pumpkin ice cream cone plushie with a step-by-step tutorial! This is an oh-so-cute big-eyed ice cream cone with the orange scoop, blush & a leaf and pumpkin stalk. It is an irresistible Thanksgiving present alongside the turkey & a Halloween present alongside the candy corn.
And luckily, crocheting this cone pumpkin plushie requires the traditional ice cream cone plushie pattern. That’s why you can also transform it into a strawberry, chocolate, and even an acorn corn plush.
If you want to add a mood, you can also embroider a smiling mouth onto your pumpkin cone plush. Even an amigurumi version of this cone plush will look simply adorable. My favorite part is the eye, as it is bigger than usual and makes our cone look innocent and kawaii. Also, the white embroidery part and the velvety leaf. Anyway, continue reading to learn more about this pumpkin cone plush project.
[ez-toc]
Crochet Pumpkin Scoop Ice Cream Cone Plushie Tutorial
Learn how to crochet a pumpkin ice cream cone amigurumi with this tutorial. First, you crochet a beige cone using basic rounds and increases. Then, you make the orange pumpkin ice cream scoop, which includes normal increases, decreases, and a scalloped edge made with slip stitches and single crochets.
The cone and scoop are stuffed and sewn together. Next, you crochet a small beige stem, a green leaf, and a curly green vine, sewing them onto the scoop. Finally, safety eyes and simple embroidered facial details using white and pink yarn are added for character.
Difficulty Level
Easy / Advanced Beginner
You will need single crochet and slip stitch. The construction is simple rounds, but techniques like working in the front loop or back loop only and creating the curly vine (increasing in every chain) make it a bit more complex than an absolute beginner pattern.
Pattern Abbreviations Used
- MR: Magic Ring
- sc: Single Crochet
- inc: Increase
- dec: Decrease
- sl st: Slip Stitch
- hdc: Half Double Crochet
- FLO: Front Loop Only
- BLO: Back Loop Only
- ch: Chain
Materials Needed
- Bulky weight (size 5) or worsted weight yarn (beige/tan, orange, green, white, pink)
- 4.0 mm crochet hook
- Stitch marker
- Yarn needle
- Scissors
- Fiberfill stuffing
- 20 mm safety eyes
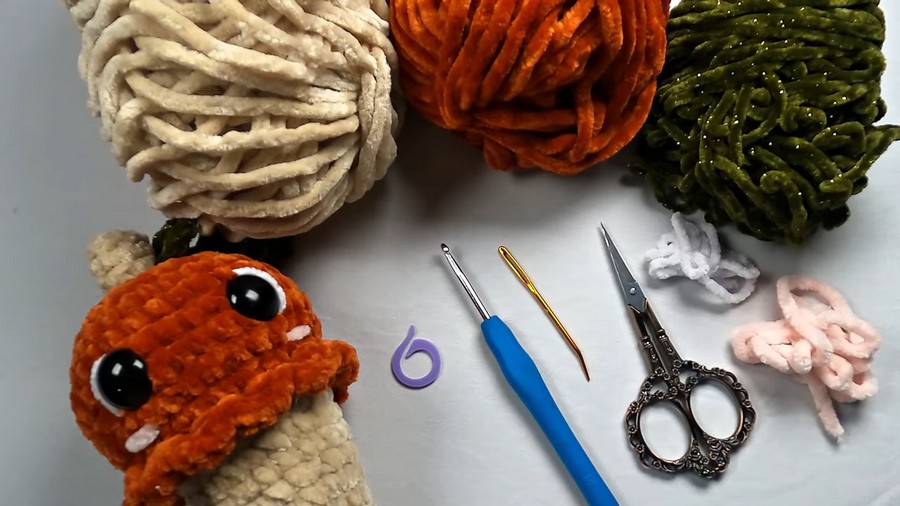
How to Make the Difficult Stitches
While mostly basic stitches are used, the tutorial also has a few of the following techniques:
Front Loop Only (FLO) Decrease (Invisible Decrease)
- Insert your hook up into the front loop only of the next stitch.
- Pull your yarn through (two loops on the hook).
- Insert your hook into the front loop only of the very next stitch.
- Pull your yarn through again (three loops on the hook).
- Yarn over and pull through all three loops.
Learn Crocheting Now!
Better learn the whole method of crocheting this plushie ice cream cone with the following tutorial:
Written Pattern?
You can buy an ad-free PDF pattern or use the “ask” feature of the tutorial to retrieve the quick pattern. Both these methods are designer-compliant!
Share on Social Media!
See More:

Crochet CUTEST Guest-Welcoming BOO Ghost with Bow, Hat and Pumpkin Accessories

Tester Call: How to Crochet A Candy Corn, Pumpkin & Kawii Buddy Potted Plant Plushie

Featuring: How to Crochet the Smallest Pumpkin Fall Turtle Plushie with Orange & Parrot

Pattern Tester: How to Crochet Pumpkin Ridges Face Donut Ring Plushie for Fall

How to Crochet An Amigurumi Long-Legged Kawaii Pumpkin in Shoes Buddy

How to Granny Square with Pumpkin Applique in the Middle

Tester Pattern: To Crochet Pumpkin Hello Kitty Plushie with Big Paws Buddy

Featuring: How to Crochet Tiered Unusual Texture Pumpkin Decoration (3 Sizes)

Tester Pattern: To Crochet A Grizzly Bear Presenting You A Pumpkin Plushie
