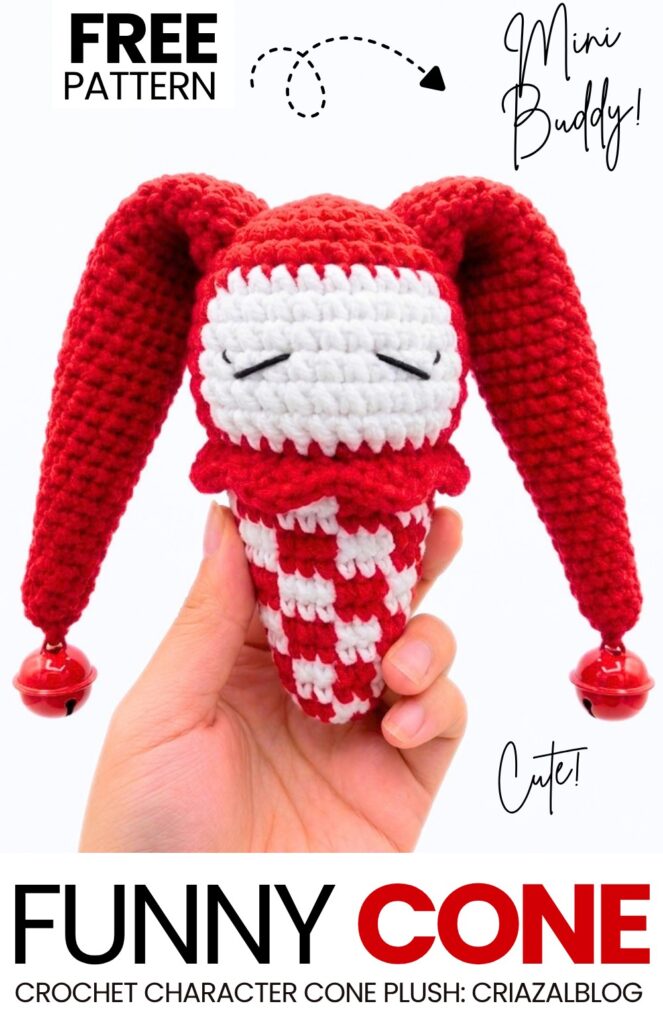
Today’s crochet tester call is part 1 of a two-part crochet festive jester scoop on a cone plushie pattern series. The first one that you will learn in this tutorial is designed for Christmas, and the latter is for Halloween and fall. So, follow this FREE written pattern to crochet this oh-so-cute red Mr. enternainer scoop on a checkered cone plushie as a last-minute gift for kids and an anti-stress toy for adults.
You can also crochet this festive red and white funny plush as a Christmas ornament. With the ice cream cone being completely no-sew, this is the only crochet festive anti-stress sweet plushie you need this year.
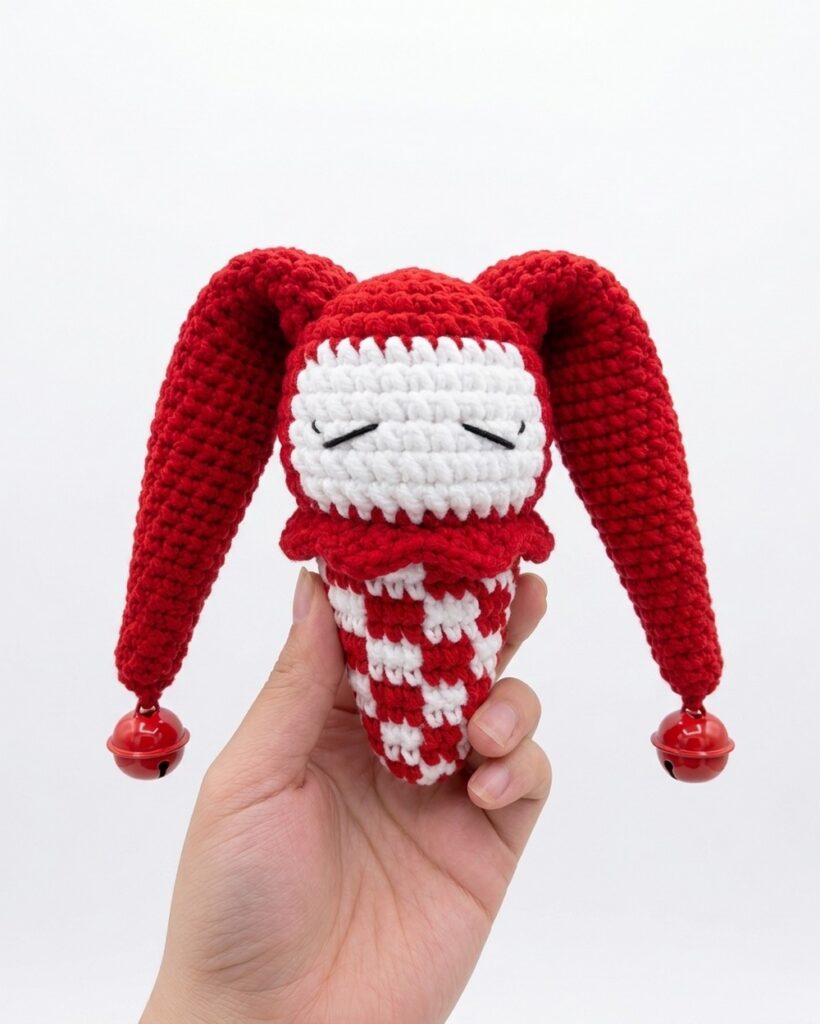
Crocheting this plush won’t take more than 45 minutes. The best part is its clown candy corn ears, with a colorwork hoodie and face as well. You can easily crochet this plush for all the kids and for friends. Now, continue reading for learning more about this crochet plush jester!
Jester Ice Cream Cone Amigurumi Pattern
Skill Level: Intermediate
Abbreviations (US Terms)
MR: Magic Ring
sc: Single Crochet
hdc: Half Double Crochet
inc: Increase (2 sc in the same stitch)
dec: Decrease (sc 2 together)
sl st: Slip Stitch
ch: Chain
BLO: Back Loop Only
FLO: Front Loop Only
st(s): Stitch(es)
Materials Needed
Main Body & Horns
Bulky / Chenille Yarn:
Crimson Red: Main color for the top scoop, horns, ruffle, and cone checks.
White: For the face patch and cone checks.
Main Crochet Hook: 4.5mm–5.5mm hook (or size needed for bulky yarn weight).
Face & Finishing Details
Black Embroidery Thread or Fine Yarn: For the sleepy closed eyes.
Large Red Jingle Bells: 2 bells for the tips of the jester horns.
Notions: Fiberfill stuffing, yarn needle, stitch marker, scissors.
Pattern Instructions
Part 1: The Color-Blocked Scoop
Worked in continuous rounds from top to bottom. Keep the unused yarn carried behind your work (tapestry crochet) during the face rounds.
Start with Red Bulky Yarn:
Rnd 1: 6 sc in a magic ring. (6)
Rnd 2: Inc in each st around. (12)
Rnd 3: [1 sc, inc] 6 times. (18)
Rnd 4: [2 sc, inc] 6 times. (24)
Rnd 5: [3 sc, inc] 6 times. (30)
Begin Face Color Pattern (Rnds 6-10):
Rnd 6–10: 8 sc in Red, 14 sc in White (this forms the face patch), 8 sc in Red. (30 sts for 5 rounds)
Switch entirely back to Red Yarn:
Rnd 11: [3 sc, dec] 6 times. (24)
Rnd 12 (The Ruffle): Work in FLO for this round. [Sl st in next st, skip 1 st, 4 hdc in next st, skip 1 st] repeat around to create the red ruffled edge. Fasten off red yarn.
Part 2: The Checkered Cone
Attach Red Yarn to the first unworked Back Loop from Rnd 11, behind the ruffle. Note: Carry both Red and White yarn throughout the cone. To create the checkerboard pattern, alternate between Red and White every 2 stitches, swapping your starting color every 2 rounds.
Rnd 13: Working in BLO of Rnd 11, [2 sc in Red, 2 sc in White] 6 times around. (24)
Rnd 14: [2 sc, dec] 6 times, continuing to alternate colors every 2 stitches. (18)
Rnd 15: Shift the color block: start with White over the Red stitches. Sc in each st around, alternating 2 White, 2 Red. (18)
Rnd 16: Sc in each st around in the established check pattern. (18)
Rnd 17: [1 sc, dec] 6 times, alternating colors. (12)
Rnd 18–19: Sc in each st around, ensuring you shift the starting color on Rnd 18 to maintain the staggered checkerboard effect. (12)
Pause to stuff the scoop firmly and begin stuffing the upper cone.
Rnd 20: Dec 6 times. (6)
Rnd 21: Sc in each st around. (6)
Finish: Fasten off leaving a short tail. Weave the tail through the front loops of the remaining 6 stitches, pull tight to close the bottom tip of the cone, and hide the end.
Part 3: Jester Horns (Make 2)
Worked using Red Bulky Yarn. The pattern increases by 2 stitches every second round to create a long, gradually widening shape.
Rnd 1: 4 sc in a magic ring. [4]
Rnd 2: Sc in each st around. [4]
Rnd 3: [1 sc, inc] 2 times. [6]
Rnd 4: Sc in each st around. [6]
Rnd 5: [2 sc, inc] 2 times. [8]
Rnd 6: Sc in each st around. [8]
Rnd 7: [3 sc, inc] 2 times. [10]
Rnd 8: Sc in each st around. [10]
Rnd 9: [4 sc, inc] 2 times. [12]
Rnd 10: Sc in each st around. [12]
Rnd 11: [5 sc, inc] 2 times. [14]
Rnd 12: Sc in each st around. [14]
Rnd 13: [6 sc, inc] 2 times. [16]
Rnd 14: Sc in each st around. [16]
Rnd 15: [7 sc, inc] 2 times. [18]
Rnd 16: Sc in each st around. [18]
Rnd 17: [8 sc, inc] 2 times. [20]
Rnd 18: Sc in each st around. [20]
Rnd 19: [9 sc, inc] 2 times. [22]
Rnd 20: Sc in each st around. [22]
Rnd 21: [10 sc, inc] 2 times. [24]
Rnd 22: Sc in each st around. [24]
Rnd 23: [11 sc, inc] 2 times. [26]
Rnd 24: Sc in each st around. [26]
Rnd 25: [12 sc, inc] 2 times. [28]
Rnd 26: Sc in each st around. [28]
Finish: Fasten off, leaving a long tail for sewing. Partially stuff the horns with fiberfill, focusing the stuffing on the wider top section and leaving the bottom tips lightly stuffed so they drape downwards.
Detailed Assembly & Finishing Guide
Face Embroidery:
Thread a needle with black embroidery floss or fine black yarn.
Embroider two simple, straight downward-angled lines (
\and/) in the center of the white face patch across Rnds 7–8 to create closed, sleepy eyes.Space the inner corners of the eyes about 3-4 stitches apart.
Horn Placement:
Position the wide, open ends of the jester horns on the top sides of the red scoop head, spanning across Rnds 3–6.
Pin them securely so they fall downward alongside the face patch, then whip stitch around the entire base of each horn to secure them to the scoop.
Attaching the Bells:
Using a small strand of red yarn, securely tie one large red jingle bell to the very bottom tip (Rnd 1) of each horn. Weave the loose ends back into the horn to hide them.
See More:
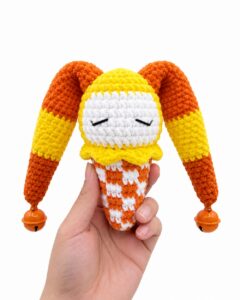
How to Crochet Candy Corn Mr. Enternainer Scoop & Cone Plushie for Gifting
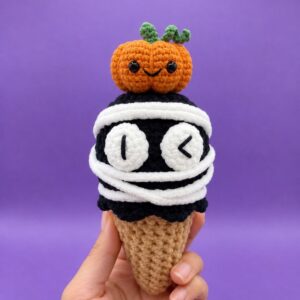
Pattern Tester: How to Crochet Funny Mummy Scoop & Cone in Orange Hat Plushie
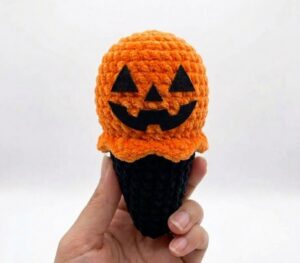
Tester Call: How to Crochet Spooky Face Ice Witch Cone Plushie
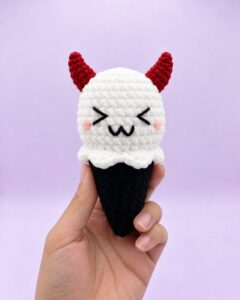
Pattern Tester: To Crochet Red-Horned Meow Ghost Treat Cone Plushie for Gifting
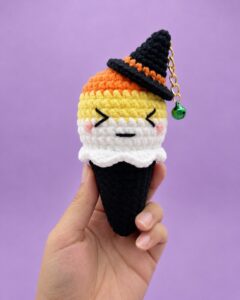
Tester Call: Crochet Orange, Yellow & White Treat Cone Plushie for Gifting
How to Crochet CUTE Pumpkin Ice Cream Cone Plushie for Fall & Halloween

Tester Call: How to Crochet Mr. Santa Anti-Stress Donut Ring Plushie for Christmas
Pattern Tester: How to Crochet Eyes Donut Ring Plushie with Long Arms

Pattern Tester: How to Crochet Pumpkin Ridges Face Donut Ring Plushie for Fall