Show support for Putri! Pattern type: Video Tutorial
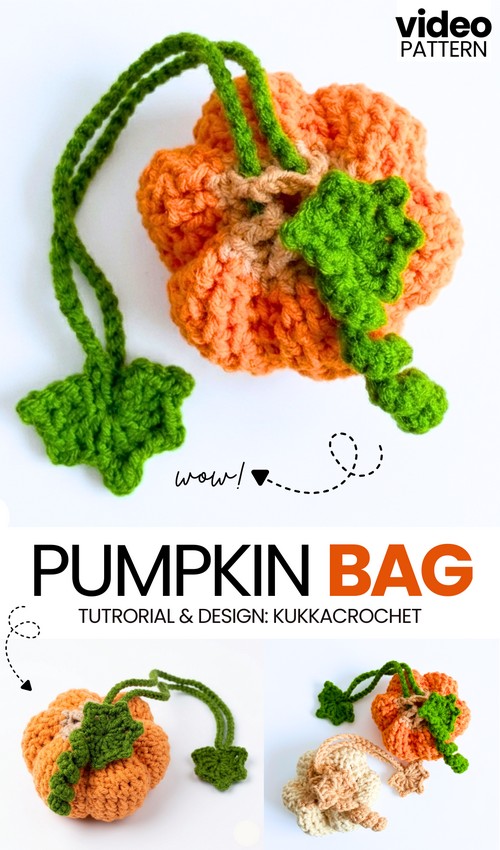
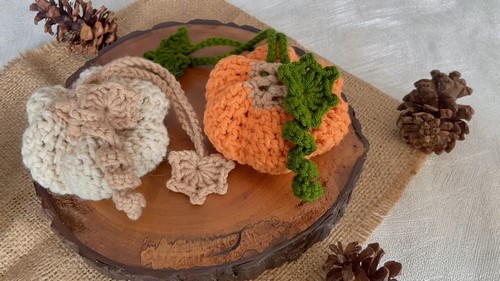
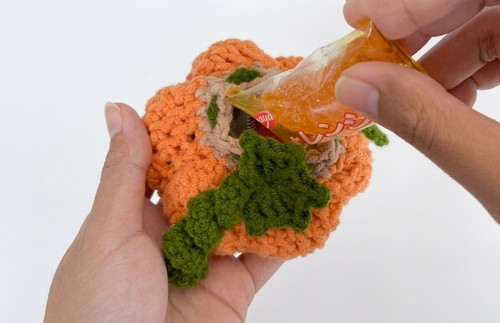
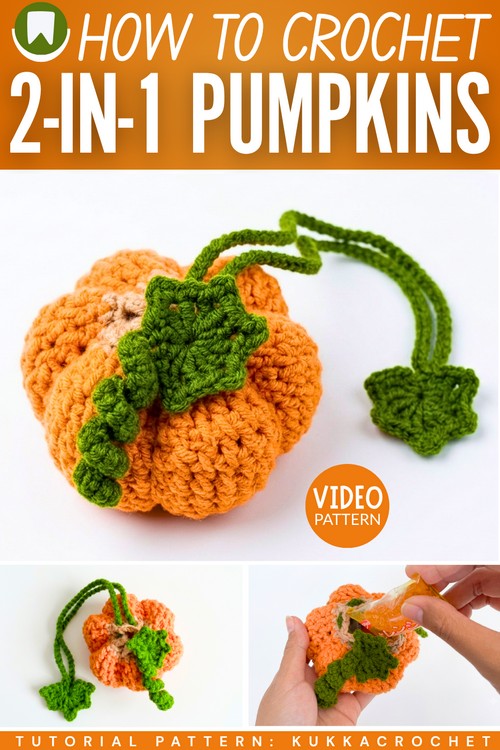
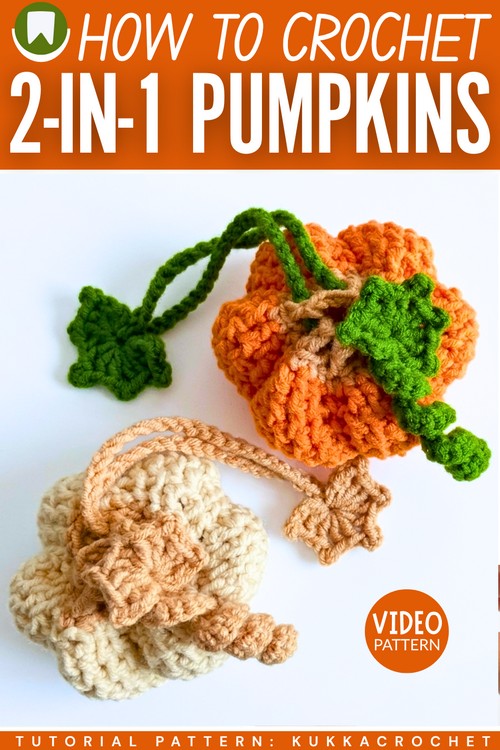
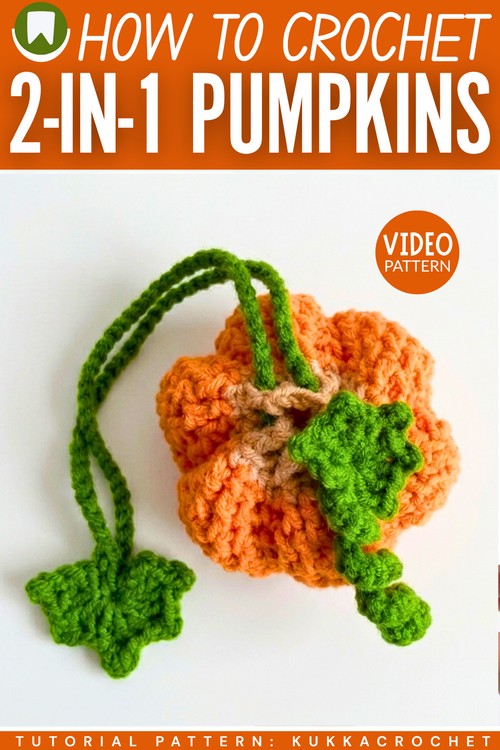
For this year’s trick-or-treating, learn how to crochet this last-minute pumpkin drawstring pouch with maple leaf charms! At first, it looks like a pumpkin bag charm, but it is wide enough to hold at least 50 candies. With the step-by-step tutorial, you can learn how to crochet an orange version with green leaves and a coiled vine. Or if you are looking for a more rustic crochet pumpkin, you can crochet the beige pumpkin with brown leaves, strings, and the vine.
This is such a small pumpkin pouch; you can crochet one for each kid around this Halloween. And when they are not in use, stuff your pumpkins with newspaper or fall dry fruits and let them double as your table decoration.
And when you are heading out, attach this pumpkin charm to your fall tote bag, letting it hold your first-hand makeup and coins. That’s why I call this the 3-in-1 pumpkin charm nobody should miss this fall. Looking to charm up this pumpkin? You can crochet our Halloween bat or a small acorn. Anyway, continue reading for more details about this crochet pumpkin pouch!
Tutorial to Crochet Pumpkin Drawstring Pouch
Follow this tutorial to crochet a pumpkin bag charm that works as a tiny pouch for sweets. First, you crochet the flat base in rounds. Then, you build the pumpkin body by grouping double crochet stitches to make the round ridges.
Next, you crochet the top, making spaces to pull a tie through. You make a long string to close the top opening. Finally, you crochet a green leaf and a curly string, then sew them onto the top. Once you connect the strap, your pumpkin charm is ready to hold small things.
Difficulty Level
Intermediate. You also must crochet very small parts like the leaf and the curly twig, which can be hard to hold. Lastly, you have to crochet mesh gaps in the top edge to thread the closing string.

Materials & Abbreviations
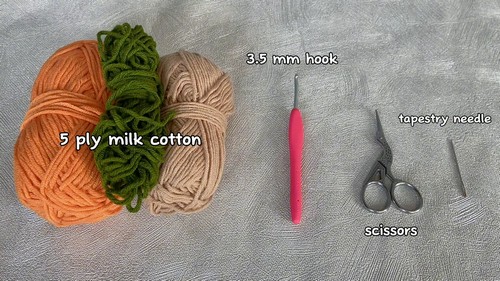
Materials Needed:
5-ply cotton yarn (orange for the pumpkin, green or brown for the leaf and twig)
2.5 mm crochet hook
Scissors
Tapestry needle
Pattern Abbreviations:
ch: Chain
sl st: Slip Stitch
sc: Single Crochet
hdc: Half Double Crochet
dc: Double Crochet
Difficult Stitches Explained
5 Double Crochet Shell (Used for the pumpkin ridges)
The pumpkin’s bumpy texture is made by putting five double crochets into a single space so they fan outward.
Yarn over, push your hook into the stitch, grab the yarn, and pull up a loop.
Yarn over and pull through the first two loops on your hook.
Yarn over and pull through the remaining two loops to finish one double crochet.
Repeat steps 1 through 3 four more times into the exact same stitch. This thick cluster of five stitches pushes outward to create the curved ridges of the pumpkin.
Learn Crocheting Now!
Better learn the whole method of crocheting this pumpkin pouch with the following tutorial:
Written Pattern?
Use the “ask” feature of the tutorial to retrieve the quick pattern. This method is designer-compliant!
Share on Social Media!
See More:

Crochet CUTEST Guest-Welcoming BOO Ghost with Bow, Hat and Pumpkin Accessories

Tester Call: How to Crochet A Candy Corn, Pumpkin & Kawii Buddy Potted Plant Plushie

Featuring: How to Crochet the Smallest Pumpkin Fall Turtle Plushie with Orange & Parrot

Pattern Tester: How to Crochet Pumpkin Ridges Face Donut Ring Plushie for Fall

How to Crochet An Amigurumi Long-Legged Kawaii Pumpkin in Shoes Buddy

How to Granny Square with Pumpkin Applique in the Middle

Tester Pattern: To Crochet Pumpkin Hello Kitty Plushie with Big Paws Buddy

Featuring: How to Crochet Tiered Unusual Texture Pumpkin Decoration (3 Sizes)

Tester Pattern: To Crochet A Grizzly Bear Presenting You A Pumpkin Plushie