Show support for Angelica!
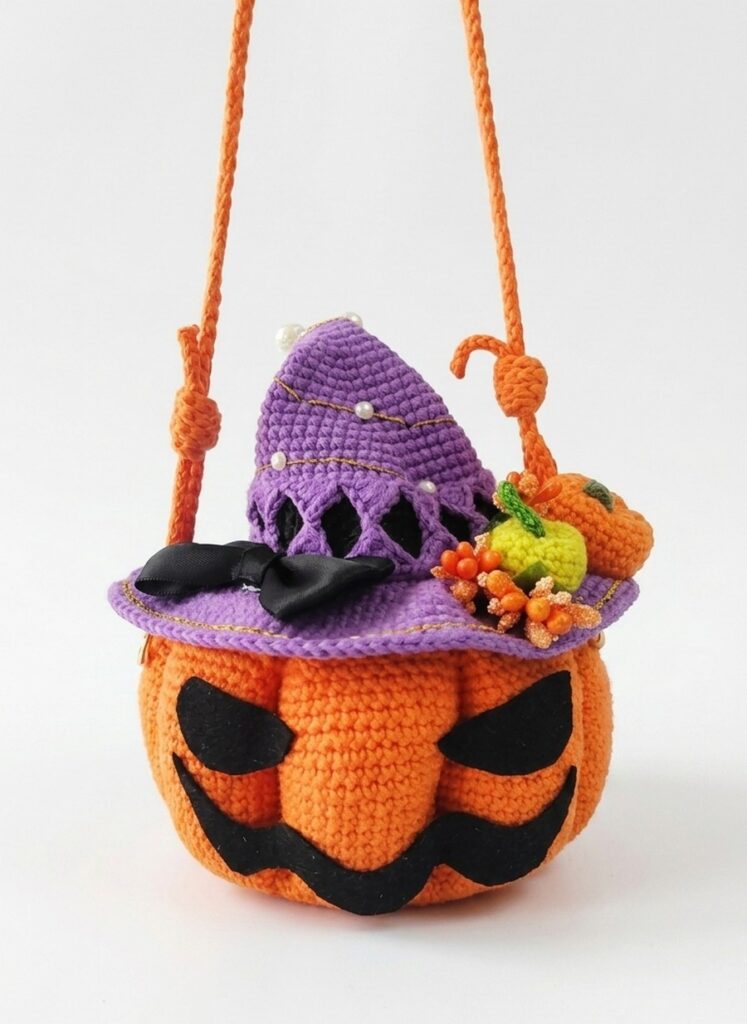
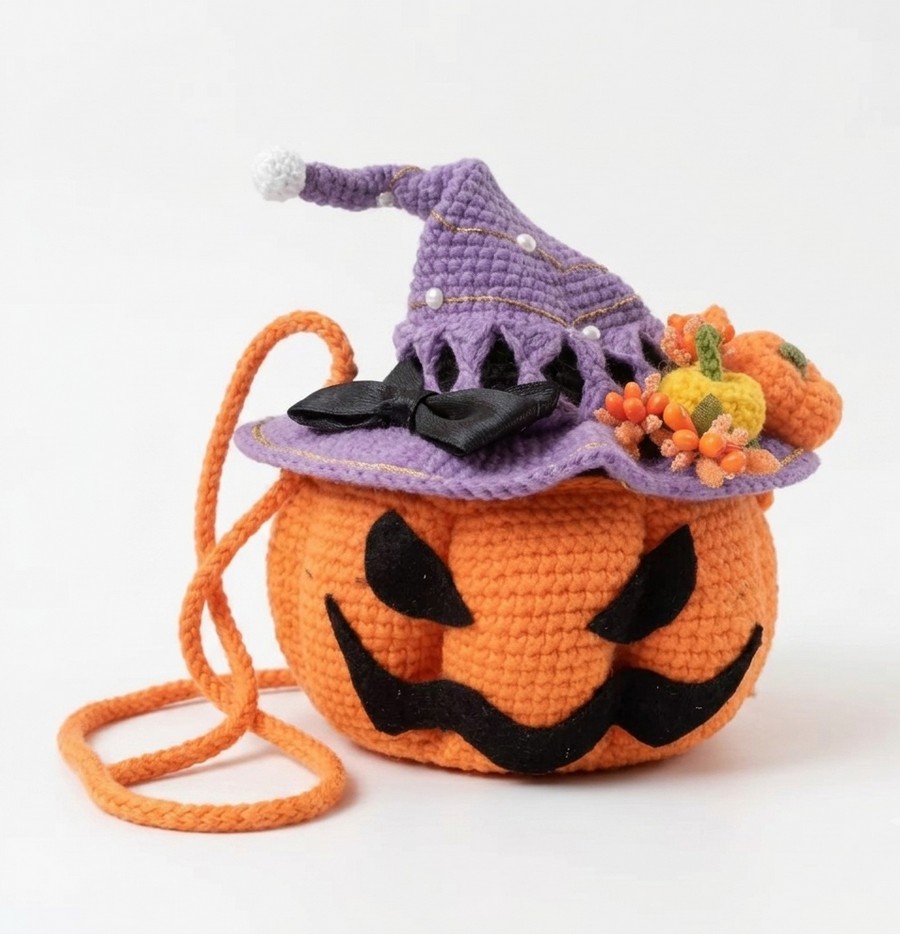
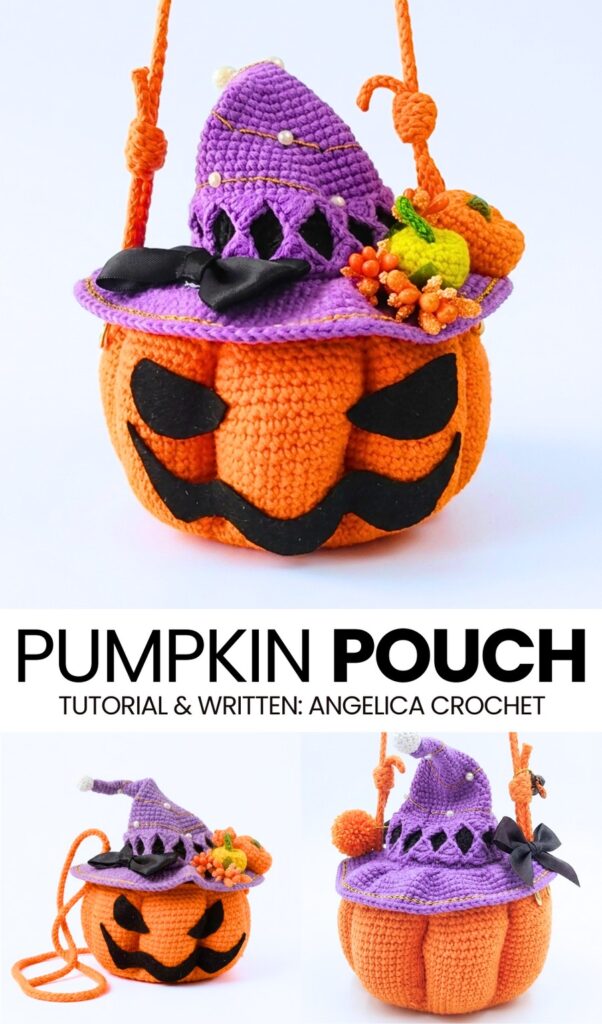
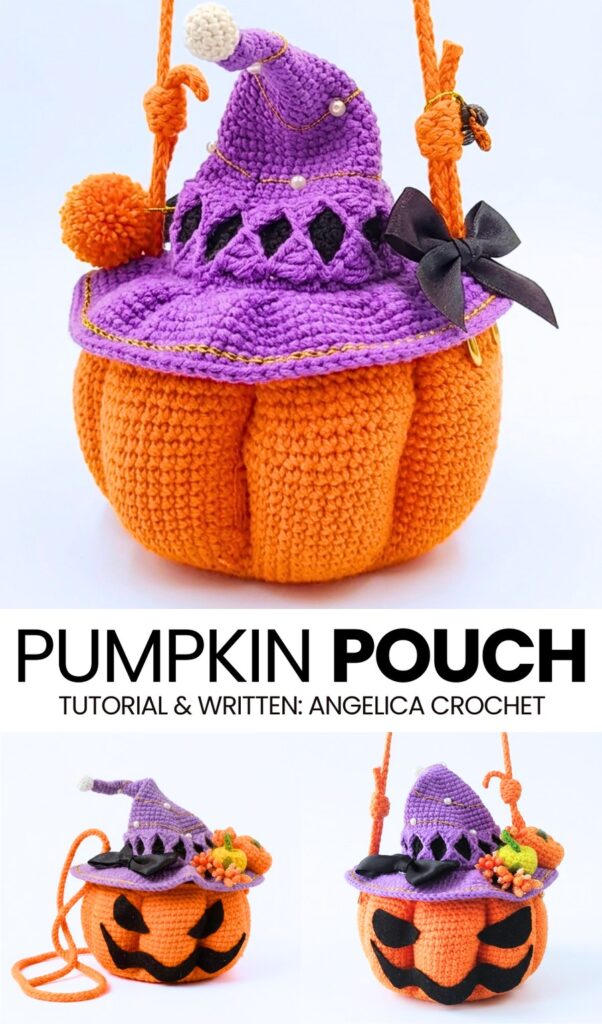
This Halloween, learn how to crochet this UNIQUE, detailed & spooky Halloween candy basket & shoulder bag with a written & video pattern. This is a big jack-o-lantern pumpkin pouch with a felt jack-o-lantern face wearing a stuffed pumpkin-embellished witch hat. The crochet witch hat is big enough to be actually worn by the little ones. This is perfect for adult trick-or-treating & carrying around during the Halloween season.
The crochet witch hat also has a row of diamond mesh and embroidery of the golden thread with half pearls and also the ruffles. Crochet this spooky pumpkin shoulder bag with a long half I-cord string, or you can also use the full I-cord for a comfier pumpkin bag.
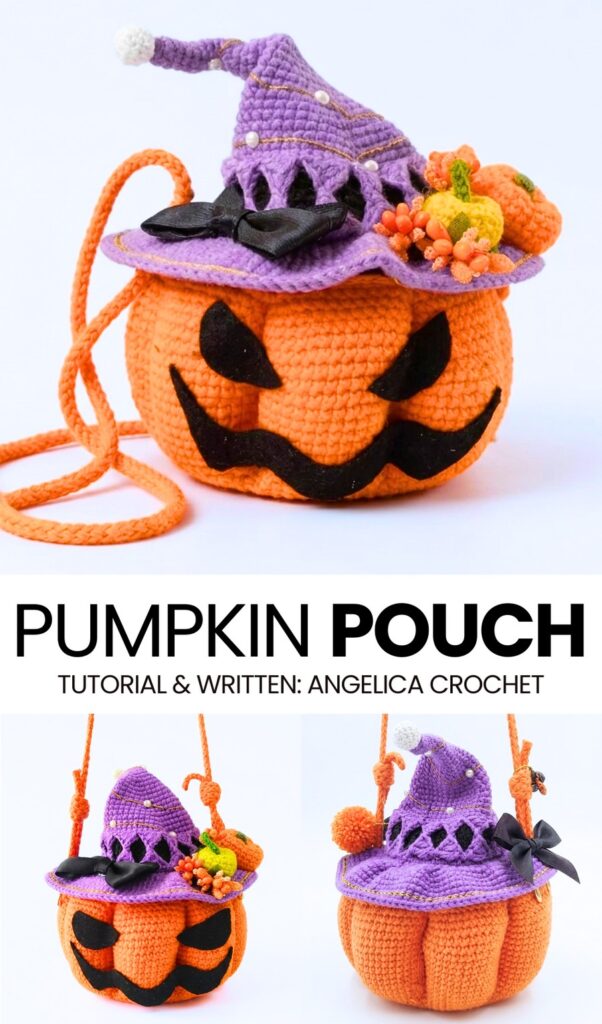
For this crochet spooky pumpkin basket, the witch hat will be used as a lid. I especially like how professional this crochet spooky pumpkin pouch looks. Just take a look at the metal clasps used to attach the bag handle to this pouch. Anyway, I can talk about this crochet bag the whole day; continue reading to learn more about this pumpkin project.
[ez-toc]
Pattern for Crocheting the Pumpkin Candy Basket
Let’s crochet a Halloween pumpkin that doubles as a functional candy basket or a festive centerpiece. It features a beautifully textured, 3D-ribbed pumpkin body constructed using a clever double-layer crochet technique, topped with a magical witch hat that acts as the lid.
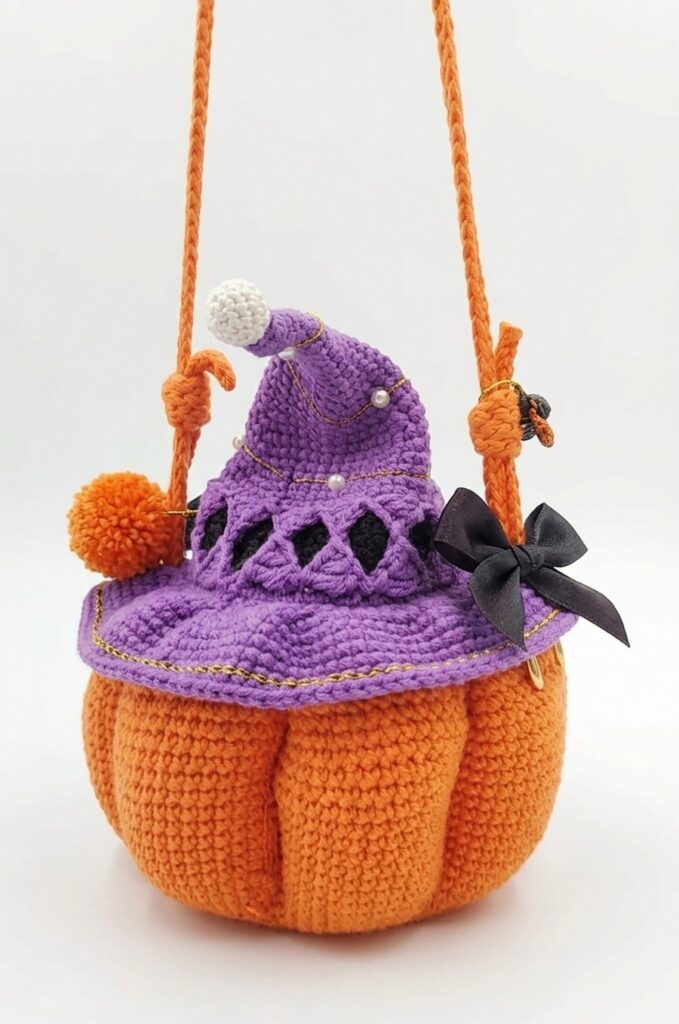
The hat is structurally reinforced to hold its shape and extravagantly decorated with a cute black ribbon bow, tiny crochet pumpkins, gold threading, and little pearls. It also includes hardware and a braided strap, turning it into a fully wearable and spellbinding accessory perfect for the spooky season!
Materials
Yarn: 100% Acrylic 6-ply yarn (approx. 3.5 oz / DK or Worsted weight) in Orange, Purple, and Black.
Hook: 2.5 mm crochet hook
Base: 10 cm circular wooden or acrylic base with 15 holes (or crochet a flat circle of 72 sts).
Structure: 50 cm of craft wire (for the hat).
Stuffing: Polyfill/toy stuffing.
Decorations: Gold thread, black felt, white fabric marker/paint, 18 cm black ribbon (5 cm wide), half-pearls, mini decorative flowers.
Hardware: 2 small D-rings for the basket handles.
Tools: Tapestry needle, scissors, instant fabric glue, lighter (to seal ribbon ends).
Abbreviations (US Terms)
MR: Magic Ring
ch: chain
sc: single crochet
hdc: half double crochet
dc: double crochet
tr: treble (triple) crochet
inc: increase (2 sc in the same stitch)
dec: decrease (sc 2 stitches together)
sl st: slip stitch
BLO: back loop only
FLO: front loop only
st(s): stitch(es)
Crochet Pattern
Part 1: The Pumpkin Body
Note: The pumpkin is made of an inner straight layer and a voluminous outer layer that connects to it.
Inner Layer (Orange Yarn)
Round 1 (Base): Attach yarn to a hole in the base. Crochet 5 sc in the first 3 holes, and 4 sc in the 4th hole. Repeat this sequence (5, 5, 5, 4) all the way around the 15 holes. Join with a sl st tightly. (72 sts)
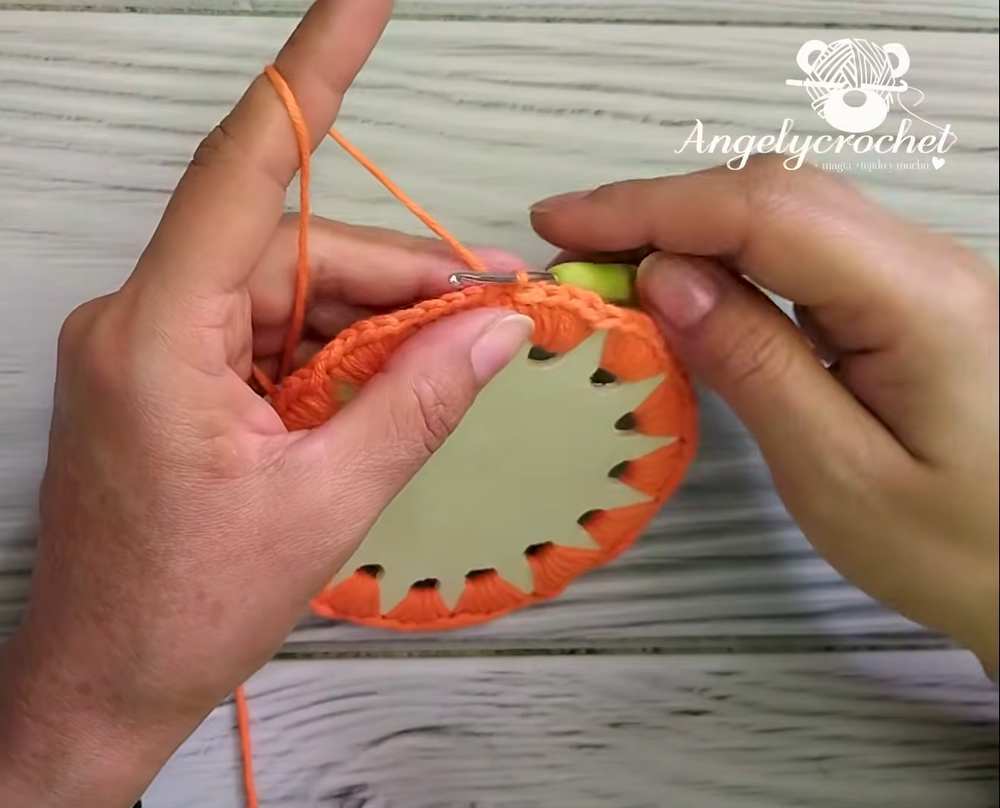
Round 2: ch 1, 1 sc in the BLO of each st around. Sl st to join. (72 sts) (Leave the front loops unworked; you will need them later).
Are you a Beginner? Learn Crocheting Easily!
You can learn to crochet better with this jack-o-lantern pumpkin pouch tutorial as a beginner:
Round 3: ch 1, 8 sc normally, 1 sc in the BLO of the next st. Repeat from * around. Sl st to join.
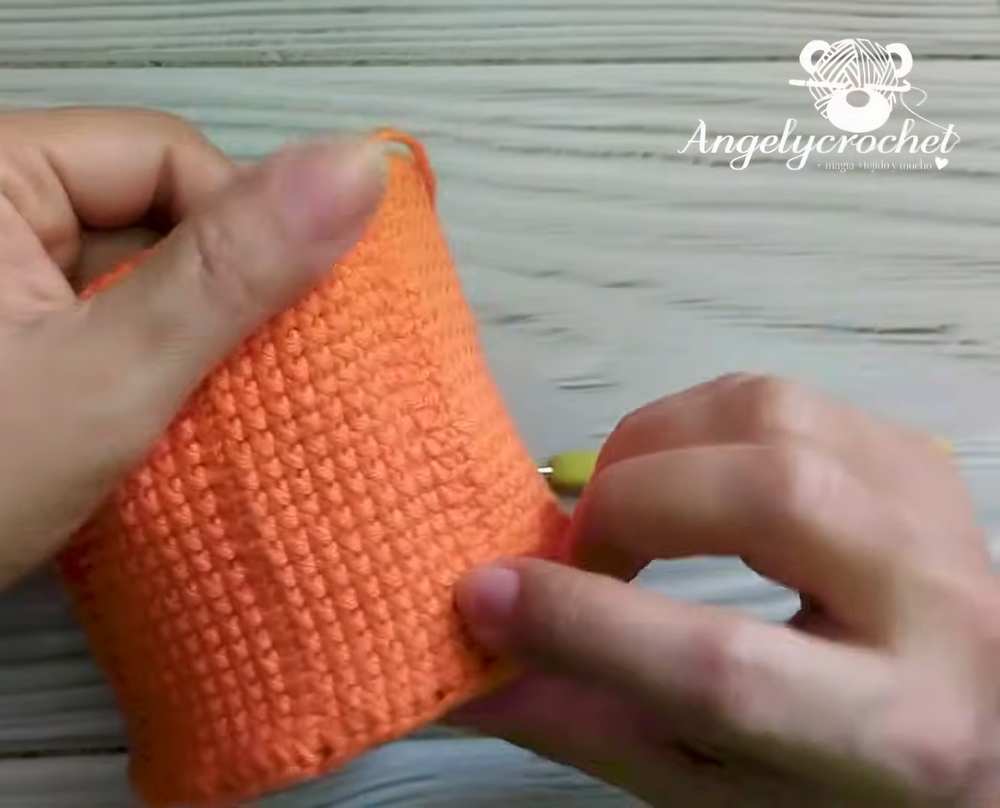
Rounds 4–21: Repeat Round 3. Ensure the BLO stitches stack directly on top of each other vertically—these serve as the anchor points for the pumpkin’s segments. Fasten off.
Outer Layer (Orange Yarn)
Join yarn to the unworked FLO of Round 2 from the inner layer.
Round 2 (Outer): ch 1, inc, 6 sc, inc, 1 sc. Repeat from * around. Sl st to join.
Round 3: ch 1, inc, 8 sc, inc. For the last sc of the group, insert your hook through the outer layer AND the corresponding BLO stitch of Round 3 on the inner layer to connect them. Repeat from * around.
Round 4: ch 1, inc, 10 sc, inc, 1 sc connecting to the inner layer. Repeat around.
Round 5: ch 1, inc, 12 sc, inc, 1 sc connecting to the inner layer. Repeat around.
Round 6: ch 1, inc, 14 sc, inc, 1 sc connecting to the inner layer. Repeat around.
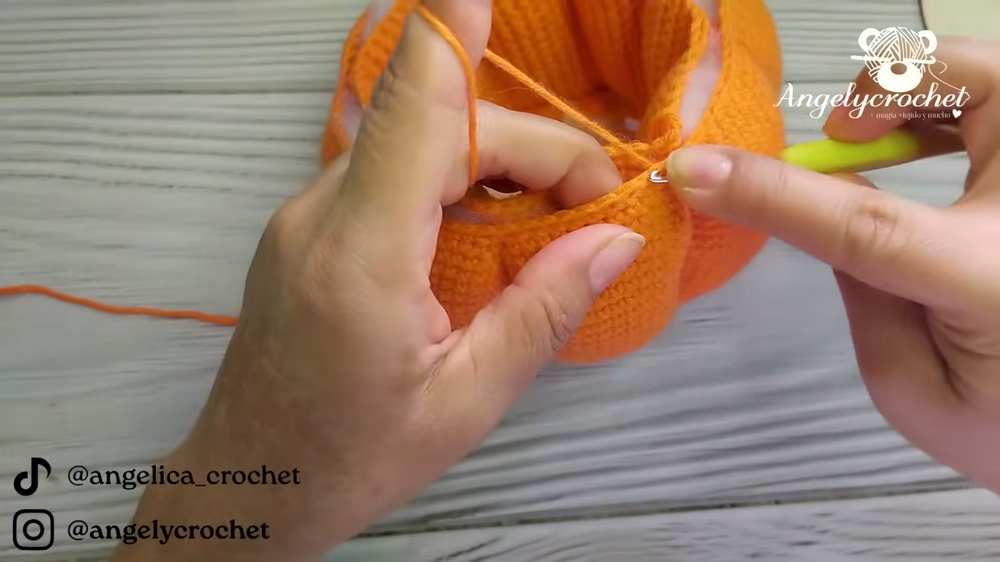
Rounds 7–17: ch 1, skip 1 st, inc, 14 sc, inc, skip 1 st, 1 sc connecting to the inner layer. Repeat around.
Round 18: ch 1, skip 1 st, 16 sc, skip 1 st, 1 sc connecting to the inner layer. Repeat around.
Round 19: ch 1, skip 1 st, 14 sc, skip 1 st, 1 sc connecting to the inner layer. Repeat around.
Round 20: ch 1, skip 1 st, 12 sc, skip 1 st, 1 sc connecting to the inner layer. Repeat around.
Round 21: ch 1, skip 1 st, 10 sc, skip 1 st, 1 sc connecting to the inner layer. Repeat around.
Round 22: ch 1, skip 1 st, 8 sc, skip 1 st, 1 sc connecting to the inner layer. Repeat around.
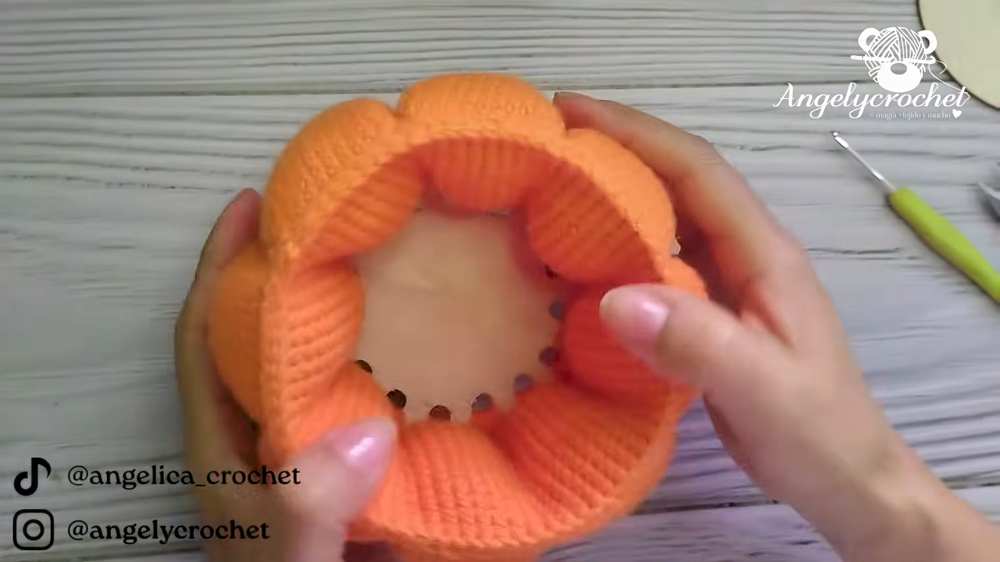
Stuffing: Generously stuff the pockets formed between the inner and outer layers to create the plump pumpkin lobes.
Round 23: Close the pumpkin by sl st loosely through both the outer layer and inner layer all the way around. Fasten off and weave in ends.
Part 2: The Witch Hat Lid
(Worked in joined rounds: ch 1 at start, sl st to join at the end of every round).
Hat Cone (Purple Yarn)
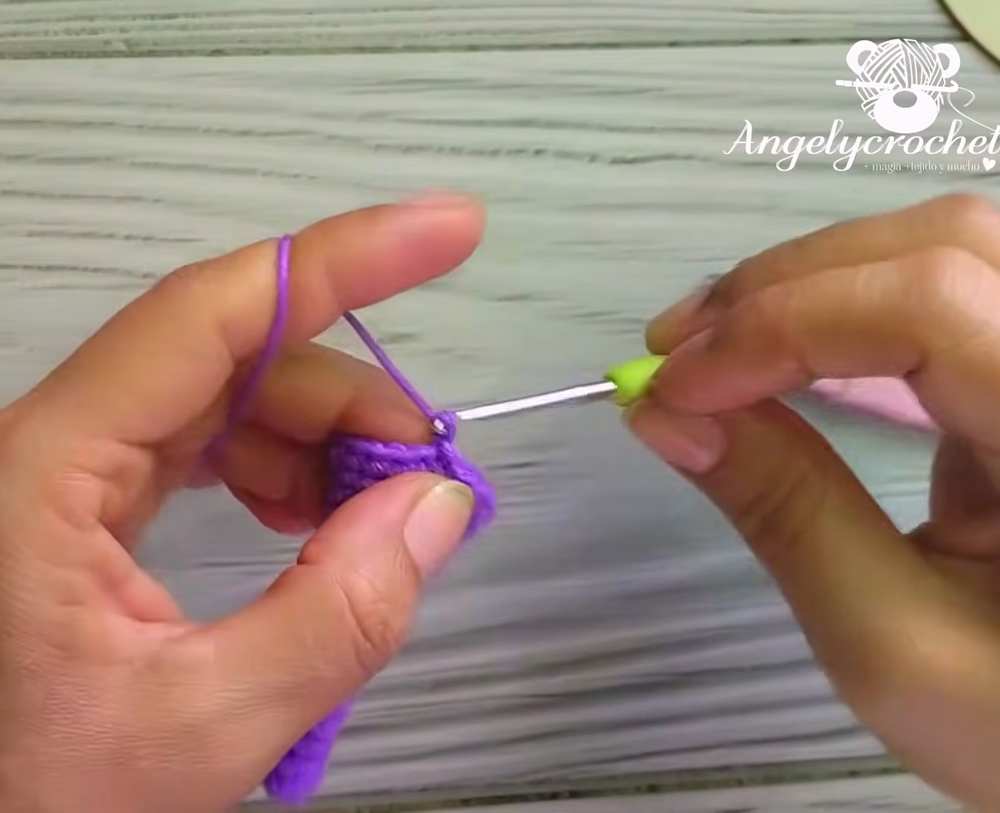
Round 1: MR, 6 sc. (6 sts)
Rounds 2–8: 1 sc in each st around. (6 sts)
Round 9: 1 sc, inc repeat 3 times. (9 sts)
Rounds 10–11: 1 sc in each st around. (9 sts)
Round 12: 2 sc, inc repeat 3 times. (12 sts)
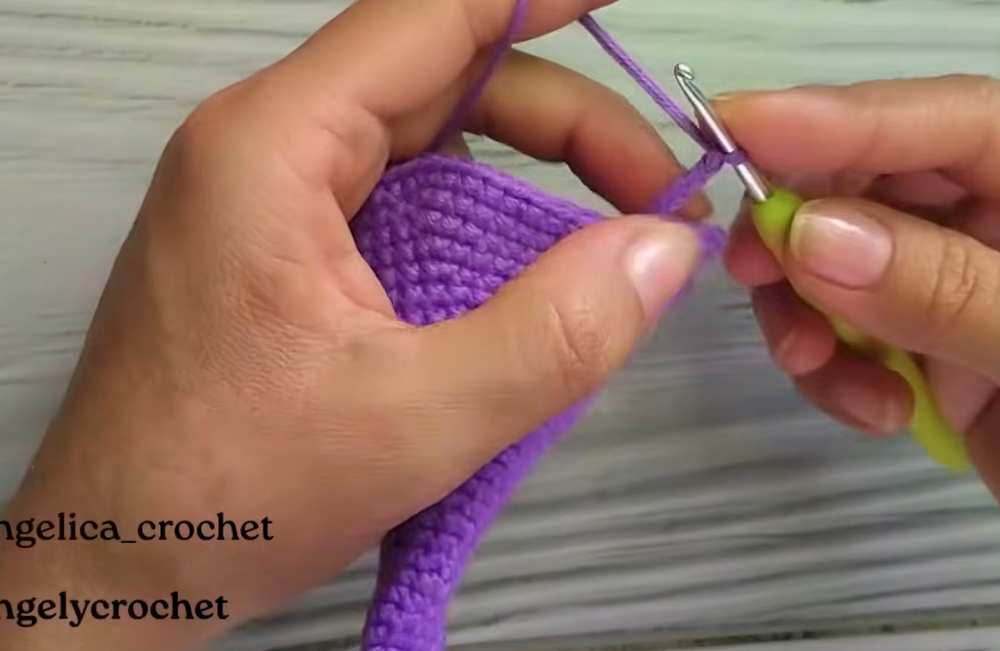
Rounds 13–14: 1 sc in each st around. (12 sts)
Round 15: 3 sc, inc repeat 3 times. (15 sts)
Round 16: 1 sc in each st around. (15 sts)
Round 17: 4 sc, inc repeat 3 times. (18 sts)
Round 18: 5 sc, inc repeat 3 times. (21 sts)
Round 19: 1 sc in each st around. (21 sts)
Round 20: 6 sc, inc repeat 3 times. (24 sts)
Round 21: 7 sc, inc repeat 3 times. (27 sts)
Round 22: 1 sc in each st around. (27 sts)
Rounds 23–30: Continue the increase sequence (adding 1 sc between incs every odd round, and working even on evens) until Round 30 reaches: 14 sc, inc repeat 3 times. (48 sts)
Round 31 (Hat Pointed Details): ch 4, sl st in 2nd ch from hook, hdc in next ch, dc in next ch. Skip 3 sts on base, sl st in the FLO of the 4th st. Repeat around to make 12 points. Fasten off Purple.
Hat Band (Black Yarn)
Round 32: Join Black yarn in the unworked BLO behind the points. 1 sc in each st around. (48 sts)
Round 33: 15 sc, inc repeat 3 times. (51 sts)
Round 34: 16 sc, inc repeat 3 times. (54 sts)
Round 35: 1 sc in each st around. (54 sts)
Round 36: 17 sc, inc repeat 3 times. (57 sts)
Round 37: 18 sc, inc repeat 3 times. (60 sts) Fasten off Black.
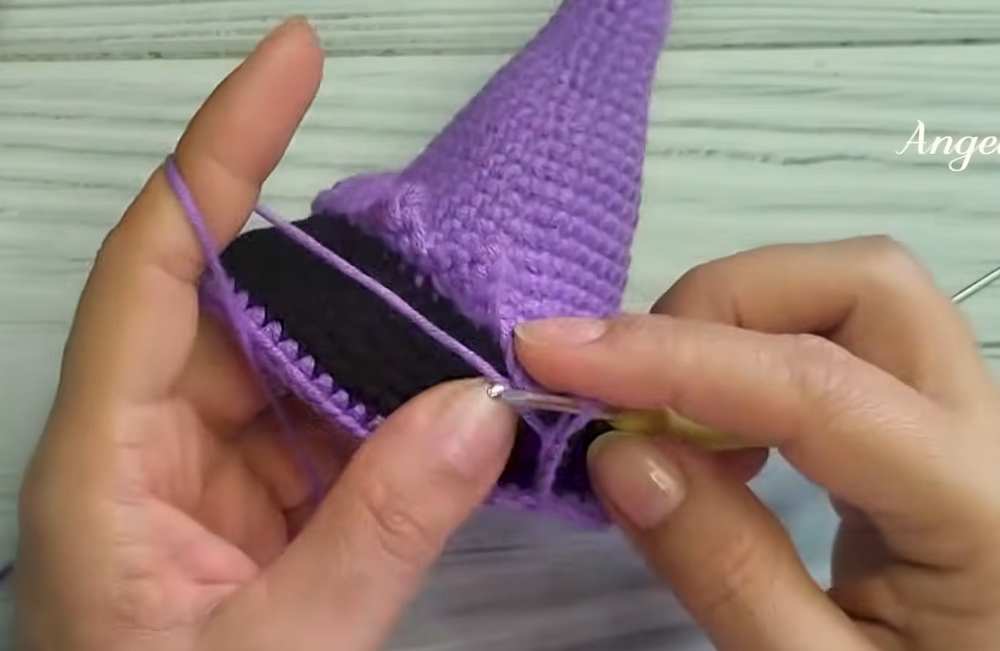
Hat Brim (Purple Yarn)
Round 38: Join Purple. 1 sc in each st. (60 sts)
Round 39 (Long points): Turn work! ch 3, sl st to the tip of the closest black point below. Work down the ch: hdc, dc, tr. Skip 4 sts on base, sl st in FLO of 5th st. Repeat around.
Round 40 (Adding the Wire): Take 50cm wire, bend the top and insert it up through the cone to give the hat structure. Crochet over the wire ring at the brim: working in the BLO behind the points, 9 sc, inc repeat 6 times. (66 sts)
Round 41: 10 sc, inc repeat around. (72 sts)
Round 42 (Ruffles): 3 sc in FLO, 3 sc in BLO of the same stitches, 7 sc normally. Repeat sequence around to create a rippled brim.
Round 43: inc, 3 sc, inc, 2 sc, inc, 2 sc, inc, 3 sc, inc, 2 sc, inc, 2 sc, inc, 3 sc repeat 3 times.
Round 44 (Strap holes): 34 sc, ch 3 (skip 3 sts), 56 sc, ch 3 (skip 3 sts), 28 sc.
Rounds 45–50: 1 sc in each st (and chain) around. Fasten off.
Detailing: Surface sl st with Gold thread between Rounds 48 and 49.
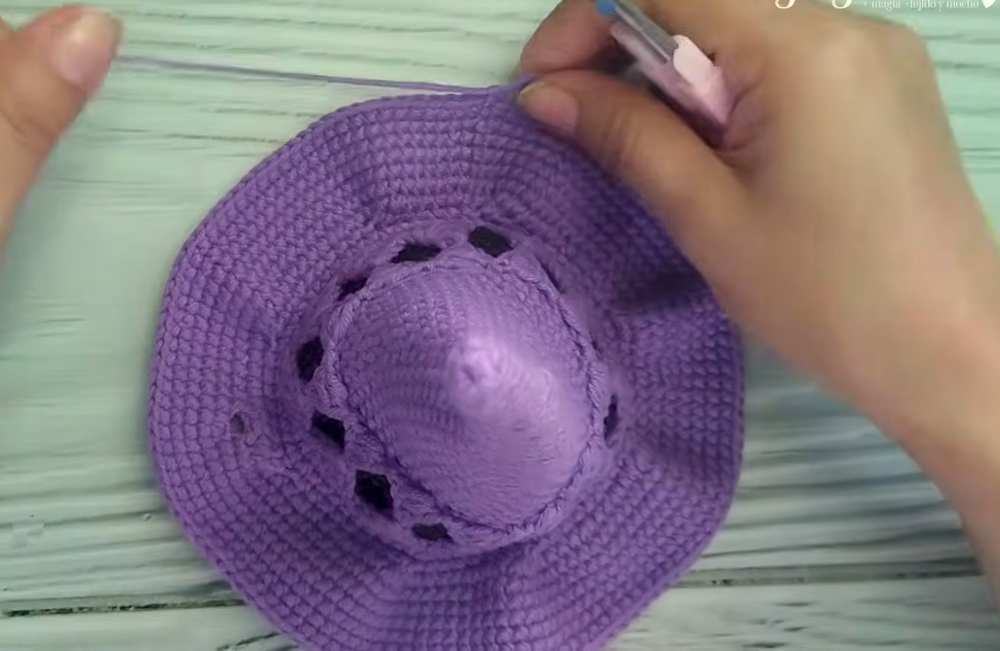
Inner Hat Cover (Purple)
Make a flat circle to cover the hollow cone of the hat.
MR, 6 sc. Increase by 6 evenly each round until you have 66 sts (matches the brim). Leave a long tail and sew it securely inside the hat base, hiding the wire structure.
Part 3: Mini Pumpkins (Appliques)
Round 1: MR, 6 sc (6 sts)
Rounds 2–4: Increase to desired size (e.g., up to 18 sts).
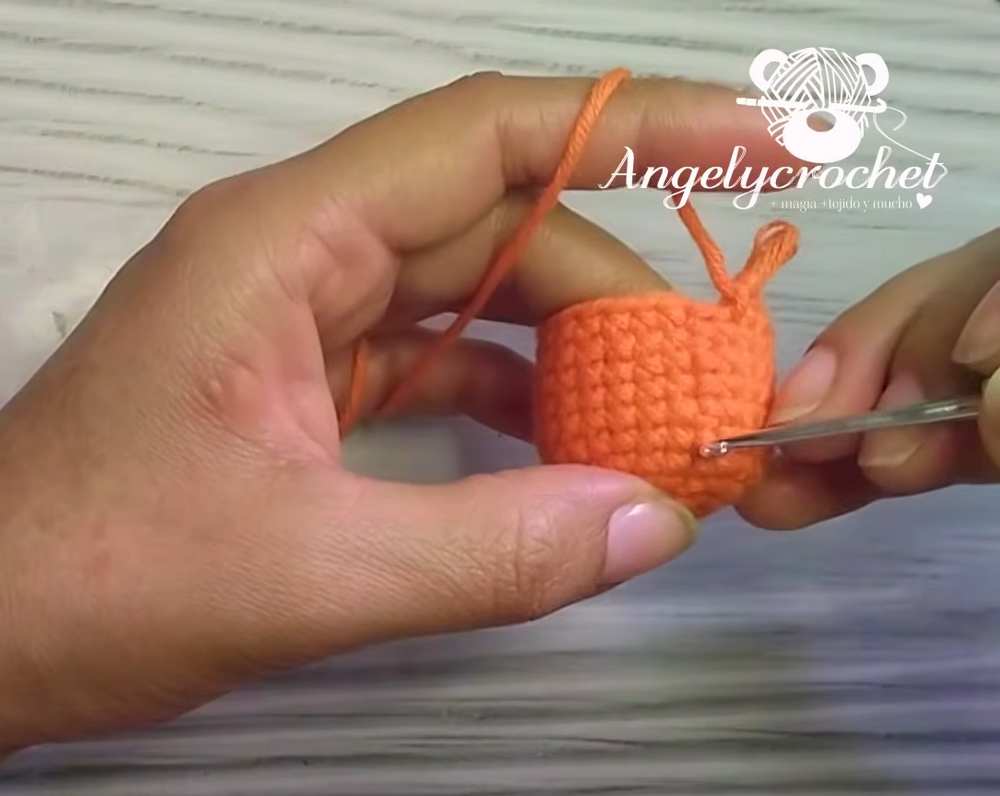
Rounds 5–6: Decrease back down to 6 sts. Stuff firmly before closing.
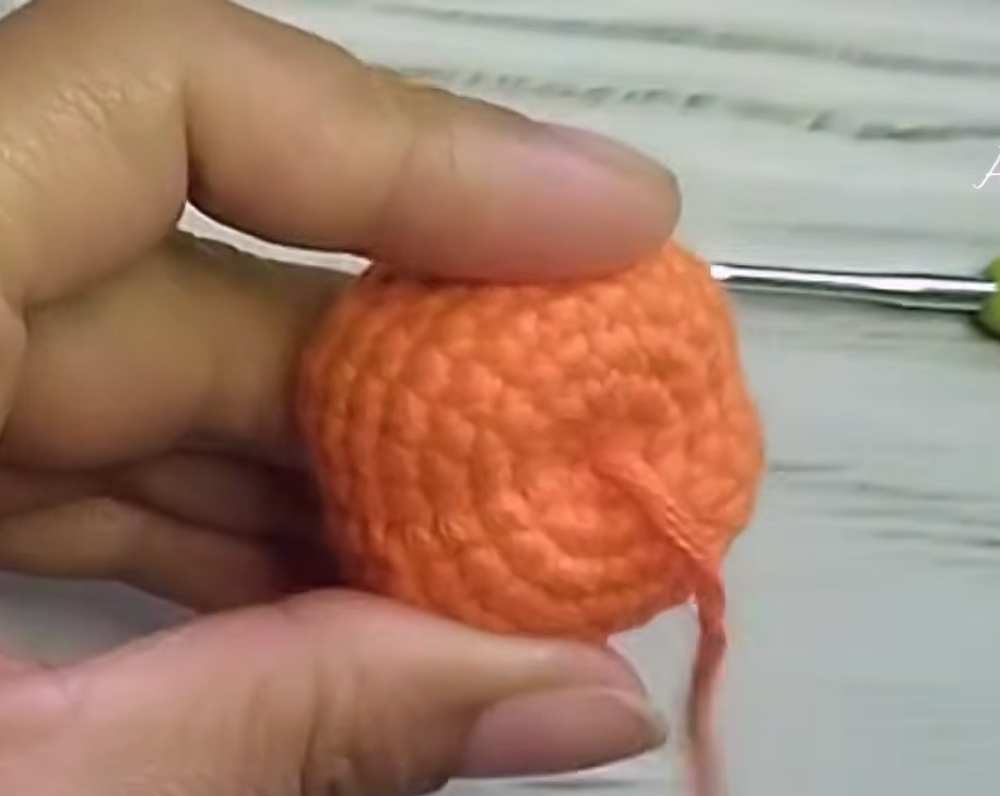
Shaping: Leave a long tail. Thread a tapestry needle and pass it through the center of the pumpkin from top to bottom 6 times, pulling tightly over the outside to create the pumpkin ridges.
Stem: Make a slip knot, use the crochet hook to braid/chain the tail for 3 cm. Snip and glue to the top.
Part 4: Assembly & Decorating
Pumpkin Face: Cut classic jack-o’-lantern eyes and a mouth out of black felt. Use a white marker for details. Glue firmly to the front of your pumpkin basket.
Straps: Braid or chain a 3-meter cord in orange yarn. Sew the D-rings securely to the sides of the pumpkin body, just underneath the inner rim. Thread the strap up through the holes on the witch hat’s brim and tie adjustable knots onto the D-rings.
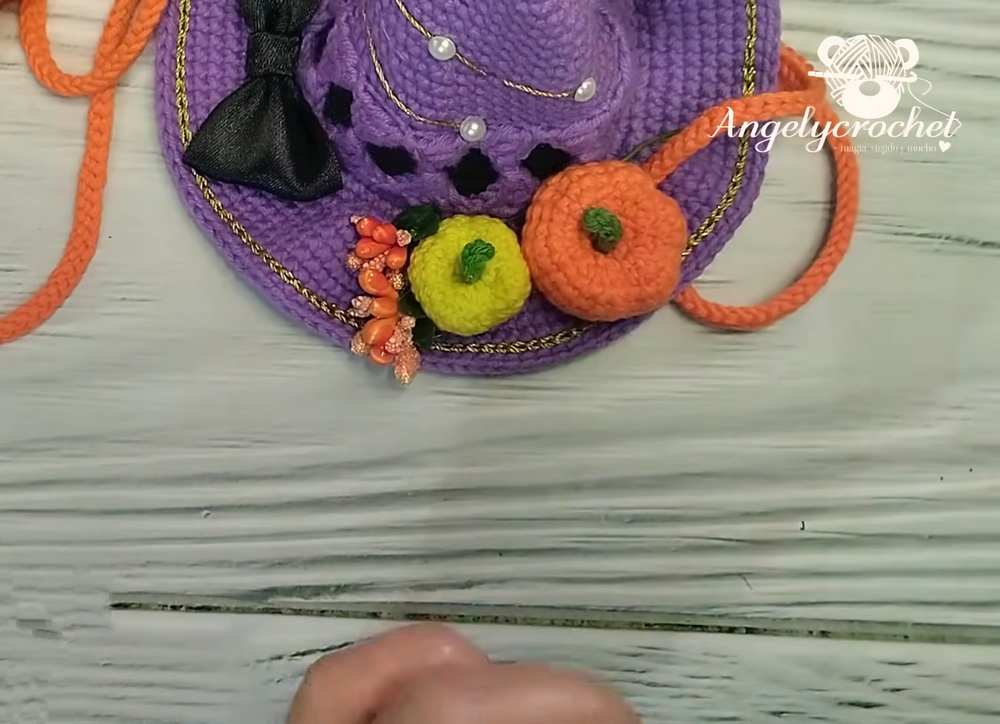
Hat Ribbon: Cut an 18 cm strip of black ribbon, fold the edges to the center, and wrap a smaller piece around the middle to make a bow. Glue it to the front of the hat band.
Hat Decor: Wrap gold thread spirally up the cone of the hat, gluing half-pearls over the thread to hold it in place and add sparkle. Glue your mini crochet pumpkins and decorative flowers around the brim next to the bow.
Share on Social Media!
See More:

Tester Call: How to Crochet A Candy Corn, Pumpkin & Kawii Buddy Potted Plant Plushie

Featuring: How to Crochet the Smallest Pumpkin Fall Turtle Plushie with Orange & Parrot

Pattern Tester: How to Crochet Pumpkin Ridges Face Donut Ring Plushie for Fall

How to Crochet An Amigurumi Long-Legged Kawaii Pumpkin in Shoes Buddy

How to Granny Square with Pumpkin Applique in the Middle

Tester Pattern: To Crochet Pumpkin Hello Kitty Plushie with Big Paws Buddy

Featuring: How to Crochet Tiered Unusual Texture Pumpkin Decoration (3 Sizes)

Tester Pattern: To Crochet A Grizzly Bear Presenting You A Pumpkin Plushie

Tester Pattern: To Crochet A Witch Cat Plush Gifting You A Pumpkin Softie