Show support for Kumo.
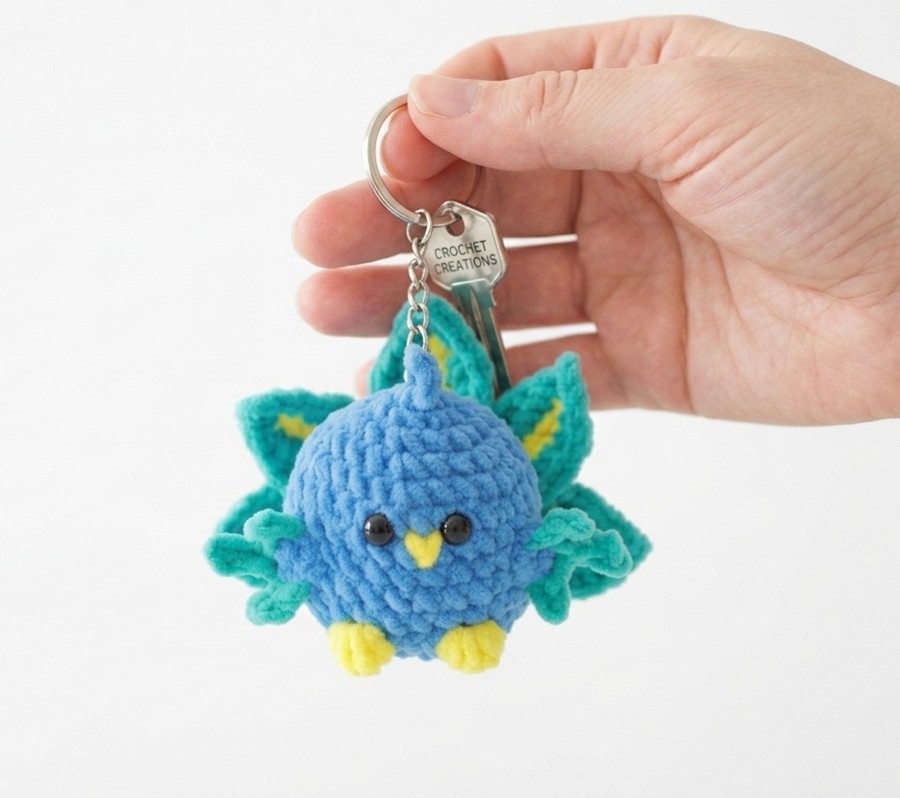
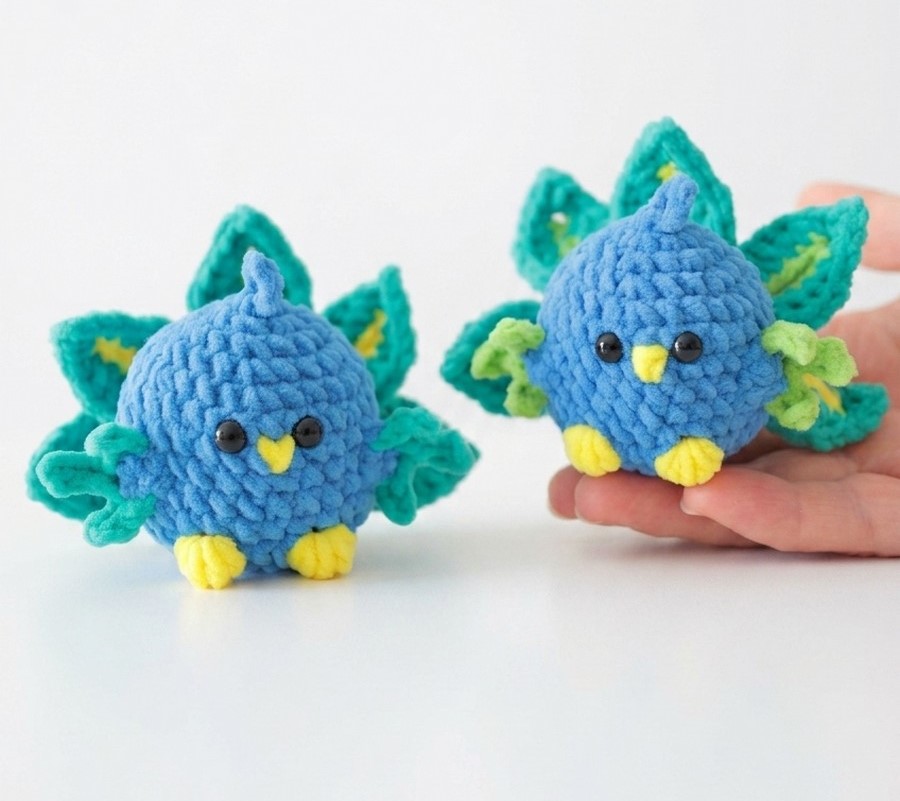
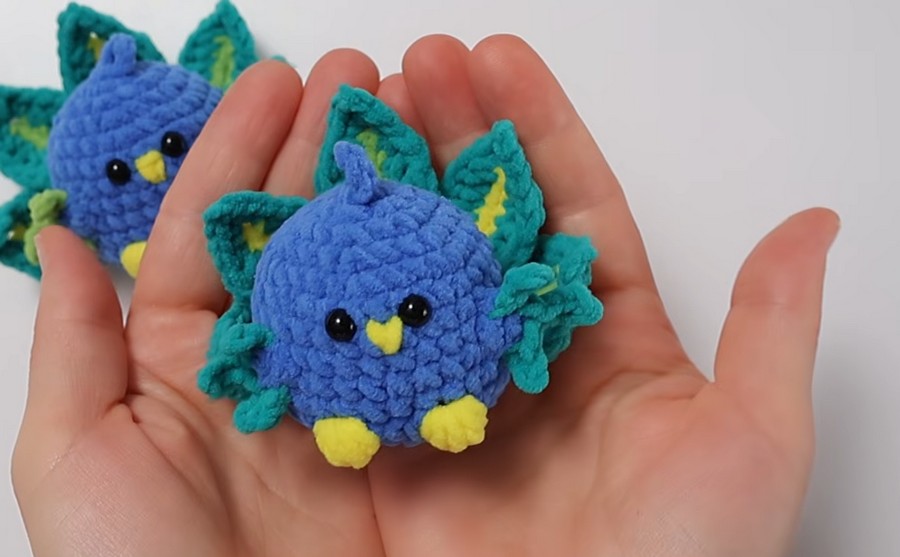
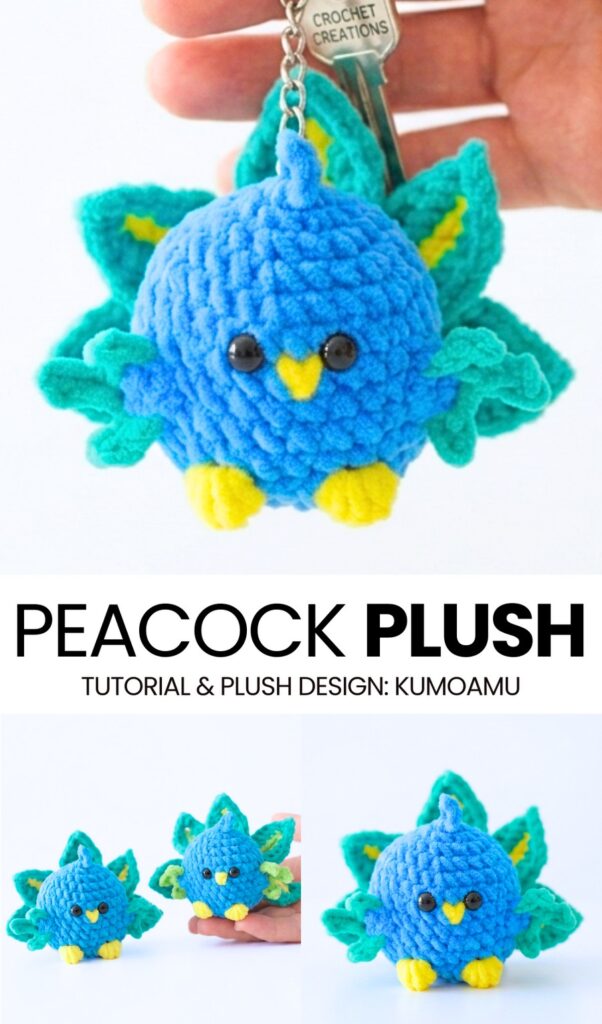
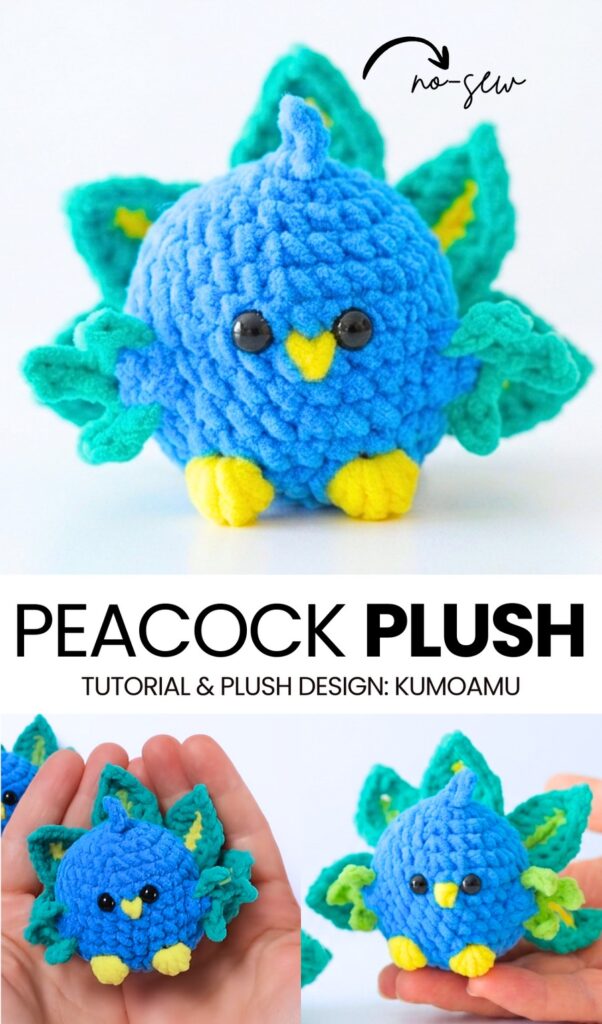
Today, let’s crochet this chubby, kawaii & mini peacock plushie keychain & desk buddy with a step-by-step tutorial. Of all the peacock bird plushies I took a look at before, this is the CUTEST, easiest, and fastest. Makes an irresistible LOVE present, and you gift it as a stress-softie. We shall crochet a no-sew chonky peacock body thanks to bobble stitch. Crochet it for spring, Christmas, or New Year.
The cute features such as the peacock crown and the easy fanned tail make this baby peacock plushie simply irresistible! You can also use this DIY peacock body as a base for any other bird plushie, such as the parrot, duck, and even sparrow.
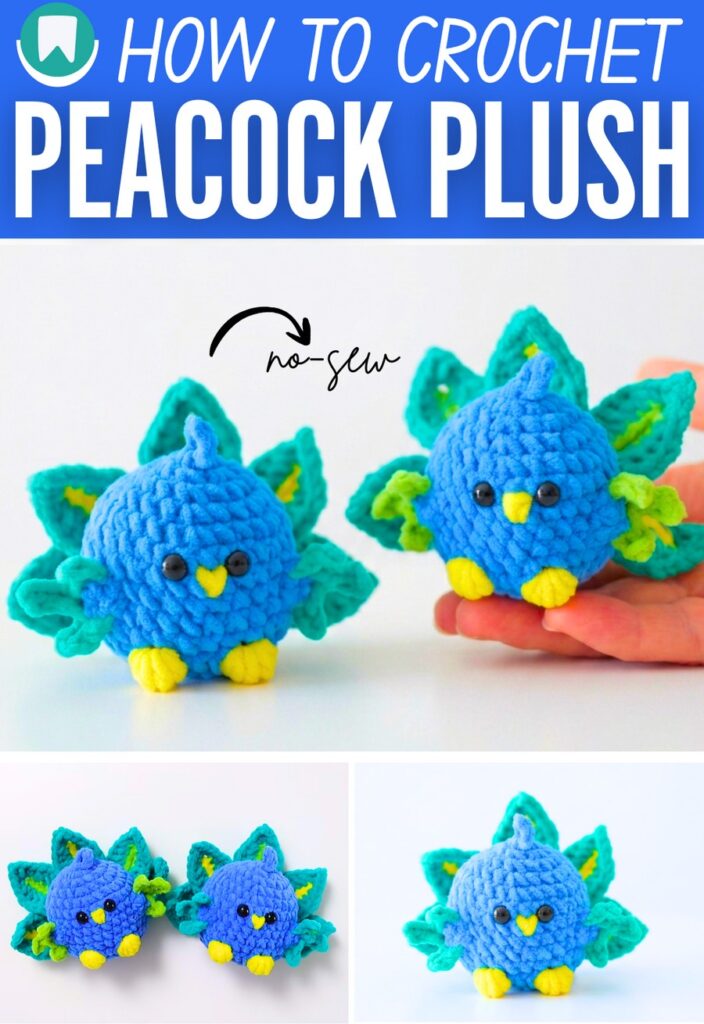
Be sure to find the iconic peacock colors, such as turquoise, blue, and yellow, for your thin yarn. You can also make it even bigger by using super bulky yarn. Crocheting this peacock plush won’t take more than 30 minutes. So, you are good to go and continue reading to learn more about this plush bird project.
[ez-toc]
Free Crochet Mini Chubby Peacock Desk Buddy Tutorial
This crochet peacock plushie can sit on your DIY & crochet table to reduce your stress. It is worked from the bottom up as separate parts for the body, feather tail, and wings. After crocheting the body, which also includes the color changes and the bobble stitch, you will crochet the taila nd then the spikes.
Materials Needed
Following are the recommended materials and tools needed for crocheting this peacock plush:
- Thin Chenille yarn (50 g / 135 m) in the following colors:
- Blue
- Yellow
- Green
- Turquoise
- Crochet hook: 2.5 mm
- Scissors
- Polyester fiberfill (stuffing)
- Sewing needle
- Stitch markers
- 6 mm safety plastic eyes for toys
Abbreviations Used
Here are the abbreviations used in the pattern:
- round
- ch = chain
- sc = single crochet
- sl st = slip stitch
- dec = decrease (2 sc stitches together)
- inc = increase (2 sc jn the same stitch)
- BO = bobble stitch with 5 double crochet
- hdc = half double crochet
- dc = double crochet
How to crochet bobble stitch?
How to make a bobble stitch (5-dc bobble):
- Yarn over and insert your hook into the indicated stitch.
- Yarn over and pull up a loop.
- Yarn over and pull through 2 loops (leave the remaining loops on the hook).
- Repeat Steps 1–3 4 more times in the same stitch. You should have 6 loops on your hook.
- Yarn over and pull through all 6 loops.
- Chain 1 (if your pattern instructs) to secure the bobble.
Learn to crochet the Peacock!
Better learn the whole method of crocheting this miniature peacock plushie that is miniature & kawaii with the following tutorial:
Written Pattern?
I recommend watching the tutorial, as it is quick and you can learn to crochet better.
Unfinished Body pattern: (continue watching the tutorial)
- R1: 6 sc in a magic ring.
- R 2: (inc) x 6 times
- R 3 : (1 sc, inc) x 6 times (18) •
- R 4: (2 sc, inc) x 6 times (24)
- R 5 : (3 sc, inc) x 6 times (30)
- R6 – 10: 30 sc around (5 rounds )
- R 11: 13 sc, BO, 3 sc, BO, 12 sc (30).
Share on Social Media!
See More:
Featuring: How to Crochet A Glitter-Eyed Loopy-Ear Owl in Scarf Plushie Buddy

Featuring: How to Crochet A Plush Blushing Flying Mr. Soul Ghost Plushie for Halloween
Tester Pattern: How to Crochet Amigurumi Spooky Red & Black Mushroom Plushie
Tester Pattern: How to Crochet A No-Sew Mr. Red Horns Mushroom Plushie
Featuring: How to Crochet A Red-Nosed Animal Buddy Christmas Plushie
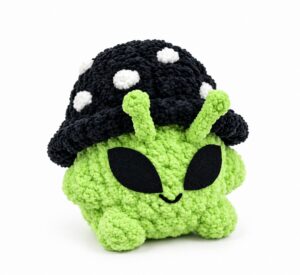
Tester Call: How to Crochet Green Alien Mushroom Plushie Buddy for Gifting
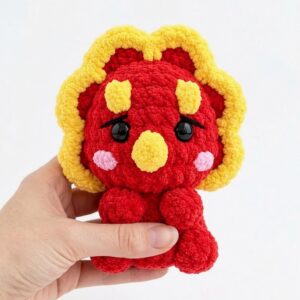
Featuring: How to Crochet No-Sew Red & Yellow Tricera Buddy Plushie
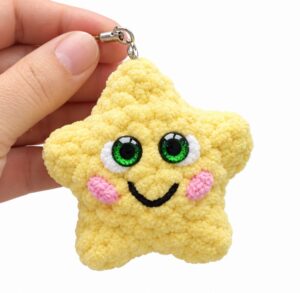
How to Crocet Holdiday Mr. Smiling Star Plushie for Christmas Gifting