

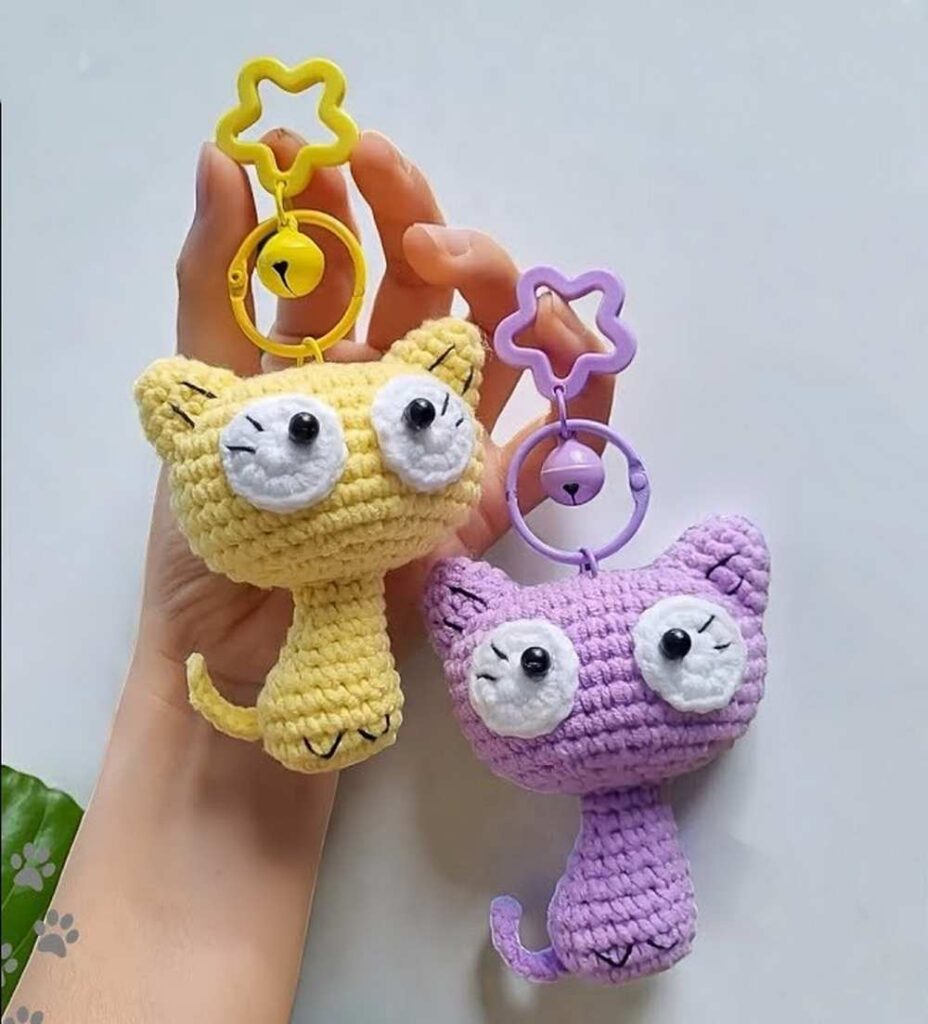
Looking for the CUTEST kawaii cat amigurumi that’s also low-sew? Learn how to crochet this googly-eyed sitting cat amigurumi as a bag charm for your tote bag with this FREE written pattern. You can also crochet it as a kitty plushie using the chenille yarn. Since we won’t sew any mouth, it will make an irresistible mood lifter.
We also have the cute feet, eyelashes, and eyebrow embroidery on this cat amigurumi. Our idea will be to crochet the cat’s head in a larger size compared to the body, and that makes it the CUTEST Chibi cat amigurumi.
Crochet Cat Googly-Eyed Cat Amigurumi
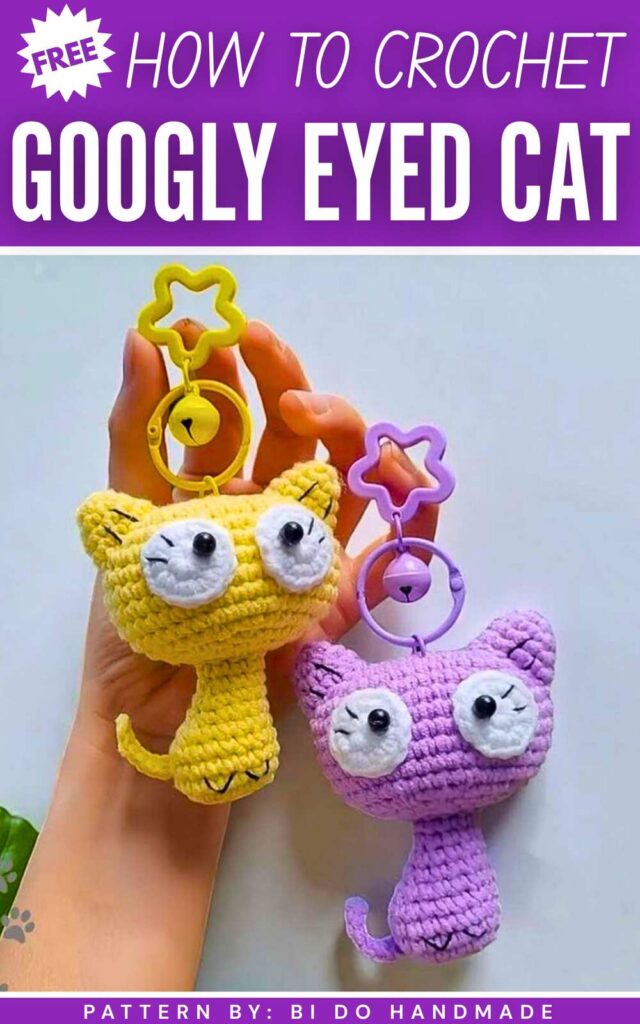
You can crochet it in either purple or yellow, or if you like the Jiji, crochet it in black. We will crochet the white part of the eyes and attach small safety beads to make the googly eyes. This is a clever method that we are gonna use. Now, continue reading for the full pattern to crochet this kawaii cat amigurumi.
[ez-toc]
Crochet Cat Amigurumi Pattern: Written
This is a crochet pattern for a cat keychain. This crochet pattern is easy to make. You will make a cat head. You will make a cat body. You will make cat ears. You will make a cat tail. You will put the cat parts together. You can use this cat as a keychain. You can hang this cat keychain on your bag.
MATERIALS NEEDED
- Milk Cotton Yarn (125g weight)
- Crochet Hook (2.5 mm size)
- Fiberfill Stuffing
- Yarn Needle
- Scissors
- Keychain Ring
- Glue (for the eyes)
- Small Beads (for the eye pupils)
Black Thread or Thin Yarn (for the nose, mouth, and paws)
ABBREVIATIONS (US TERMS WITH UK CONVERSIONS)
- ch = chain (UK equivalent: chain)
- sc = single crochet (UK equivalent: double crochet)
- inc = single crochet increase, make 2 single crochet in one stitch (UK equivalent: double crochet increase)
- dec = single crochet decrease, single crochet 2 stitches together (UK equivalent: double crochet decrease)
- dec3tog = single crochet decrease 3 together, single crochet 3 stitches together (UK equivalent: double crochet 3 together)
- sl st = slip stitch (UK equivalent: slip stitch)
- MR = magic ring (UK equivalent: magic ring)
HEAD PATTERN
Round 1: Chain 9. Skip the first chain from the hook. Make 1 inc in the next chain. Make 1 sc in each of the next 6 chains. Make 4 sc in the last chain. Working on the opposite side of the chain, make 1 sc in each of the next 6 chains. Make 1 inc in the last chain. Join with a sl st. Chain 1. (20 stitches)
Round 2: Make 1 inc in each of the next 3 stitches. Make 1 sc in each of the next 5 stitches. Make 1 inc in each of the next 5 stitches. Make 1 sc in each of the next 5 stitches. Make 1 inc in each of the next 2 stitches. Join with a sl st. Chain 1. (30 stitches)
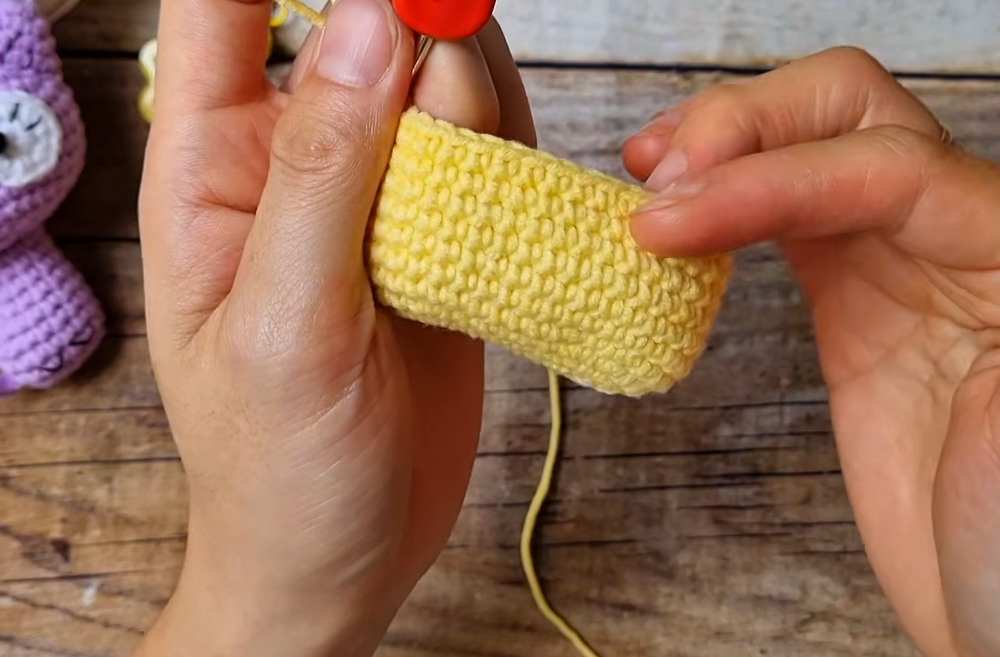
Round 3: [Make 1 sc, then make 1 inc] repeat this pattern 3 times. Make 1 sc in each of the next 5 stitches. [Make 1 sc, then make 1 inc] repeat this pattern 5 times. Make 1 sc in each of the next 5 stitches. [Make 1 sc, then make 1 inc] repeat this pattern 2 times. Join with a sl st. Chain 1. (40 stitches)
Round 4 to Round 10 (7 rounds total): Make 1 sc in each of the 40 stitches around. Join with a sl st. Chain 1 at the end of each round. (40 stitches)
Round 11: [Make 1 sc in each of the next 3 stitches, then make 1 dec] repeat this pattern 8 times. Join with a sl st. Chain 1. (32 stitches)
Round 12: [Make 1 sc, then make 1 dec, then make 1 sc] repeat this pattern 8 times. Join with a sl st. Chain 1. (24 stitches)
Round 13: [Make 1 sc, then make 1 dec] repeat this pattern 8 times. Join with a sl st. Chain 1. (16 stitches) Stuff the head with fiberfill now. Do not overstuff; the head should remain slightly wide and flat.
Round 14: Make 8 dec. Join with a sl st. (8 stitches) Fasten off. Leave a long tail of yarn. Use a yarn needle to weave the yarn through the front loops of the remaining 8 stitches and pull tight to close the hole securely.
BODY PATTERN
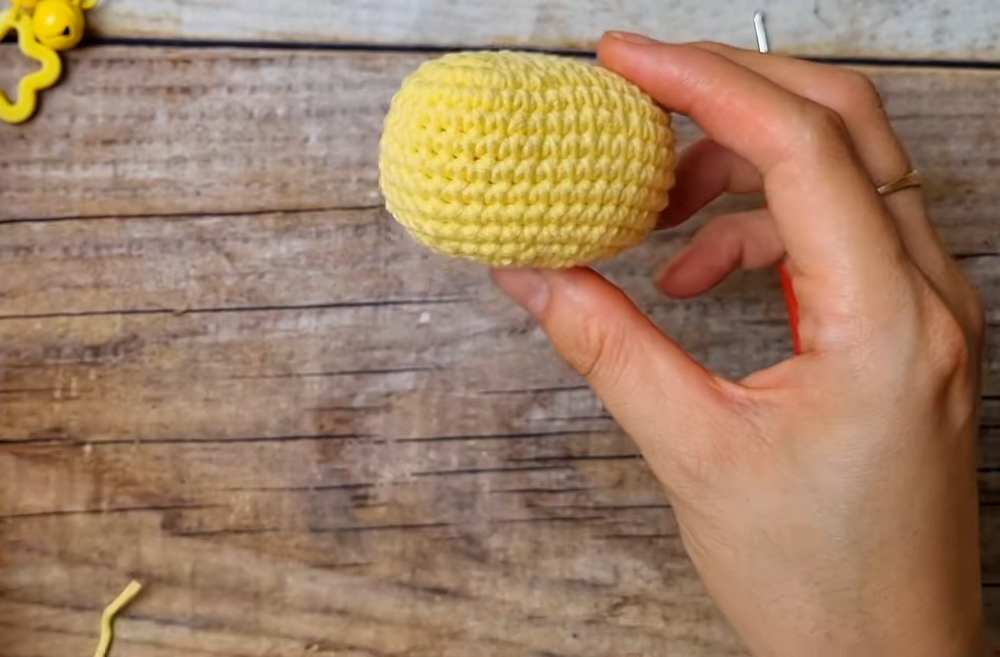
Round 1: Chain 5. Skip the first chain from the hook. Make 1 sc in each of the next 3 chains. Make 3 sc in the last chain. Working on the opposite side of the chain, make 1 sc in each of the next 2 chains. Make 2 sc in the last chain. Join with a sl st. Chain 1. (10 stitches)
Round 2: Make 1 inc in the first stitch. Make 1 sc in each of the next 2 stitches. Make 1 inc in each of the next 3 stitches. Make 1 sc in each of the next 2 stitches. Make 1 inc in each of the next 2 stitches. Join with a sl st. Chain 1. (16 stitches)
Round 3 to Round 5 (3 rounds total): Make 1 sc in each of the 16 stitches around. Join with a sl st. Chain 1 at the end of each round. (16 stitches)
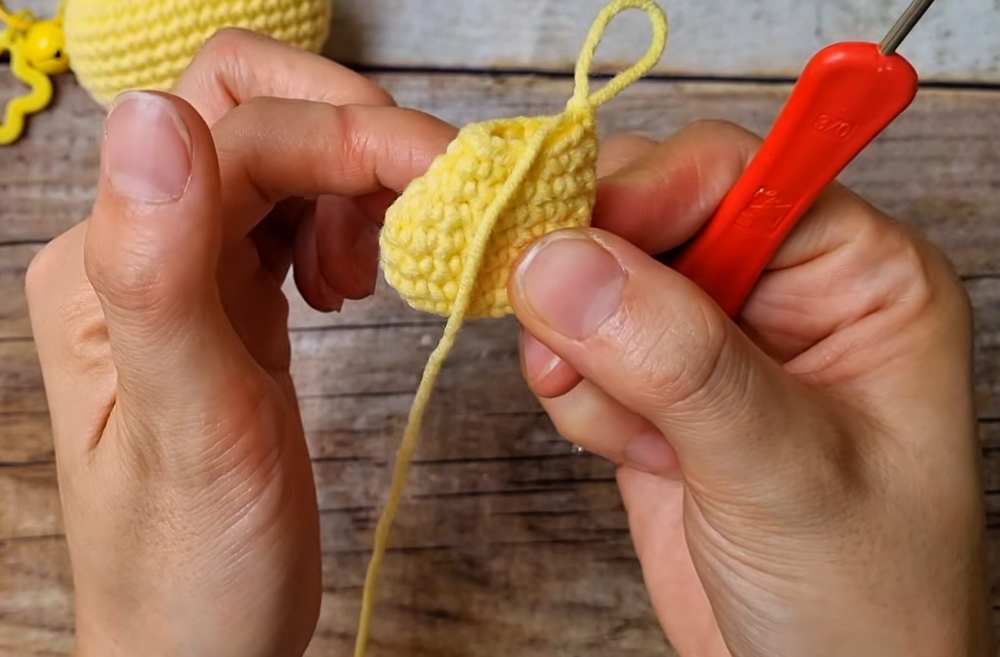
Round 6: Make 1 sc in each of the next 6 stitches. Make 1 dec3tog. Make 1 sc in each of the next 7 stitches. Join with a sl st. Chain 1. (14 stitches)
Round 7: Make 1 sc in each of the next 5 stitches. Make 1 dec3tog. Make 1 sc in each of the next 6 stitches. Join with a sl st. Chain 1. (12 stitches)
Round 8: Make 1 sc in each of the 12 stitches around. Join with a sl st. Chain 1. (12 stitches)
Round 9: Make 1 sc in each of the next 4 stitches. Make 1 dec3tog. Make 1 sc in each of the next 5 stitches. Join with a sl st. Chain 1. (10 stitches)
Round 10: Make 1 sc in each of the 10 stitches around. Join with a sl st. Chain 1. (10 stitches) Fasten off and leave a long tail of yarn for sewing. Stuff the body with fiberfill.
EAR PATTERN (MAKE 2)
Round 1: Make a MR. Chain 1. Make 6 sc into the magic ring. Join with a sl st. Chain 1. (6 stitches)
Round 2: [Make 1 sc in each of the next 2 stitches, then make 1 inc] repeat this pattern 2 times. Join with a sl st. Chain 1. (8 stitches)
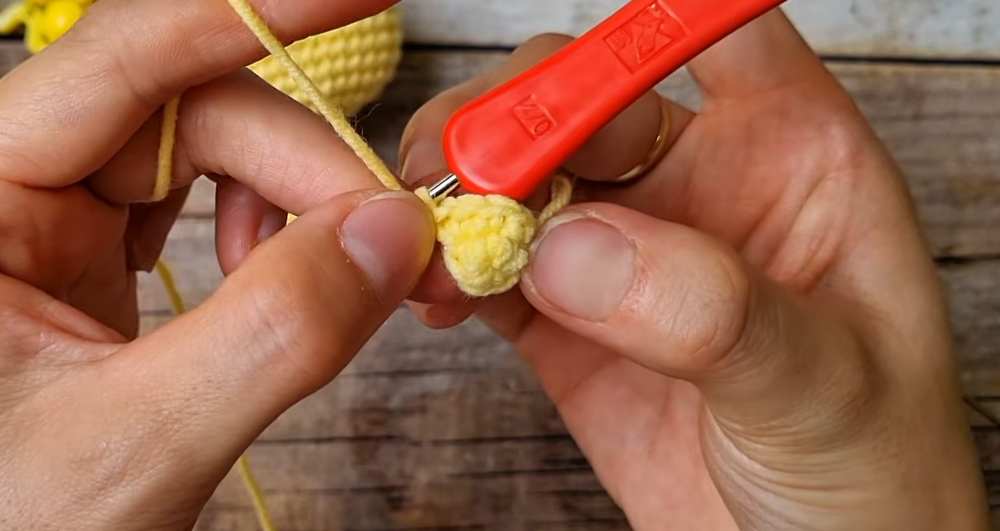
Round 3: [Make 1 sc in each of the next 3 stitches, then make 1 inc] repeat this pattern 2 times. Join with a sl st. Chain 1. (10 stitches)
Round 4: [Make 1 sc in each of the next 4 stitches, then make 1 inc] repeat this pattern 2 times. Join with a sl st. Chain 1. (12 stitches) Fasten off and leave a long tail of yarn for sewing. Stuff the ears very lightly.
EYE PATCH PATTERN (MAKE 2)
Round 1: Make a MR. Chain 1. Make 8 sc into the magic ring. Join with a sl st. Chain 1. (8 stitches)
Round 2: Make 1 inc in each of the 8 stitches. Join with a sl st. (16 stitches) Fasten off and weave in the ends. These will be sewn or glued to the face.
TAIL PATTERN
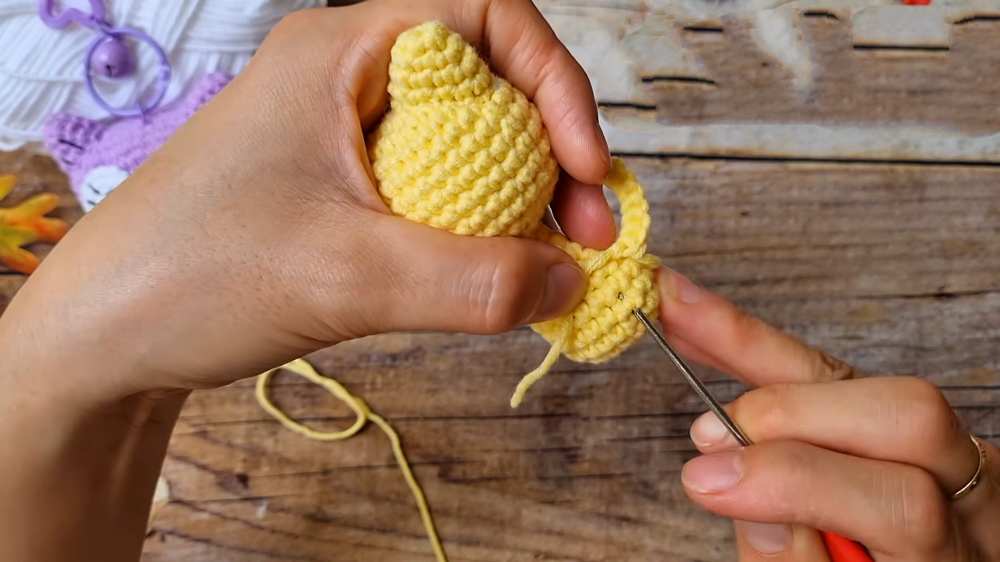
Row 1: Chain 9. Skip the first chain from the hook. Make 1 sl st tightly in each of the next 8 chains. (8 stitches) Fasten off and leave a tail for sewing. Making the slip stitches very tight will force the tail to curl upwards naturally.
ASSEMBLY INSTRUCTIONS
Step 1: Sew or glue the Eye Patches directly to the front of the head. Attach the beads to the center of the eye patches to create the pupils.
Step 2: Sew the Ears to the top of the head. Place the ears evenly between Round 1 and Round 4 of the head pattern.
Step 3: Sew the Body to the bottom of the head in an oval shape. The body has a curved shape built into it; ensure the curved section points slightly outward to one side to form the cat’s back leg and rear area.
Step 4: Sew the Tail to the curved rear part of the body. Angle the tail so that it curls upward.
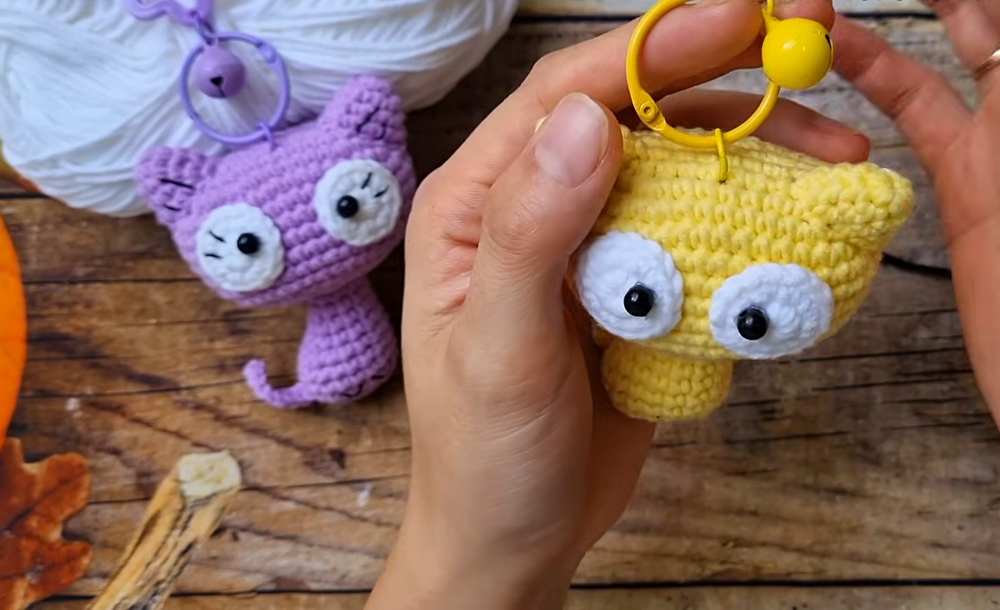
Step 5: Use the black thread or thin yarn to embroider a small nose and whiskers on the center of the face. You can also embroider two small curving lines on the bottom front of the body to look like little paws.
Step 6: Attach the Keychain Ring securely to the top center of the head.
Learn with the Video Tutorial
See More:
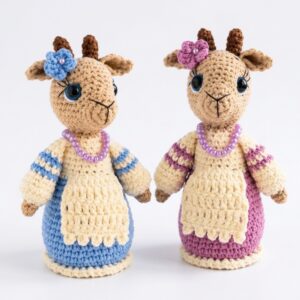
Featuring: How to Crochet Dressed-Up Goat Ladies Holiday Amigurumi for Little Ones

How to Crochet Bunny Bat White Foldable Wings Amigurumi with Bow for Halloween
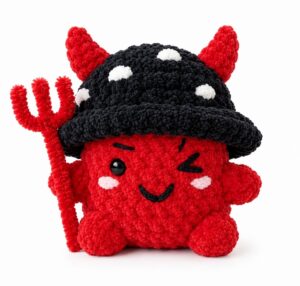
Tester Pattern: How to Crochet Amigurumi Spooky Red & Black Mushroom Plushie
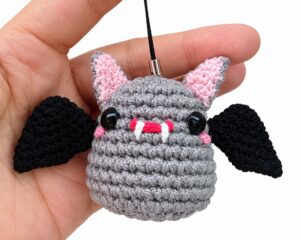
How to Crochet Red Mouth Spooky-Cute Grey and Black Bat Amigurumi

How to Crochet An Amigurumi Long-Legged Kawaii Pumpkin in Shoes Buddy
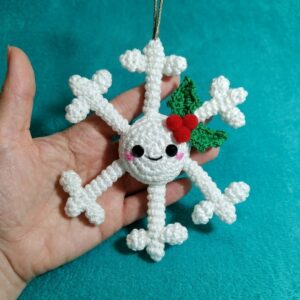
How to Crochet Snowflake Buddy Amigurumi with Holy Leaf

How to Crochet the Craziest FUNNY Christmas Tree Buddy Amigurumi Ornament
How to Crochet Big Hair Bow Trick-or-Treat Ghosts Amigurumi with Treat Basktets
How to Crochet Amigurumi Big Nose Slouchy Hat Gnome Amigurumi
![[PDF Pattern] Crochet Amigurumi Snowman in Winter Hat Gift Basket Pattern](https://criazalblog.com/wp-content/uploads/2026/09/crochet-snowman-basket-225x300.jpg)