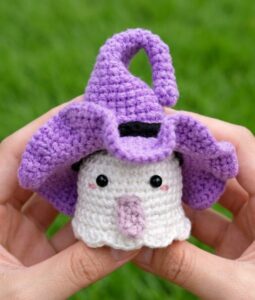
Are you looking for the CUTEST cosplay witch hat for your crochet or store-bought doll? Let’s learn how to crochet this easy variation of the viral star-decorated crochet witch hat that is perfect for 10cm dolls like K-pop characters and pets. You can also crochet it as a Halloween pendant and as an Elf hat using relevant colors for Christmas.
Just like the pumpkin-decorated Halloween hat, it has a curled top, but this time, the star is hanging with a small loop. It is also a little bigger than the previous witch hat. So, when you carry your doll, the puffy star of this crochet witch hat will swing in the air.
The star is crocheted from two 5-point star appliques, so beginners can easily crochet this simply kawaii witch hat. The ruffles of the brim in this crochet hat are more elegant than ever. So, if you are ready to learn to crochet one witch hat, let’s head below!
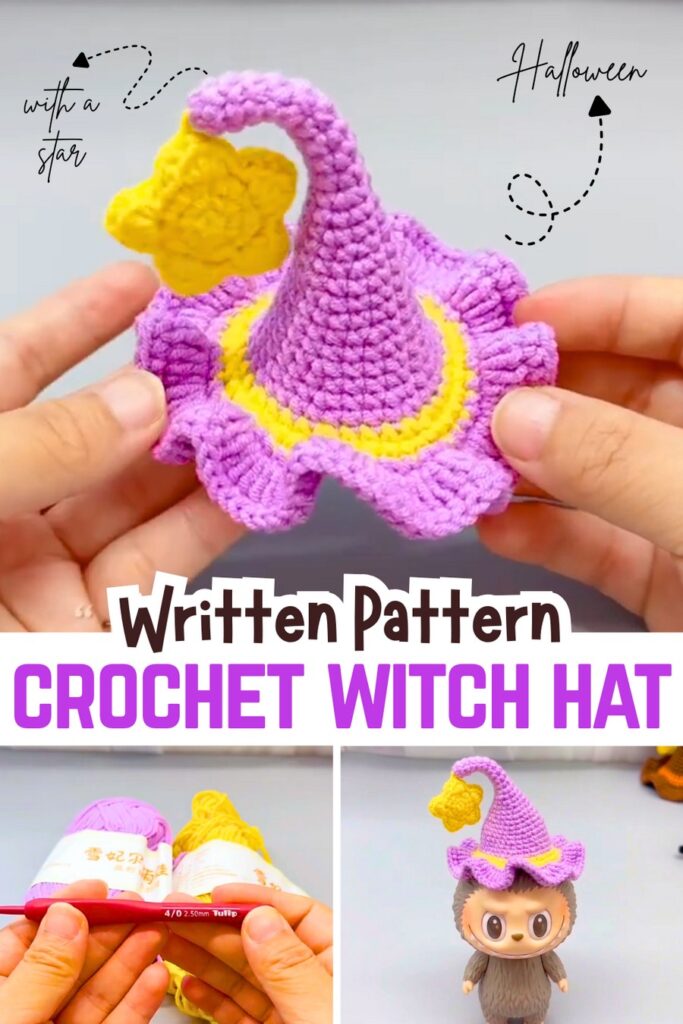
Crochet Holiday Witch Hat for 10cm Dolls Pattern
This small elf hat is a very fun and cute project to make for the holidays. It starts as a simple cone shape that slowly gets wider, making a perfect little hat. You can make it in colors like purple and white to match your style.
It even has a bright yellow star on the very top to make it look magical! You can use this tiny hat to dress up your small dolls, or you can attach it to a hair clip and wear it in your hair for Christmas. It is easy, quick, and very happy!
Materials You Will Need
Yarn: Thin yarn in your main color (like purple), a second color (like white), and a little bit of yellow for the star.
Crochet Hook: 2.5 mm size.
Scissors
Yarn Needle: To sew parts together and hide your yarn ends.
A small piece of soft wire: (Optional) to put inside the hat so you can bend it.
Abbreviations
ch: chain
sc: single crochet
hdc: half double crochet
dc: double crochet
inc: increase (make 2 single crochets in the same stitch)
sl st: slip stitch
st / sts: stitch/stitches
MR: magic ring
The Pattern
Note: At the end of every round, you will make a slip stitch (sl st) to join, and chain 1 (ch 1) before starting the next round.
Part 1: The Hat Body
Use your main color (purple).
Round 1: Make a magic ring. Chain 1, make 6 sc into the ring. Pull it tight. (6 sts)
Rounds 2 to 10: Make 1 sc in every stitch around. Do this for 9 rounds. (6 sts)
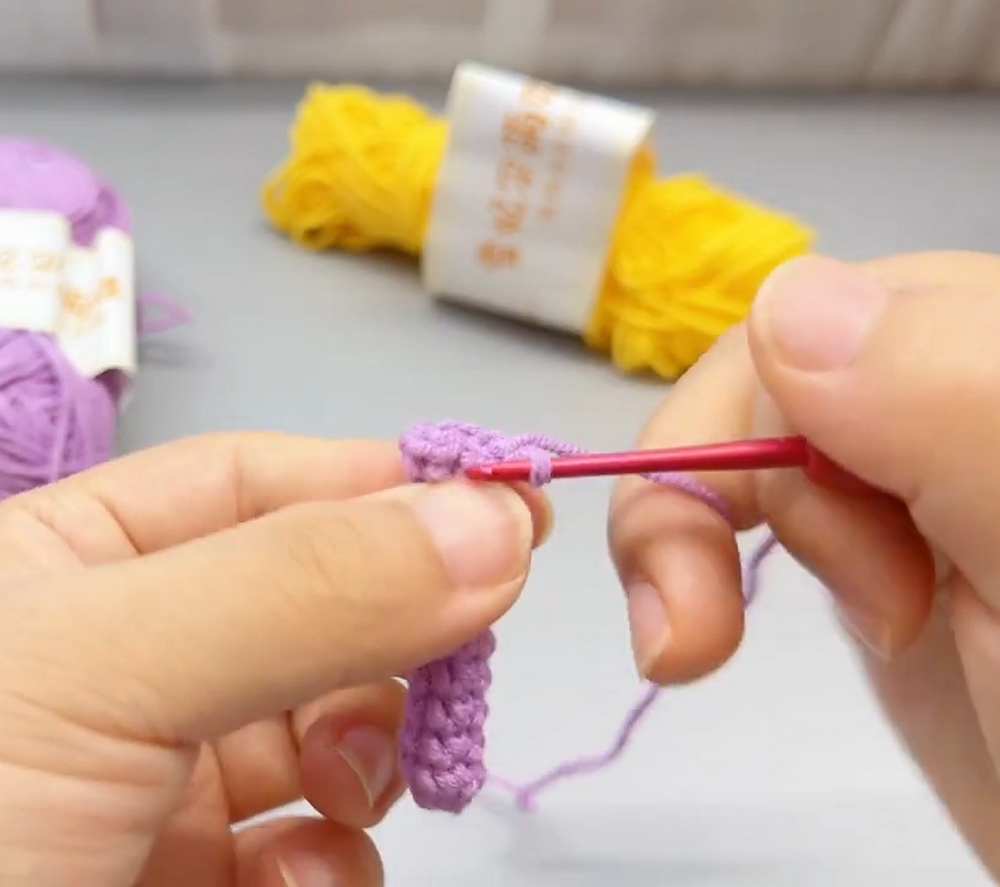
Round 11: 1 sc, 1 inc – repeat this 3 times. (9 sts)
Round 12: Make 1 sc in every stitch. (9 sts)
Round 13: 1 sc, 1 inc, 1 sc – repeat 3 times. (12 sts)
Round 14: Make 1 sc in every stitch. (12 sts)
Round 15: 3 sc, 1 inc – repeat 3 times. (15 sts)
Round 16: Make 1 sc in every stitch. (15 sts)
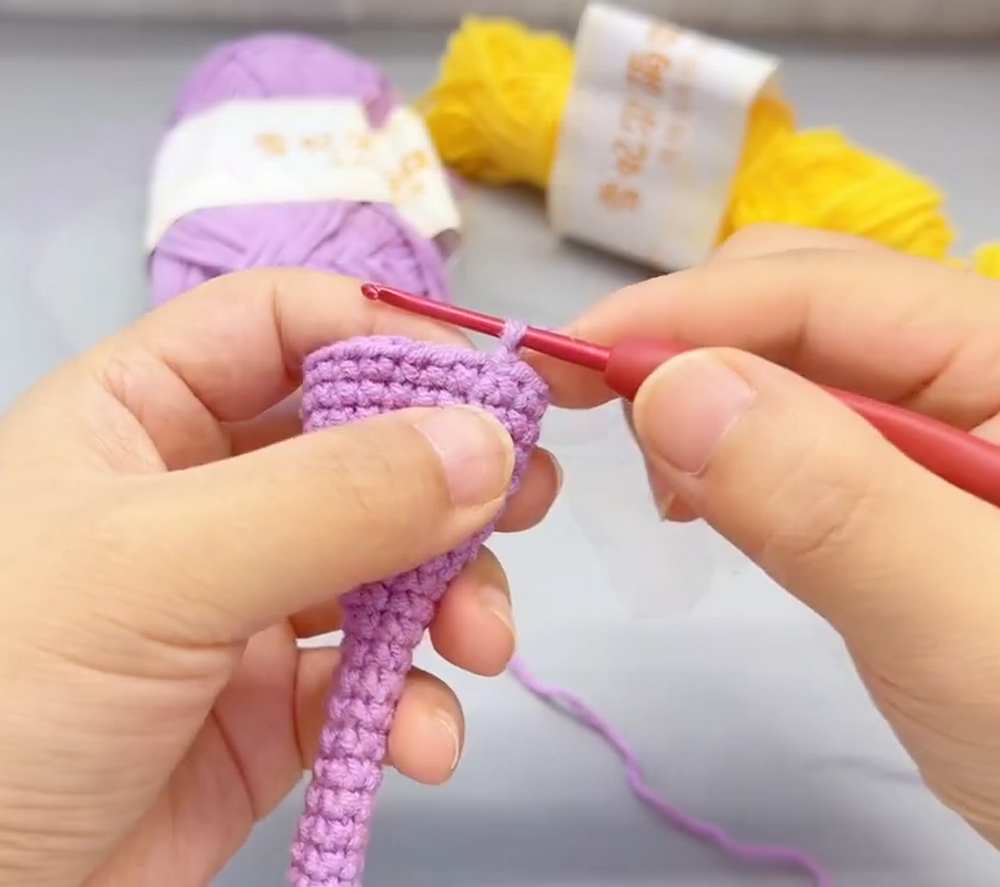
Round 17: 2 sc, 1 inc, 2 sc – repeat 3 times. (18 sts)
Round 18: Make 1 sc in every stitch. (18 sts)
Round 19: 5 sc, 1 inc – repeat 3 times. (21 sts)
Round 20: Make 1 sc in every stitch. (21 sts)
Round 21: 3 sc, 1 inc, 3 sc – repeat 3 times. (24 sts)
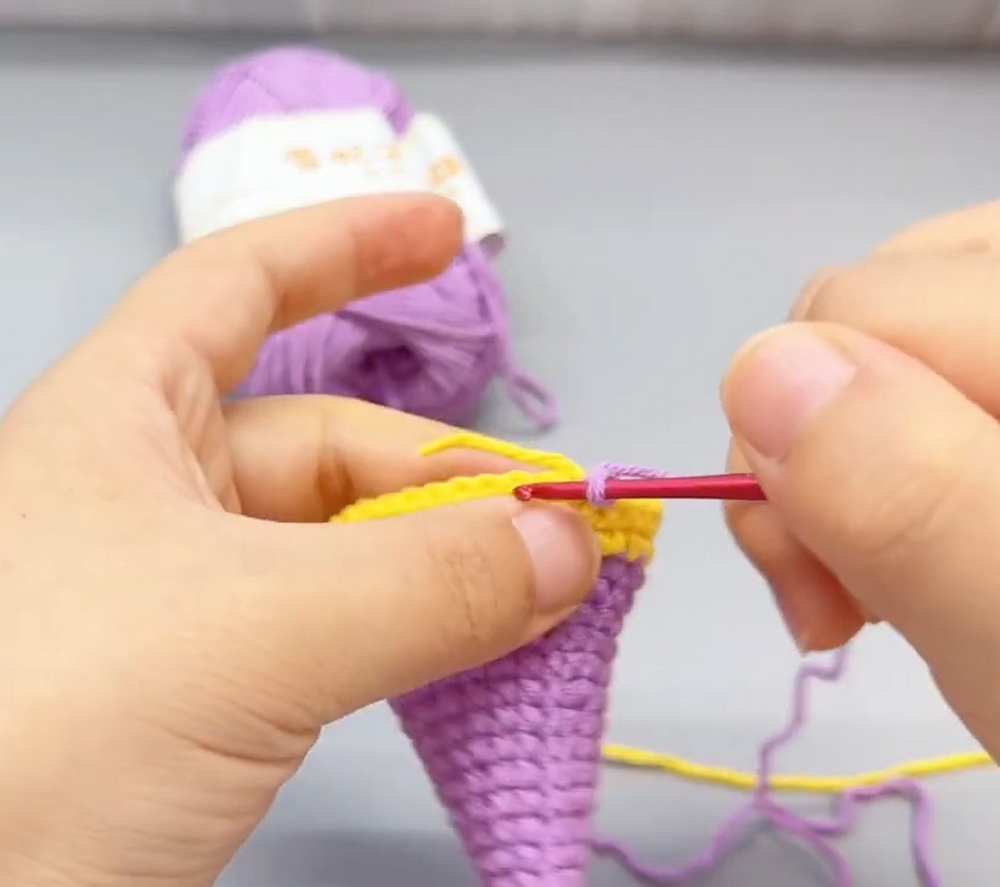
Round 22: Make 1 sc in every stitch. (24 sts)
Round 23: 2 sc, 1 inc – repeat 8 times. (32 sts)
Round 24: Make 1 sc in every stitch. At the very last step of the last stitch, change to your second color (white). Do not cut the purple yarn; leave it hanging. (32 sts)
Part 2: The Hat Edge
Round 25: Using the white yarn: 3 sc, 1 inc – repeat 8 times. (40 sts)
Round 26: Make 1 sc in every stitch. Cut the white yarn. (40 sts)
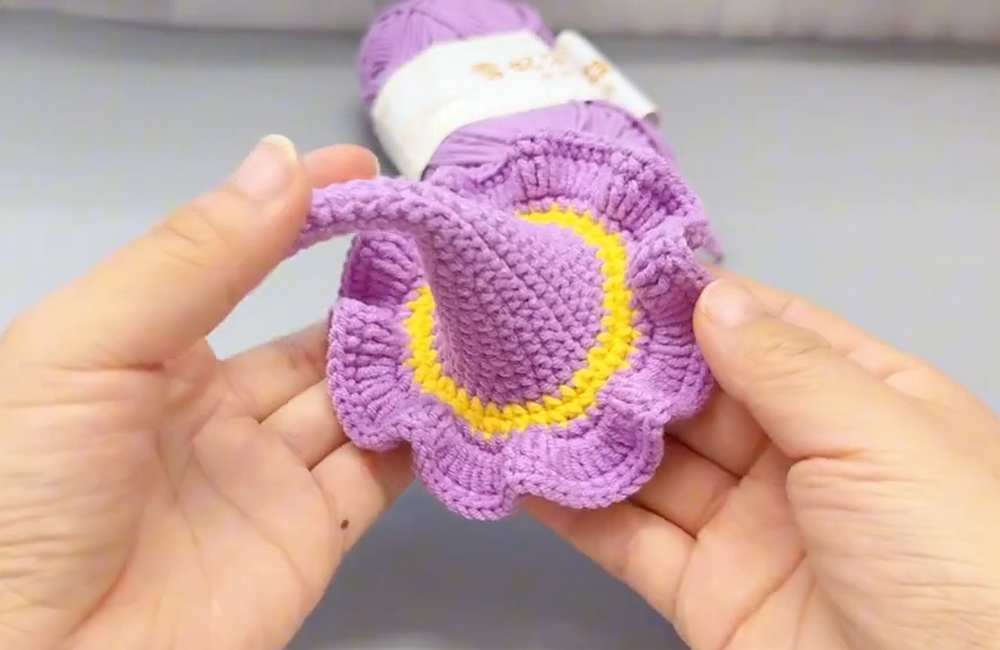
Round 27: Pick up your purple yarn again. 1 sc, 1 inc – repeat this all the way around. (60 sts)
Round 28: Chain 2 (this acts as your first dc). Make 2 dc in every stitch all the way around. Join with a sl st. (120 sts)
Round 29: Chain 1. Make 1 sc in every stitch all the way around. Cut your yarn and pull it through.
Part 3: The Star
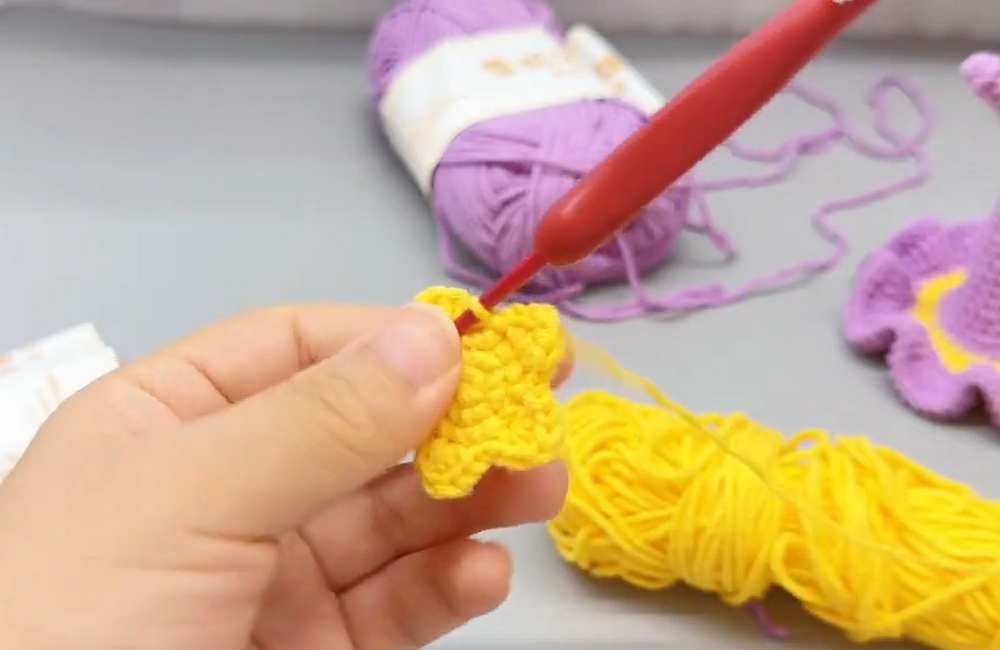
Use yellow yarn. You need to make two of these stars.
Round 1: Make a magic ring. Chain 1, make 5 sc in the ring. Join with sl st. (5 sts)
Round 2: Make 1 inc in every stitch. (10 sts)
Round 3: 1 sc, 1 inc – repeat 5 times. (15 sts)
Round 4: In the first stitch make all of these together: (1 sc, 1 hdc, 1 dc, 1 hdc, 1 sc). Make 1 sl st in the next stitch. Make 1 sl st in the next stitch. Repeat this whole pattern 5 times to make the 5 points of the star.
How to Finish Your Project
Take your two stars and put them back-to-back.
Sew them together using your yarn needle. To make it neat, only pick up the loops of the stitches that are touching each other inside.
If you want your hat to be bendy, push a small piece of soft wire inside the top of the hat.
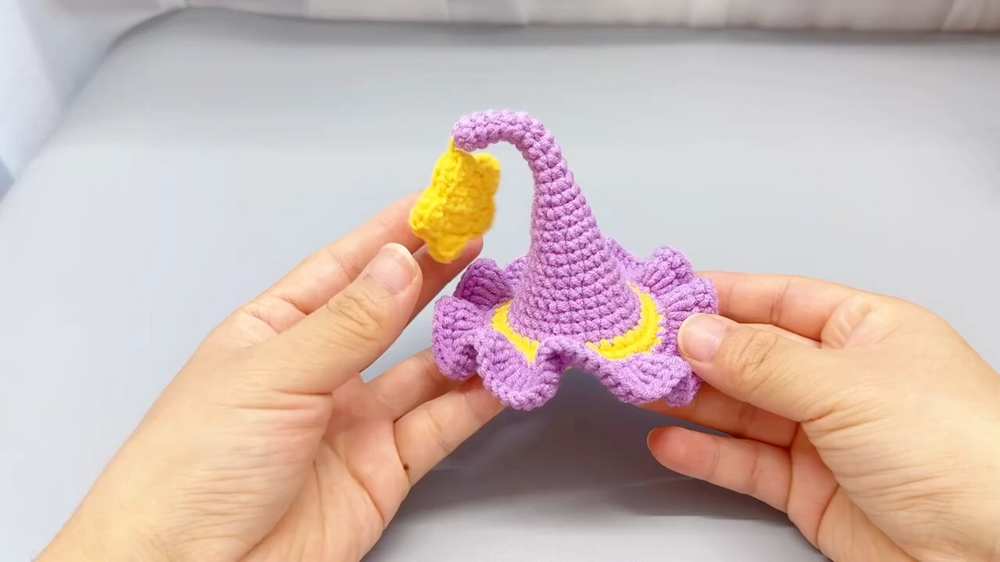
Sew the bottom of the star to the pointy top of the hat.
Hide any extra yarn tails inside the hat!
Share on Social Media!
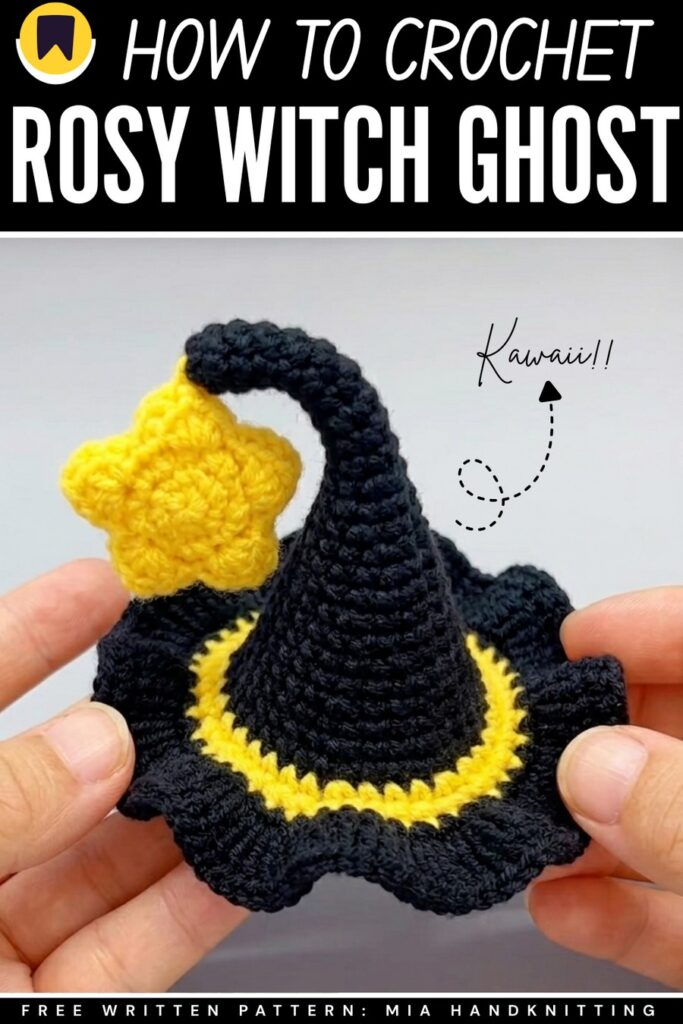
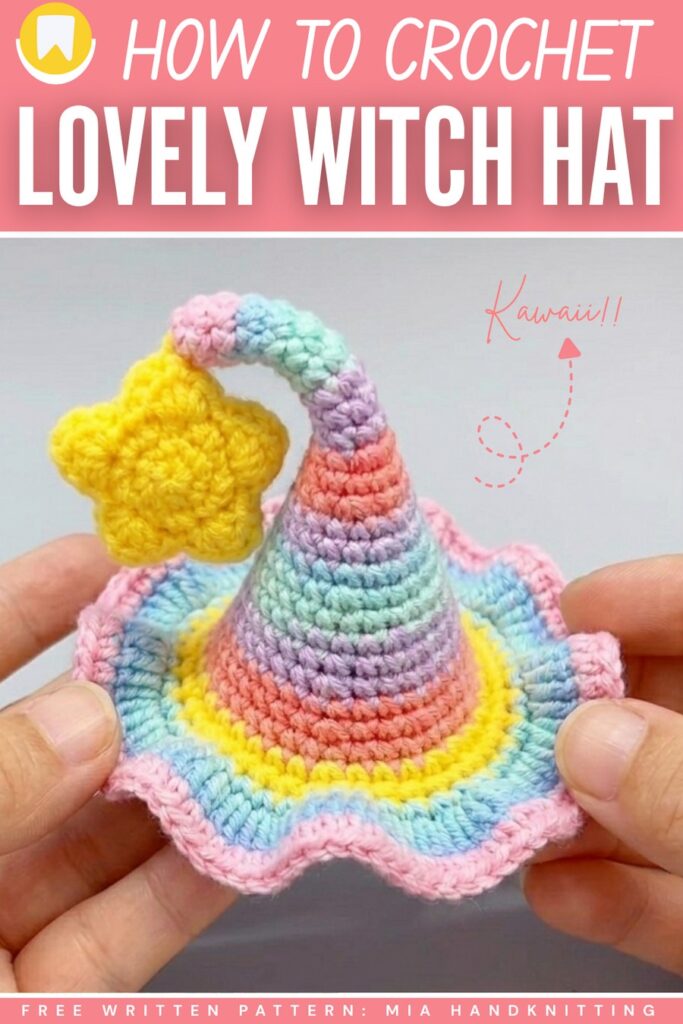
Use black instead of purple or using self-striping pastel yarn for a colorful witch hat!
See More:
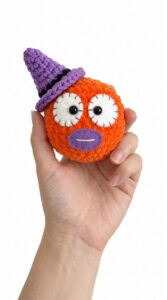
Tester Call: How to Crochet the Mr. Googly Sphere Witch Fidget Toy Plushie
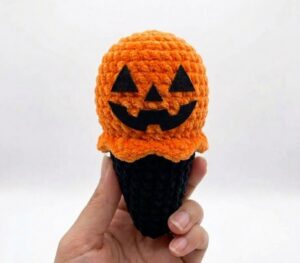
Tester Call: How to Crochet Spooky Face Ice Witch Cone Plushie
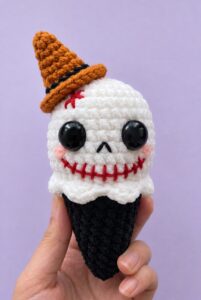
Tester Call: How to Crochet REALLY Spooky Witch Halloween Treat Plushie

Tester Pattern: To Crochet A Witch Cat Plush Gifting You A Pumpkin Softie
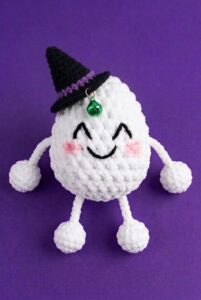
Tester Pattern: How to Crochet An Tug & Pull Witch Egg Halloween Plushie Toy
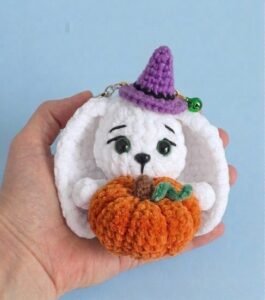
Tester Pattern: Free Crochet Pumpkin-Holding Witch Bunny Plushie Pattern
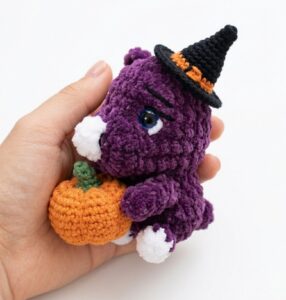
How to Crochet Witch Rhinoceros Holding a Pumpkin Amigurumi Plush
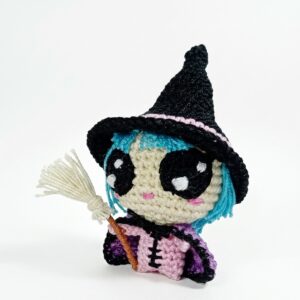
How to Crochet Princess Witch Girl with Accessories Amigurumi
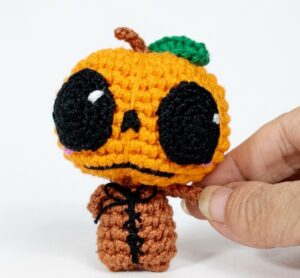
How to Crochet Little Pumpkin Man in A Witch Hat Amigurumi Little Doll