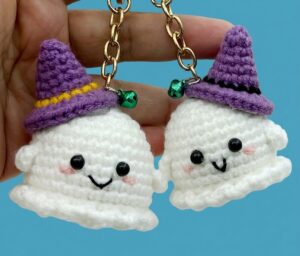
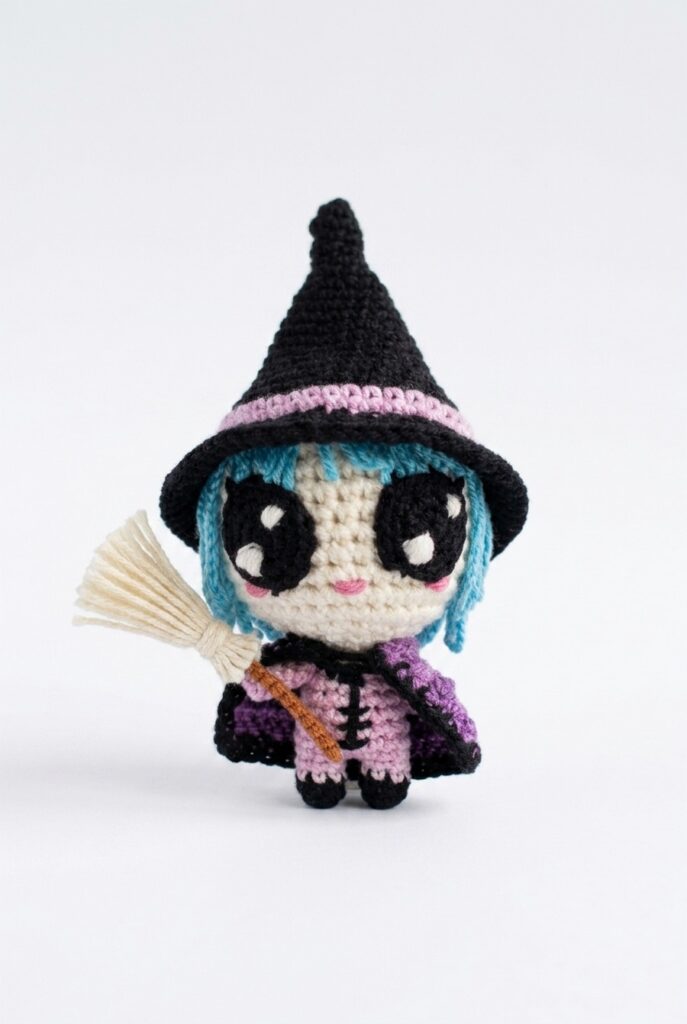
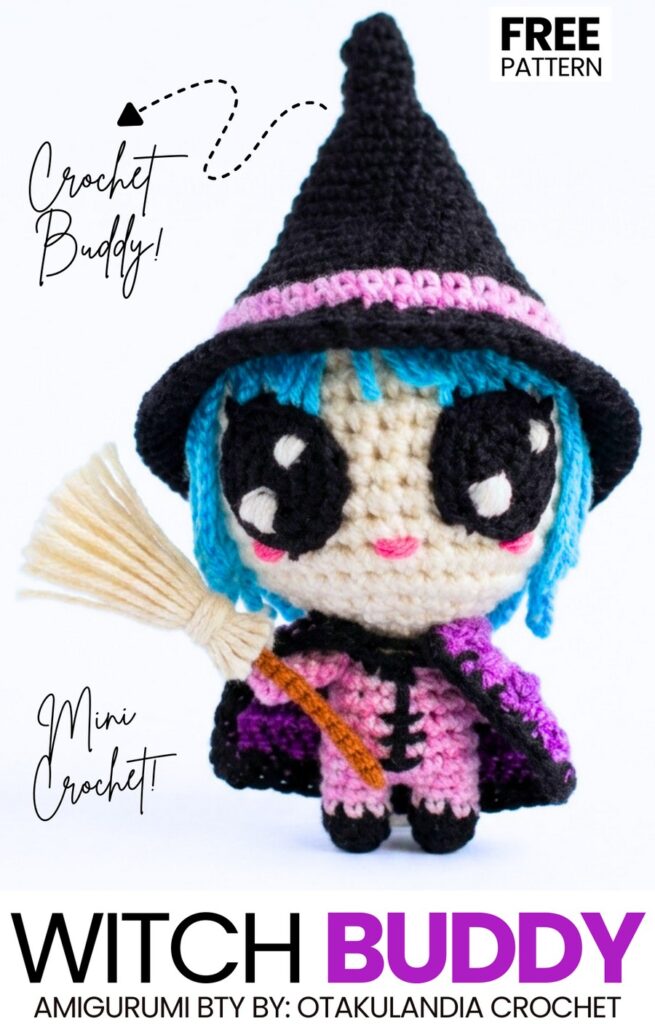
This is part of the crochet “Chibi Halloween amigurumi figure” series! Last time, you learned how to crochet the kawaii jack-o-lantern amigurumi buddy. Now, learn how to crochet this power girl princess witch holding a witch broom amigurumi with a step-by-step tutorial + a written pattern as well. With the blue thin-strand hair, superhero witch cape, kawaii white and black larger eyes, and the witch hat, this is the CUTEST crochet witch hat amigurumi I have covered ever. You can also charm up your crochet witch hat with a blue daisy charm.
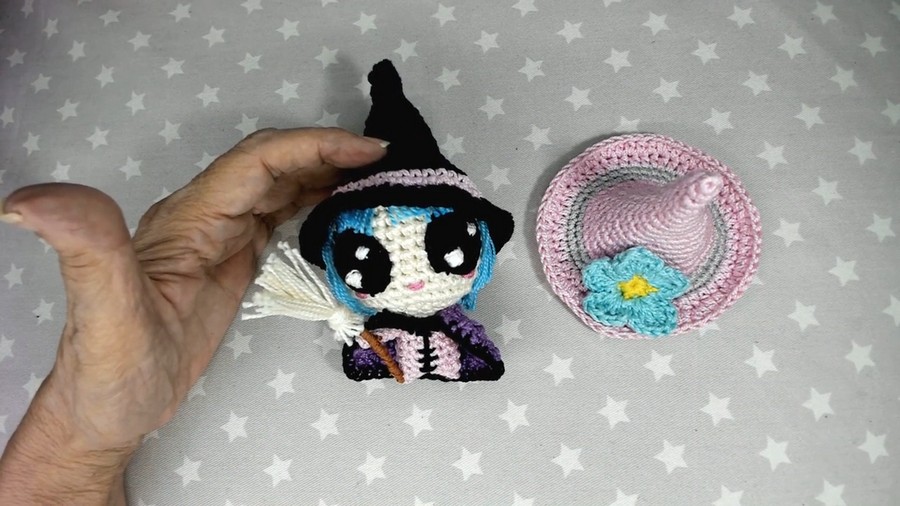
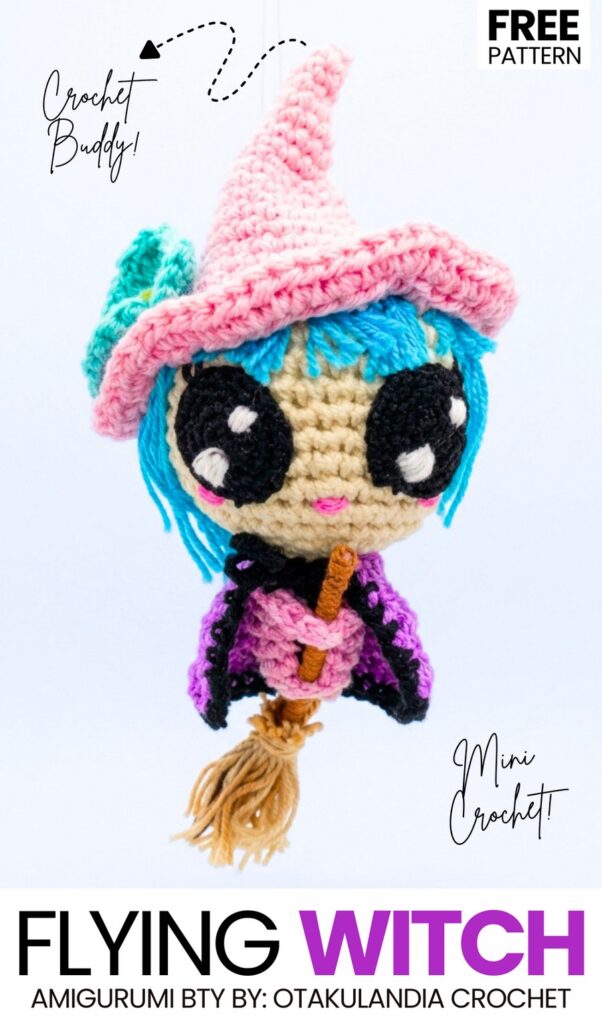
Choose from the crochet black witch hat and the pink witch hat. You can pose the witch broom in different ways and also add a small witch pot with potions for your amigurumi witch girl, too.
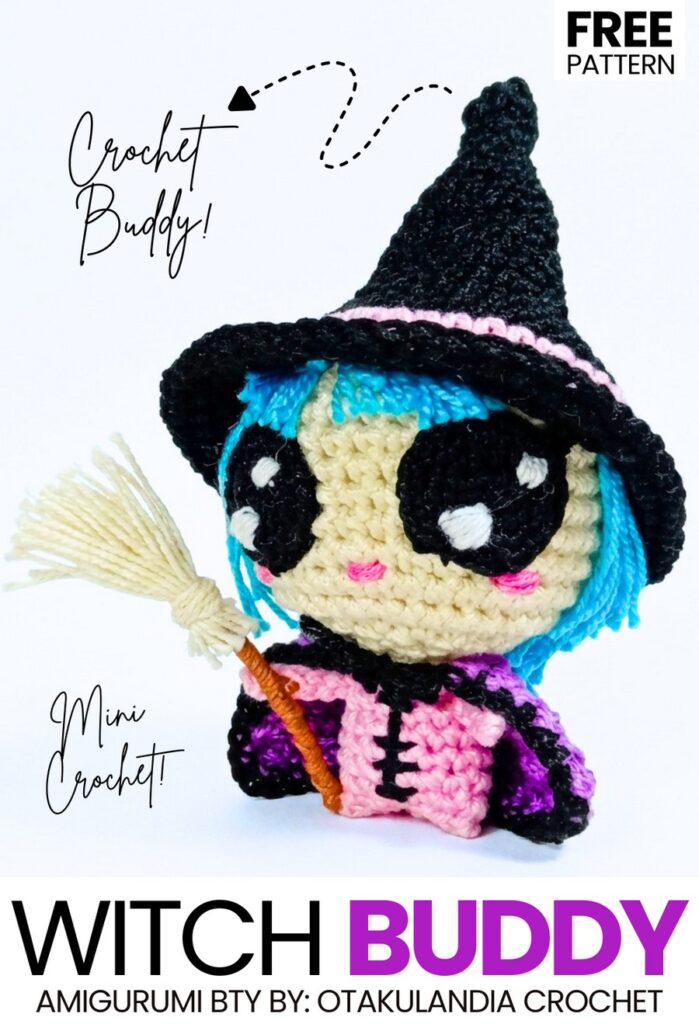
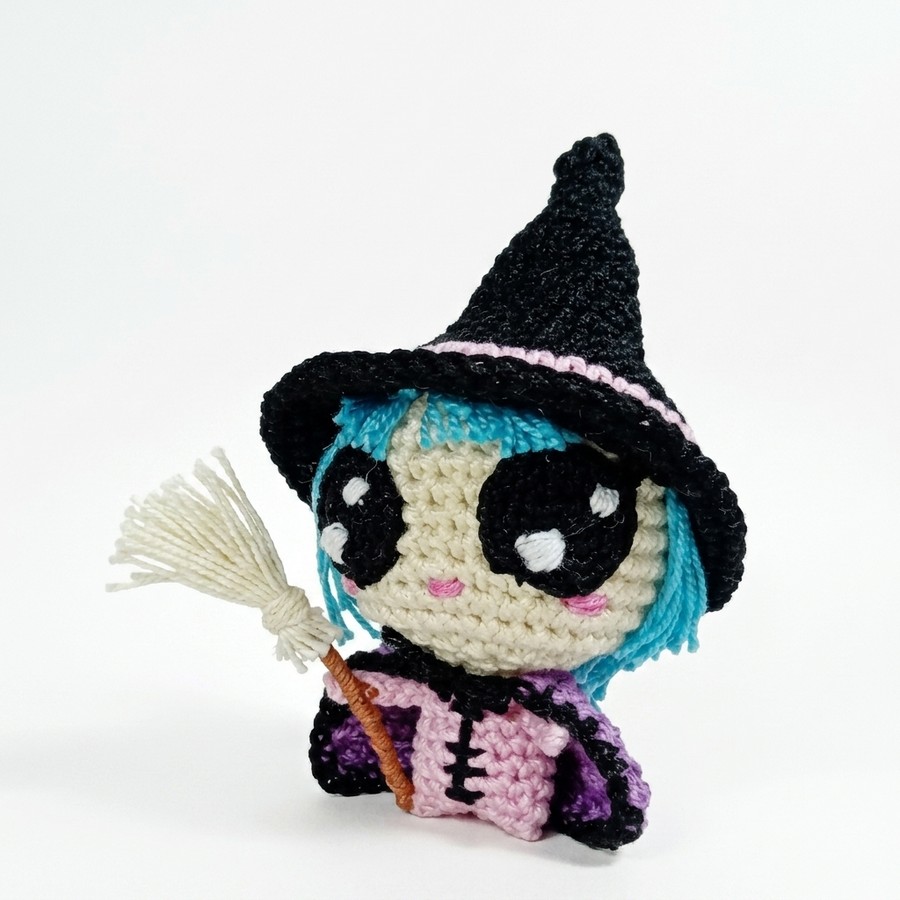
Unlike the previous pattern, we will also learn how to craft a small broom that the little witch girl can hold. This time, the eye patches also have the kawaii white embroidery puffs. I also like its embroidered blush just below the eyes. Just like the crochet jack-o-lantern, I would also recommend crocheting your buddy witch girl using the thin plush yarn. Now, continue reading to learn more about this crochet thin yarn amigurumi witch girl!
[ez-toc]
Tutorial to Crochet the Amigurumi No-Sew Witch Girl
This project is a small stuffed witch girl. She has a big hat, a dress, and cute hair. You will make the head, body, arms, legs, and hat, and then sew them together. It is a fun toy to make.
This project is a small witch girl doll made with yarn and a hook. You will make the head and body in one piece. Then you will make the arms, big eyes, a tall hat, a cape, and a broom.
The hat is tall and has a small flower on it. The body is pink and the hat is black. It is very fun and easy to make, using simple stitches.
Materials Needed
Yarn: Size 5 cotton yarn (used double-stranded for thickness). Colors needed: Skin tone (for head), Pink (for body/dress and hat stripe), Black (for hat, cape, and eyes), and a scrap color for the flower.
Crochet Hooks: 2.5 mm hook (for the head, body, hat, and cape) and 1.75 mm hook (for the eyes).
Other Tools: Yarn needle, scissors, stitch markers.
Stuffing: Polyfill / Fiberfill stuffing.
For Broom: A small wooden stick or skewer.
Stitch Abbreviations (US Terms)
MR: Magic Ring
sc: single crochet
inc: increase (2 single crochets in the same stitch)
dec: invisible decrease (crochet 2 stitches together)
hdc: half double crochet
hdc inc: half double crochet increase (2 hdc in same stitch)
dc: double crochet
tr: treble crochet
sl st: slip stitch
- ch: chain
Are you a Beginner? Learn Crocheting Easily!
You can learn to crochet better with this kawaii amigurumi witch hat amigurumi with the following video tutorials or continue to the pattern:
1. Base Head and Body
Use skin color yarn and 2.5 mm hook. Work in continuous rounds.
Round 1: 7 sc in MR. (7)
Round 2: 6 inc, 1 sc. (13)
Round 3: 1 sc, inc around to the end. (20)
Round 4: 2 sc, inc around. (26)
Round 5: 3 sc, inc around. (32)
Rounds 6-14 (9 rounds): 1 sc in each stitch around. (32)
Round 15: 16 dec. (16) Stuff the head firmly now.
Round 16: 8 dec. (8)
Round 17: Change to Pink yarn for the body. 1 sc, inc around until you reach 13 stitches total. (13)
Rounds 18-22 (5 rounds): 1 sc in each stitch around. (13)
Finishing: Slip stitch in the next stitch. Fasten off leaving a long tail for sewing. Stuff the pink body firmly.
Making the Legs: Flatten the bottom opening of the body. Sew the opening closed flat. To form the appearance of two little legs, insert your needle at the bottom center, push it all the way up through the head, and pull the yarn tight to create an indent in the bottom center. Secure the yarn and hide the tail inside.
2. Arms (Make 2)
Use skin color yarn.
Row 1: Chain 14.
Row 2: Starting in the second chain from the hook, slip stitch back down the chain 13 times.
Finishing: Fasten off, leaving a long tail. Thread the tail into your needle, poke a hole through the neck of the doll from side to side, and pull the arm string through so the arms dangle on the sides. Tie to secure.
3. Giant Eyes (Make 2)
Use Black yarn and 1.75 mm hook. Work in continuous rounds.
Round 1: 8 sc in MR. (8)
Round 2: 1 sc, inc around until you reach 11 stitches. (11)
Round 3: 2 sc, inc around until you reach 15 stitches. (15)
Round 4: 3 sc, inc around until you reach 19 stitches. (19)
Finishing: Slip stitch, fasten off, and leave a long tail. Sew the eyes onto the head, starting about 7 rounds down from the top of the head, leaving about 3 stitches between them.
4. Witch Hat
Use Black yarn and 2.5 mm hook.
Round 1: 5 sc in MR. (5)
Round 2: 1 sc in each stitch. (5)
Round 3: 1 sc, inc, repeat twice, 1 sc. (7)
Round 4: 1 sc in each stitch. (7)
Round 5: 2 sc, inc, repeat twice, 1 sc. (10)
Round 6: 1 sc in each stitch. (10)
Round 7: 3 sc, inc, repeat twice, 2 sc. (14)
Round 8: 1 sc in each stitch. (14)
Round 9: 4 sc, inc, repeat twice, 4 sc. (18)
Round 10: 1 sc in each stitch. (18)
Round 11: 5 sc, inc, repeat 3 times, 4 sc. (22)
Round 12: 1 sc in each stitch. (22)
Round 13: 5 sc, inc, repeat 4 times, 3 sc. (27)
Round 14: 1 sc in each stitch. (27)
Round 15: 3 sc, inc, repeat 6 times, 3 sc. (35)
Round 16: 1 sc in each stitch. (35)
Round 17: Change to Pink yarn for the stripe. 4 sc, inc around until you reach 42 stitches. (42)
Round 18: 1 sc in each stitch. (42)
Round 19 (Start Brim): Change back to Black yarn. Chain 1. 3 hdc, hdc inc around the entire hat. Join with a slip stitch.
Round 20: Chain 2. 4 hdc, hdc inc around. Join with a slip stitch. Fasten off and weave in the ends.
5. Hat Flower
Use any bright color yarn.
Round 1: 11 sc in MR. Join with a sl st to the first sc.
Round 2 (Petals): Chain 2. In the same stitch make: 2 dc, 1 tr, 2 dc. Chain 2, slip stitch into the next stitch, sc in the next stitch. Repeat this sequence 5 times to create 5 petals.
Finishing: Fasten off and sew the flower to the side of the pink stripe on the hat.
6. Cape
Use Black yarn.
Row 1: Chain 16. Starting in the 2nd chain from the hook, make 15 sc across. (15)
Row 2: Chain 1, turn. 2 sc, inc across. (20)
Row 3: Chain 1, turn. 3 sc, inc across. (25)
Rows 4-6: Chain 1, turn. 1 sc in each stitch across. (25)
Finishing: Fasten off. Attach black yarn to the top left corner, chain 15, and fasten off to make a tie string. Repeat on the top right corner. Tie the cape around the witch’s neck.
7. Broom
Materials: Small wooden stick, brown or yellow yarn.
Instructions: Cut 10-15 pieces of yarn, each about 3 inches long. Bundle them around one end of the wooden stick. Take another piece of yarn and tie it tightly around the bundle to hold the bristles to the stick. Trim the bottom of the yarn so the broom is straight. Place it under the witch’s arm.
Share on Social Media!
See More:
Tester Call: How to Crochet the Mr. Googly Sphere Witch Fidget Toy Plushie
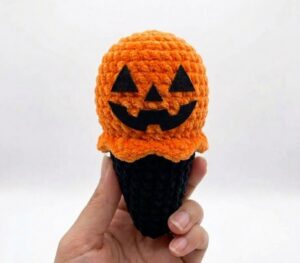
Tester Call: How to Crochet Spooky Face Ice Witch Cone Plushie
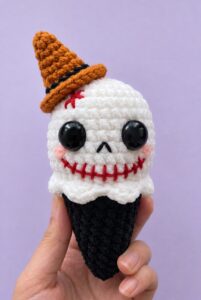
Tester Call: How to Crochet REALLY Spooky Witch Halloween Treat Plushie

Tester Pattern: To Crochet A Witch Cat Plush Gifting You A Pumpkin Softie
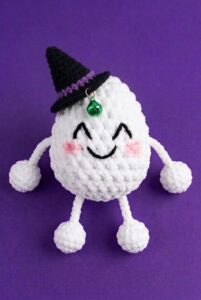
Tester Pattern: How to Crochet An Tug & Pull Witch Egg Halloween Plushie Toy
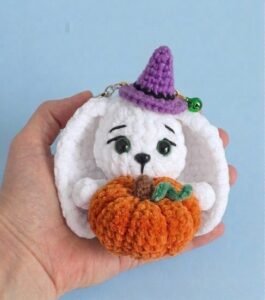
Tester Pattern: Free Crochet Pumpkin-Holding Witch Bunny Plushie Pattern
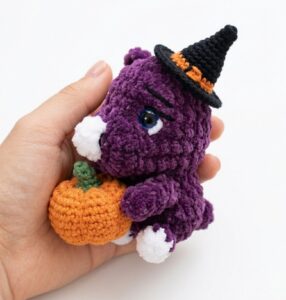
How to Crochet Witch Rhinoceros Holding a Pumpkin Amigurumi Plush
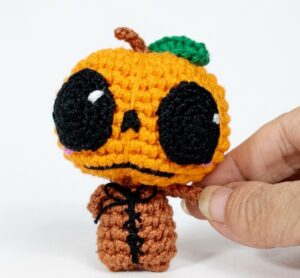
How to Crochet Little Pumpkin Man in A Witch Hat Amigurumi Little Doll
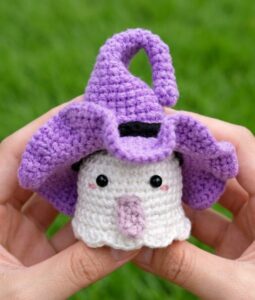
How to Crochet Funny Standing Ghost in the Most Detailed Witch Hat Amigurumi