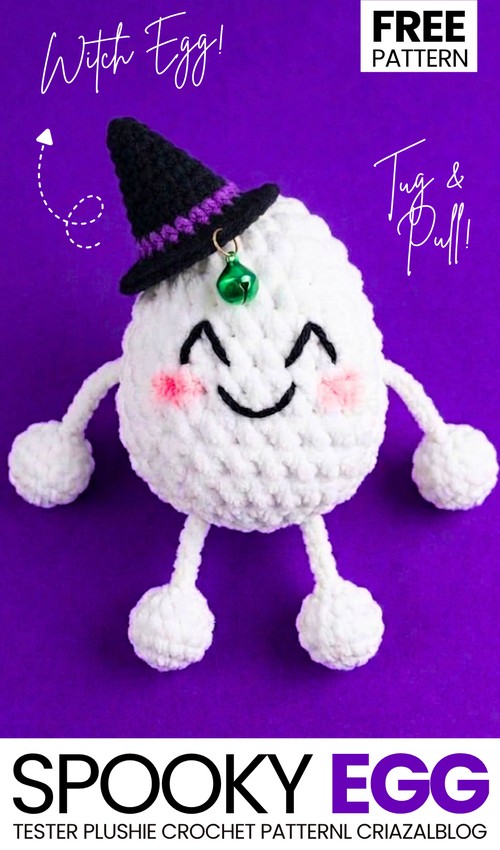
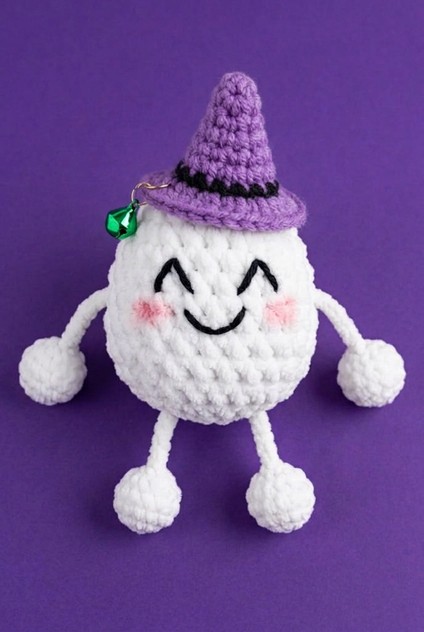
For today’s crochet Halloween tester plushie pattern, I wanted something quirky, quick, and super easy! (and last-minute for sure!). SO, I ended up with this crochet “tug and pull” smiling witch egg ghost plushie that you can learn how to crochet with a FREE written pattern for absolute beginners. When you pull the leg of the egg witch, the arm will get shortened, and similarly, we can do the opposite.
This crochet plush egg also has V-shaped eyes, a smile, and a bell on the witch hat. Makes for an irresistible Halloween treat bag charm and a little toy gift for the little ones.
With the crochet stopper balls, the limbs of this crochet egg will also stay inserted, and you can have unlimited playtime. This project requires both plush yarn and thin cotton yarn. Now, continue reading to learn more about this crochet plush egg in a witch hat project!
[ez-toc]
Pattern: The Spooky Egg Body
Note: This egg uses joined rounds to keep the base flat and symmetrical. At the end of each round, join with a slip stitch (sl st) to the first stitch of the round and chain (ch) 1 before starting the next round. The ch 1 does not count as a stitch.
Round 1: Make a MR and work 6 sc into the ring. Sl st to first sc, ch 1. (6 sts)
Round 2: Work 1 inc in each stitch around. Sl st, ch 1. (12 sts)
Round 3: [1 sc, 1 inc] repeat 6 times around. Sl st, ch 1. (18 sts)
Round 4: Work 1 sc in each stitch around. Sl st, ch 1. (18 sts)
Round 5: [2 sc, 1 inc] repeat 6 times around. Sl st, ch 1. (24 sts)
Rounds 6–11: Work 1 sc in each stitch around for 6 rounds total. Sl st, ch 1 at the end of each round. (24 sts per round)
Round 12: [1 sc, 1 inv dec] repeat 8 times around. Sl st, ch 1. (16 sts)
Designer Tip: This round decreases in groups of 8 instead of 6 to help create a flat base, allowing your egg to sit upright!
Stuffing: Firmly stuff the egg with fiberfill. Shape the top so it is slightly pointed, pressing the bottom against a flat surface to maintain the flat base.
Round 13: Work 8 invisible decreases around. (8 sts)
Finishing the Body: Cut the yarn leaving a short tail. Thread the tail onto your tapestry needle, weave it through the front loops of the remaining 8 stitches, and pull tight to close the bottom opening. Tie off securely and hide the remaining yarn tail inside the egg.
Pattern: Arms and Legs (Make 2)
The arms and legs are made by creating a small puffy sphere out of bulky yarn, and attaching it to the body using a double-strand chain of thin cotton yarn.
Part 1: The Spheres (Hands & Feet)
Round 1: Using your bulky white yarn, make a MR and work 6 sc into the ring. (6 sts)
Round 2: Work 1 inc in each stitch around. (12 sts)
- Round 3: Work [sc, inc] * 6 (18)
Round 4: Work 1 sc in each stitch around. (18)
Round 5: Work [sc, dec] * 6. (12)
- Round 6: Work 6 decreases around. (6 sts)
FO: Fasten off, leaving a tail to close the hole. Lightly stuff the sphere, weave the tail through the front loops of the 6 remaining stitches, pull closed, and weave in the end.

Part 2: The Limb Chains
Using your thin white cotton yarn, create a “double chain” (working with two strands held together for extra thickness, or crocheting a standard foundation chain) roughly 14 chains long.
FO: Fasten off, leaving long tails at both ends.
Assembly: Sew one end of the chain securely to the top center of a completed sphere. Leave the other end free to attach to the egg body later. Repeat for all 4 limbs.
Pattern: Witch Hat
Use a 4.0 mm hook. This hat is worked from the top down. Note: To perfectly match the image, you can invert the color changes (working R1-R6 in Black, R7 in Purple, and R8 in Black), but the instructions below reflect your written core pattern.
Round 1 (Purple): Make a MR, work 4 sc into the ring, sl st to join. (4 sts)
Round 2: ch 1, [1 sc, inc] repeat 2 times. Sl st to join. (6 sts)
Round 3: ch 1, [2 sc, inc] repeat 2 times. Sl st to join. (8 sts)
Round 4: ch 1, [3 sc, inc] repeat 2 times. Sl st to join. (10 sts)
Round 5: ch 1, [4 sc, inc] repeat 2 times. Sl st to join. (12 sts)
Round 6: ch 1, [5 sc, inc] repeat 2 times. Sl st to join. (14 sts)
Round 7 (Switch to Black): ch 1, work 14 sc around. Sl st to join. (14 sts)
Round 8 (Switch to Purple): ch 1, work 2 hdc (hdc increase) into every stitch around the rim. Sl st to join. (28 sts)
FO: Cut the yarn, leaving a long tail for sewing, and weave in the starting ends.
Assembly & Finishing Details
Face Embroidery:
Eyes: Using black embroidery floss, stitch two upside-down “V” shapes (
^ ^) for happy, closed eyes near the middle of the egg’s front face. Make the lines slightly thick so they stand out against the fluffy yarn.Mouth: Below and centered between the eyes, embroider a small, gentle curved line for a smile.
Cheeks: Lightly dab a small brush into real pink blush (or use a bit of pink chalk pastel/acrylic paint) and rub it gently into the yarn just below the outer corners of the eyes.
The Bell: Using a jump ring or a small strand of yarn, securely attach the green bell to the bottom brim of the hat so that it will dangle over the egg’s forehead.
Attaching the Hat: Position the witch hat slightly tilted on the top of the egg’s head. Sew it securely into place using the long tail left from the hat.
Attaching the Limbs:
Legs: Pin the top ends of two limb chains to the bottom edge of the egg (right where the flat base begins) so they point downward. Sew them securely.
Arms: Pin the top ends of the remaining two limb chains to the sides of the egg body, aligned roughly with the bottom of the cheeks. Sew them securely.
See More:
Tester Call: How to Crochet Polar Bear Christmas Dumpling in A Steamer Box Plushie
Tester Call: How to Crochet Gingerbread Bao Bun Dumpling Plushie for Christmas
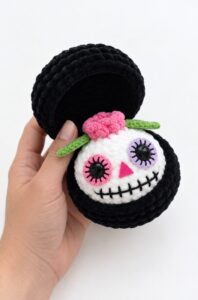
Pattern Tester: Flower on the Top Tribute Spooky Dumpling Plushie Pattern
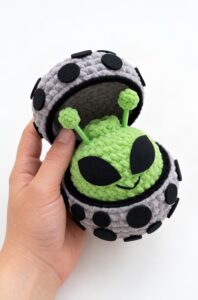
Pattern Tester: How to Crochet An Alien Dumpling in A Pod Box Plushie
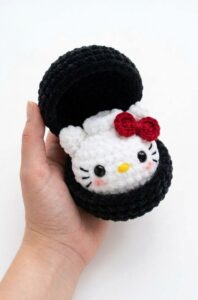
Tester Pattern: How to Crochet Hello Kitty Dumpling Plushie for Playing With
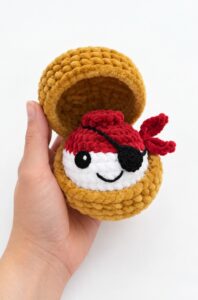
Tester Call: How to Crochet Mr. Pirate Dumpling Plushie in A Treasure Box
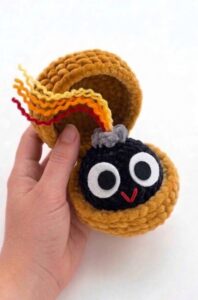
Tester Pattern: How to Crochet Birthday-Popper Dumpling Plushie for Gifting

Tester Pattern: How to Crochet Dumpling Buddy in A Steamer Costume Plushie

Tester Pattern: To Crochet A Snowball Christmas Dumpling in Basket Plush