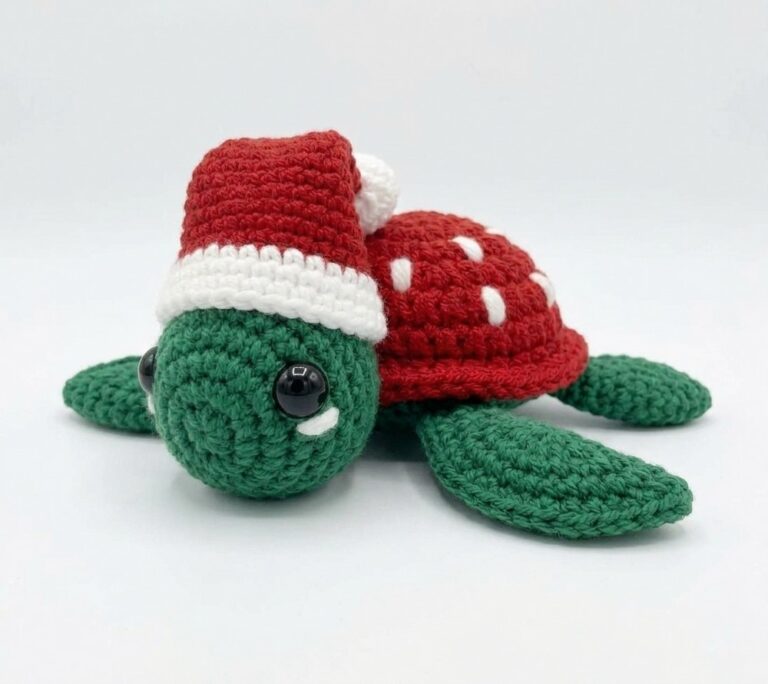
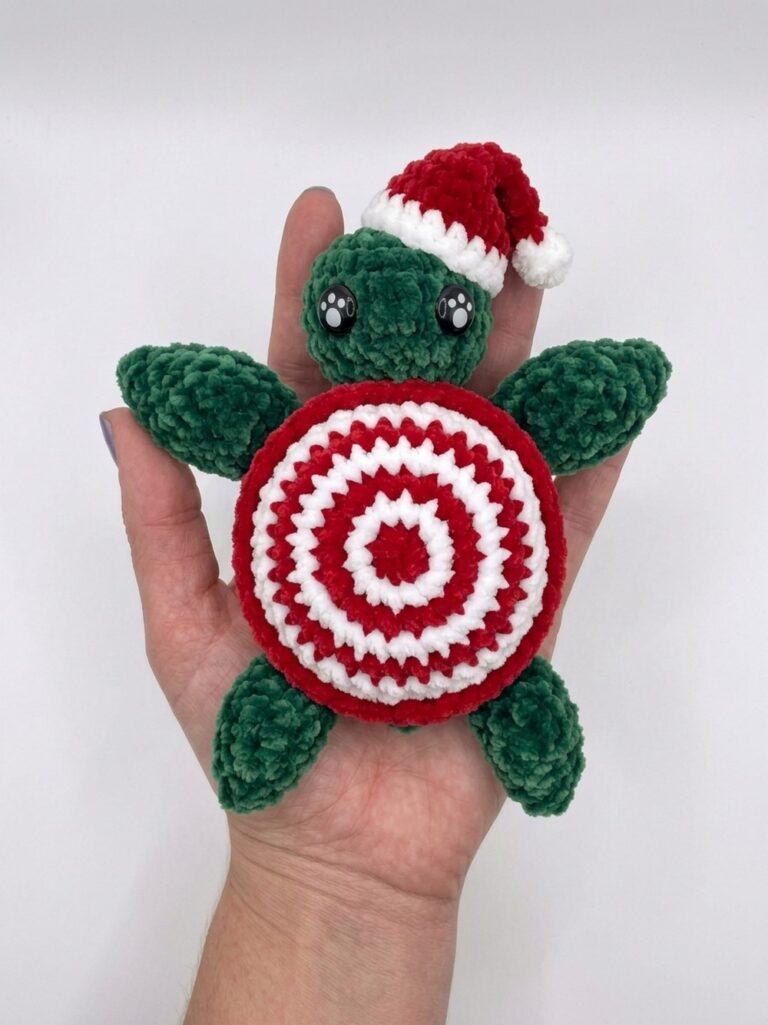
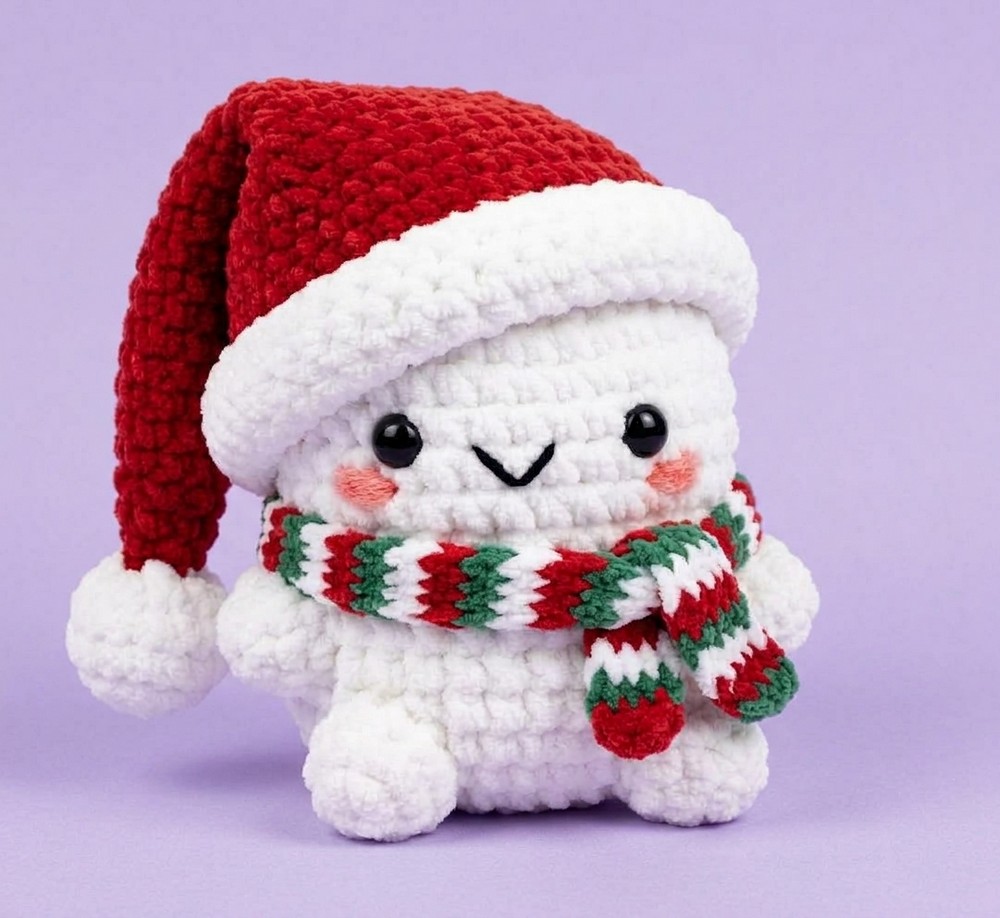
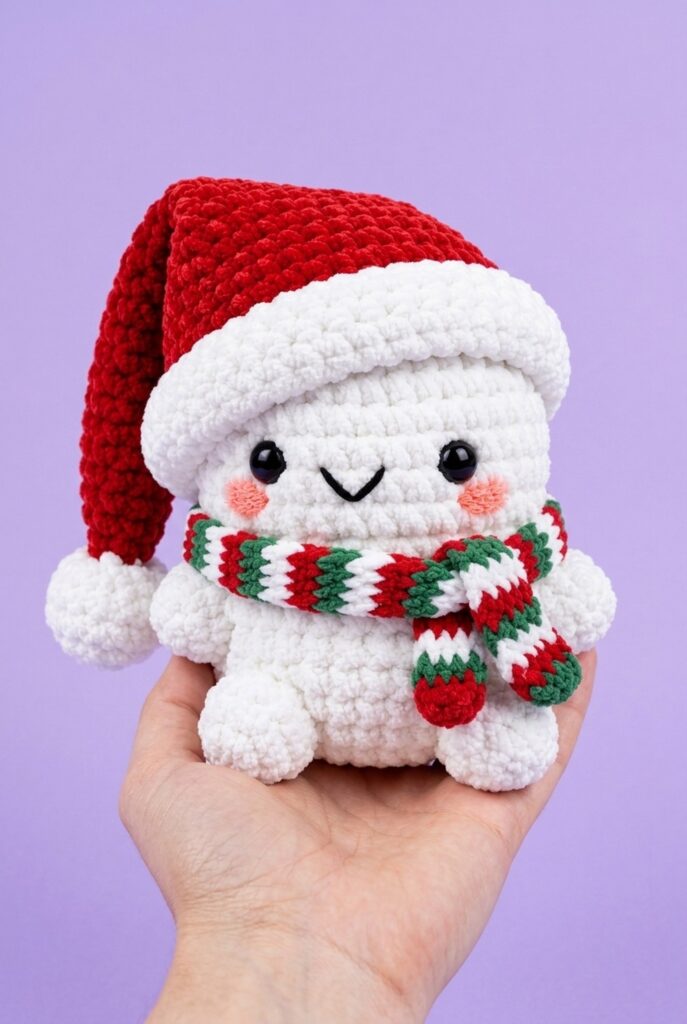
Looking for a custom crochet character sitting Christmas gift buddy plushie for this Christmas? Learn how to crochet this UNIQUE Mr. Winter White buddy sitting buddy wearing a slouchy Santa hat and a green, red, and white striped scarf, and looking SUPER ADORABLE.
It has cute blush embroidery on the cheeks and can also be crocheted as a mood-lifter plush. We will crochet its legs and arms separately, but if you are gonna use the thin plush yarn in white, you can also crochet your winter buddy’s legs and arms without sewing using the bobble stitch.
A smaller version will look even cuter! We crochet the scarf in rounds instead. Now, continue reading for learning more about this plush dressed buddy project for all!
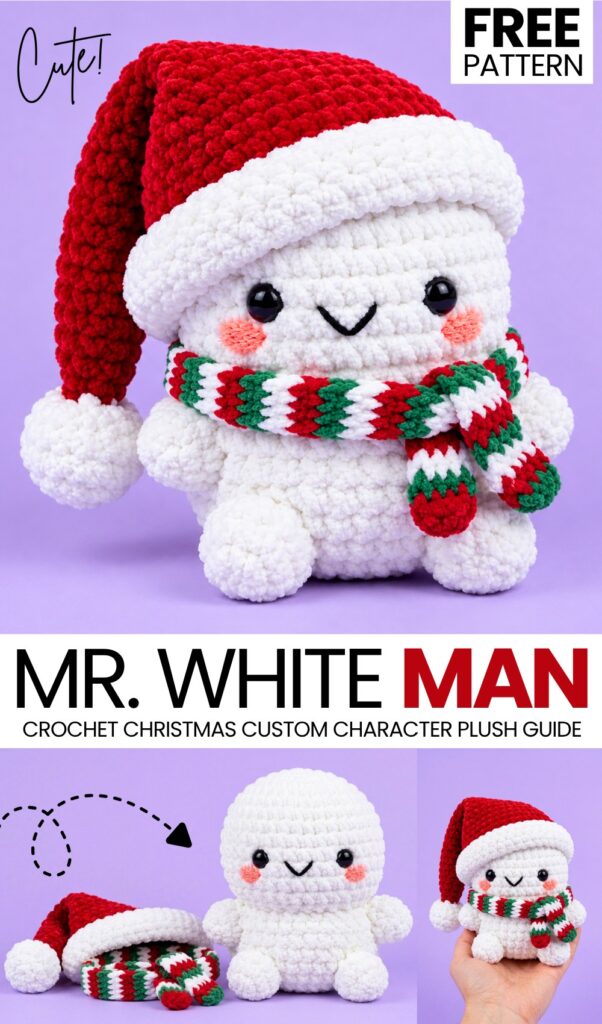
Pattern to Crochet Sitting Winter White Buddy Plushie
Skill Level: Beginner – Level 4
Materials & Supplies
Yarn:
Super Bulky Plush/Chenille Yarn (Weight 6): White (for body, pom-pom, hat brim, arms, and feet) and Red (for Santa hat)
Fine/Skinny Plush Yarn (Weight 3 or 4): White, Red, and Green (for peppermint scarf)
Embroidery Floss or Thin Black Yarn: For smile and eye detailing
Pink/Peach Yarn or Blush: For rosy cheek accents
Hooks:
4.5 mm – 5.0 mm hook (for plush body and hat)
3.0 mm – 3.5 mm hook (for skinny scarf)
Safety Eyes: 10 mm – 12 mm black safety eyes
Other Supplies: Fiberfill stuffing, yarn needle, stitch marker, scissors
Abbreviations (US Terms)
MR: Magic Ring
sc: Single Crochet
inc: Increase (2 sc in same stitch)
dec: Invisible Decrease (sc 2 stitches together)
FLO: Front Loop Only
BLO: Back Loop Only
st(s): Stitch(es)
ch: Chain
[ ] x count: Repeat instructions inside brackets indicated number of times
Instructions
1. Main Body (White Plush Yarn)
Rnd 1: 6 sc in MR (6)
Rnd 2: [inc] x 6 (12)
Rnd 3: [sc 1, inc] x 6 (18)
Rnd 4: [sc 2, inc] x 6 (24)
Rnd 5: [sc 3, inc] x 6 (30)
Rnd 6: [sc 4, inc] x 6 (36)
Rnd 7: [sc 5, inc] x 6 (42)
Rnd 8: [sc 6, inc] x 6 (48)
Rnds 9–10: sc in each st around (2 rounds total) (48)
Rnd 11: [sc 6, dec] x 6 (42)
Rnd 12: [sc 5, dec] x 6 (36)
Rnd 13 (Head/Body Ridge Accent – FLO): sc in FLO of each st around (36)
Rnd 14: [sc 5, inc] x 6 (42)
Rnd 15: [sc 6, inc] x 6 (48)
Rnds 16–17: sc in each st around (2 rounds total) (48)
Rnd 18: [sc 6, dec] x 6 (42)
Rnd 19: [sc 5, dec] x 6 (36)
Face Attachment Note: Place safety eyes between Rnds 10 and 11, approximately 6–7 stitches apart. Begin stuffing firmly.
Rnd 20 (Bottom Ridge Accent – BLO): [sc 4, dec] x 6 in BLO (30)
Rnd 21: [sc 3, dec] x 6 (24)
Rnd 22: [sc 2, dec] x 6 (18)
Rnd 23: [sc 1, dec] x 6 (12)
Rnd 24: [dec] x 6 (6)
Finish stuffing firmly. Fasten off leaving a 6-inch tail. Weave through FLO of final 6 sts, pull tight to close, and weave in end.
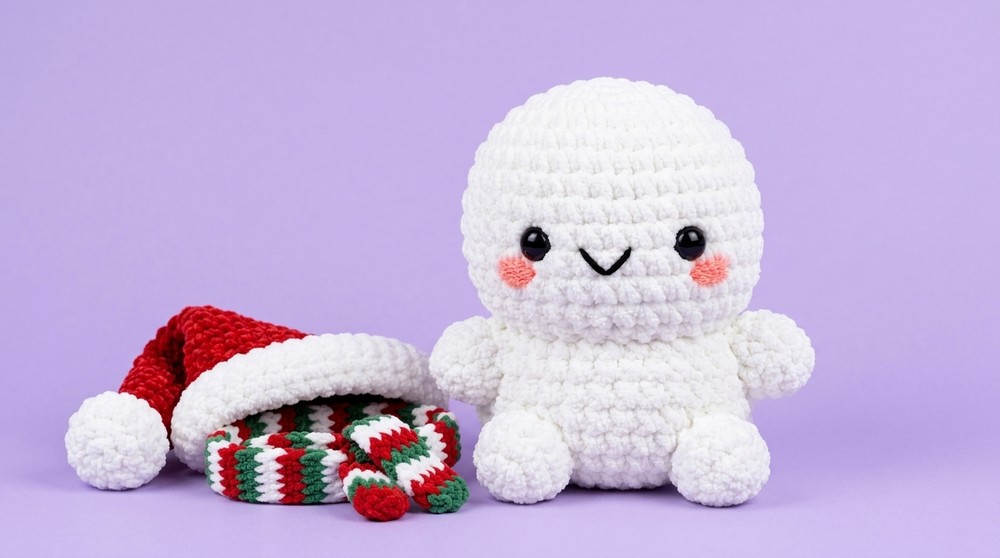
2. Arms & Feet (Make 4 – White Plush Yarn)
(Based on image analysis: 2 small rounded nub arms and 2 rounded feet)
Rnd 1: 6 sc in MR (6)
Rnd 2: [sc 2, inc] x 2 (8)
Rnds 3–4: sc in each st around (2 rounds) (8)
Rnd 5: [dec] x 4 (4)
Fasten off, leaving a long tail for sewing. Lightly stuff the tips.
3. Santa Hat (White & Red Plush Yarn)
Top Pom-Pom (White Yarn)
Rnd 1: 6 sc in MR (6)
Rnd 2: [inc] x 6 (12)
Rnd 3: [sc 5, inc] x 2 (14)
Rnd 4: sc in each st around (14)
Rnd 5: [sc 5, dec] x 2 (12)
Rnd 6: [dec] x 6 (6) (Lightly stuff pom-pom)
Hat Body (Switch to Red Yarn)
Rnds 7–8: sc in each st around (2 rounds) (6)
Rnd 9: [sc 2, inc] x 2 (8)
Rnd 10: sc in each st around (8)
Rnd 11: [sc 3, inc] x 2 (10)
Rnd 12: sc in each st around (10)
Rnd 13: [sc 4, inc] x 2 (12)
Rnd 14: sc in each st around (12)
Rnd 15: [sc 5, inc] x 2 (14)
Rnd 16: sc in each st around (14)
Rnd 17: [sc 6, inc] x 2 (16)
Rnd 18: sc in each st around (16)
Rnd 19: [sc 7, inc] x 2 (18)
Rnd 20: sc in each st around (18)
Rnd 21: [sc 8, inc] x 2 (20)
Rnd 22: sc in each st around (20)
Rnd 23: [sc 9, inc] x 2 (22)
Rnd 24: [sc 10, inc] x 2 (24)
Rnd 25: [sc 11, inc] x 2 (26)
Rnd 26: [sc 12, inc] x 2 (28)
Rnd 27: [sc 13, inc] x 2 (30)
Rnd 28: [sc 14, inc] x 2 (32)
Rnd 29: [sc 15, inc] x 2 (34)
Rnd 30: [sc 16, inc] x 2 (36)
Rnd 31: [sc 17, inc] x 2 (38)
Rnd 32: [sc 18, inc] x 2 (40)
Rnd 33: [sc 19, inc] x 2 (42)
Hat Brim (Switch to White Yarn)
Rnd 34 (In FLO): [sc 20, inc] x 2 in FLO (44)
Rnd 35: [sc 21, inc] x 2 (46)
Rnd 36: [sc 22, inc] x 2 (48)
Rnd 37: [sc 21, dec] x 2 (46)
Rnd 38: [sc 20, dec] x 2 (42)
Fasten off, weave in ends. Fold the thick white brim upward.
4. Peppermint Scarf (Skinny Plush Yarn: Red, Green, White)
Do not stuff.
Rnd 1: 5 sc in MR (5)
Rnd 2: 2 sc in each st around (10)
Rnds 3+: Work continuous rounds of sc (10 st per round), alternating colors every 2 rounds in sequence: Red, Green, White.
Continue until scarf reaches desired length (~55–60 rounds) to wrap around the neck and cross over in front.
Fasten off and weave in ends.
Assembly & Face Detailing
Face Details:
Mouth: Using thin black embroidery floss/yarn, embroider a wide V-shaped smile centered between the safety eyes, positioned 1 row lower than the eye level.
Cheeks: Using pink yarn or fabric blush, embroider horizontal oval blush patches directly underneath each eye.
Limbs Assembly:
Arms: Sew two limbs onto the sides of the lower body (around Rnds 14–15), angled slightly forward.
Feet: Sew two limbs onto the front bottom base (around Rnds 18–19), pointing directly outward so the buddy sits stably.
Accessories:
Santa Hat: Place the hat over the head, resting tilted slightly backward or to the side. Secure with a few hidden tack stitches along the back/sides if desired.
Scarf: Wrap the peppermint scarf around the neck seam between the upper and lower body sections, crossing the ends over in front. Secure with a stitch to hold in place.
See More:
How to Crochet Strawberry & Winter Hat Set Little Bird Plushie for Gifting
![[PDF Pattern] Crochet Winter Doll Set Pattern (3 Outfits with Removeable Hair)](https://criazalblog.com/wp-content/uploads/2026/09/crochet-doll-1-225x300.jpg)
[PDF Pattern] Crochet Winter Doll Set Pattern (3 Outfits with Removeable Hair)
![[PDF Pattern] Crochet Amigurumi Snowman in Winter Hat Gift Basket Pattern](https://criazalblog.com/wp-content/uploads/2026/09/crochet-snowman-basket-225x300.jpg)
[PDF Pattern] Crochet Amigurumi Snowman in Winter Hat Gift Basket Pattern
Tester Call: How to Crochet Mr. Snow in Hat & Scarf Chrsitmas Fidget Ring Plushie
Featuring: How to Crochet Snow Buddy in A Beanie Treat Bag for Christmas
How to Crochet A No-Sew Princess Snow White Plushie for Cosplay
Featuring: Crochet Goggle-Wearing Yellow, Blue and Black Buddy Character Plushie for Gifting
Featuring: How to Crochet the FASTEST No-Sew Butterfly BUDDY Plushie for Gifting
Featuring: How to Crochet Cosplay Red, Blue and Yellow Parrot Buddy Plushie