

Author: Talha
I am a crochet designer, macramé maker and a crafter who also loves doing MATH.

Contributor: Lyubov of Love Knitting
She is a Ukrainian crochet plushie designer and our most favorite crocheter. She became our contributor on mid 2026 through mycraftybasket.
Show support for Lubouv!
Welcome to Part 6 of the crochet “no-sew iconic character plushie” series! Today, you will learn how to crochet this Chibi and oh-so-cute miniature Princess Snow White plushie with a step-by-step tutorial + a written pattern as well. Including all crochet “character plushies,” this is also designed using the crochet “no-sew buddy base.” If this Christmas, you are looking for an irresistible last-minute crochet gift for a little girl, be sure you crochet this little Princess Snow White plushie. Makes a CUTE bag charm, desk buddy, and beauty parlour decoration.
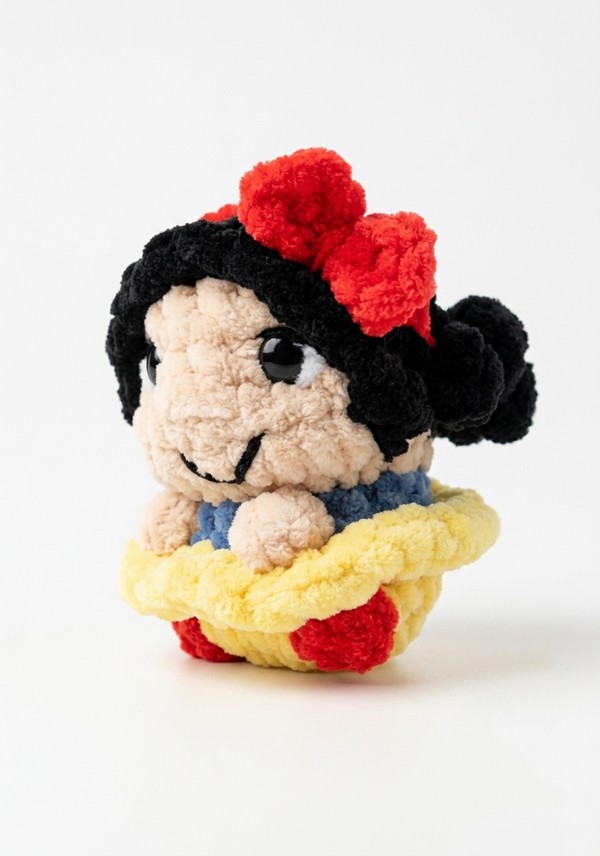
We will cleverly crochet the iconic red, blue & yellow costume of Princess Snow White, including her hair, without sewing in this pattern. Along with the familiar bobble stitch and color-changing techniques, this crochet Snow White plushie also uses surface stitching to make its ruffled dress.
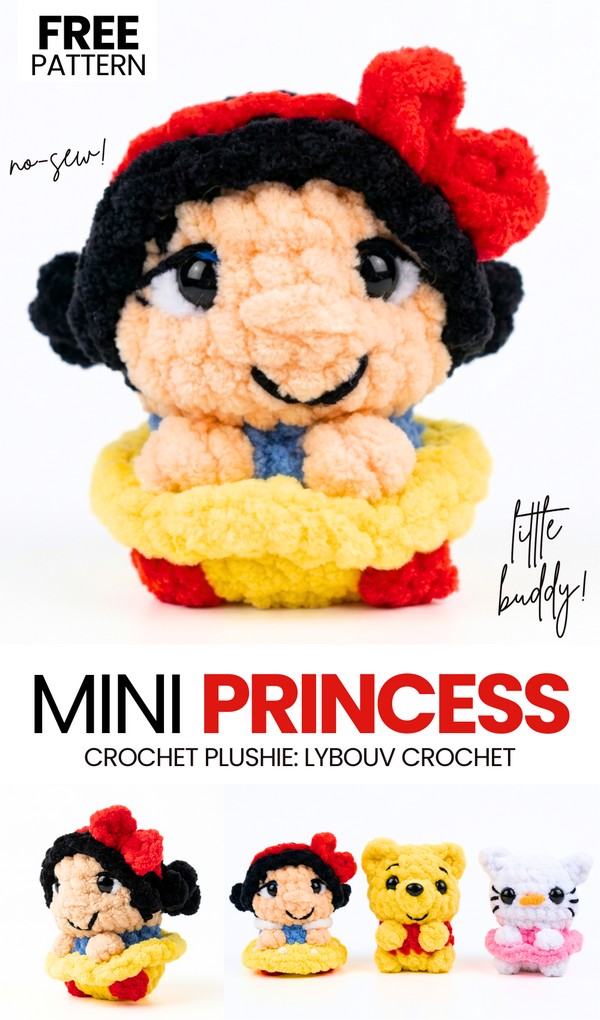
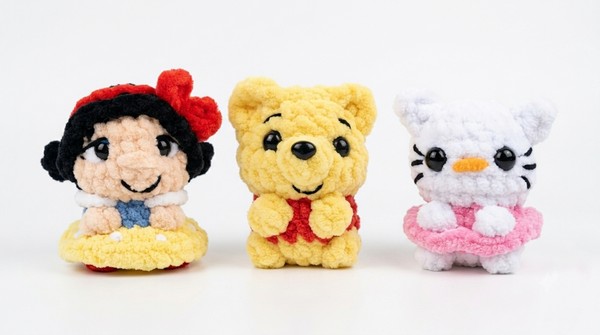
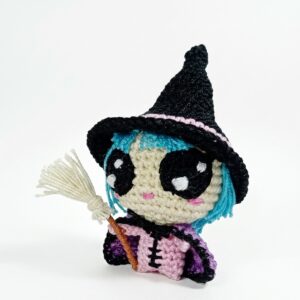
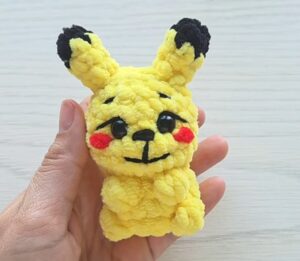
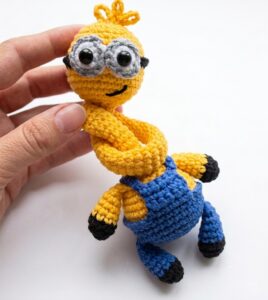
With the super bulky yarn, you will end up with a 7- 8 cm crochet Snow WHite plushie that makes this pattern so special. We will cover all the Snow White costume details in this small plushie. You can also learn how to crochet other “iconic character” plushies such as the crochet Pikachu, Tony Chopper, Minion, and much more; all with the free patterns. Continue reading to learn more about this cosplay project.
Similar Project(s)
Tutorial to Crochet A Miniature Snow White Plushie
Skill Level: Beginner (Level 5)
This project is a small, soft doll. You make the doll from the feet up to the head in one piece. You do not sew arms or legs on later. You change yarn colors to make her dress, skin, and hair. You will crochet her skirt, a hairband, and a small bow right onto the finished doll.
Materials
Plush Yarn (Super Bulky / Category 6): Yellow, Red, Blue, Beige (Skin Color), and Black.
Crochet Hook: 4.0 mm.
Safety Eyes: 10 mm.
Stuffing: Fiberfill.
Embroidery Thread/Yarn: Thin black thread for the eyelashes and mouth, thin white thread for eye details.
Tools: Yarn needle and scissors.
Abbreviations
MR = Magic Ring
sc = single crochet
dc = double crochet
inc = increase (2 sc in one stitch)
dec = decrease (sc 2 together)
sl st = slip stitch
ch = chain
dc3tog = double crochet 3 together in the same stitch (cluster of 3 dc)
BLO = Back loops only
FLO = Front loops only
st(s) = stitch(es)
R = round

Are you a Beginner? Learn Crocheting Easily!
You can learn to crochet better with this Tony Chopper plushie tutorial as a beginner:
Share on Social Media!
See More:
Wanna Crochet Something Else?
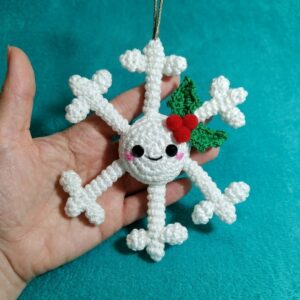
How to Crochet Snowflake Buddy Amigurumi with Holy Leaf
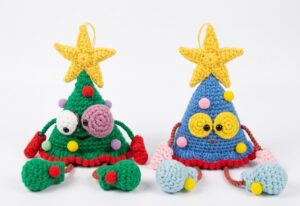
How to Crochet the Craziest FUNNY Christmas Tree Buddy Amigurumi Ornament
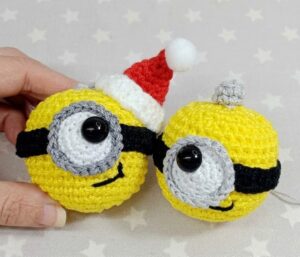
How to Crochet Christmas Yellow Goggle Character Bell Buddy in Santa Hat
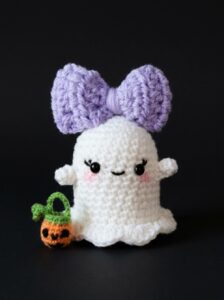
How to Crochet Big Hair Bow Trick-or-Treat Ghosts Amigurumi with Treat Basktets
How to Crochet Amigurumi Big Nose Slouchy Hat Gnome Amigurumi
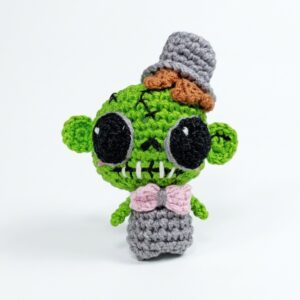
How to Crochet Green Bolt Zombie Man Amigurumi Doll Pattern



