How to Crochet A Posed Baby Unicorn Amigurumi for Kids

Save this Crafty Article

Talha
Author: Talha
I am a crochet designer, macramé maker and a crafter who also loves doing MATH.
Lyubov of Love Knitting
Contributor: Lyubov of Love Knitting
She is a Ukrainian crochet plushie designer and our most favorite crocheter. She became our contributor on mid 2026 through mycraftybasket.

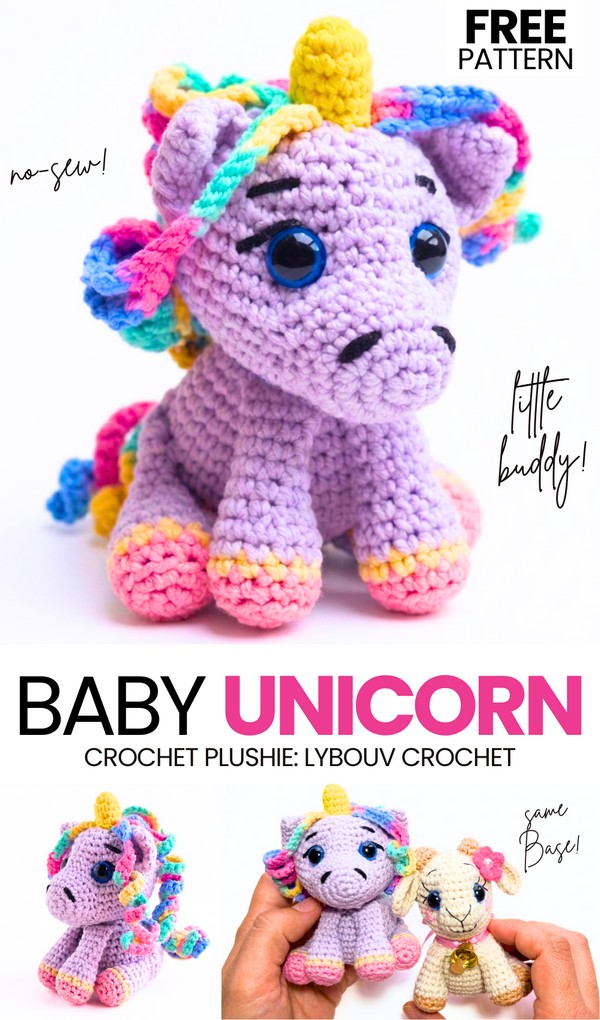
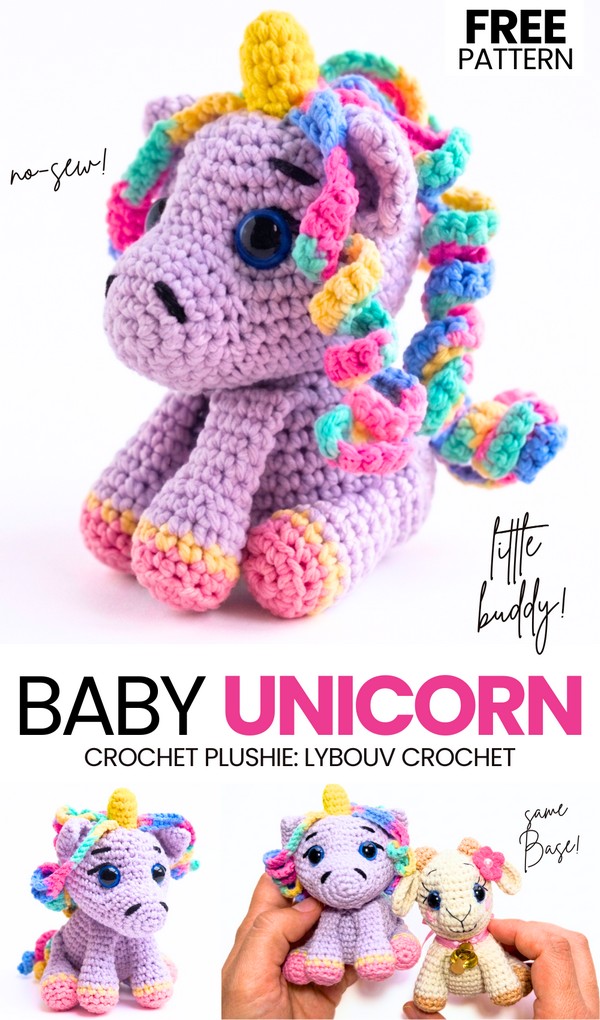
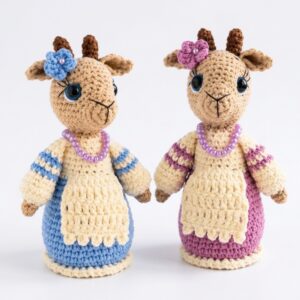
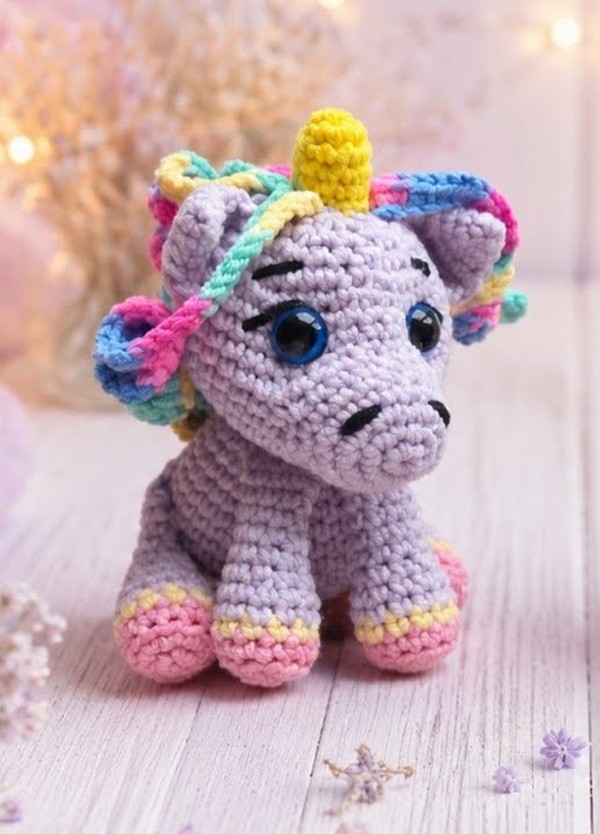
Looking for a colorful amigurumi present for a baby girl? Well, I welcome you to another part of the “crochet amigurumi for girls” series. Today, we are reusing the crochet goat base that we made last week and crocheting this kawaii sitting baby unicorn amigurumi using semi-cotton yarn. You can follow both the step-by-step masterclass and a written pattern to crochet this, which can sit upright on its own in that cute pose.

Can also be crocheted as a magical cosplay Christmas present or as a unicorn plush using super-bulky yarn. We are adding that REALLY tiny stuffed crochet horn, the coiled colorful mane, and the tail using self-striping yarn.
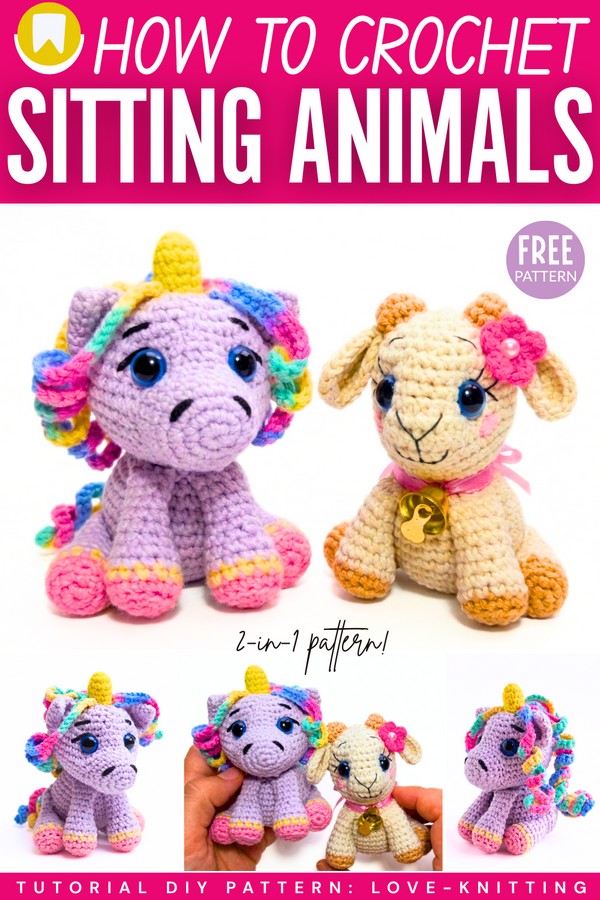
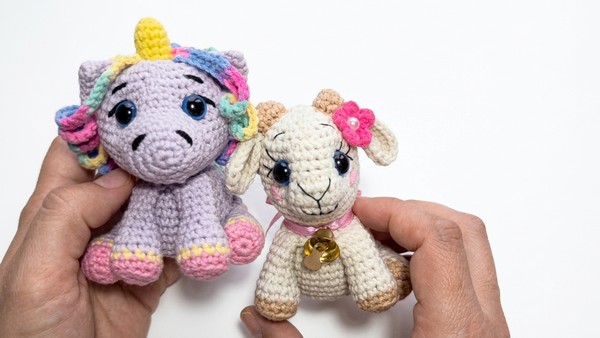
Just the crochet goat amigurumi; it also has eyebrow and eyelash embroidery along with the two-color eyes. The finished crochet unicorn amigurumi will measure about just 9cm, and it is also low-sew. So, you are going to have a fun time crocheting this unicorn as a present. Below is the step-by-step pattern for absolute beginners.

Pattern to Crochet the Unicorn Baby Amigurumi

This project is a crochet plushie toy. You will make the legs, the nose, the ears, and the horn first. Then you will make the body and the head. You will join two legs and the nose into the stitches while you make the body and the head. You will push stuffing inside the body and the head. You will put plastic eyes into the head.

Then you will close the top hole. Next, you will sew the other two legs to the body. Finally, you will sew the horn, the ears, the mane, and the tail to the toy. The finished toy will sit up on its own.
Materials List

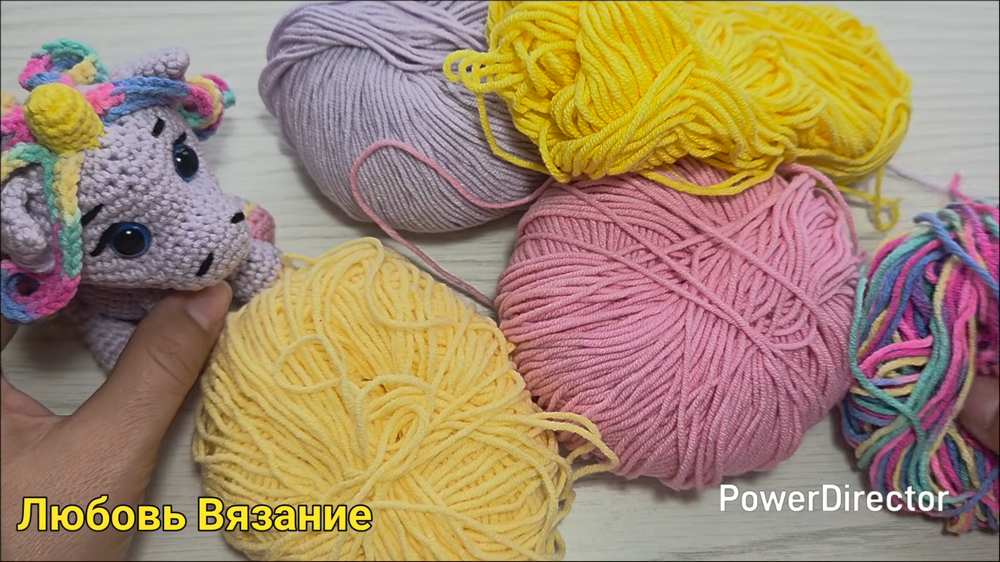
  • Semi-cotton yarn (e.g., YarnArt Jeans, 50g/160m) in:

    • Pink (for hooves)

    • Yellow (for hooves and horn)

    • Main Color / Lilac (for the body, head, ears, and nose)

  • Melange / Multi-color yarn (e.g., YarnArt Jeans Crazy) for the mane and tail

  • 2.0 mm crochet hook

  • 10 mm safety eyes

  • Toy stuffing / fiberfill

  • Tapestry needle (for sewing pieces together)

  • Scissors and stitch markers

  • Black thread (for embroidering eyelashes, eyebrows, and nostrils)
Abbreviations List

  • MR = Magic Ring

  • ch = chain

  • sc = single crochet

  • inc = increase (crochet 2 single crochets in the same stitch)

  • dec = decrease (crochet 2 stitches together)

  • BLO = back loops only

  • st(s) = stitch(es)

  • x = times (repeat the step this many times)
 

Are you a Beginner? Learn Crocheting Easily!

You can learn to crochet better with this crochet amigurumi sitting unicorn tutorial as a beginner:

Full Crochet Pattern

Legs (Make 4)

Make 2 legs with short yarn tails (to be crocheted into the body) and make 2 legs with long yarn tails (to be sewn onto the body later).

Start with Pink yarn.

  • Round 1: 6 sc in a MR (6)

  • Round 2: 6 inc (12)

  • Round 3: 12 sc in BLO (12) Change to Yellow yarn.

  • Round 4: 12 sc (12) Change to Main Color yarn.

  • Round 5 – 6: 12 sc (12)

  • Round 7: (2 sc, dec) x 3 (9)

  • Stuff the bottom part of the leg with stuffing.

  • Round 8 – 9: 9 sc (9)

  • Round 10: dec, 7 sc (8)

  • Round 11 – 12: 8 sc (8)

  • Finish: Fold the top edges flat together and crochet 4 sc through both sides to close the leg. Fasten off.


Nose / Muzzle (Make 1)

Use Main Color yarn.

  • Round 1: 6 sc in a MR (6)

  • Round 2: 6 inc (12)

  • Round 3: (1 sc, inc) x 6 (18)

  • Round 4 – 5: 18 sc (18)

  • Finish: Fasten off and leave a short tail (this part will be crocheted into the head, not sewn).

Ears (Make 2)

Use Main Color yarn.

  • Round 1: 4 sc in a MR (4)

  • Round 2: (1 sc, inc) x 2 (6)

  • Round 3: (1 sc, inc) x 3 (9)

  • Round 4: (2 sc, inc) x 3 (12)

  • Round 5: (1 sc, inc) x 6 (18)

  • Finish: Fold flat and crochet 9 sc through both sides to close. Fasten off and leave a long tail for sewing.

Horn (Make 1)

Use Yellow yarn.

  • Round 1: 6 sc in a MR (6)

  • Round 2: (1 sc, inc) x 3 (9)

  • Round 3 – 5: 9 sc (9)

  • Finish: Fasten off and leave a long tail for sewing. Lightly stuff the horn.

Body and Head (Make 1)

Use Main Color yarn. The body is worked from the bottom up to the head.

  • Round 1: 8 sc in a MR (8)

  • Round 2: 8 inc (16)

  • Round 3: (1 sc, inc) x 8 (24)

  • Round 4: (3 sc, inc) x 6 (30)

  • Round 5: (4 sc, inc) x 6 (36)

  • Round 6 – 10: 36 sc (36) – (5 rounds total)

  • Round 11: 4 dec, 24 sc, 2 dec (30)

  • Round 12: 30 sc (30)

  • Round 13: (3 sc, dec) x 6 (24)

  • Round 14 (Attaching front legs): 9 sc on the body. Hold the first short-tail leg in front of the body and crochet 4 sc going through both the leg stitches and body stitches. Hold the second short-tail leg and crochet 4 sc going through both the leg stitches and body stitches. 7 sc on the body (24)

    • Tip: Stuff the bottom of the body at this point to make sure the legs look correctly placed in the front.

  • Round 15: (2 sc, dec) x 6 (18)

  • Round 16: (4 sc, dec) x 3 (15)

(The Head begins here)

  • Round 17: 15 inc (30)

  • Round 18: (4 sc, inc) x 6 (36)

  • Round 19: (5 sc, inc) x 6 (42)

  • Round 20: 42 sc (42)

  • Round 21 (Attaching the nose): 20 sc on the head. Hold the nose piece against the head and crochet 9 sc going through both the nose stitches and the head stitches. 13 sc on the head (42)

  • Round 22: 20 sc on the head. Crochet 9 sc directly onto the remaining, unattached front stitches of the nose. Crochet 13 sc on the head (42)

    • Tip: To prevent holes in the corners where the nose meets the head, you can yarn over or crochet an extra loop from the base before continuing.

  • Round 23 – 26: 42 sc (42) – (4 rounds total)

  • Round 27: (5 sc, dec) x 6 (36)

  • Round 28: (4 sc, dec) x 6 (30)

    • Insert the 10 mm safety eyes between Round 25 and Round 26. Leave 9 stitches between the eyes.

  • Round 29: (3 sc, dec) x 6 (24)

    • Stuff the body and head firmly.

  • Round 30: (2 sc, dec) x 6 (18)

  • Round 31: (1 sc, dec) x 6 (12)

    • Add the final amount of stuffing.

  • Round 32: 6 dec (6)

  • Finish: Fasten off. Weave the yarn tail through the front loops of the remaining 6 stitches, pull tight to close the hole, and hide the yarn end inside the head.

Mane

Use Melange yarn.

  • Chain 50.

  • Starting in the 2nd ch from the hook, repeat (3 sc, inc) across the entire chain.

  • Do not cut the yarn. Instead, immediately chain another 50 and repeat the process to create a second curly strand.

  • Make a total of 5 curly strands connecting to the same base block. Fasten off and leave a long tail to sew it to the head.

Tail

Use Melange yarn.

  • Chain 25.

  • Starting in the 2nd ch from the hook, repeat (3 sc, inc) across the entire chain.

  • Make a total of 3 curly strands connecting to the same base block. Fasten off and leave a long tail to sew it to the body.

Assembly and Finishing

  • Eye Indentations: Take a needle with main color yarn. Go up from the bottom of the head to the inner corner of the right eye, stitch over to the outer corner, and go back down to the bottom of the head. Pull tight to create an indent. Repeat this process for the left eye. Tie the yarn ends securely at the bottom of the head and hide them.

  • Back Legs: Pin the two remaining legs to the sides of the lower body so that the plushie sits up properly. Sew them on. Add a tiny stitch at the top and bottom of the leg so it stays flat against the body.

  • Horn and Ears: Sew the horn right to the top middle of the head. Pin the ears beside it, curving them slightly to look like triangles, and sew them on.

  • Face Details: Use thin black thread to embroider two small nostrils on the nose, and simple eyelashes and eyebrows above the eyes.

  • Hair: Sew the mane directly behind the horn on top of the head. Arrange some strands to fall forward and some to fall backward. Sew the tail to the back-bottom of the body.

Share on Social Media!


Save this Crafty Article

Leave a Reply

Your email address will not be published. Required fields are marked *