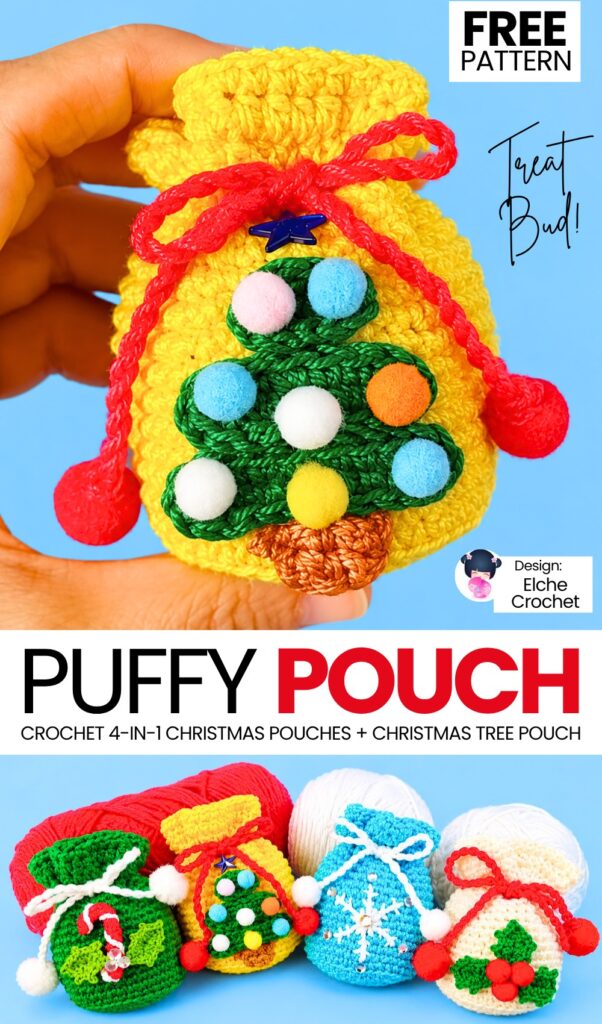
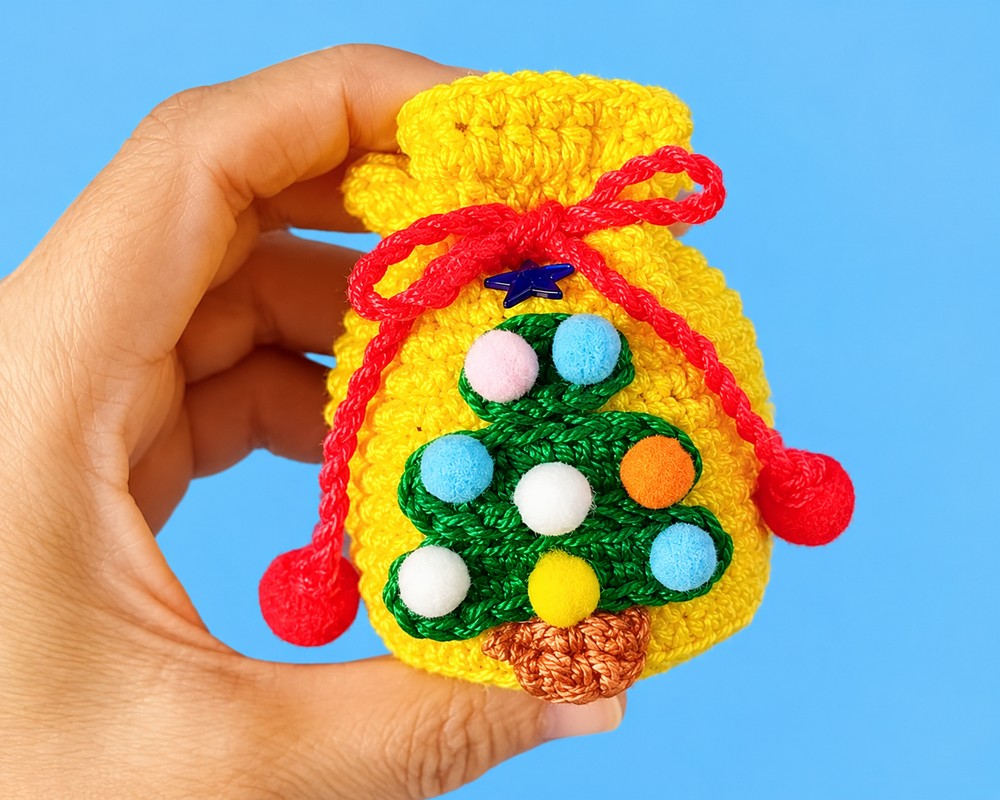
This is part 2 of our new mini Christmas treat pouch series! Last time, you learned to crochet the treat pouch base and the holly leaf-and-berry variation. Today, learn to crochet this tiered Christmas tree treat pouch variation with a step-by-step tutorial and a written pattern. We will crochet a yellow mini drawstring pouch with an oval-unit Christmas tree applique that is decorated with pom poms in many colors. Can hold chocolate coins, candies, or tiny surprises, and closes neatly with a handmade twisted drawstring cord finished with colorful pom-poms.
This small crochet Christmas gift bag is a holiday project you can crochet in under 30 minutes. This pattern will again teach you crocheting the yellow base pouch and making the red drawstring cord from start to finish.
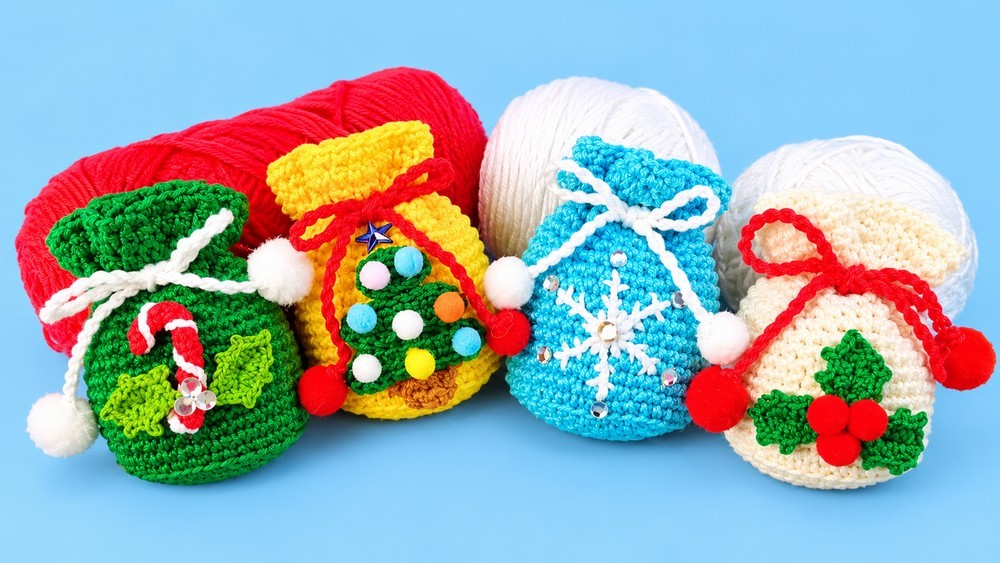
Once you master this simple bag base, you can customize it in any holiday colors and decorate the front with festive details like a Christmas tree, holly leaves, a candy cane, or an embroidered snowflake. For now, we will learn to crochet the pieces for the tiered Christmas tree applique and how to assemble it. Now, continue reading for learning more about this crochet bag project for all skill levels!
Pattern to Crochet a Christmas Tree Charmed Treat Bag
Skill Level: Beginner – Level 6
Materials
Yarn / Thread: Number 5 cotton yarn (or similar sport / fingering weight cotton yarn) in:
Bright Yellow (for the bag base)
Dark Pine Green (for the foliage tiers)
Light Brown / Camel (for the tree trunk)
Crochet Hooks:
2.55 mm hook (used for the pouch body)
1.75 mm hook (used for the tree pieces)
Embellishments and Hardware:
Small craft multi-colored pom-poms (for tree baubles)
Tiny decorative star or charm (for the tree topper)
Notions:
Hot glue gun and glue sticks
Tapestry / sewing needle
Scissors
Sewing pins (for positioning pieces before attaching)
Note on Yarn: The yellow bag is crocheted by holding two strands of size 5 cotton yarn together at the same time to give the pouch structure and firmness.
Abbreviations (US Crochet Terms)
MR: Magic ring
ch: Chain
st / sts: Stitch / stitches
sc: Single crochet
inc: Increase (work 2 single crochets into the same stitch)
hdc: Half double crochet
sl st: Slip stitch
BLO: Back loop only
Are you a Beginner? Learn Crocheting Easily!
You can learn to crochet better with this tree treat pouch tutorial as a beginner. Or continue with the FREE written pattern below:
Pattern Notes
Rounds 1 to 20 are worked in a continuous spiral without joining rounds. Use a stitch marker to keep track of the end of each round if needed.
Rounds 21 to 24 are joined with a slip stitch to create the eyelet holes and the ruffled top edge.
Resizing: To make a wider bag, simply continue adding increase rounds after Round 6 following the same sequence (for example, 5 single crochets then 1 increase). To make a narrower bag, stop increasing earlier.
Bag Base and Body
Using two strands of yellow size 5 cotton yarn held together and a 2.55 mm hook:
Round 1: Make a magic ring, ch 1 to secure the ring, and work 6 sc into the ring. Pull the yarn tail tight to close the center hole. (6 sts)
Round 2: Work 1 inc in each stitch around. (12 sts)
Round 3: Repeat (1 sc in the next st, 1 inc in the next st) 6 times around. (18 sts)
Round 4: Repeat (1 sc in each of the next 2 sts, 1 inc in the next st) 6 times around. (24 sts)
Round 5: Repeat (1 sc in each of the next 3 sts, 1 inc in the next st) 6 times around. (30 sts)
Round 6: Repeat (1 sc in each of the next 4 sts, 1 inc in the next st) 6 times around. (36 sts)
Round 7: Working in the back loop only (BLO), work 1 sc in each stitch around. This creates a subtle ridge that defines the bottom edge of the bag. (36 sts)
Rounds 8 to 20 (13 rounds total): Working through both loops as normal, work 1 sc in each stitch around. Place a stitch marker in the last stitch of Round 20. (36 sts per round)
Drawstring Eyelets and Top Border
Round 21 (Eyelet Round):
Work 1 sl st into the next stitch to transition out of the spiral.
Ch 2, skip 1 stitch, then work 1 sc in each of the next 2 stitches.
Repeat (ch 2, skip 1 stitch, work 1 sc in each of the next 2 stitches) around until you reach the last stitch before your starting slip stitch.
Work 1 sc into that final stitch, then join with 1 sl st into the base of the starting chain-2 (at the initial slip stitch) to close the round. You will have 12 chain-2 eyelet spaces around the top.
Round 22 (Building the Top Edge):
Insert your hook into the first chain-2 space and work (1 sc, ch 1) — this counts as your first hdc. Work 2 more hdc into the same chain-2 space (3 hdc total in the space).
Work 1 hdc into the small space directly between the 2 single crochets from the previous round.
Work 3 hdc into the next chain-2 space.
Repeat (1 hdc between the next 2 single crochets, 3 hdc in the next chain-2 space) all the way around.
After the last 3 hdc in the final chain-2 space, work 1 hdc between the last single crochet and the starting slip stitch, then join with 1 sl st to the top of the starting (sc, ch 1). (48 hdc total)
Round 23: Ch 2 (does not count as a stitch), work 1 hdc into the same stitch and in every stitch around. Join with 1 sl st to the first hdc. (48 hdc)
Round 24: Ch 1, work 1 sc into the same stitch and in every stitch around. Join with 1 sl st to the first sc. (48 sts)
Fastening Off Neatly:
Cut the yarn, leaving a short tail, and pull the tail through the loop on your hook. Using your crochet hook, pull the yarn tail to the inside/back of the work through the adjacent stitch so the join looks smooth and seamless. Weave in the ends securely on the inside of the bag.
Twisted Drawstring Cord and Assembly
Making the Cord:
Cut 2 long strands of red yarn (about 160 cm each) and fold them in half together so you have 4 strands measuring about 80 cm in length with a loop at the folded end.
Anchor the looped end onto a sturdy cushion or surface using a pin or sewing needle so it stays put.
Hold the loose ends together and twist all 4 strands tightly in one direction until the bundle is very taut and starts trying to kink.
Keeping tension on the strands, bring the loose end over to meet the pinned looped end so the yarn folds in half. Release the middle slowly and let the two halves naturally twist around each other to form a neat rope cord. Smooth it down with your fingers to even out the twist.
Tie a tight knot at the folded/joined end (leave the other end unknotted for threading) and trim any messy stray tails past the knot.
Threading and Finishing:
Position the bag so the back seam (where you joined Rounds 21 to 24) faces away from you.
Thread the unknotted end of the red cord onto a large plastic tapestry needle.
Starting at the front center, weave the cord in and out through all 12 chain-2 eyelet holes from Round 21 until both ends of the cord exit at the front center.
Remove the needle, tie a tight knot at the second end of the cord (matching the length of the first side), and trim the excess yarn right past the knot.
Apply a small drop of hot glue onto each knotted tip and press 1 medium red pom-pom firmly onto each end.
Fill the pouch with treats or small gifts, pull the cord tight, and tie it into a bow.
Part 1: Christmas Tree Motif (Arbolito de Navidad)
The Christmas tree consists of three overlapping green foliage tiers and one small brown trunk. Use the 1.75 mm crochet hook and dark green cotton thread for the foliage.
1. Bottom Foliage Tier (Largest)
Foundation: Chain 9.
Side 1: Starting in the 2nd chain from your hook, work 1 sc into each of the next 7 chains (7 sc).
Corner / End: In the last remaining chain at the tip, work 4 sc into the very same space.
Side 2: Rotate your work to crochet along the underside of the foundation chain. Work 1 sc into each of the next 6 chains (6 sc).
Corner / Opposite End: In the final remaining loop, work 4 sc into the same space.
Finishing: Join with a slip stitch into the first single crochet. Cut the yarn, pull through, and fasten off (leave a tail if sewing, or cut short to weave in if hot-gluing).
2. Middle Foliage Tier (Medium)
Foundation: Chain 7.
Side 1: Starting in the 2nd chain from your hook, work 1 sc into each of the next 5 chains (5 sc).
Corner / End: In the last chain, work 4 sc into the same space.
Side 2: Rotate to work down the underside of the foundation chain. Work 1 sc into each of the next 4 chains (4 sc).
Corner / Opposite End: In the final loop, work 4 sc into the same space.
Finishing: Join with a slip stitch into the first single crochet. Fasten off and secure ends.
3. Top Foliage Tier (Smallest)
Foundation: Chain 4.
Side 1: Starting in the 2nd chain from your hook, work 1 sc into each of the next 2 chains (2 sc).
Corner / End: In the last chain, work 4 sc into the same space.
Side 2: Rotate to work down the underside of the chain. Work 1 sc into the next chain (1 sc).
Corner / Opposite End: In the final loop, work 4 sc into the same space.
Finishing: Join with a slip stitch into the first single crochet. Fasten off and secure ends.
4. Tree Trunk (Brown)
Use the 1.75 mm hook and brown cotton thread.
Foundation: Chain 4.
Row 1: Starting in the 2nd chain from the hook, work 1 sc into each of the 3 chains. (3 sc).
Row 2: Chain 1, turn your work. Work 1 sc in each of the 3 stitches across. (3 sc).
Finishing: Fasten off, leaving a tail. Use a tapestry needle to weave the yarn down through the edge so it exits neatly at the bottom edge, creating a smooth rectangular trunk.
Tree Assembly and Decoration
Place your yellow pouch flat on a table.
Position the brown trunk near the lower center of the bag.
Layer the green foliage tiers above the trunk: place the largest tier at the bottom (overlapping slightly onto the top of the trunk), then the medium tier overlapping the largest, and finally the smallest tier at the top. (Note: ensure the curved edges face downward so the tiers look like drooping pine branches).
Pin all pieces in place to check alignment.
Secure each piece using hot glue (or stitch into place with thread).
Glue tiny colorful craft pom-poms onto the green tiers to serve as Christmas ornaments.
Glue a small star or charm at the very top of the tree.
More Ideas for Decorating
Once your pouch is finished, you can leave it plain or add festive embellishments to the front:
Blue Pouch: Make the pouch in light blue with a white cord and white pom-poms, then embroider a white snowflake with small rhinestones on the front.
Green Pouch: Add a red-and-white candy cane applique flanked by two green holly leaves and sequins.
Cream Pouch: Add two crocheted green holly leaves topped with three small red pom-poms in the center.

See More:
How to Crochet Knotted Bow & Star on the Top Pastel Rainbow Tiered Christmas Tree
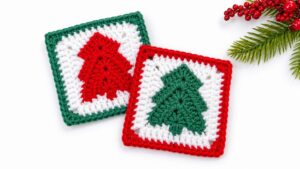
Crochet Red, White & Green Pincone Tree Granny Square for Christmas Bags & Coaster

Featuring: Crochet Table Decoration Christmas Tree Buddies with Eyes & Popcorn Texture

How to Crochet Smiling Small Christmas Tree Cutie with a Yellow Bow on the Top

3-in-1 Crochet Tree Embroidery, Grinch and Santa Miniature Treat Baskets
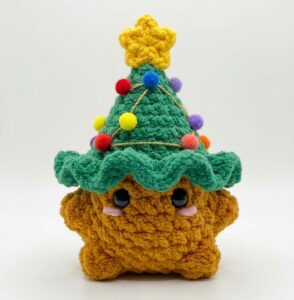
Tester Call: How to Crochet Well-Decorated Tree Hat Baby Mushroom Plushie (Pom Pom Lightings)

Featuring: How to Crochet Layered UNIQUE Star and Snowflake on the Top Christmas Tree Keychain

Featuring: Tutoral to Crochet White Edging & Bell Hanging Mini Tree Spinner
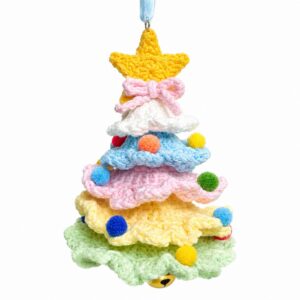
Featuring: How to Crochet Rainbow Pop Holiday Tree Hanging & Table Decoration