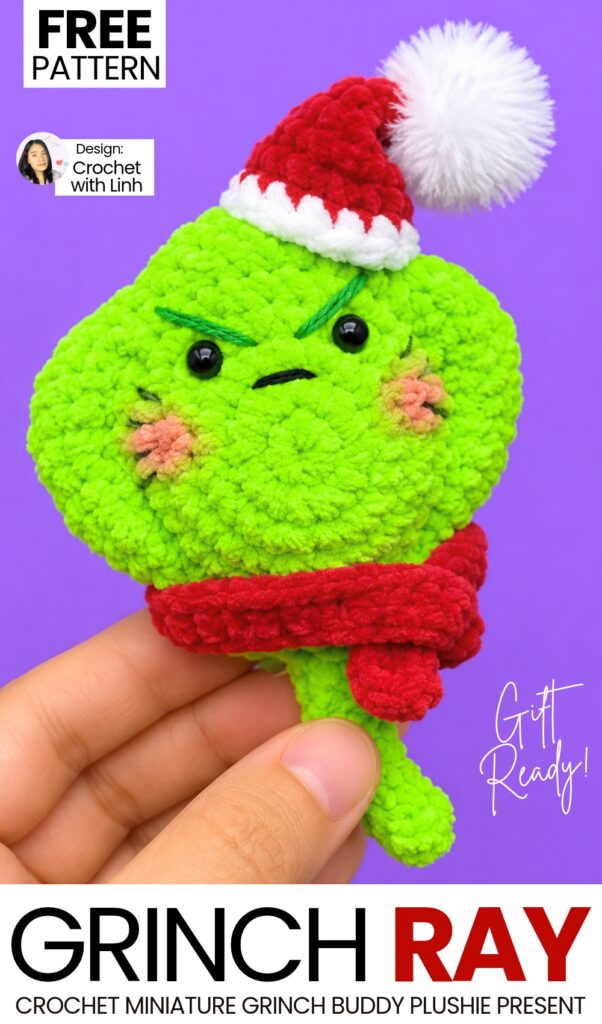
Here is one more crochet plush sea creature Grinch buddy pattern for Christmas gifting. Introducing the crochet skinny plush yarn Grinch stingray in a Santa hat and a plush scarf plushie that you can learn to crochet with a FREE written pattern. This crochet plush green Stingray has Grinch eyebrows and blush on the cheeks as well.
Our crochet mini Santa hat also has a little fluffy pom pom on the top and can be crocheted in under 2 minutes, along with the crochet Stingray plush that will also take less than 20 minutes to complete.
This is a low-sew crochet Grinch stingray plush you must crochet this year. So, continue reading for learning more about this crochet plush Stingray buddy!
Pattern to Crochet Scarf and Hat Stingray Plushie
This adorable crochet Grinch stingray is a quick, beginner-friendly amigurumi project that fits right in the palm of your hand. Worked in soft baby velvet yarn, it features a rounded lime-green back, a matching lime-green underside, wavy sculpted fins, a cute little tail, an iconic grumpy face with angry eyebrows, a festive mini Santa hat, and a cozy red scarf!
Skill Level
Easy / Intermediate (uses basic stitches along with half double crochet, double crochet, and treble crochet for the wavy fin edges)
Materials and Tools
Baby velvet yarn (approximately 2 mm thickness) in Lime Green (top body and belly), Red (Santa hat and scarf), and White (Santa hat brim and pom-pom)
Skinny plush yarn in Red (for the cozy scarf)
2.5 mm crochet hook
Black yarn or embroidery thread (for sewing the grumpy mouth, angry eyebrows, and gills)
2 small black plastic eyes
Hot glue gun (or strong craft glue)
Polyester fiberfill stuffing
Tapestry or yarn needle
Stitch marker
Scissors
Pink eyeshadow, blush, or lipstick with a small makeup brush (for the rosy cheeks)

Abbreviations (US Terms)
MR: Magic Ring
ch: Chain
sc: Single crochet
inc: Increase (work 2 single crochet in the same stitch)
hdc: Half double crochet
dc: Double crochet
tr: Treble crochet (yarn over twice before inserting hook)
slst: Slip stitch
sk: Skip
FLO: Front Loops Only (insert your hook only under the front loop of each stitch, leaving the back loop unworked for sewing later)
(…): Stitches inside parentheses are all worked into the same stitch
Are you a Beginner? Learn Crocheting Easily!
You can learn to crochet better with this CUTE crochet Grinch stingray plush. Or continue with the FREE written pattern below
Part 1: Top Body and Tail (Lime Green Yarn)
Round 1: Make a MR, work 6 sc into the ring. Pull the ring tight to close, and join with a slst into the first sc. (6 stitches)
Round 2: Ch 1, work 1 inc in each of the 6 stitches around. Join with a slst into the first sc. Use a stitch marker to mark the first stitch if needed, as velvet yarn can make stitches harder to see. (12 stitches)
Round 3: Ch 1, repeat (1 sc in the next stitch, 1 inc in the next stitch) 6 times around. Join with a slst into the first sc. (18 stitches)
Round 4: Ch 1, repeat (1 sc in each of the next 2 stitches, 1 inc in the next stitch) 6 times around. Join with a slst into the first sc. (24 stitches)
Round 5: Ch 1, work 1 sc in each of the 24 stitches around without increasing. Join with a slst into the first sc. (24 stitches)
Round 6: Ch 1, repeat (1 sc in each of the next 3 stitches, 1 inc in the next stitch) 6 times around. Join with a slst into the first sc. (30 stitches)
Round 7: Ch 1, repeat (1 sc in each of the next 9 stitches, 1 inc in the next stitch) 3 times around. Join with a slst into the first sc. (33 stitches)
Round 8 (Wavy Fin Border): Work this entire round in FLO (Front Loops Only), leaving the back loops free inside so you can sew the belly on later.
Sk 1 stitch.
Work (2 hdc) in the next stitch.
Work 1 dc in the next stitch.
Work (1 hdc, 1 slst) in the next stitch.
Work 1 sc in each of the next 2 stitches.
Work (2 hdc) in the next stitch.
Work (1 hdc, 1 dc) in the next stitch.
Work 1 dc in the next stitch.
Work 1 tr in each of the next 2 stitches.
Work (1 tr, 1 dc) in the next stitch.
Work (1 hdc, 1 sc) in the next stitch.
Work 1 sc in the next stitch.
Work 1 hdc in the next stitch.
Work (1 dc, 1 tr) in the next stitch.
Work (1 tr, 1 dc) in the next stitch.
Work 1 hdc in the next stitch.
Work 1 sc in the next stitch.
Work (1 sc, 1 hdc) in the next stitch.
Work (1 dc, 1 tr) in the next stitch.
Work 1 tr in each of the next 2 stitches.
Work 1 dc in the next stitch.
Work (1 dc, 1 hdc) in the next stitch.
Work (2 hdc) in the next stitch.
Work 1 sc in each of the next 2 stitches.
Work (1 slst, 1 hdc) in the next stitch.
Work 1 dc in the next stitch.
Work (2 hdc) in the next stitch.
Sk the last stitch, and slst into the base/joining stitch to close the border.
Top Tail (continue directly with Lime Green Yarn):
Ch 10.
Sk the first ch from the hook. Starting in the second ch from the hook, work 1 sc in each of the next 4 chains.
Work 1 hdc in each of the remaining 5 chains back toward the body.
Slst into the same base stitch where Round 8 ended.
Fasten off, leaving a long yarn tail for sewing the outer edges and tail together.
Part 2: Belly and Tail (Lime Green Yarn)
Round 1: Make a MR, work 8 sc into the ring. Pull tight and join with a slst into the first sc. (8 stitches)
Round 2: Ch 1, work 1 inc in each of the 8 stitches around. Join with a slst into the first sc. (16 stitches)
Round 3: Ch 1, repeat (1 sc in the next stitch, 1 inc in the next stitch) 8 times around. Join with a slst into the first sc. (24 stitches)
Round 4: Ch 1, repeat (1 sc in each of the next 3 stitches, 1 inc in the next stitch) 6 times around. Join with a slst into the first sc. (30 stitches)
Round 5: Ch 1, repeat (1 sc in each of the next 9 stitches, 1 inc in the next stitch) 3 times around. Join with a slst into the first sc. (33 stitches)
Round 6 (Wavy Fin Border): Work this entire round in FLO (Front Loops Only), following the exact same sequence as Round 8 of the Top Body:
Sk 1 stitch, (2 hdc), 1 dc, (1 hdc, 1 slst), 1 sc in each of the next 2 stitches.
(2 hdc), (1 hdc, 1 dc), 1 dc, 1 tr in each of the next 2 stitches, (1 tr, 1 dc), (1 hdc, 1 sc), 1 sc, 1 hdc, (1 dc, 1 tr).
(1 tr, 1 dc), 1 hdc, 1 sc, (1 sc, 1 hdc), (1 dc, 1 tr), 1 tr in each of the next 2 stitches, 1 dc, (1 dc, 1 hdc), (2 hdc).
1 sc in each of the next 2 stitches, (1 slst, 1 hdc), 1 dc, (2 hdc), sk the last stitch, slst into the base stitch.
Bottom Tail (continue directly with Lime Green Yarn):
Ch 10.
Sk the first ch from the hook. Starting in the second ch from the hook, work 1 slst in each of the next 4 chains.
Work 1 sc in each of the remaining 5 chains back toward the body.
Slst into the same base stitch where the border ended.
Fasten off, leaving a long yarn tail for sewing the body cavity shut.
Assembly and Stuffing
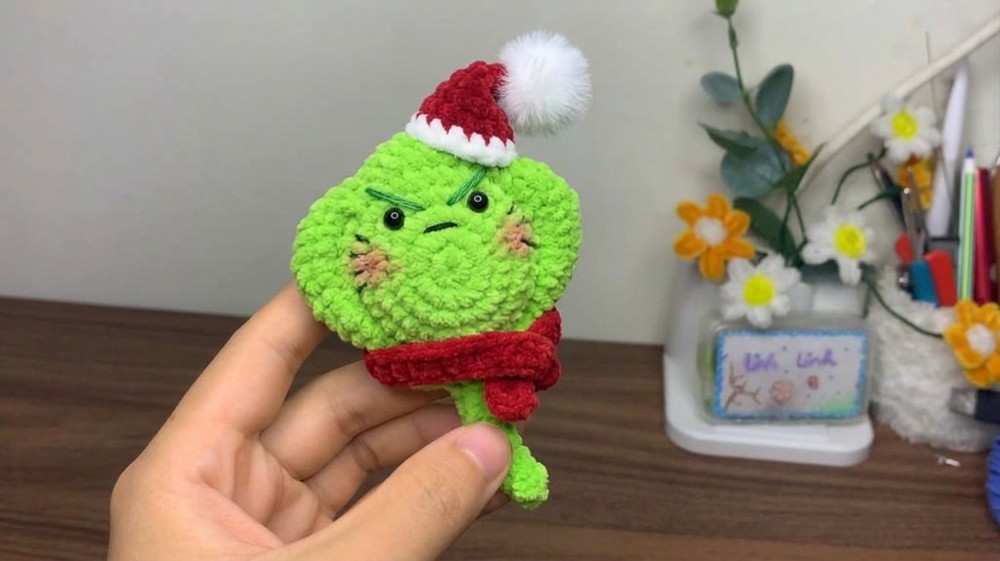
Align the Pieces: Place the Lime Green top piece and Lime Green belly piece together with the wrong sides facing each other (right sides facing outward). Line up the wavy fins and the two tail pieces.
Sew the Inner Dome and Stuff: Thread the lime green yarn tail onto your yarn needle. Starting near the base of the tail, whip-stitch around the inner body by picking up the unworked back loops from Round 7 of the top piece and Round 5 of the belly piece. When you have sewn about three-quarters of the way around, pause and stuff the rounded body cavity firmly with polyester fiberfill. Continue sewing the remaining back loops closed, tie off, and hide the yarn end inside.
Sew the Tail and Outer Fin Edges: Thread your yarn needle with another strand of lime green yarn. First, stitch the top and bottom tail pieces together along the edges so the tail forms one neat, sturdy piece. Next, sew neatly around the outer wavy fin edges (working slightly inward from the very tip of the stitches) to join the fins together cleanly all the way around. Tie off and weave in the remaining yarn ends inside the body.
Crochet Santa Hat
Hat Body (Red Yarn):
Round 1: Make a MR, work 6 sc into the ring. Join with a slst. (6 stitches)
Round 2: Ch 1, work (1 sc in the next stitch, 1 inc in the next stitch) 3 times around. Join with a slst. (9 stitches)
Round 3: Ch 1, work 1 sc in each stitch around. Join with a slst. (9 stitches)
Round 4: Ch 1, work (1 sc in each of the next 2 stitches, 1 inc in the next stitch) 3 times around. Join with a slst. (12 stitches)
Round 5: Ch 1, work 1 sc in each stitch around. Join with a slst. (12 stitches)
Round 6: Ch 1, work (1 sc in each of the next 3 stitches, 1 inc in the next stitch) 3 times around. Join with a slst. (15 stitches)
Round 7: Ch 1, work 1 sc in each stitch around. Join with a slst. Fasten off red yarn, leaving a tail for sewing. (15 stitches)
White Brim: Attach white yarn to the base edge of the hat. Work a decorative trim row around the bottom edge (e.g., alternating sc and small picots or a textured sc border to create a fluffy white cuff look). Fasten off and weave in ends.
Pom-Pom: Attach a small white yarn pom-pom or fluffy faux fur pom-pom securely to the very tip of the hat. Tilt the tip slightly to the side and sew/glue the hat onto the top-left area of the Grinch stingray’s head.
Crochet Scarf
Scarf Body (Red Skinny Plush Yarn):
Chain: Ch 38 to 40 chains (estimated length to wrap snugly around the base of the stingray body just above the tail).
Row 1: Sk the first chain from the hook. Working across the foundation chain, work 1 hdc in each chain to the end.
Fasten off, leaving a short yarn tail to secure the ends. Wrap the scarf neatly around the neck/body junction of the stingray right beneath the face, overlapping the ends for that classic bundled-up Grinch look, and tack it down with a few stitches or a dab of glue.
Grinch Facial Details and Finishing
Embroider the Grumpy Face: Cut a length of black yarn or embroidery thread and thread it onto your needle.
Mouth: Stitch a small, slightly downward-slanting horizontal line for a grumpy frown or smirk right in the center of the belly.
Eyebrows: Stitch two distinct, sharply angled V-shaped eyebrows just above where the eyes will sit to give it that signature mischievous Grinch expression.
Gills: Without cutting the thread, stitch 3 small, slightly angled gill lines on the left fin area, and 3 matching gill lines on the right fin area. Knot the thread ends securely and tuck them inside the body.
Attach the Eyes: Apply a small drop of hot glue (or craft glue) to the back of each black plastic eye and press them firmly onto the belly just beneath the angry eyebrows and above the mouth.
Add Rosy Cheeks: Dip a small makeup brush into pink blush or eyeshadow (or gently dab on a tiny bit of lipstick) and brush soft pink circles over the embroidered gill areas on both sides of the face.
Your festive crochet Grinch stingray plushie is now complete and ready for the holidays!

See More:

Tester Call: How to Crochet Surprise Gift Amigurumi No-Sew Grinch-Eyed Ghost Buddy for Gifting
Tester Call: How to Crochet Plush Grinch Star Buddy & Ornament Gift for Christmas
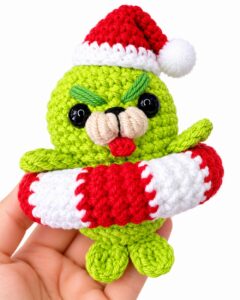
How to Crochet Grinch Seal in a Peppermint Swimming Tube Amigurumi Holiday Gift

How to Crochet Amigurumi Grinch Smiski For Christmas Gifting
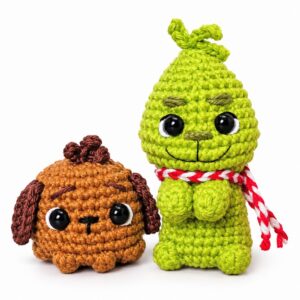
How to Crochet Peppermint Scarf & Cutest-Eyed Grinch Buddy Amigurumi Clip-Toy
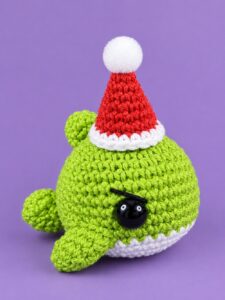
Tester Call: How to Crochet Amigurumi Miniature Grinch Whale Present Toy

Tester Call: How to Crochet Mr. Grinch Jellyfish Plushie in Santa Hat & Scarf
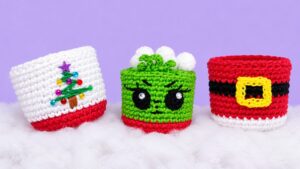
3-in-1 Crochet Tree Embroidery, Grinch and Santa Miniature Treat Baskets

Tester Call: How to Crochet Santa Hat & Scarf Tiger Grinch Buddy Plushie for Gifting