Show support for her!
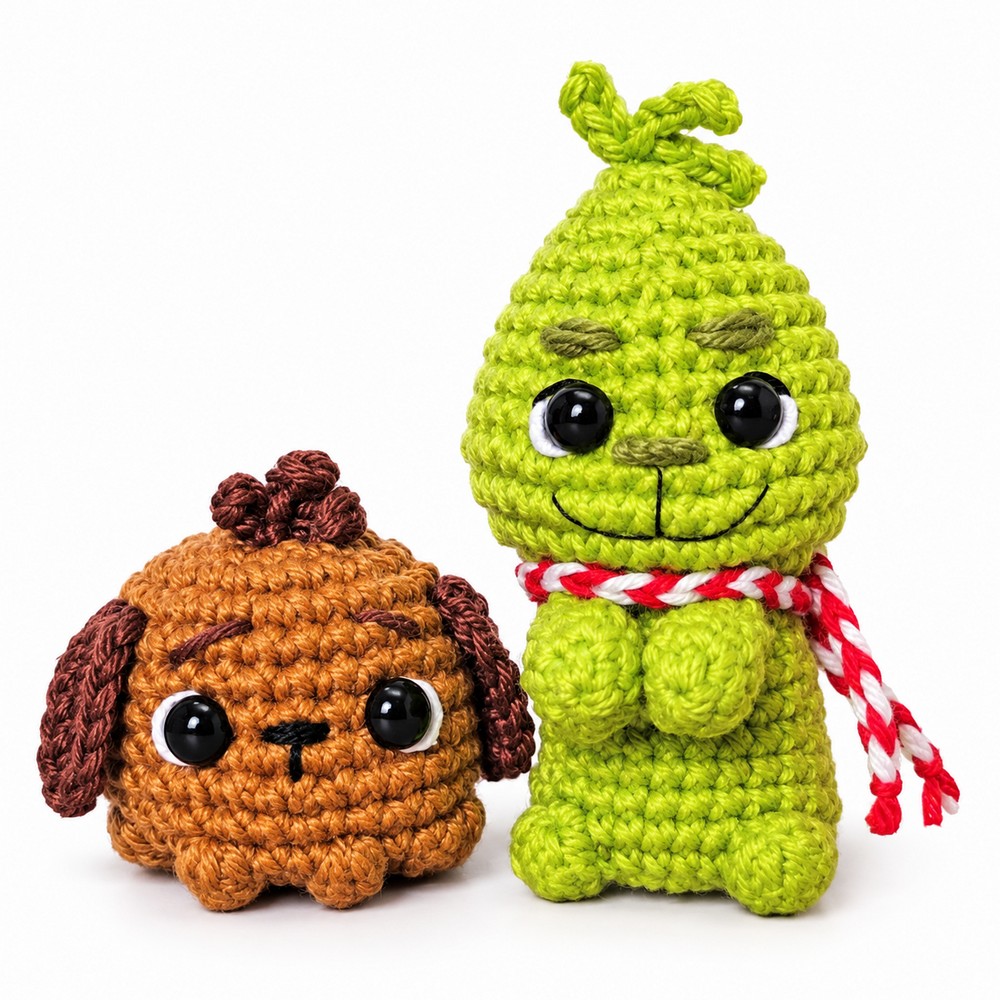
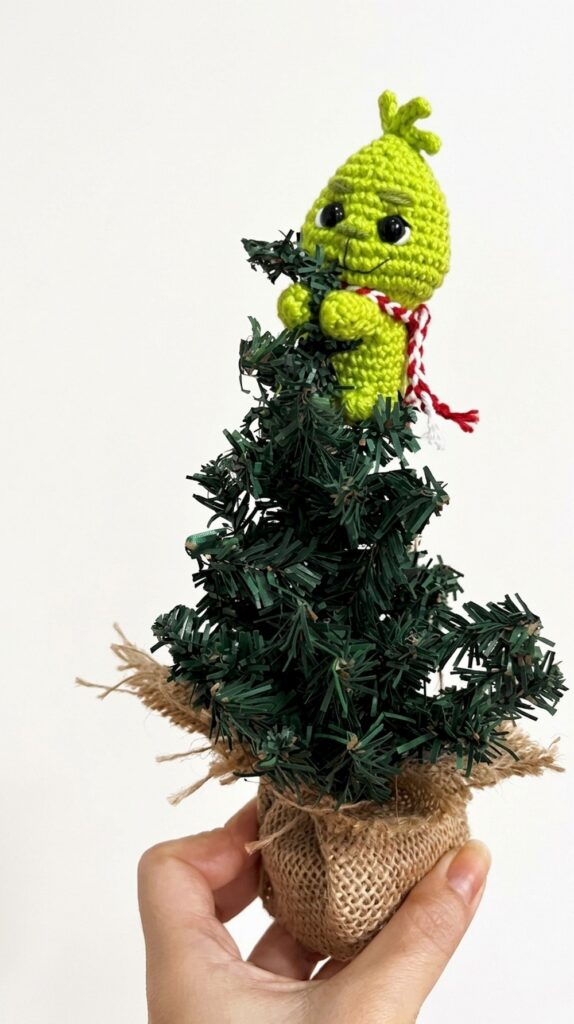
Learn how to crochet the CUTEST amigurumi Grinch buddy in today’s crochet tutorial! Introducing the crochet baby Grinch amigurumi wearing a peppermint scarf, which you can make with a FREE pattern and video instructions as well. This crochet buddy Grinch has detailed eyes and a cute smile! It is designed as a nostalgic clip-on toy that hugs onto objects like Christmas tree branches, pencils, curtain cords, or your fingers.
This buddy baby Grinch amigurumi is worked in one piece from the bottom up, meaning thelegs are made with puff stitches. The arms also have a spring clip (or craft wire/magnets) that lets him clamp onto things.

Measuring only about 7–8 cm (around 3 inches) tall, he is finished with characteristic slanted eyebrows, an expressive Grinchy grin, a tuft of unruly hair on his pointed head, and a festive red-and-white striped candy-cane scarf.

Pattern to Crochet Amigurumi Sitting Baby Grinch Toy
Skill Level: Intermediate
Materials & Tools
Main Yarn: Amigurumi cotton yarn in Lime Green (Círculo Amigurumi color 5593 – Verde Limão)
Accent Yarn (Eyebrows & Nose): Darker green/olive or pistachio green yarn
Scarf Yarn: Small amounts of Red and White cotton yarn
Embroidery Thread: Thin black thread (sewing thread or lace/Cléa thread) for eyelids and smile; white thread for eye highlights
Crochet Hook: 2.20 mm (or 2.0 mm – 2.5 mm depending on your tension)
Safety Eyes: 7 mm black safety eyes with back washers
Internal Clip: Small plastic “agarradinho” spring clip (clamp tongs). Alternatives: craft wire bent into a loop, small strong neodymium magnets inside each hand, or simply fiberfill if making a regular doll.
Notions: Polyester fiberfill stuffing, tapestry needle, sharp embroidery needle, stitch markers, small scissors, tweezers or needle-nose pliers (to help position internal parts).
Abbreviations (US Terms)
MR: Magic Ring
ch: Chain
sc: Single crochet
inc: Increase (2 sc in the same stitch)
dec: Invisible decrease (sc 2 stitches together through front loops)
sl st: Slip stitch
puff st: 5-loop puff stitch (Yarn over, insert hook, pull up a loop to height)
×5, yarn over and pull through all loops on hook, ch 1 to close, plus ch 1 for height.st(s): Stitch(es)
[ ] / ( ): Repeat sequence the indicated number of times
(number): Total stitch count at the end of the round
Are you a Beginner? Learn Crocheting Easily!
You can learn to crochet better with this Grinch tutorial. Or continue to the written pattern below!
Pattern Instructions
1. Arms (Make 2)
Do not stuff the arms. Leave them hollow so the clip prongs can fit inside.
Rnd 1: 6 sc in a MR (6)
Rnd 2: [2 sc, inc] * 2 (8)
Rnd 3: 8 sc around (8)
Tip: Push the piece right-side out to make working the narrow tube easier.
Rnd 4: [2 sc, dec] * 2 (6)
Rnds 5–6 (2 rounds): 6 sc around (6)
Fasten off: Work 1 sl st into the next st. Cut the yarn short (no long tail needed, as the arms will be crocheted directly into the body). Push the starting tail inside the arm. Make two identical arms and set them aside.

2. Body & Head (Continuous Seamless Piece)
Body
Rnd 1: 6 sc in a MR (6)
Rnd 2: 6 inc (12)
Rnd 3: [1 sc, inc] * 6 (18)
Rnd 4: [2 sc, inc]
×6(24)
Rnd 5 (Paws / Feet):
9 sc
1 puff st in the next st (yo, insert into st, pull up a long loop
; yo and pull through all loops, ch 1 to secure, ch 1 for height)4 sc
1 puff st in the next st (same as above)
9 sc (24 sts)
Tip: Use your fingertip or a tweezer back to push the puff stitch bubbles toward the right side so they form little feet.
Rnds 6–10 (5 rounds): 24 sc around (24)
On Rnd 6, take care to work into the single stitch atop each puff st and ignore the extra closing chains to maintain exactly 24 sts.
Joining the Arms
Rnd 11:
9 sc in the body
Pick up the 1st arm: Align 3 sts of the arm with the next 3 sts of the body. Insert hook through 1 st of the arm and the corresponding st of the body together: work 3 sc joining the arm to the body.
2 sc in the body (between arms)
Pick up the 2nd arm: Work 3 sc through the 2nd arm and body together.
7 sc in the body (24 sts)
Check alignment: Ensure the arms are centered directly above the feet puff stitches. If your personal tension shifts the stitches, adjust the starting stitch count so the 2-stitch gap between arms is centered over the 4-stitch gap between feet.
Rnd 12 (Neck / Shaping Around Open Arms):
In this round, crochet along the body and around the outer remaining 3 stitches of each arm (leaving the inner tunnel open for the clip):
Follow the decrease rhythm: [2 sc, dec]
×6(18 sts total)
When reaching an arm, work into the 3 unworked stitches on the exterior of the arm rather than the body. This leaves the arm cavity open to the inside of the body.
Adding Clip & Stuffing
Lightly stuff the lower base of the body around the feet.
Insert the two prongs of the plastic “agarradinho” clip through the body into each arm cavity.
Test the clip: press the back of the clip through the body fabric to ensure the arms open and pinch shut properly. (Do not add stuffing inside the arms themselves).
Rnd 13: 18 sc around (18)
Head
Rnd 14: 18 inc (36) (Widening for the chubby cheeks)
Rnds 15–17 (3 rounds): 36 sc around (36)
Rnd 18: [4 sc, dec]
×6(30)Rnd 19: 30 sc around (30)
Rnd 20: [3 sc, dec]
(24)Rnd 21: 24 sc around (24)
Rnd 22: [6 sc, dec]
×3(21)
3. Eye Placement & Facial Embroidery (Do before closing head)
Safety Eyes
Position: Place the 7 mm safety eyes between Rnds 18 and 19, approximately 4 to 5 stitches apart, centered relative to the arms and chest.
Eye Details
White Waterline Highlight: Thread a needle with white yarn/thread. Bring the needle out underneath each eye, wrap the thread along the bottom/outer curve of the eye, and insert back inside to create a small white outline. Secure with a knot inside the head.
Push Washers On: Use a pen cap or washer-tool to firmly snap the safety washers onto the back of the eye posts inside the head.
Upper Eyelids: Using thin black thread (sewing thread or Cléa), embroider a slight diagonal line across the top/outer corner of each eye to give him that half-lidded, mischievous look. Tie off securely inside.
Stuffing the Head
Firmly stuff the lower head and cheeks with polyester fiberfill, making sure the lower face puffs outward into a round shape. Keep the clip in the body accessible and centered.
4. Closing the Head
Rnd 23: [5 sc, dec] * 3 (18)
Rnd 24: [4 sc, dec] * 3 (15)
Rnd 25: [3 sc, dec] * 3 (12)
Add final stuffing to the upper head to shape the pointed tip.
Rnd 26: 6 dec (6)
Fasten off: Cut yarn leaving an 8-inch tail. Thread the tail onto a tapestry needle, pick up only the front loops of the remaining 6 stitches, and pull gently to close (inverted magic ring). Do not pull so hard that the pointy peak flattens. Weave the tail inside the head.
5. Facial Sculpting & Details
Eye Indentation (Afundamento)
Thread a long piece of the main lime green yarn onto a needle.
Insert from the base of the head/neck and exit directly beneath the outer corner of one eye.
Go across 1 stitch and enter back in, exiting beneath the outer corner of the other eye.
Pull gently on both tails to sink the eyes slightly into the head, giving prominent 3D cheeks and brow ridges.
Knot the yarn tails snugly against the fabric and hide the knot inside the head.
Eyebrows
Using darker green yarn on a tapestry needle:
Embroider thick, expressive eyebrows 1–2 rounds above each eye spanning roughly 2 stitches.
Angle them downward toward the center for a grumpy/scheming Grinch look, or angled slightly upward for a babyish/inquisitive expression.
Pass the needle through 2–3 times over the same line to make the eyebrows bold and thick. Knot and hide ends inside.
Nose
Using the same darker green yarn:
Embroider a small horizontal bar spanning 2 stitches centered between the eyes on the round just below the eye line.
Pass the needle under and around the horizontal thread 5–7 times (wrapping it without piercing the body fabric) to build up a raised, rounded button nose.
Pull needle through to the back and bury the knot.
Smile
Using thin black thread:
Mark the center point 2 rounds below the nose.
Create a wide horizontal mouth line (~6 stitches wide).
Bring the needle down slightly in the center to catch the thread into a slight “V” or smirk.
At each corner of the mouth, make a tiny upward diagonal flick to create his iconic cheeky Grinch grin. Anchor the thread and hide tails inside.
6. Hair Tuft (Cabelo)
Work 3 small leafy spikes joined at the base:
Spike 1: ch 5, skip 1st ch from hook, work 4 sl st down the chain.
Spike 2: ch 4, skip 1st ch from hook, work 3 sl st down the chain; sl st into the base of Spike 1.
Spike 3: ch 4, skip 1st ch from hook, work 3 sl st down the chain; sl st into the base of Spike 1.
Fasten off leaving a tail.
Sew the base of the hair tuft firmly onto the very tip of the head peak. Knot and bury yarn tails inside the head.
7. Striped Candy-Cane Scarf (Cachecol Bicolor)
Using Red and White yarn held together to create an alternating two-color chain:
Make a slip knot with the white yarn on your hook.
Join the red yarn into the loop.
Hold both working yarns over your fingers:
Yarn over with White, pull through loop on hook.
Yarn over with Red, pull through loop on hook.
Alternate colors with each chain stitch (White, Red, White, Red…) until the scarf reaches your desired length (approx. 50–65 chains, or long enough to wrap around his neck with tails hanging down).
Cut both strands leaving 1.5-inch tails. Pull both strands through the last loop to lock.
Trim and separate/fray the yarn strands at both ends using a needle to create fringe tassels.
Wrap the scarf once around the neck of your Baby Grinch.
Finished!
Your Baby Grinch Amigurumi is complete! Squeeze his back/body to open his hands, and clip him onto your holiday tree, a garland, or a gift bag.

See More:
Tester Call: How to Crochet Grinch Owl Dumpling in A Christmas Box Plushie
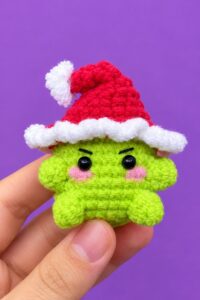
How to Crochet Grinch Mushy in Ruffle-Brim Santa Hat Miniature Amigurumi for Gifting
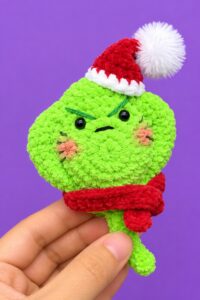
How to Crochet Mini Grinch Stingray in Santa Hat & Scarf Buddy Plushie for Gifting
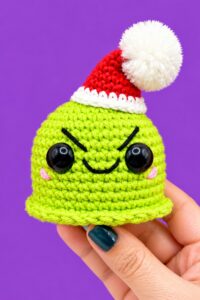
Tester Call: How to Crochet Surprise Gift Amigurumi No-Sew Grinch-Eyed Ghost Buddy for Gifting
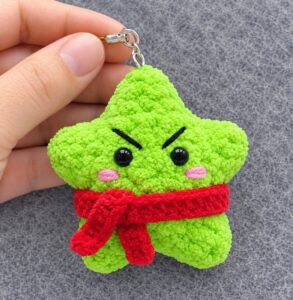
Tester Call: How to Crochet Plush Grinch Star Buddy & Ornament Gift for Christmas
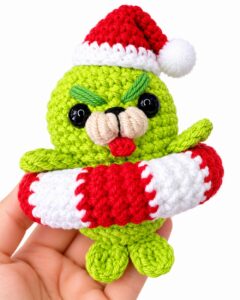
How to Crochet Grinch Seal in a Peppermint Swimming Tube Amigurumi Holiday Gift
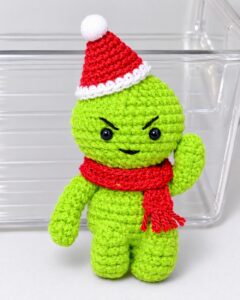
How to Crochet Amigurumi Grinch Smiski For Christmas Gifting
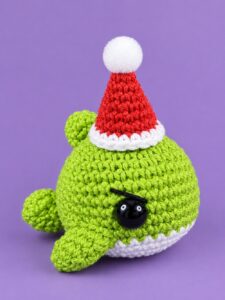
Tester Call: How to Crochet Amigurumi Miniature Grinch Whale Present Toy

Tester Call: How to Crochet Mr. Grinch Jellyfish Plushie in Santa Hat & Scarf