Show support for Marifairyland!
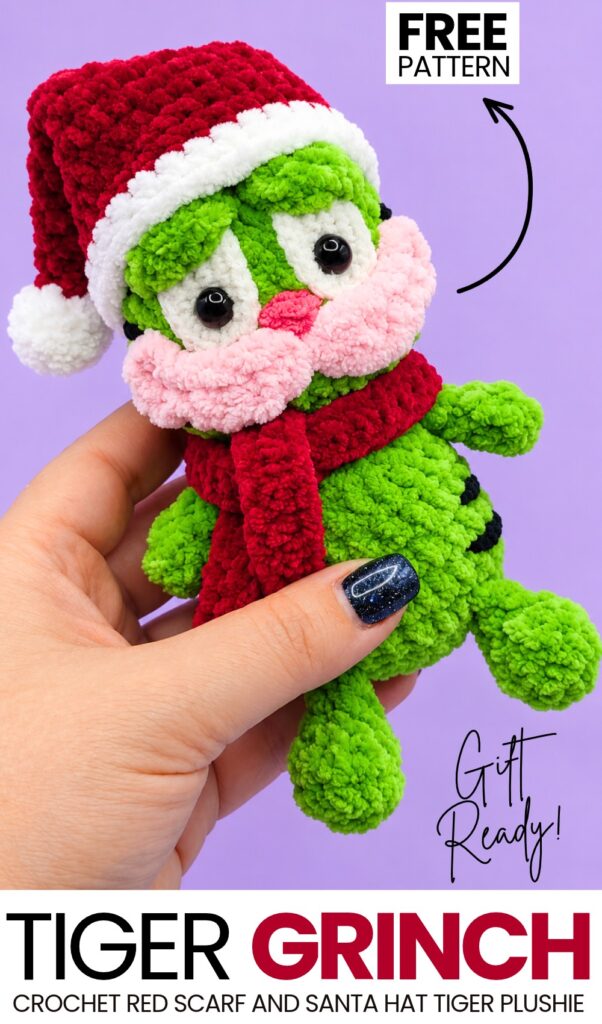
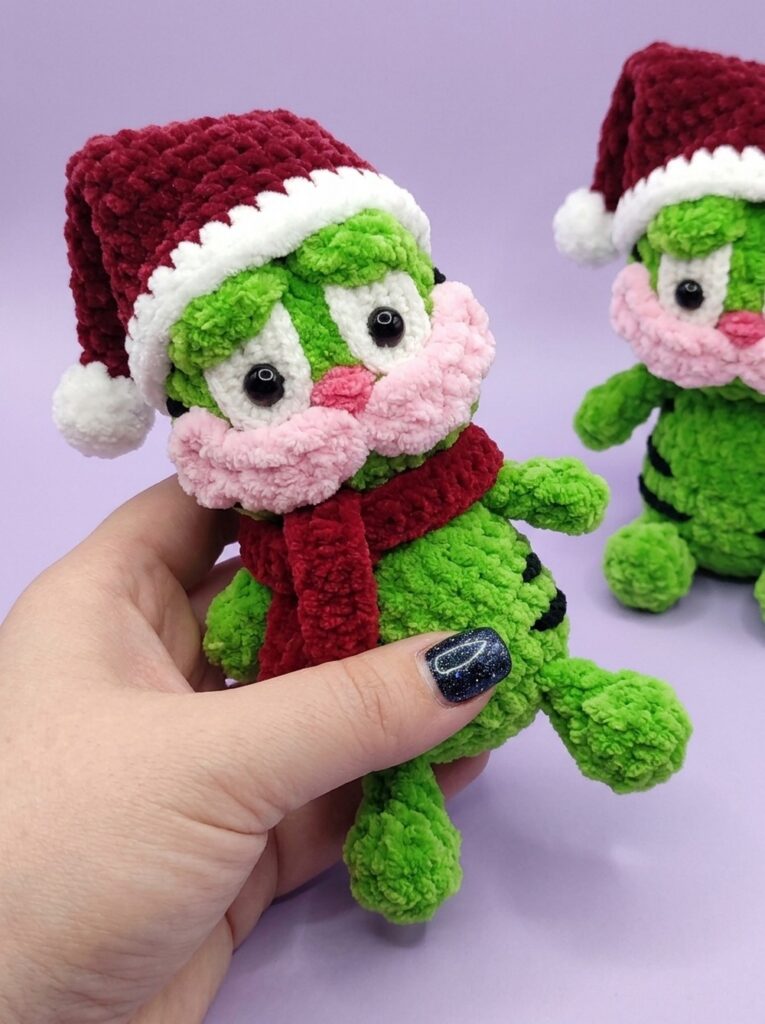
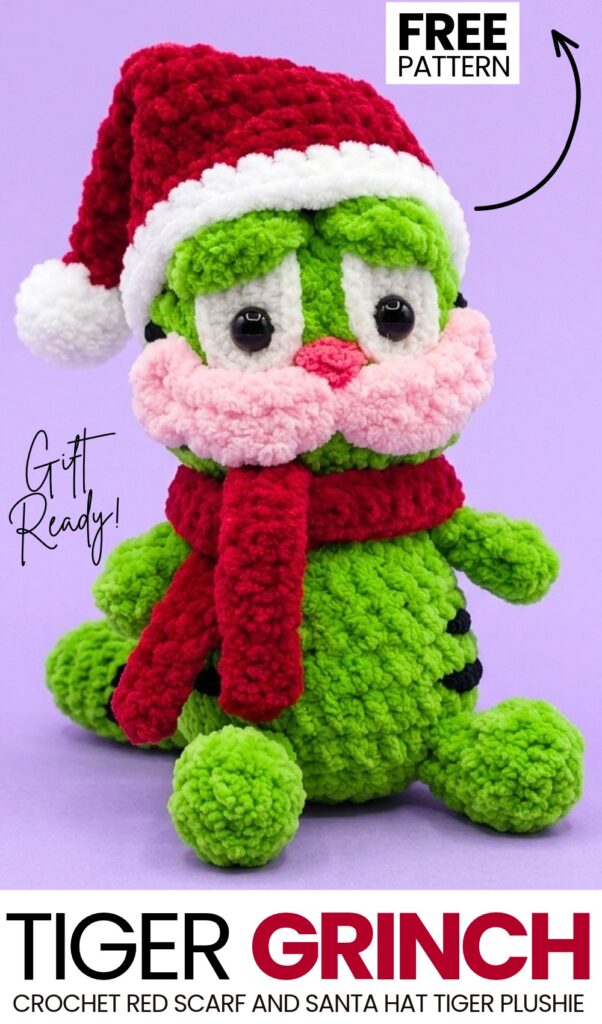
Welcome to another part of crocheting another CUTE iconic character plushie in a Santa hat and a scarf! Introducing the crochet Grinch tiger wearing holiday accessories plushie that you can learn to crochet with a step-by-step tutorial and a pattern as well. This is the first crochet Grinch Garfield cat plushie, finished with the pink muzzle and the green body instead of the orange.
The crochet cat is worked from the bottom up, using the back legs, front arms, neck, and head in a single continuous piece without sewing. The tail, floppy eyelids, wide oval eyes, and tabby stripes make its face detailing the best!
The finished crochet plushie measures approximately 11 cm (4.5 inches) tall! This small plush makes an adorable bag charm, desk companion, or gift for cartoon lovers. Read on to learn more about this UNIQUE crochet plush: the Grinch cat.
Pattern to Crochet the Plush Grinch Tiger Plush
Total Height: Approx. 11 cm (~4.5 inches) including ears.
Materials & Tools
Plush / Chenille Yarn (Super Bulky / Category 6; ~100 g / 120 m):
Orange: Body, head, legs, tail, eyelids, and ears
Yellow: Muzzle / puffy cheeks
Pink: Nose embroidery
Black: Tabby stripes embroidery
Fine Cotton/Acrylic Yarn (Sport / Fingering Weight, e.g., YarnArt Jeans):
White: Large eye whites (sclera)
Crochet Hooks:
4.0 mm: For all plush yarn pieces
2.5 mm: For the fine white eye pieces
Safety Eyes / Half-Beads: 7 mm black eyes (1 pair)
Stuffing: Polyester fiberfill (holofiber)
Notions: Stitch marker, yarn needle, scissors, lighter (to seal plush yarn ends), hot glue gun, tweezers for stuffing
Materials Needed for the Hat
Yarn: Size 5 (Bulky / Plush Chenille) in White and Red
Hook: 4.5 mm crochet hook
Notions: Yarn needle, stitch marker, fiberfill stuffing (optional, if making a plush prop)
Abbreviations (US Terms)
ch: chain
sc: single crochet
hdc: half double crochet
dc: double crochet
tr: treble crochet
sl st: slip stitch
inc: increase (2 sc in the same stitch)
dec: decrease (single crochet 2 stitches together)
st(s): stitch(es)
yo: yarn over
[…] x N: repeat instructions inside brackets times
(N): total stitch count at the end of the round
Video tutorial to Crochet the Garfield Plushie
Special Stitches
Foot Cluster (2-tr cluster): Yo twice, insert hook into the indicated ch, yo, pull up a loop, [yo, pull through 2 loops] twice (2 loops on hook). Yo twice, insert hook into the same ch, yo, pull up a loop, [yo, pull through 2 loops] twice (3 loops on hook). Yo and pull through all 3 loops. Ch 1 to lock.
Paw Cluster (2-dc cluster): Yo, insert hook into the indicated ch, yo, pull up a loop, yo, pull through 2 loops (2 loops on hook). Yo, insert hook into the same ch, yo, pull up a loop, yo, pull through 2 loops (3 loops on hook). Yo and pull through all 3 loops. Ch 1 to lock.
Crochet Pattern Instructions
1. Tail (Orange Plush Yarn, 4.0 mm Hook)
Do not stuff the tail.
Rnd 1: Ch 2, work 6 sc into the 2nd ch from hook [or 6 sc in a MR]. (6)
Rnd 2: [1 sc, inc] x 3. (9)
Rnd 3: 9 sc around. (9)
Rnd 4: [1 sc, dec] x 3. (6)
Rnds 5–6 (2 rounds): 6 sc around. (6)
Flatten the top opening and crochet 3 sc through both layers to close. Fasten off, leaving a long tail for sewing. Set aside.
2. Body, Legs, Arms & Head (Orange Plush Yarn, 4.0 mm Hook)
Worked seamlessly in continuous spirals from the bottom up.
Lower Body & Legs
Rnd 1: Ch 2, work 6 sc into the 2nd ch from hook. (6)
Rnd 2 (Legs Round):
3 inc (2 sc in each of the first 3 sts). (6 body sts)
Leg 1: Ch 7. In the 4th ch from hook, work a Foot Cluster (2-tr cluster, ch 1 to lock). Sl st into the same 4th ch, then work 3 sl st down the remaining 3 chains back to the base circle.
2 inc (2 sc in each of the next 2 sts on the circle). (4 body sts)
Leg 2: Ch 7. In the 4th ch from hook, work a Foot Cluster (2-tr cluster, ch 1 to lock). Sl st into the same 4th ch, then work 3 sl st down the remaining 3 chains back to the base circle.
1 inc in the last st on the circle. (12 body sts + 2 legs)
Rnd 3: [1 sc, inc] x 6. (Push the legs forward and work directly into the 12 body stitches around). (18)
Rnds 4–5 (2 rounds): 1 sc in each st around. (18)
Rnd 6: [1 sc, dec] x 6. (12)
Arms & Neck
Rnd 7 (Arms Round):
6 sc along the body.
Arm 1: Ch 6. In the 3rd ch from hook, work a Paw Cluster (2-dc cluster, ch 1 to lock). Sl st into the same 3rd ch, then work 3 sl st down the remaining chains back to the body.
6 sc along the body.
Arm 2: Ch 6. In the 3rd ch from hook, work a Paw Cluster (2-dc cluster, ch 1 to lock). Sl st into the same 3rd ch, then work 3 sl st down the remaining chains back to the body. (12 body sts + 2 arms)
Rnd 8: [1 sc, dec] x 4. (Push the arms forward and crochet into the 12 body stitches). (8)
Rnd 9 (Neck): 8 sc around. (8)
Head
Rnd 10: 8 inc (2 sc in each st). (16)
Rnd 11: [1 sc, inc] x 8. (24)
Rnds 12–15 (4 rounds): 1 sc in each st around. (24)
Firmly stuff the body and neck with fiberfill.Rnd 16: [2 sc, dec] x 6. (18)
Rnd 17: [1 sc, dec] x 6. (12)
Rnd 18: 6 dec. (6)
Finish firmly stuffing the head so it is plump and round.
Fasten off, leaving a tail. Use a yarn needle to weave through the front loops of the remaining 6 stitches, pull tight to close the hole, knot securely, and hide the yarn tail inside the head.
3. Attaching the Tail
Take the finished tail and position it at the lower center back between Rnds 3 and 4 of the body (centered between the legs).
Sew it securely across the 3 closed stitches so the tail points slightly upward/backward, allowing the cat to sit upright. Weave in the yarn end.
4. Ears (Worked Directly onto the Head, Orange Plush Yarn)
The ears are worked vertically across the posts of Rnds 16, 17, and 18 on each side of the upper head, aligned with the arms.
First Ear:
Insert hook around the stitch post of Rnd 16 on the top side of the head, pull up a loop, and ch 1.
Into the same Rnd 16 post, work: 1 sc, 1 hdc.
Move up to the stitch post of Rnd 17: work 2 dc.
Move up to the stitch post of Rnd 18 (near the crown): work 1 hdc, 1 dc, 1 sl st.
Fasten off, pull the yarn tails into the head with a needle, knot, and trim.
Second Ear:
Position symmetrically on the opposite side across Rnds 18 down to 16.
Insert hook into Rnd 18: work 1 sl st, 1 dc, 1 hdc.
Into Rnd 17: work 2 dc.
Into Rnd 16: work 1 hdc, 1 sc.
Fasten off and hide all ends inside the head.
5. Eye Whites (Make 2 – White Fine Yarn, 2.5 mm Hook)
Worked in an oval.
Ch 6.
Rnd 1: Starting in the 2nd ch from hook:
Inc (2 sc in first ch).
3 sc along the chain.
4 sc in the last chain (turns the corner).
Working along the opposite side of the chain: 3 sc.
Inc (2 sc in the starting chain). (14)
Rnd 2:
2 inc (4 sc).
3 sc.
4 inc (8 sc around the curved end).
3 sc.
2 inc (4 sc). (22)
Sl st to the first st to finish. Fasten off, leaving short tails. Tie the two tails in a knot on the wrong side and trim.
6. Eyelids (Make 2 – Orange Plush Yarn, 4.0 mm Hook)
Worked as flat semicircles.
Ch 2, work 6 sc into the 2nd ch from hook.
Do not join in the round. Fasten off, leaving short tails.
Tie the starting and ending tails in a knot on the back (flat side), trim short, and lightly melt the ends with a lighter to prevent unraveling.
7. Muzzle / Cheeks (Yellow Plush Yarn, 4.0 mm Hook)
Ch 12.
In the 3rd ch from hook: 1 dc, 1 sl st (into the same 3rd ch).
3 hdc along the chain.
1 sl st in the next (center) chain.
3 hdc along the chain.
In the last chain: 1 sl st, 1 dc.
Fasten off, trim ends, and lightly singe the yarn tails on the back.
Cinching the Center: Take a piece of white or yellow thread, wrap it tightly 2–3 times around the center slip stitch, knot firmly at the back, and trim. This cinches the piece into two distinct, rounded cheeks.
Assembly & Finishing Details
Eyes & Pupils:
Insert a 7 mm black eye through the center opening of each white eye oval.
Mark the eye positions on the head between Rnds 13 and 14, spaced approximately 4 stitches apart.
Use hot glue to adhere the white ovals (with black pupils in place) flat against the face.
Eyelids:
Apply hot glue along the straight edge and back of each orange eyelid.
Position the eyelids over the top half of each eye oval, angling them slightly downward toward the center to give Garfield his signature sleepy, unbothered expression. Press firmly.
Nose:
Thread a yarn needle with Pink plush yarn.
Embroider a neat horizontal/triangular nose between the lower edges of the eyes across 2 stitches. Knot and hide the ends inside the head.
Muzzle / Cheeks:
Apply hot glue generously along the back of the yellow cheeks.
Place the cheeks directly underneath the eyes, slightly overlapping the bottom edge of the pink nose. Press and hold until set.
Stripes (Black Plush Yarn / Needle):
Ears: Embroider 2 small black stripes on the outer tip of each ear.
Head: Embroider 2 horizontal stripes on each side of the face behind the eyes.
Body: Embroider 3 horizontal stripes on each side/back of the torso.
Tail: Embroider 3 to 4 rings around the tail.
Bury all yarn ends securely inside the plush body.
Pattern Notes
Pattern is worked in continuous rounds. Do not join at the end of rounds unless specified. Use a stitch marker to keep track of the first stitch of each round.
Numbers in parentheses at the end of each round indicate the total stitch count for that round.
Inc = Increase (2 sc in the same stitch)
Dec = Decrease (sc 2 together)
Sc = Single crochet
Pattern Instructions
Pompom (White)
Starting with White plush yarn:
Round 1: 6 sc in a magic ring (6)
Round 2: [Sc 1, inc] x 3 (9)
Round 3: [Sc 2, inc] x 3 (12)
Round 4: Sc in each st around (12)
Round 5: [Sc 2, dec] x 3 (9)
Fasten off white yarn, leaving a short tail. Stuff the pompom lightly if desired.
Hat Cone (Red)
Attach Red plush yarn to the remaining 9 stitches of Round 5:
Round 6: [Dec, sc 7] (8) (or decrease 1 st to transition to 8 st)
Round 7: [Sc 7, inc] (9)
Round 8: [Sc 8, inc] (10)
Round 9: [Sc 9, inc] (11)
Round 10: [Sc 10, inc] (12)
Round 11: [Sc 11, inc] (13)
Round 12: [Sc 12, inc] (14)
Round 13: [Sc 6, inc] x 2 (16)
Round 14: [Sc 7, inc] x 2 (18)
Round 15: [Sc 8, inc] x 2 (20)
Round 16: [Sc 9, inc] x 2 (22)
Round 17: [Sc 10, inc] x 2 (24)
Round 18: [Sc 11, inc] x 2 (26)
Round 19: [Sc 12, inc] x 2 (28)
Brim (White)
Change to White plush yarn:
Round 20: Sc in each st around (28)
Round 21: Sc in each st around (28)
Fasten off with an invisible finish or slip stitch, weave in ends, and shape your hat!
Your miniature plush Garfield cat is now complete!
Share on Social Media!
See More:
Tester Call: How to Crochet Grinch & Grey Elephant in Slouchy Hat & Scarf
How to Crochet Angry Slouchy Santa Hat Owl Plushie Bag Charm (Grinch Owl)
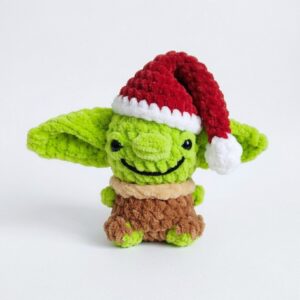
How to Crochet Slouchy Santa Hat Grinch Baby Yoda Plushie for Gifting
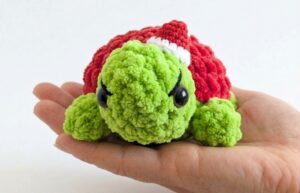
Tester Pattern: How to Crochet Santa Hat Grinch Turtle Plushie for Christmas Gifting
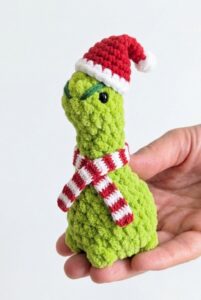
Tester Call: Crochet Santa Mr. No-Sew Dino Grinch Plushie for Gifting
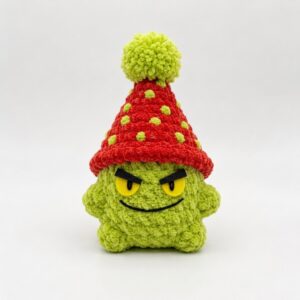
Tester Call: How to Crochet Grinch & Frog Festive Hat Baby Mushroom Plushie for Gifting
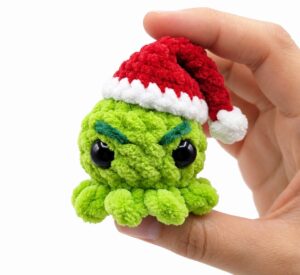
Tester Call: How to Crochet Mini No-Sew Grinch Santa Octopus Plushie for Kids
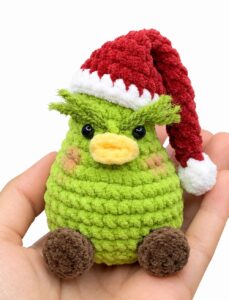
Tester Call: How to Crochet Grinch Pear Miniature Christmas Plushie for Gifting

Tester Call: How to Crochet Grinch Christmas Gift Plushie for Kids