Author: Talha
I am a crochet designer, macramé maker and a crafter who also loves doing MATH.
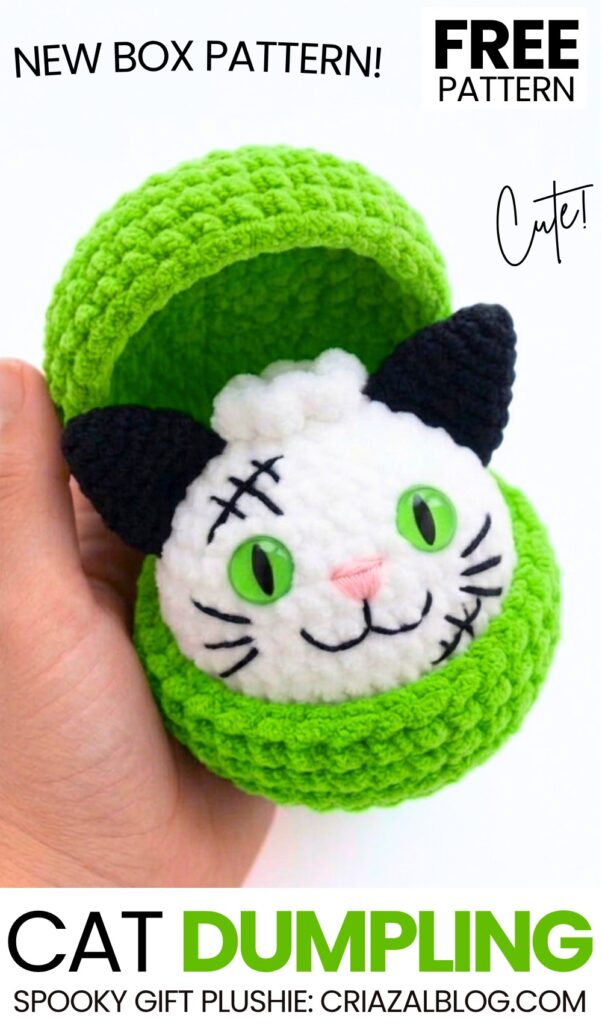
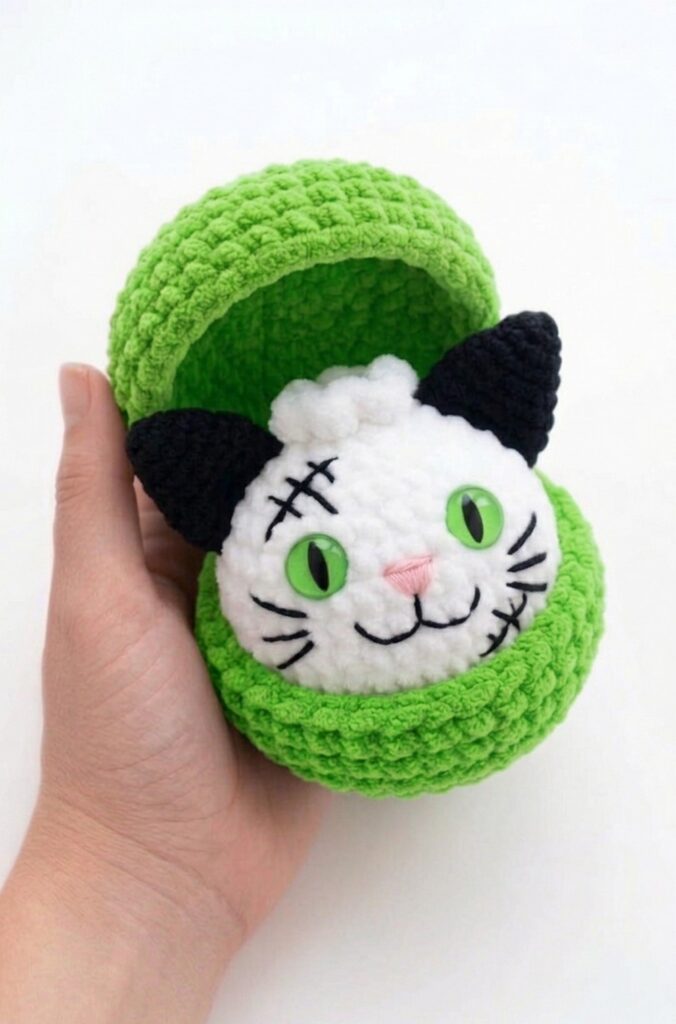
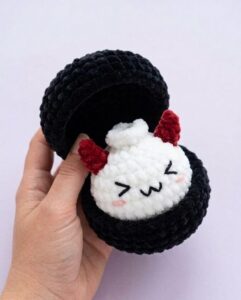
Today, I am probably about to finish this year’s crochet surprise gift box plushies. So, be sure to learn how to crochet this UNIQUE black-and-white cat in a potion box plushie with a lid by following a FREE written pattern for absolute beginners. This crochet surprise cat plush has cute stuffed ears, a meow smile, embroidery pink nose, and spooky features such as the wound-stitch embroidery.
You can also crochet your cat amigurumi dumpling entirely in black. Standard eyes can also be used instead of the safety cat eyes if you are making this crochet dumpling gift using the materials from your crochet amigurumi kit.
Test this crochet pattern and tell me how your crochet plush cat in a box turned out. Anyway, continue reading to learn more about this black and white cat plush!
Similar Project(s)
Pattern to Crochet the Gift Cat Plushie
Materials List
Plush yarn (100g/120m): White for the dumpling, Green for the box, and Black for the ears.
Semi-cotton yarn: Black (for whiskers, mouth, and scars), Pink (for the nose), and White (for closing the top hole).
Eyes: 12 mm green safety eyes with cat-slit pupils.
Tools: 4 mm crochet hook, toy stuffing, yarn needle, and scissors.
Cat Dumpling & Ears Pattern
Dumpling Body (White Yarn):
R1: 8 sc in MR (8).
R2: 8 inc (16).
R3: (1 sc, inc) repeat 8 times (24).
R4: (2 sc, inc) repeat 8 times (32).
R5 to R8: 32 sc (32). Insert safety eyes between
R7 and R8, leaving 6 stitches between them.
R9: (2 sc, dec) repeat 8 times (24).
R10: (1 sc, dec) repeat 8 times (16). Stuff the dumpling softly.
R11: 8 dec (8).
R12 (Ruffle): Working in FLO only, (inc, 1 sc) around. Fasten off. Close the hole by weaving white semi-cotton yarn through R11’s remaining back loops and pulling tight.
Cat Ears (Black Yarn – Make 2):
R1: 4 sc in MR (4).
R2: (1 sc, inc) repeat 2 times (6).
R3: (2 sc, inc) repeat 2 times (8).
R4: (3 sc, inc) repeat 2 times (10).
R5: (4 sc, inc) repeat 2 times (12).
R6: (5 sc, inc) repeat 2 times (14).
Optional (R7): sc across.
Fasten off, leaving a long tail for sewing.
Detailed Assembly & Embroidery
Attach Ears: Pin the black ears symmetrically to the upper sides of the head (around R3 to R5) and whipstitch them securely in place using your yarn needle.
Face Details: Use pink semi-cotton yarn to embroider a small triangular nose directly between the eyes. With black yarn, stitch a small curve or “w” shape directly below the nose.
Whiskers & Scars: Stitch three straight black lines on the outside of each eye for whiskers. Create the scar details on the forehead and lower cheek by stitching a slightly curved black line intersected by a few tiny vertical cross-stitches.
The Green Box Pattern
Make 2 parts (Lid and Base):
R1: 8 sc in MR (8).
R2: 8 inc (16).
R3: (1 sc, inc) repeat 8 times (24).
R4: (2 sc, inc) repeat 8 times (32).
R5: (7 sc, inc) repeat 4 times (36).
R6: 36 sc in BLO (36).
R7 to R8: 36 sc (36). Fasten off the Lid, but do not cut the yarn on the Base.
Connecting: Align the lid and base. Connect them by crocheting 5 to 6 sc stitches through the back loops of the lid and the front loops of the base to create a hinge. Join yarn to the side, chain your desired handle length, and attach it to the opposite side before crocheting sc back down the chain to thicken it.
See More:
Tester Pattern: How to Crochet Birthday-Popper Dumpling Plushie for Gifting

Tester Pattern: How to Crochet Dumpling Buddy in A Steamer Costume Plushie

Tester Pattern: To Crochet A Snowball Christmas Dumpling in Basket Plush
Tester Call: Free Crochet Orange, Yellow & White Dumpling Plushie
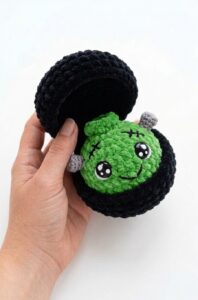
Tester Call: Free Crochet Kawaii-Eyes Bolt Zombie Dumpling Plushie
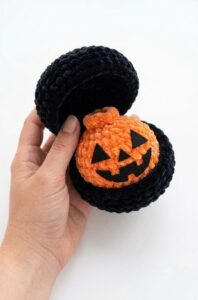
Tester Call: How to Crochet A Pumpkin Dumpling Plush for Halloween
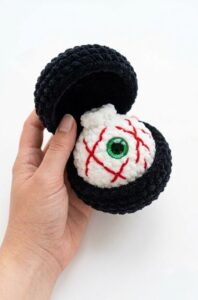
Free Crochet Eyeball Dumpling in a Steamer Plushie for Halloween
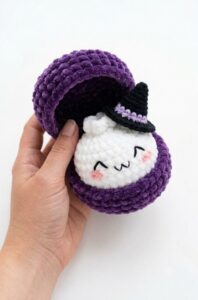
Tester Call: Crochet Spooky Ghost Dumpling Plushie Pattern
How to Crochet Spooky Dumpling with Red Horns Plushie Variation