Show support for Gulnara!
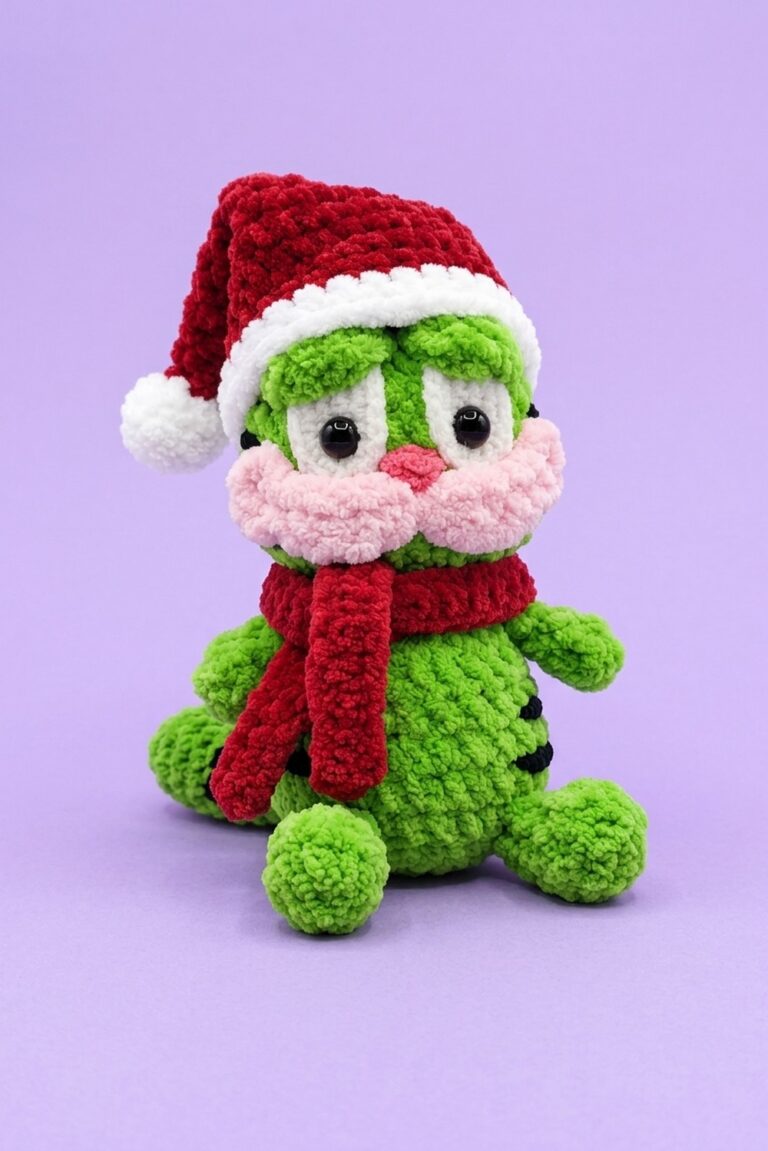
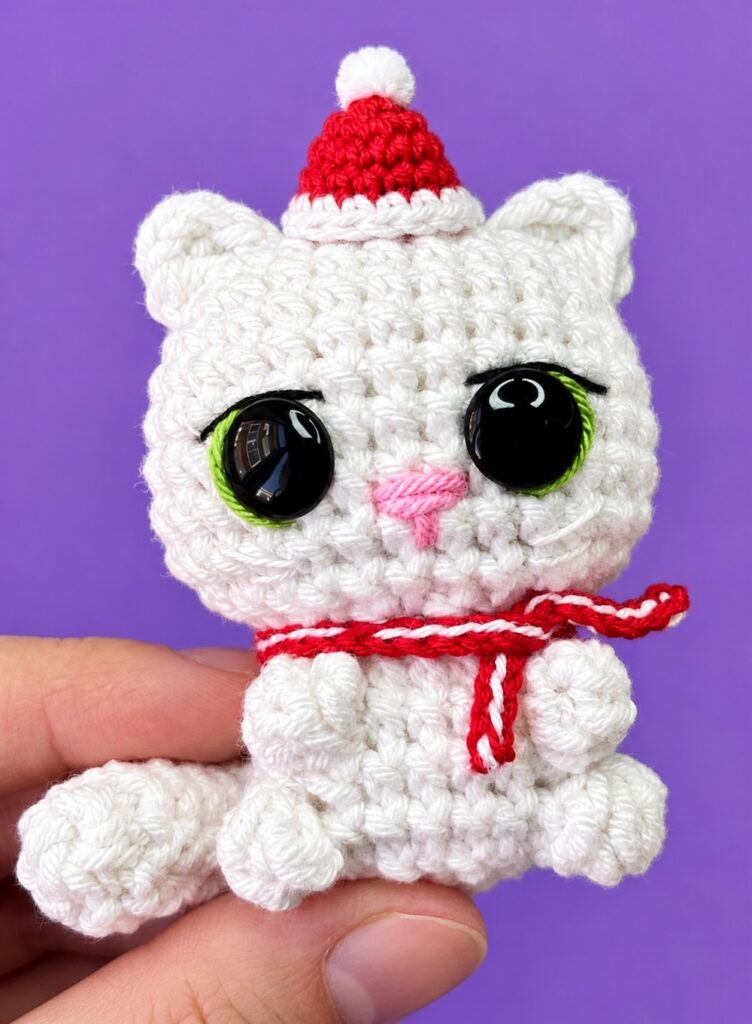
Learn how to crochet a palm-sized, no-sew sitting amigurumi cat buddy wearing a small Santa hat and a striped chain-stitch scarf. It has an “almost no-sew” design: the head and body are crocheted in one piece from the top down. With the bobble stitches, the ears, legs, and arms can be crocheted without sewing. Soon, I will also share the orange, black, and white tutorial if you want to crochet a year-round cat amigurumi in 45 minutes.
The only piece requiring sewing is the tail, which curves neatly around the side.
Finished with expressive embroidered eyes, whiskers, and a pink nose, this kitten makes a quick, charming desk buddy, pocket pal, or keychain charm. Now, continue reading to learn more about this crochet big-eyed cat amigurumi for all skill levels!
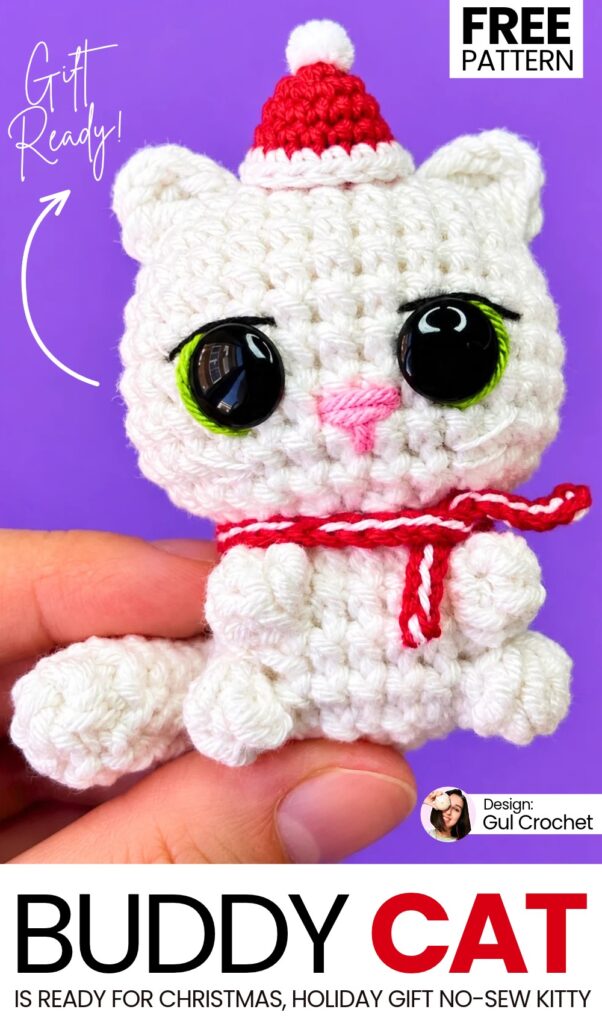
Pattern to Crochet the Buddy Cat for Christmas Accessories
Skill Level: Beginner – Level 4
Materials & Tools
Yarn: Semi-cotton blend yarn (DK / Light Worsted weight) in your choice of cat color (e.g., grey, orange, cream, or black)
Embroidery Floss / Thin Yarn: Pink (nose), Black (eyelashes/whiskers), White (eye accents), and optional Yellow/Gold (iris accent)
Crochet Hook: 2.5 mm
Safety Eyes: 10 mm (flat round)
Stuffing: Polyester fiberfill
Notions: Tapestry/yarn needle, stitch marker, sewing pins, scissors
Pattern Abbreviations (US Terms)
MR: Magic Ring
ch: Chain stitch
sl st: Slip stitch
sc: Single crochet
hdc: Half double crochet
dc: Double crochet
tr: Treble (triple) crochet
inc: Increase (work 2 sc in the same stitch)
dec: Invisible decrease (sc 2 stitches together)
FLO: Front loops only
st(s): Stitch(es)
[ … ]: Total stitch count at the end of the round
Special Stitches
3-tr Cluster (Front Leg):
Yarn over twice, insert hook into the indicated stitch, yarn over, pull up a loop. [Yarn over, pull through 2 loops] twice (2 loops on hook).
Yarn over twice, insert into the same stitch, yarn over, pull up a loop. [Yarn over, pull through 2 loops] twice (3 loops on hook).
Yarn over twice, insert into the same stitch, yarn over, pull up a loop. [Yarn over, pull through 2 loops] twice (4 loops on hook).
Yarn over and draw through all 4 loops on the hook to close the cluster.
4-tr Cluster (Back Leg):
Work exactly as the 3-tr cluster above, but repeat the incomplete treble crochet 4 times in total into the same stitch (5 loops on hook before final yarn over and pull through).
Step-by-Step Crochet Pattern
Part 1: Head & Body (Worked Continuously)
The Head
Start with an oval base:
Foundation: Ch 8.
Round 1: Starting in the 2nd ch from hook: inc, 5 sc, 3 sc in the last chain. Turning to work along the opposite side of the foundation chain: 6 sc [16]
Round 2: inc x2, 5 sc, inc x3, 5 sc, inc [22]
Round 3: 22 sc [22]
Round 4: (1 sc, inc) x2, 5 sc, (1 sc, inc) x3, 6 sc, inc [28]
Rounds 5–7 (3 rounds): 28 sc around [28]
Round 8: 1 sc, inc, 13 sc, inc, 12 sc [30]
Round 9: 30 sc around [30]
Round 10: dec x3, 7 sc, dec x3, 11 sc [24]
Round 11: dec x12 [12]
Eye Placement & Face Details
Pause here before continuing to the body.
Eyes: Insert 10 mm safety eyes between Rounds 7 and 8, spaced approximately 6–7 stitches apart on the front (the side with the cheek shaping/increases). Secure with washers.
Stuff Head: Pack the head firmly with fiberfill.
Embroidery:
Nose: Using pink yarn, stitch a small horizontal triangle between the eyes around Round 8.
Muzzle/Cheeks: Add a small vertical mouth line under the nose.
Eyes: Add a white crescent outline along the bottom outer edge of each eye, an optional yellow line along the upper rim, and black winged eyeliner/eyelashes at the outer corners.
Whiskers: Stitch 2–3 delicate whisker lines on each cheek using thin black or white thread.
The Body
Do not cut yarn from the head; continue directly downward:
Round 12 (FLO): In Front Loops Only: inc x12 [24]
Round 13 (Front Legs): 4 sc, 3-tr cluster (front leg), 4 sc, 3-tr cluster (front leg), 14 sc [24]
Round 14: 24 sc around [24]
Round 15 (Back Legs): 3 sc, 4-tr cluster (back leg), 6 sc, 4-tr cluster (back leg), 13 sc [24]
Round 16: dec x12 [12]
Stuff Body: Stuff the body firmly, shaping the belly and ensuring legs pop forward.
Round 17: dec x6, sl st to first st [6]
Finishing Body: Cut yarn, leaving a short tail. Add any final pinch of stuffing, then thread the yarn tail onto a tapestry needle. Weave through the front loops of all 6 stitches, pull tightly to cinch the hole closed, and weave in the end securely.
Part 2: Ears (Direct Surface Crochet)
The ears are worked directly onto the top-sides of the head without sewing.
Using sewing pins, mark 4 consecutive surface points/stitches along the diagonal crown of the head where you want the first ear to sit (Points 1 to 4).
First Ear:
In Point 1: Insert hook under the surface stitch, attach yarn, and ch 1.
In Point 2: Work 1 hdc.
In Point 3: Work 1 dc, ch 2, and sl st into the same stitch.
Fasten off, cut yarn, and pull both yarn tails inside the head to conceal them.
Second Ear:
Mark symmetrical points on the other side of the crown.
Repeat the exact sequence: attach yarn with ch 1 in the first point, 1 hdc in the next, and 1 dc, ch 2, sl st in the third point. Fasten off and weave in tails.
Part 3: Tail
Round 1: In a MR, work 8 sc [8]
Rounds 2–9 (8 rounds): 8 sc around [8]
Round 10: (dec, 2 sc) x2 [6]
Round 11: ch 1, flatten the open edge together, and work 3 sc through both layers to close [3]
Round 12: ch 1, turn, dec, 1 sc [2]
Fasten off, leaving a long tail for sewing. Do not stuff the tail.
Assembly & Final Touches
Position the base of the tail along the lower back/side of the body.
Curve the tail around toward the front paw so it hugs the side of the cat in a sitting pose.
Using the yarn tail and a tapestry needle, neatly sew the base and lower portion of the tail in place.
Knot and bury the yarn tail inside the body. Your sweet little crochet cat is complete!
See More:
Featuring: How to Crochet Holiday Present Kitty Cat Pluhsie with Bow Ribbon
Featuring: Video Tutorial to Crochet Anti-Stress No-Sew Green Kitty over A Cactus Pot Plush
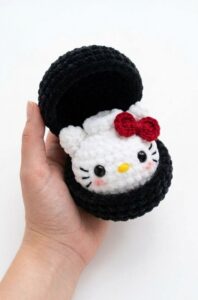
Tester Pattern: How to Crochet Hello Kitty Dumpling Plushie for Playing With
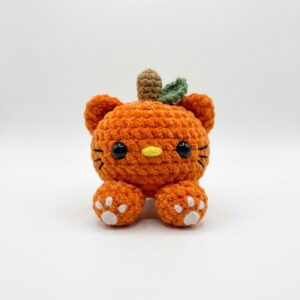
Tester Pattern: To Crochet Pumpkin Hello Kitty Plushie with Big Paws Buddy
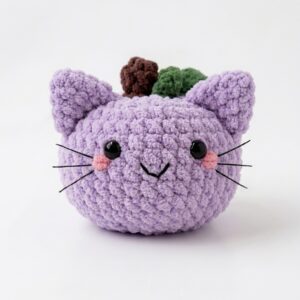
Tester Pattern: How to Crochet Smiling Pumpkin Kitty Cat Plushie
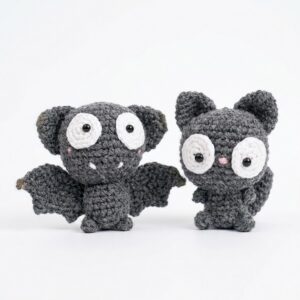
Featuring: Crochet Black Kitty Amigurumi But it is A Bat for Halloween (2-in-1 Tutorial)
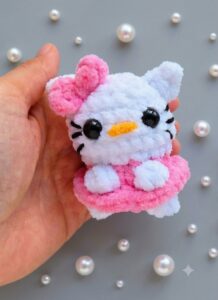
How to Crochet No-Sew Little Hello Kitty Plushie Gift For Girls

Featuring: How to Crochet the CUTEST Kitty Pumpkin Plushie Tutorial for Halloween
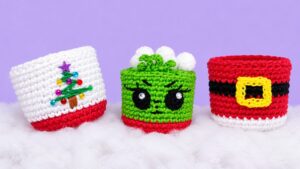
3-in-1 Crochet Tree Embroidery, Grinch and Santa Miniature Treat Baskets