Show support for Otakulandia!
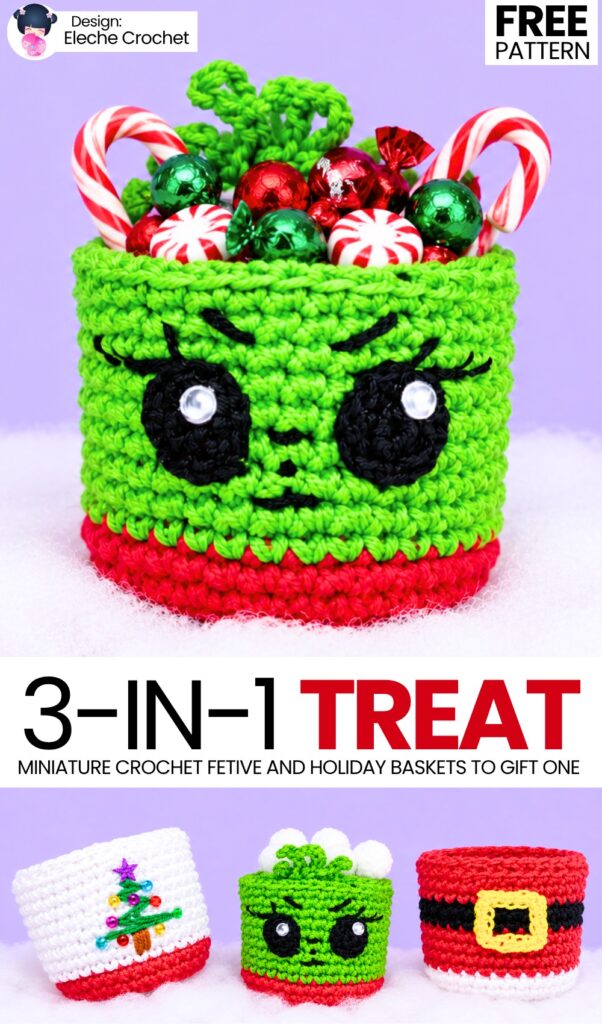
Here is another many-in-1 crochet holiday candy basket and decoration tutorial for this year! I could not feature this tutorial last year, so be sure to show your love for these quick, easy, and cute crochet treat baskets! Well, introducing the crochet set of three Christmas treat miniature baskets that you can learn to crochet with a 3-in-1 tutorial and a FREE pattern. Well, we will be mainly learning to crochet the cute Grinch baby basket, and the other two can be made by anybody just by looking at the design!
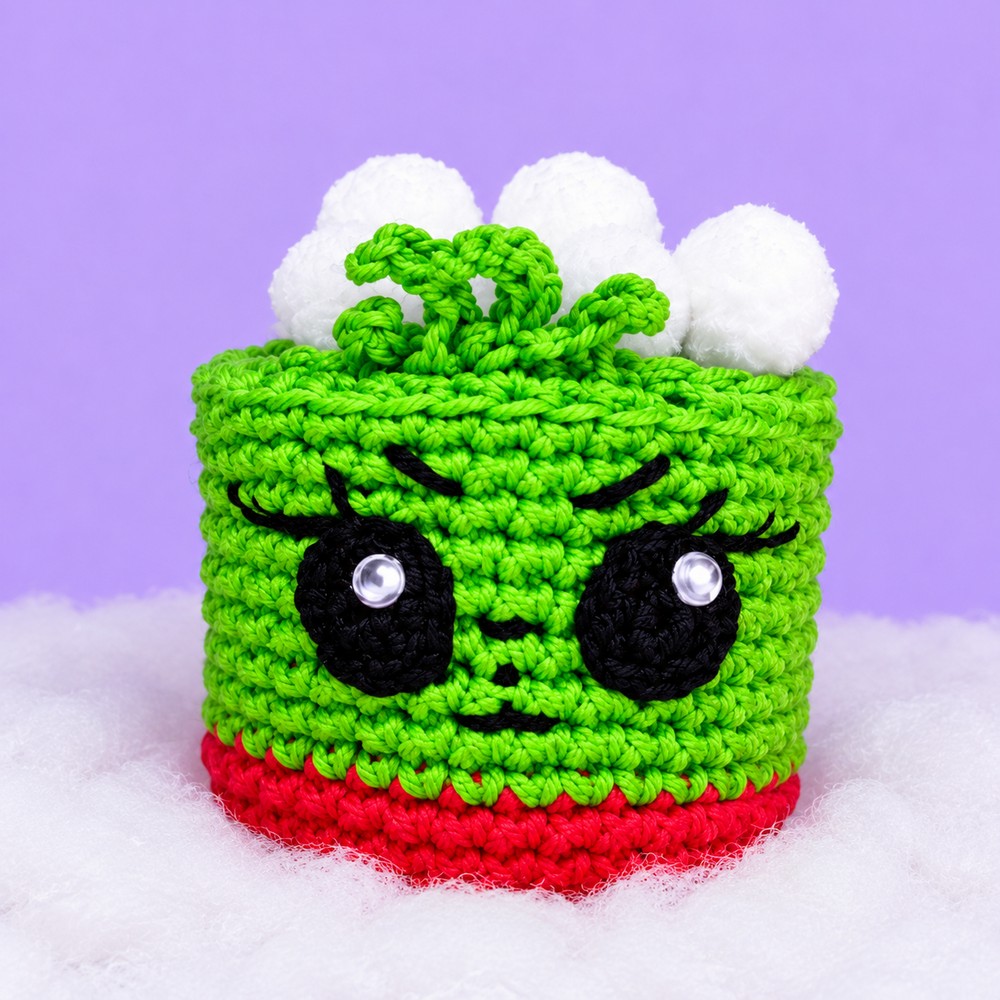
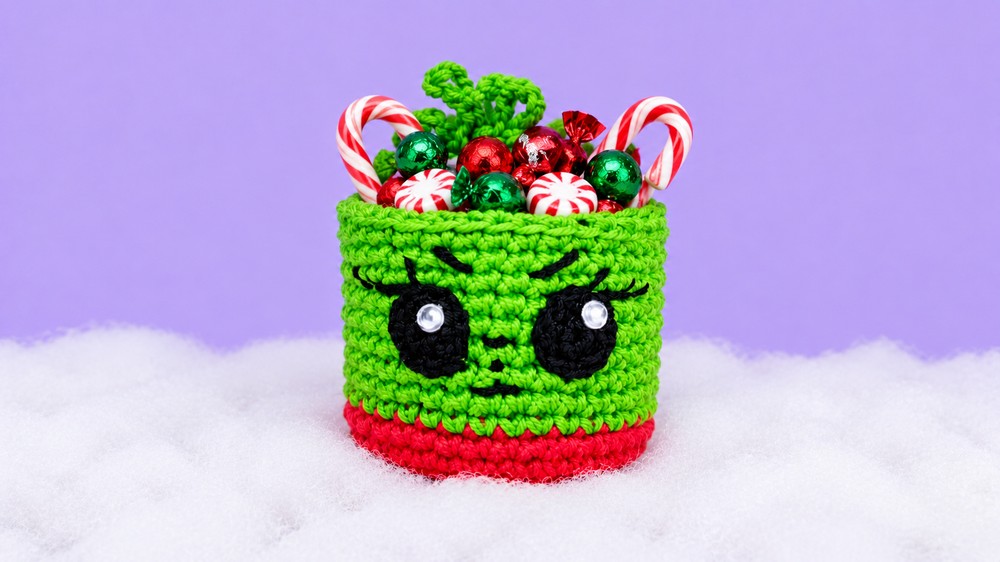
This adorable Christmas project is a small, freestanding crochet candy holder shaped like everyone’s favorite holiday grump – the Grinch!
What makes this little basket unique and sturdy is its clever double-walled construction: you crochet an extended tube and fold the inner half inward, giving the basket firm, reinforced sides without needing plastic inserts. It makes a delightful table decoration, stocking stuffer, or gift basket filled with wrapped chocolates, bonbons, or holiday sweets for kids and guests.
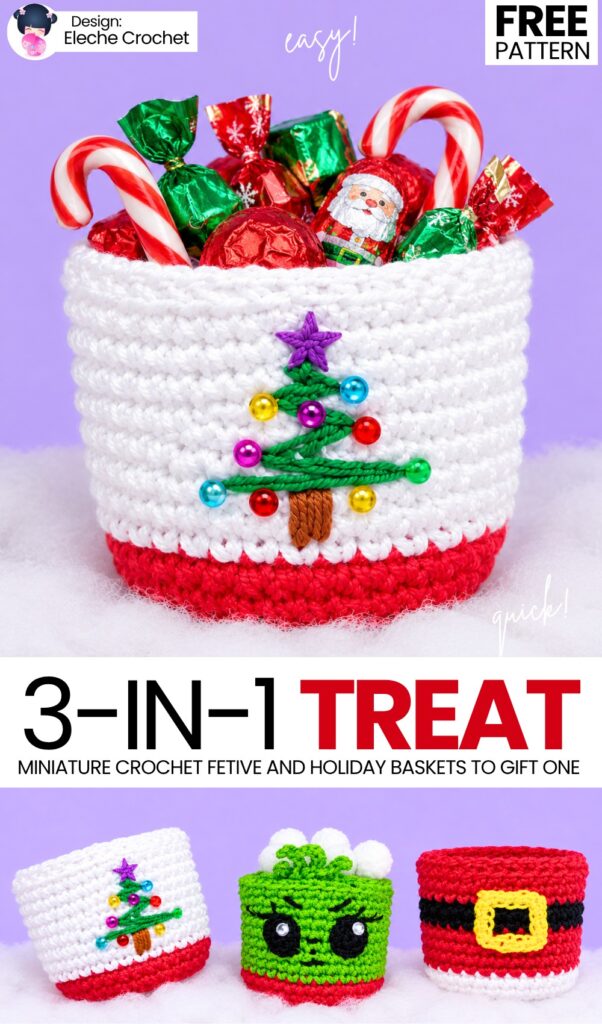
Pattern to Crochet the CUTE 3-in-1 Crochet Baskets
Skill Level: Beginner – Level 4
Materials & Tools
Yarn: Size 5 cotton crochet thread / fingering-weight cotton yarn (held double strand for extra stiffness on the main cup and hair; held single strand for the eyes, scarf, and embroidery):
Light Lime Green
Bright Red
Black (for eyes and embroidered facial features)
Crochet Hooks:
2.5 mm (or 2.55 mm): For the cup body, inner lining, and scarf.
1.75 mm: For the eyes, hair tufts, and fine details.
Tapestry / Yarn Needle: For sewing and embroidery.
Scissors
Adhesive Rhinestones / Gems: 2 small clear/white craft rhinestones (and fabric glue/silicone) for eye highlights (optional: can also be embroidered with white yarn).
Optional: A small circle of craft foam (goma EVA) or felt cut to size to place inside the bottom for extra base stability.
Abbreviations (US Terms)
MR: Magic Ring
ch: Chain
sc: Single crochet
hdc: Half double crochet
inc: Increase (2 sc in the same stitch)
sl st: Slip stitch
BLO: Back Loop Only
st(s): Stitch(es)
[ ]: Stitch count at the end of the round
Are you a Beginner? Learn Crocheting Easily!
You can learn to crochet better with this crochet set basket tutorial. Or continue to the written pattern below!
Pattern Instructions
Part 1: Cup Base (Red Yarn — Double Strand, 2.5 mm Hook)
Work in continuous spiral rounds without joining unless specified.
Round 1: In a Magic Ring, work 7 sc. Pull ring tight. [7]
Round 2: Work 2 sc in each stitch around (7 inc). [14]
Round 3: (1 sc, 1 inc) 7 times. [21]
Round 4: (2 sc, 1 inc) 7 times (adjust slightly if needed to reach target count). [26]
Round 5: (3 sc, 1 inc) around until you reach 32 stitches. [32]
Part 2: Outer Cup Wall (Double Strand, 2.5 mm Hook)
Round 6 (Ridge round): In BLO, work 32 sc around. [32]
(This BLO round creates a flat base edge so the cup sits upright).Round 7: In both loops, work 32 sc around. [32]
At the end of Round 7, begin the last sc with red, but pull the Green yarn through the last two loops on the hook to complete the color change. Cut the red yarn, leaving a tail inside to weave or tie off.Rounds 8–16 (9 rounds total): In Green, work 32 sc around. [32]
Part 3: Inner Lining (Double Wall) (Green Yarn — Double Strand, 2.5 mm Hook)
The lining is worked continuously to create the inside wall.
Round 17 (Top rim fold line): In BLO, work 32 sc around. [32]
Round 18 (Rim transition): In BLO, work 32 sc around. [32]
Rounds 19–28 (10 rounds total): In both loops, work 32 sc around. [32]
At the end of Round 28, work 1 sl st into the next stitch to finish smoothly.
Cut yarn leaving a long tail for sewing. Separate one of the two plies to use for sewing the bottom shut and weave in the other.
Part 4: Assembly of the Double Wall
Push and fold the inner lining (Rounds 18–28) down inside the cup so that the wrong sides face each other.
The ridge from Round 17 forms a clean, thick upper rim.
Align the bottom edge of the lining along the bottom interior crease of the cup.
Thread your needle with the green yarn tail and tack/sew the bottom edge of the inner wall to the inside base, picking up only the surface loops so that no green stitches show through the red outer base.
Fasten off and secure ends inside.
Part 5: Grinch Eyes (Black Yarn — Single Strand, 1.75 mm Hook)
Make 2 pieces.
Round 1: In a Magic Ring, work 9 sc.
Round 2: 2 inc, 2 sc, 2 inc, 1 sl st into the next st.
Fasten off, leaving a long tail for sewing and embroidery.
Part 6: Little Red Scarf (Red Yarn — Single Strand, 2.5 mm Hook)
Chain 14.
Starting in the 3rd chain from your hook, work 1 hdc in each chain across (approx. 12 hdc).
In the final chain, work 2 ch and 1 sl st to round the corner cleanly.
Fasten off leaving a sewing tail.
Attaching the Scarf:
Fold the scarf piece with one tail slightly longer than the other, crossing over diagonally.
Take a needle and tack the overlap securely.
Position the folded scarf on the lower red rim right over the color change step/jog to conceal the seam. Sew in place.
Fringes: Using a scrap of red yarn and your needle, pull short loops through the ends of the scarf to create 2–3 fringe tassels on each tail. Trim to even lengths.
Part 7: Sewing the Face & Embroidering Details
Positioning the Eyes:
Place the black crochet eyes about 3 rounds below the top rim, spaced roughly 3 stitches apart.
Pin in place and sew all around the edge with black thread. Leave the remaining tail to embroider the lashes and brows.
Eyelashes:
Coming out from the top-outer corner of each eye, make 2 or 3 short, sharp diagonal stitches pointing upwards and outwards.
Eyebrows:
Angle each eyebrow sharply downwards toward the center of the face in classic angry Grinch fashion.
Stitch 1–2 slanted lines above each eye, doubling the thread thickness if desired for a prominent scowl.
Nose & Grumpy Mouth:
Nose: Positioned centrally between the eyes, make a small horizontal stitch across 1 stitch (pass 2 times).
Wrinkle line: Make a short horizontal line just below the nose.
Mouth: Two rounds below the nose, embroider an exaggerated downturned frown (a central line pulling down at the corners) to give him his signature smirk/grimace.
Eye Sparkles:
Glue a small clear/white rhinestone onto the inner upper corner of each eye using fabric glue or silicone. (Alternatively, stitch a small white French knot or vertical dash).
Part 8: Grinch Hair Tufts (Green Yarn — Double Strand, 1.75 mm Hook)
Work the wild hair tufts directly into the front upper rim of the cup, centered above the eyebrows.
Insert your hook into the top rim stitch directly above the left eyebrow and join green yarn with a sl st.
Tuft 1: Ch 4; starting in 2nd ch from hook, work 3 sl st down the chain. Sl st into the same rim st.
Sl st into the next rim stitch.
Tuft 2 (Tallest): Ch 6; starting in 2nd ch from hook, work 5 sl st down the chain. Sl st into the same rim st.
Sl st into the next rim stitch.
Tuft 3: Ch 5; starting in 2nd ch from hook, work 4 sl st down the chain. Sl st into the same rim st.
Sl st into the next rim stitch.
Tuft 4: Ch 3; work 2 sl st down the chain. Sl st into the rim st.
Fasten off, pull the tail inside between the two wall layers, knot, and conceal.
Finishing Touch
Shape your candy basket with your fingers, pop a small sweet or chocolates inside, and your holiday Grinch Dulcero is ready to display!
Share on Social Media!
See More:
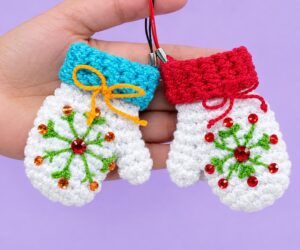
How to Bead-Decorated White & Red or Blue Christmas Mitten Charms for Gifting
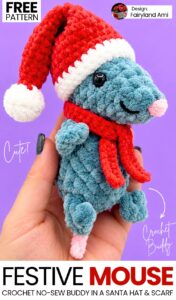
How to Crochet Funny Santa Dress Mouse Plushie Fidget Toy Gift for Christmas
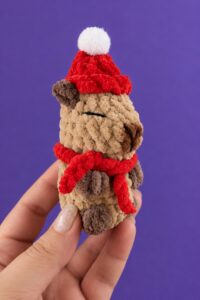
How to Crochet Miniature No-Sew Mr. Capy in Santa Hat Plushie Christmas Gift
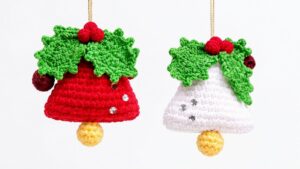
How to Crochet Holly Leaf, Berry & Stuffed Bell Ornament for Christmas
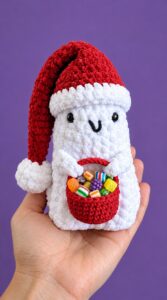
How to Crochet Christmas Ghost Buddy Holding A Treat Basket Plushie
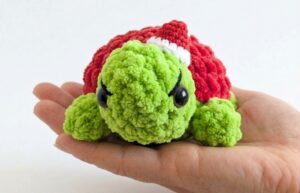
Tester Pattern: How to Crochet Santa Hat Grinch Turtle Plushie for Christmas Gifting
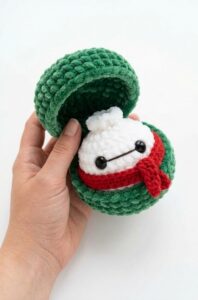
How to Crochet Baymax Dumpling Plushie for Gifting At Christmas
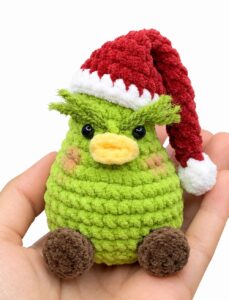
Tester Call: How to Crochet Grinch Pear Miniature Christmas Plushie for Gifting
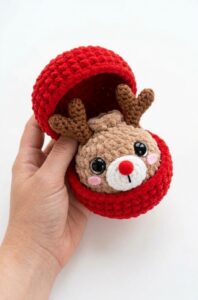
Tester Call: How to Crochet Reindeer Dumpling Plushie for Christmas Gifting