Show support for Otakulandia!
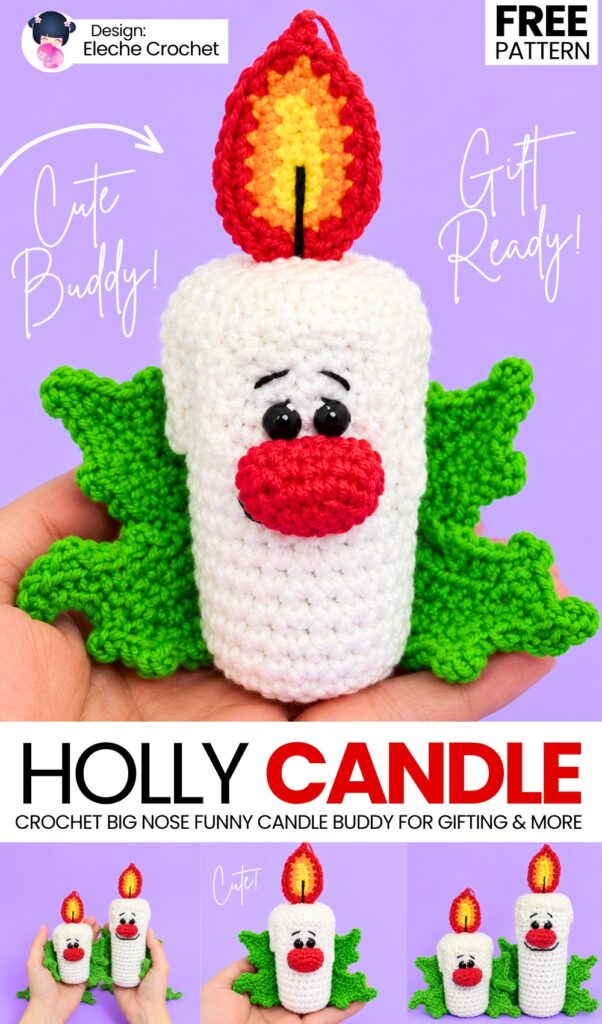
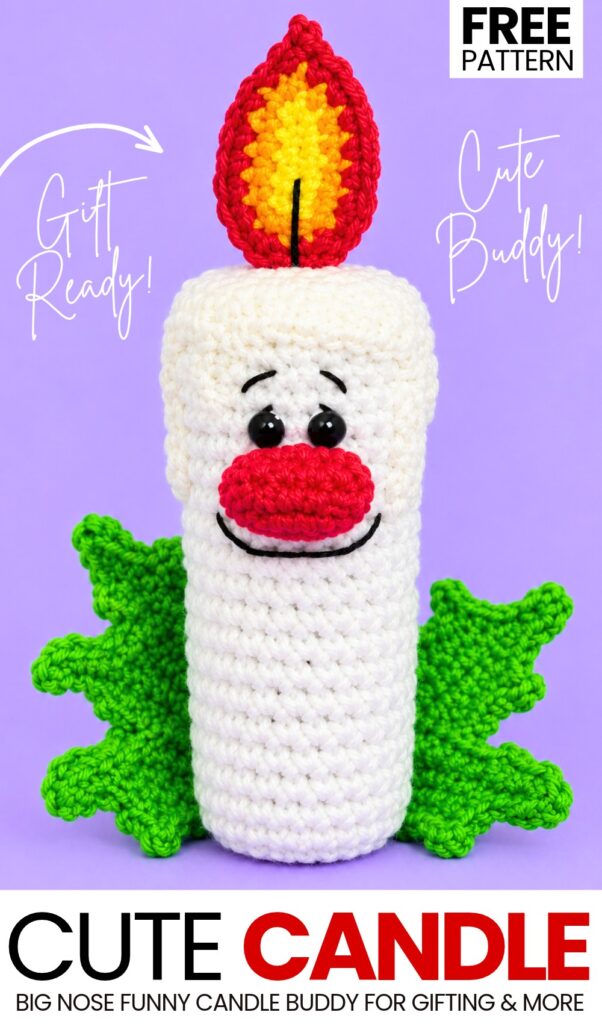
This is the 3rd crochet festive candle amigurumi & decoration tutorial of this year! Last time, you learned to crochet a ragdoll-style ornament candle. Today, learn how to crochet this SUPER CUTE and funny crochet big red nose and Holly leaf candle desk buddy amigurumi gift with a FREE pattern and a step-by-step tutorial as well. It makes a perfect tabletop decoration, mantle accent, holiday gift, or tree ornament.
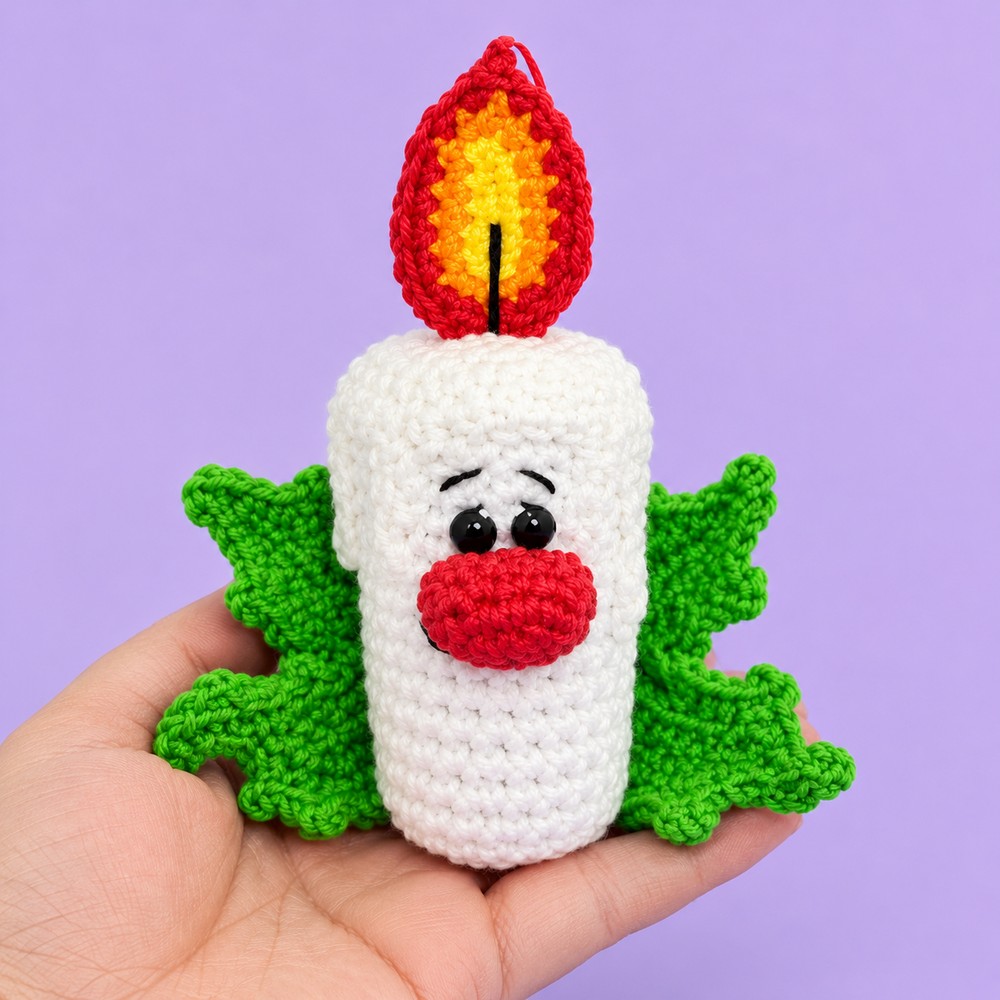
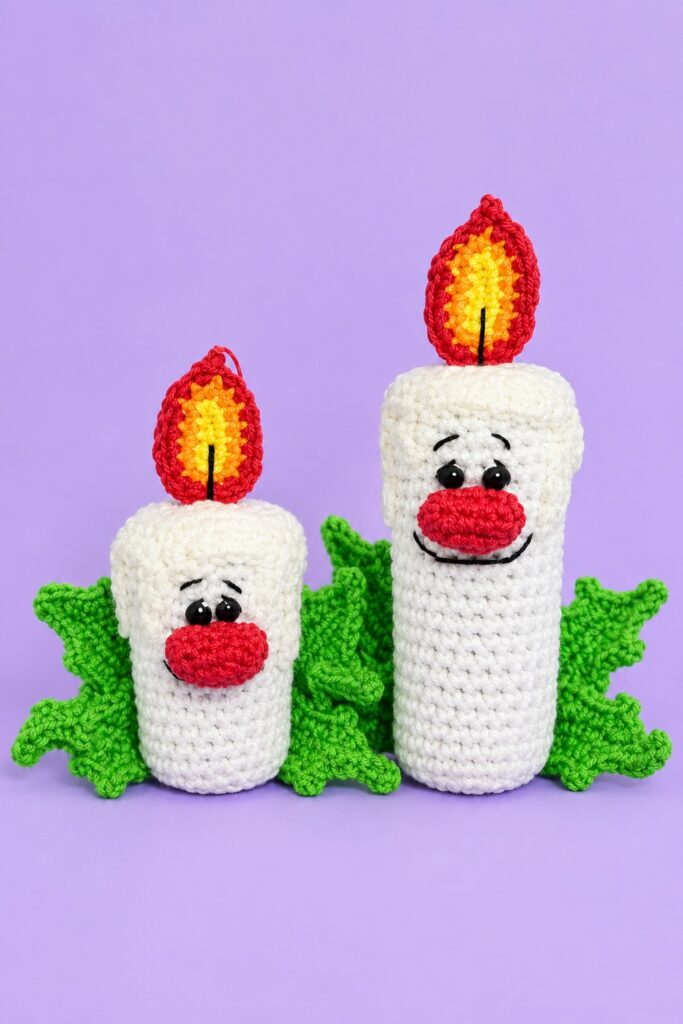
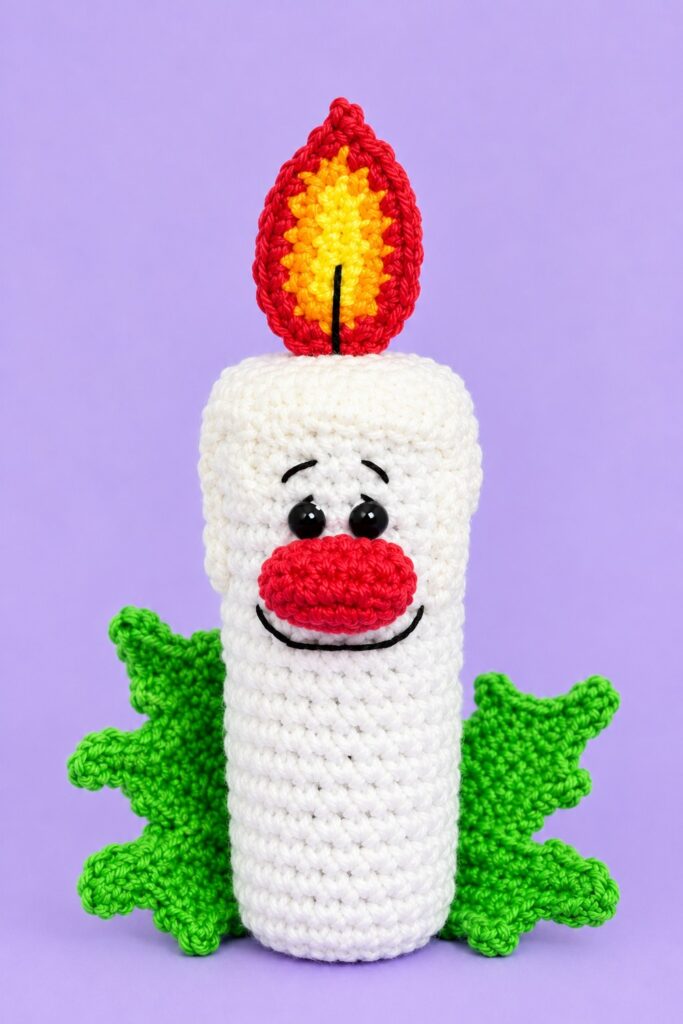
It is made using recycled cardboard as a base that lets it stay upright. This amigurumi candle is decorated with melting wax drips, a glowing 3-color crochet flame with an embroidered wick, and a smiling face with a giant red bulbous nose.
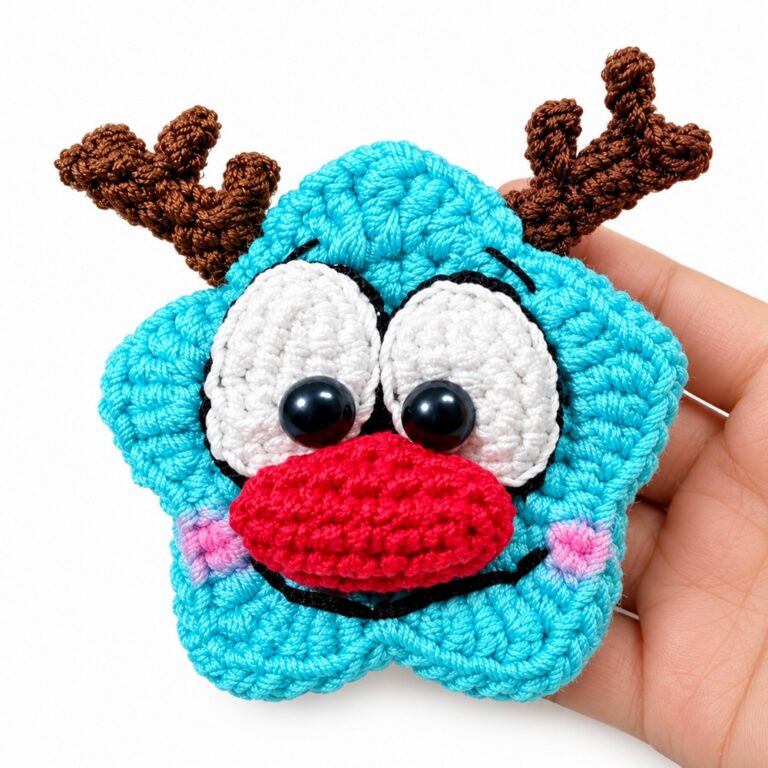
This is the same nose as the crocheted reindeer in the Santa hat amigurumi decoration that you have learned to crochet already, and a festive base of holly leaves. So, continue reading to learn more about this crochet amigurumi buddy decoration and the pattern!
Pattern to Crochet the Holly Leaf Candle Amigurumi
Skill Level: Intermediate
Materials & Tools
Yarn & Thread:
DK / Sport-weight yarn (approx. 2–3 mm):
White (candle body)
Cream / Off-white (melted wax top)
Light / Kelly Green (holly leaves)
Size 5 pearl cotton crochet thread (worked with 2 strands held together):
Yellow, Orange, and Red (flame)
Red (big nose)
Black (wick, eyebrows, eyelashes, and smile)
Crochet Hooks:
2.55 mm (or 2.5 mm): for the candle cylinder and melting wax cap
1.75 mm: for the flame, nose, and holly leaves
Structure & Stuffing:
1 recycled cardboard toilet paper roll
Polyester fiberfill stuffing
Notions:
Two 4 mm black half-pearls, beads, or safety eyes
Hot glue (glue gun or silicone stick melted with a lighter)
Tapestry / yarn needle, sharp scissors, and sewing pins
(Optional) A small circle of felt for the bottom base
Pattern Notes & Abbreviations (US Terms)
Continuous Rounds: The candle body and nose are worked in continuous spiral rounds without joining with a slip stitch unless noted. Mark the beginning of each round with a stitch marker.
BLO: Back Loop Only.
Abbreviations:
MR: Magic Ring
ch: Chain
sc: Single crochet
inc: Increase (2 sc in the same st)
dec: Decrease (invisible sc decrease)
hdc: Half double crochet
sl st: Slip stitch
st(s): Stitch(es)
Picot: Ch 2, sl st into the base of the stitch
Are you a Beginner? Learn Crocheting Easily!
You can learn to crochet better with this crochet decoration tutorial. Or continue to the written pattern below!
Step-by-Step Instructions
Part 1: Candle Body (El Cuerpo de la Vela)
Use White yarn and a 2.55 mm hook.
Flat Bottom Base:
Round 1: In a MR, work 7 sc. (7 sts)
Round 2: Work 2 sc in each st around (7 inc). (14 sts)
Round 3: [1 sc, inc] around to reach 20 sts. (20 sts)
Round 4: [2 sc, inc] around to reach 26 sts. (26 sts)
(Note: 26 stitches matches standard toilet paper rolls. If your roll is slightly wider, work [3 sc, inc] to 32 sts).Round 5 (Ridge): In BLO, work 1 sc in each of the 26 sts around. (26 sts)
Cylinder Wall:
Rounds 6–24 (19 rounds): Work 1 sc in both loops of each st around (26 sc per round) in continuous spiral. (26 sts)
Check height: The sleeve should slide smoothly over the cardboard roll and reach the top rim.Round 25 (Top Inner Ridge): In BLO, work 1 sc in each of the 26 sts around. (26 sts)
Inserting Roll & Closing Top:
Slide the cardboard toilet paper tube inside the crochet sleeve.
Round 26: [1 dec, 1 sc] around to approx. 17 sts. (17 sts)
Firmly pack the inside of the cardboard roll with fiberfill stuffing so the candle feels solid and stands balanced.
Round 27: Work continuous decreases around until 8–9 sts remain.
Fasten off, leaving a tail. Thread onto a needle, weave through the remaining front loops, pull tight to close the center hole, knot, and hide the thread inside.
Part 2: Melted Wax Drips Cap (La Cera Derretida)
Use Cream / Off-white yarn and a 2.55 mm hook.
Circular Top:
Rounds 1–4: Repeat Rounds 1 to 4 of the Candle Base to create a flat circle of 26 sts. (26 sts)
Round 5: In BLO, work 1 sc in each of the 26 sts around. (26 sts)
Round 6: Melting Wax Drips (Churretones):
Work around the rim creating varied drip lengths. Leave a 5–6 st flat gap at the front for the face:
Work 7 sc along the rim.
Drip 1 (Medium): Ch 4; starting in 2nd ch from hook, work 3 sc down the chain, then sc into the next rim st.
Work 3 sc along the rim.
Drip 2 (Long): Ch 5; starting in 2nd ch from hook, work 4 sc down the chain, then sc into the next rim st.
Work 2 sc along the rim.
Drip 3 (Extra Long): Ch 6; starting in 2nd ch from hook, work 5 sc down the chain, then sc into the next rim st.
Work sc in remaining stitches across the front face area.
Fasten off, leaving a long tail for sewing.
Attaching the Cap:
Place the cream cap on top of the candle with the plain section facing front.
Pin the drips flat against the candle sides using sewing pins.
Sew around the upper perimeter of the cap, then take small, hidden stitches along the back of each drip to secure them flush against the white body.
Part 3: The 3-Color Flame (La Llamita) — Make 2 Identical Pieces
Use Size 5 cotton thread (2 strands held together) and a 1.75 mm hook.
1. Yellow Center:
Foundation: Ch 5.
Round 1:
Starting in 2nd ch from hook: 3 sc along the chain.
In the last chain: work 4 sc in the same st to turn the corner.
Along opposite side of chain: work 2 sc, and 3 sc in the final st.
2. Orange Middle Layer:
Join Orange thread in the last stitch:
Work 4 sc up the side.
Work 1 inc, 1 sc, 1 inc around the curve.
Work 4 sc down the opposite side.
At the top tip: work (1 sc, ch 1, 1 sc) into the point.
3. Red Outer Border:
Join Red thread:
Work 4 sc along the side.
Work 1 inc, 2 sc, 1 inc around the base curve.
Work 5 sc up the other side towards the tip.
At the top tip: work 1 sc, 1 Picot (ch 2, sl st into base), 1 sc.
Work 2 sc down the side and finish with 1 sl st. Fasten off.
Flame Assembly:
Place the two flame pieces with wrong sides facing together.
Using red thread, whip-stitch the outer red borders together around the perimeter. Take an extra reinforcing stitch through the top picot point so the tip stays sharp.
Position the flame centered on top of the cream wax cap. Sew the bottom curved edge firmly into the candle top from both sides so it stands completely rigid and upright.
Wick: Using black thread, embroider 2 vertical straight stitches from the base of the yellow flame into the candle wax.
Part 4: The Big Bulbous Nose (La Narizota)
Use Red cotton thread (2 strands held together) and a 1.75 mm hook.
Round 1: Ch 5. Starting in 2nd ch from hook: 3 sc along chain, 3 sc in last chain st (corner), rotate and work 3 sc along opposite side, 1 inc in last st. (11–12 sts)
Round 2: Work 1 sc in each st around in continuous spiral. (12 sts)
(This forms a hollow, 3D oval cup).Finishing: Sl st in the next st. Cut thread, leaving a tail for sewing.
Attachment: Position the nose centered on the candle face just beneath the front wax edge. Sew securely around the rim. It will naturally stay puffed without stuffing.
Part 5: Face Embroidery & Details
Eyes: Glue or sew two 4 mm black half-pearls or beads directly above the nose, placed close together.
Eyelashes: With black thread, embroider a small upward angled lash at the upper outer edge of each eye.
Eyebrows: Embroider two high, arched eyebrows 1–2 rounds above the eyes.
Smile: Embroider a wide, cheerful mouth curving upward directly underneath the nose, adding small diagonal smile creases at each corner.
Part 6: Holly Leaves Base (Hojas de Acebo) — Make 4
Use Green yarn/thread and a 1.75 mm hook.
Foundation: Ch 9.
Round 1: Starting in 2nd ch from hook: 7 sc; in last ch work (1 sc, ch 1, 1 sc); rotate and work 7 sc along the opposite side.
Round 2 (5 Points Total):
[1 hdc, ch 2 picot, 1 hdc] in same st, sc in next 2 sts.
Repeat around both sides and the top tip to create 5 pointed spikes. Join with a sl st to the start.
Attachment: Sew or hot-glue the 4 green leaves around the lower base of the candle, fanning outwards so the candle sits comfortably in a festive wreath of leaves. (Optional: Glue a round felt circle underneath the bottom base to keep it perfectly flat).
Share on Social Media!
See More:
How to Crochet Ornament Stuffed Candle Amigurumi with Holly Leaves & Berries
To Welcome the Guests Crochet these Little Candle Buddies Holding Pumpkins
How to Crochet Holly Leaf & Pair of Bells Festive Holiday Decoration Pattern
Featuring: How to Crochet 5-in-1 Elf Wind Spinner Ornament Decoration Tutorial
Featuring: How to Crochet Rainbow Pop Holiday Tree Hanging & Table Decoration

Featuring: How to Crochet Sakura Daisy Pop-Up Coaster for Decoration
Featuring: 3-in-1 Crochet Pop-Up Flower Garden Pop-Up Coaster for Decoration

How to Crochet Red Bell Topped Snowy Christmas Tree Table Decoration for All

How to Crochet Tiered Pink and Blue Christmas Tree with Amigurumi Star Decoration