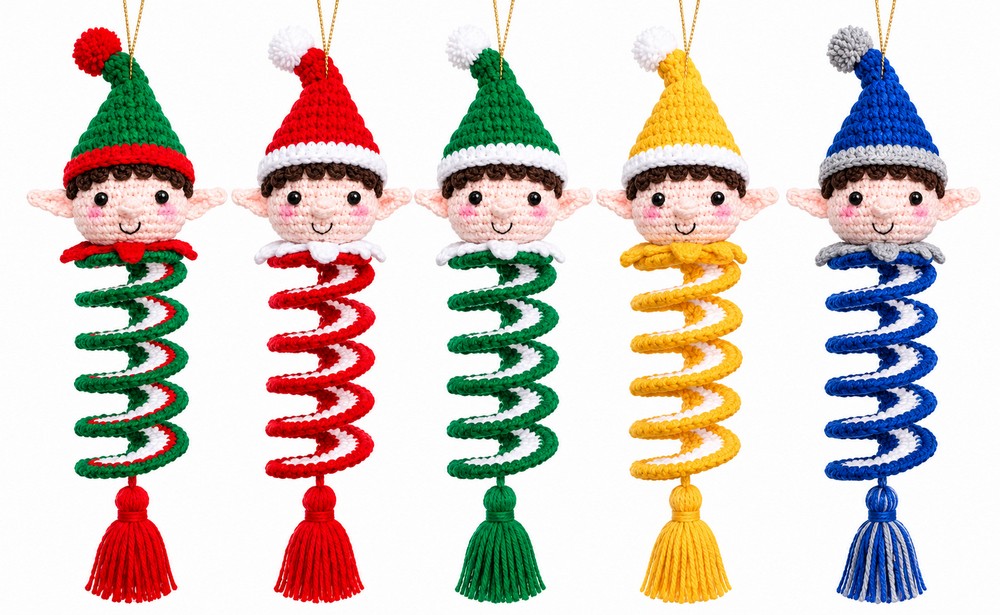
Here is another tutorial from the crochet “Christmas and festive spinners” series. You have already learned to crochet a Santa as well as the snowman spinner. Today, learn how to crochet this festive Christmas Elf Wind Spinner Hanging Ornament with a step-by-step tutorial for all skill levels. You can choose from the 5 color combos, including blue, yellow, green, and red & red and green Elf spinner patterns. Can be crocheted with the same Elf hat and the striped spinner base with a tassel at the bottom, too.
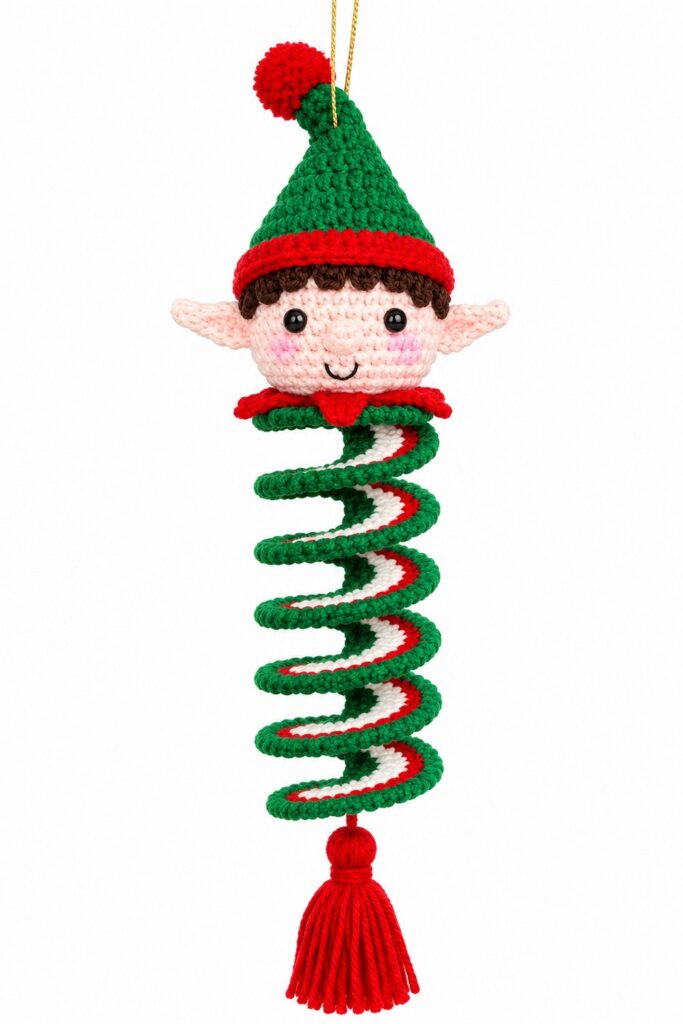
The project starts with crocheting the elf’s spherical head in amigurumi style, followed by small elf ears, a bobble nose, a pointed hat, bangs/hair, and a jagged collar.
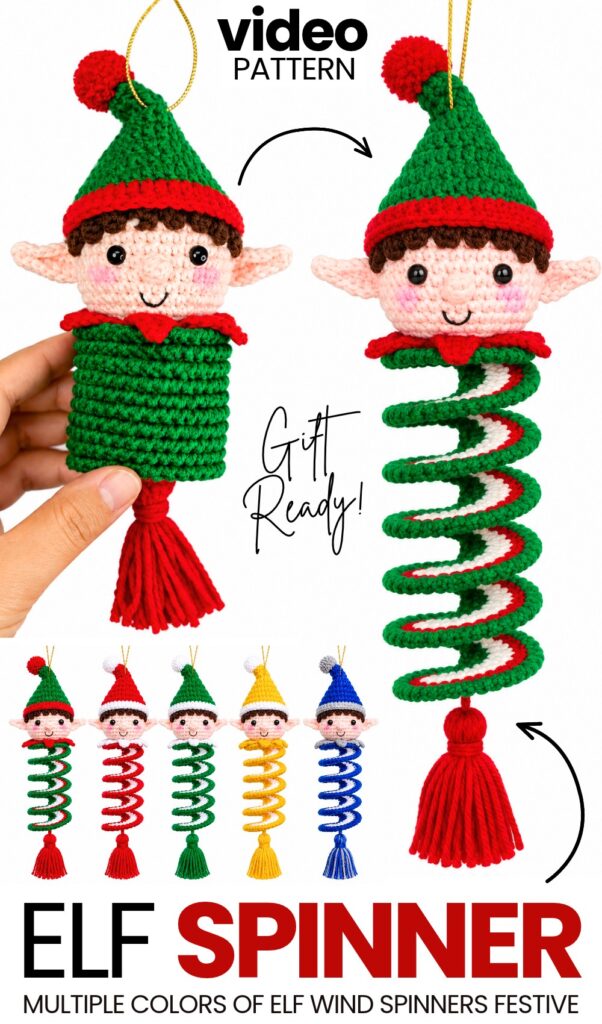
Next, the expanding spiral wind spinner is created across multi-colored rows with progressive stitch increases, finished with a reverse single crochet border. A handmade pompom and bottom tassel are prepared, facial features and blush are added, and all pieces are assembled using sewing and hot glue to form a whimsical spinning holiday decoration. Now, continue reading to learn more about this project!
Level: Intermediate
Pattern Abbreviations
ch: Chain
sc: Single crochet
hdc: Half double crochet
dc: Double crochet
tr: Treble (triple) crochet
inc: Increase (2 stitches into the same stitch)
dec: Decrease (single crochet 2 together)
slst: Slip stitch
reverse sc: Reverse single crochet (crab stitch)
3-dc bobble: 3-double crochet bobble stitch
Materials
Yarn: DK/worsted weight yarn in skin tone, green, red, white, and brown (plus fine black embroidery yarn/thread for the smile)
Crochet Hook: 2.75 mm
Safety Eyes: 7 mm black safety eyes / half-round beads
Stuffing: Polyester fiberfill
Notions & Tools:
Tapestry/yarn needle
Stitch markers
Scissors
Hot glue gun and glue sticks
Metallic hanging cord
Cosmetic blush and makeup brush (for cheeks)
Difficult Stitch Breakdown: Reverse Single Crochet (Crab Stitch)
The edge of the wind spinner uses the Reverse Single Crochet (Crab Stitch) to create a sturdy, decorative, corded rim:
Do not turn your work at the end of the previous row; keep the right side facing you.
Chain 1. Instead of working from right to left, you will work backwards (from left to right for right-handed crocheters).
Insert your crochet hook from front to back into the stitch immediately to the right.
Yarn over and pull up a loop (tilt the hook slightly downward to catch and pull the yarn through cleanly). You will now have 2 loops on your hook.
Yarn over again and pull through both loops on the hook.
Repeat across into each subsequent stitch to your right.
Are you a Beginner? Learn Crocheting Easily!
You can learn to crochet better with this elegant elf spinner tree tutorial for beginners:
Written Pattern?
Use the “ask” feature of the tutorial to retrieve the quick pattern. This method is designer-compliant!
See More:
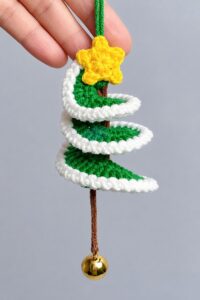
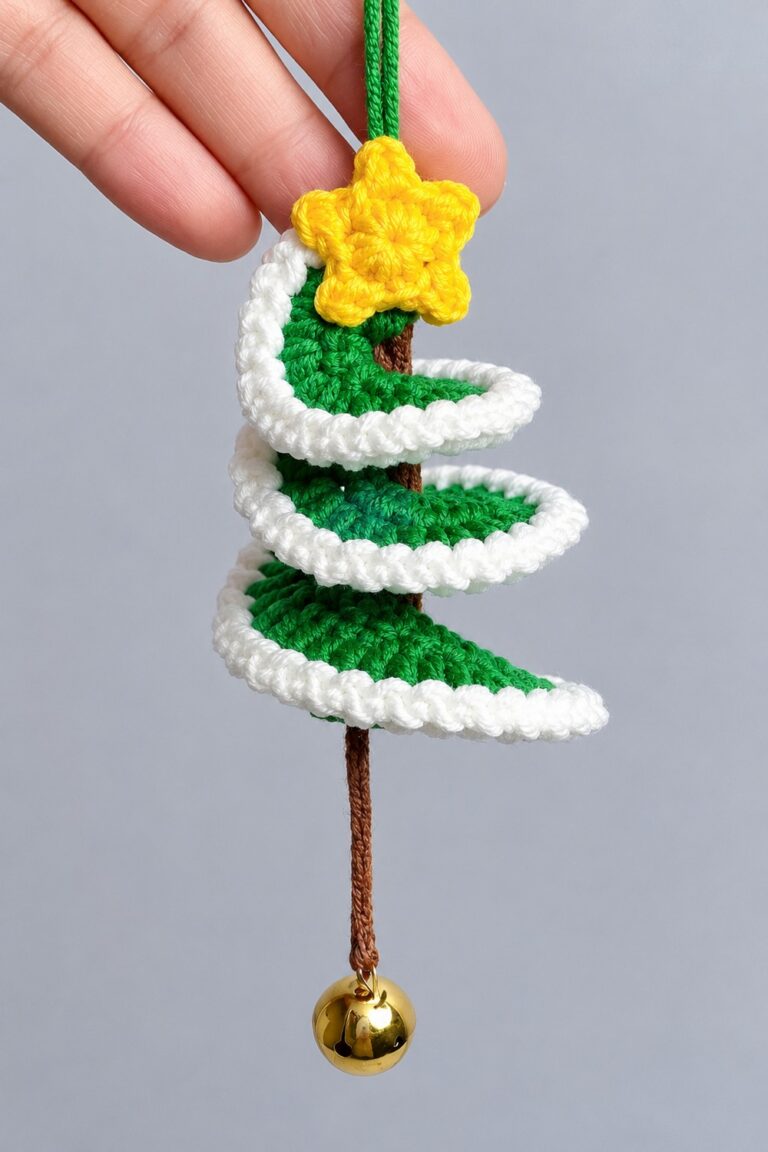
Featuring: Tutoral to Crochet White Edging & Bell Hanging Mini Tree Spinner
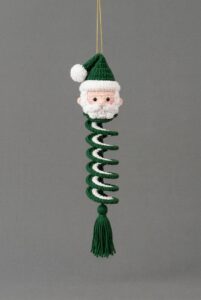
How to Crochet A Santa on the Top Wind Spinner for Christmas
![[PDF Pattern] How to Crochet Smiling Snowman Wind Spinner for Christmas](https://criazalblog.com/wp-content/uploads/2026/09/snowman-wind-spinner-224x300.jpg)
[PDF Pattern] How to Crochet Smiling Snowman Wind Spinner for Christmas
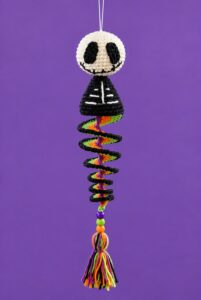
Featuring: How to Crochet the Skeleton Wind Spinner With Stripes of Halloween Colors
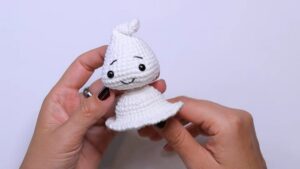
Free Crochet Flying Ghost Wind Spinner Plushie for Kids
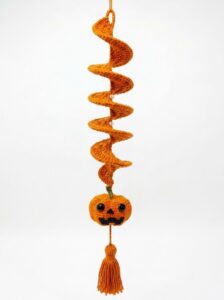
Tester Pattern: How to Crochet A Face Pumpkin Fall Wind Spinner for Playing With
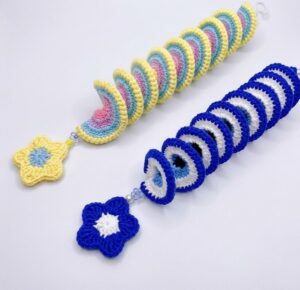
Featuring: How to Crochet 2-in-1 Colorwork Wind Spinner with Star Charm
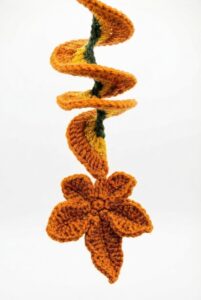
How to Crochet Autumn’s Ultimate Wind Spinner with Maple Leaf
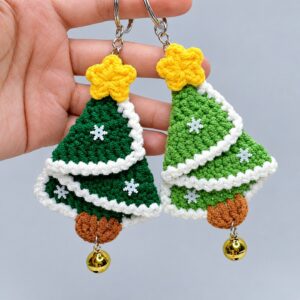
Featuring: How to Crochet Layered UNIQUE Star and Snowflake on the Top Christmas Tree Keychain