Show support for Otakulandia!
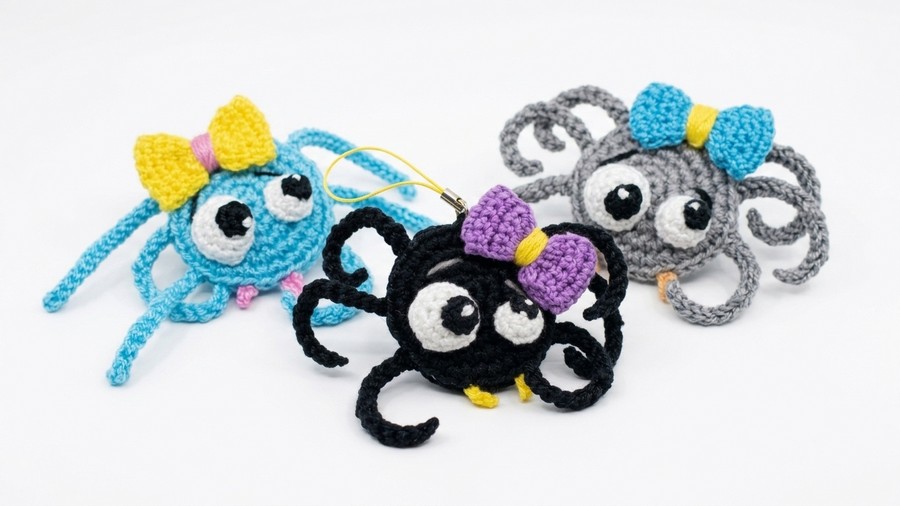
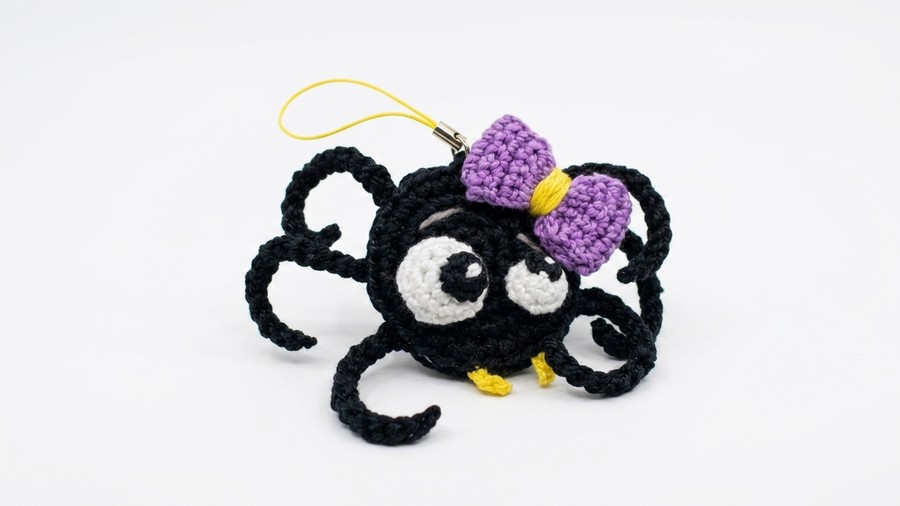
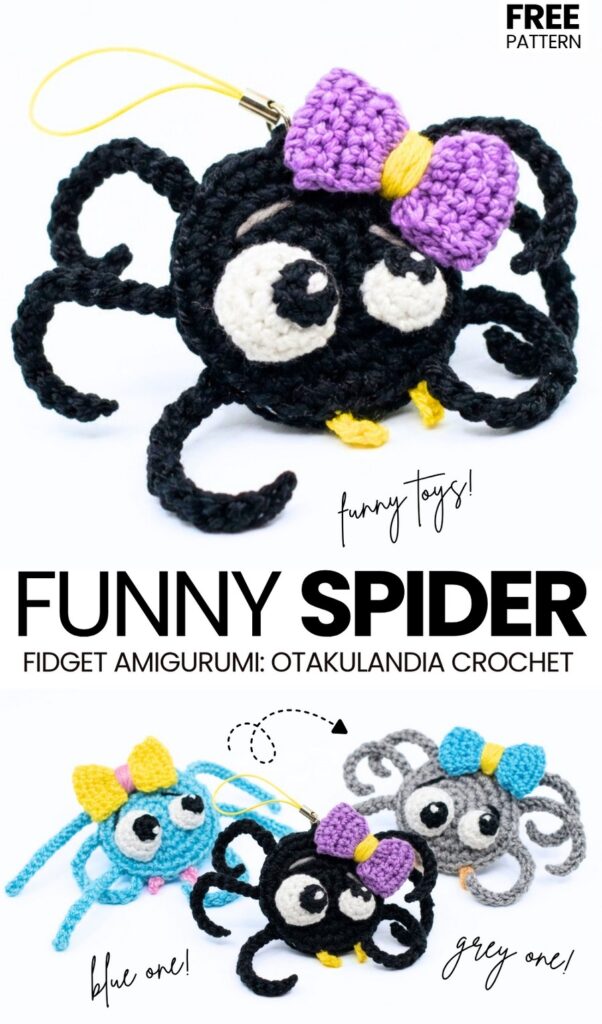
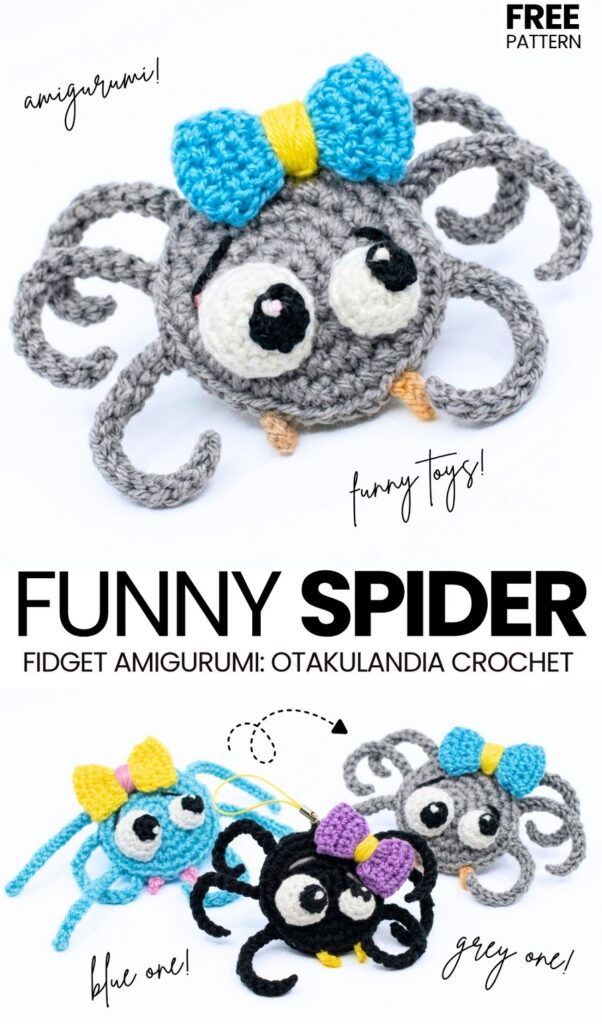
Welcome to another part of the “making Halloween amigurumi colorful and cute” series! Today, learn how to crochet this set of UNIQUE, funny, and simply cute googly-eyed spider amigurumi in bow-tie Halloween decorations with a step-by-step tutorial + a written pattern as well. Crochet a trio of these wacky amigurumi Spiders in black with a purple & yellow bow, blue with a yellow and pink bow, and grey with a blue and yellow bow. Use them as Halloween brooches, add to Halloween garland, and prepare as gift charms.
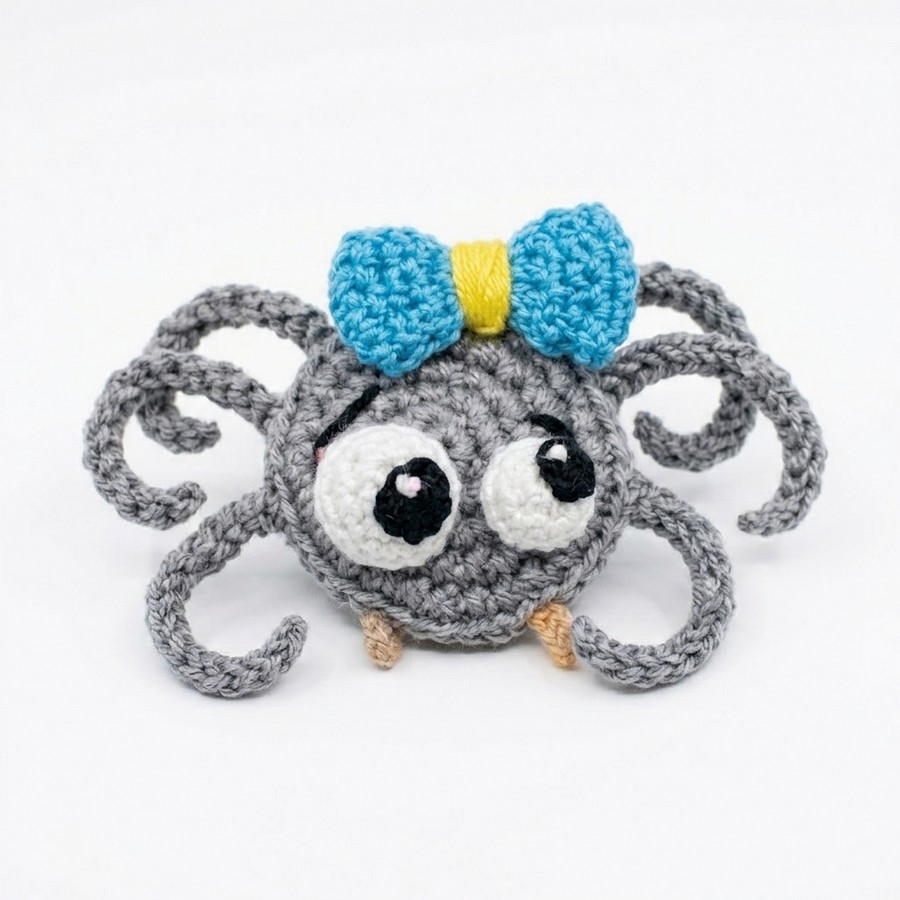
Each crochet spider has a stuffed but flat crochet body, wobbly funny crochet eyes that are made in different sizes, cute crochet fangs, and coiled crochet legs. These crochet spiders are perfect gifts for bringing a smile to any face.
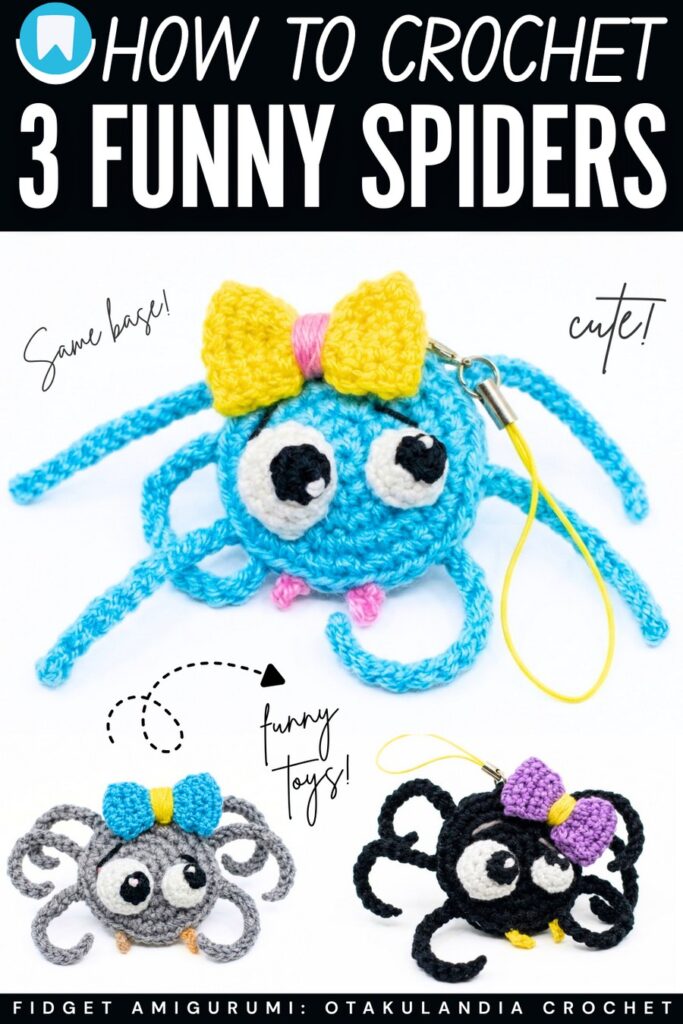
My favorite is the crochet blue spider amigurumi because it has a much more unique color combo and looks so kawaii with the pink fangs. You can easily crochet this set of amigurumi in less than 1 hour. I would also recommend crocheting yours as an anti-stress softie by using the plush thin yarn. Now, continue reading to learn more about this crochet UNIQUE spider amigurumi set and find the complete crochet blue, black, and grey spider amigurumi.
Tutorial to Crochet the Amigurumi Funny Spiders
This project is a funny Halloween spider made with the ragdoll crochet method. You make two flat round pieces for the body, sew them together, and attach six legs, two different eyes, two fangs, and a small bow. It is easy to make and uses up small leftover pieces of yarn. You can use this soft spider as a keychain, a car mirror hanging decoration, or a party banner item for Halloween.
Materials Needed
Cotton Yarn (Size 5 / Fine Yarn):
Main color for body and legs (e.g., Blue or Black)
White yarn for the eye bases
Black yarn for pupils and eyebrows
Pink or choice color for the hair bow
White or light yarn for fangs
Crochet Hook: 1.75 mm (or 1.50 mm)
Fiberfill Stuffing: A very small amount (used only for the big eye)
Tapestry Needle: Large-eye yarn needle for sewing pieces together
Scissors
Pattern Abbreviations
ch: chain
sc: single crochet
sl st: slip stitch
inc: increase (2 single crochet in the same stitch)
mr / mc: magic ring / magic circle
st(s): stitch / stitches
Are you a Beginner? Learn Crocheting Easily!
You can learn to crochet better with this crochet set of amigurumi spiders with the following video tutorials or continue to the pattern:
Full Crochet Pattern
1. Spider Body (Make 2)
Note: Work with 2 strands of yarn held together throughout the body. Work in continuous rounds.
Round 1: Make a magic ring and work 7 sc into the ring. Do not join. (7 sts)
Round 2: Work an inc into every stitch around. (13 sts)
Round 3: Work 2 increases total across the round. (20 sts)
Round 4: Work 3 increases total across the round. (26 sts)
Round 5: Work 4 increases total across the round. (32 sts)
To finish: Work 1 sl st in the next stitch to level the edge. Fasten off, leaving a tail for sewing. Repeat steps to make a second identical flat circle.
2. Spider Legs (Make 6)
Note: Work with 2 strands of yarn held together.
Row 1: Chain 14.
Row 2: Starting from the 2nd chain from hook, work 6 sl st. In the next chain, work
(1 sl st + 1 ch + 1 sl st)all into the same chain stitch (this creates the elbow bend in the leg). Work 6 sl st in the remaining 6 chains.To finish: Fasten off, leaving a long tail to sew the leg onto the body. Repeat to make 6 legs total.
3. Big Eye (Make 1 – White Yarn)
Note: Work with 1 strand of yarn.
Round 1: Make a magic ring and work 7 sc into the ring. (7 sts)
Round 2: Work an inc into every stitch around. (13 sts)
Rounds 3–4: Work 1 sc in each stitch around. (13 sts)
To finish: Work 1 sl st into the last stitch. Fasten off, leaving a tail for sewing.
4. Small Eye (Make 1 – White Yarn)
Note: Work with 1 strand of yarn.
Round 1: Make a magic ring and work 6 sc into the ring. (6 sts)
Round 2: Work 2 increases total across the round. (8 sts)
Round 3: Work 1 sc in each stitch around. (8 sts)
To finish: Work 1 sl st into the last stitch. Fasten off, leaving a tail for sewing. (Do not stuff).
5. Pupils (Black Yarn)
Note: Work with 1 strand of yarn.
Big Pupil: Make a magic ring and work 9 sc into the ring. Join with 1 sl st to the first stitch. Fasten off, leaving a long tail.
Small Pupil: Make a magic ring and work 5 sc into the ring. Join with 1 sl st to the first stitch. Fasten off, leaving a long tail.
6. Fangs / Tusks (Make 2)
Note: Work with 1 strand of yarn in white or contrast color.
Row 1: Chain 3.
Row 2: Work 1 sl st in the 2nd chain from hook, then work 1 sc in the last chain.
To finish: Fasten off, leaving a tail to attach to the face.
7. Bow (Make 1)
Note: Work with 2 strands of yarn held together.
Row 1: Chain 7.
Rows 2–23 (22 rows total): Turn, ch 1, work 6 sc across each row.
Assembly:
Fasten off and sew the short edges together to form a band/loop.
Pinch the center into a bow shape and wrap a strand of yarn around the middle several times to hold it in place.
Wrap another strand or piece of yarn around the middle to make the decorative bow knot. Fasten off behind the bow.
Assembly & Finishing
Face Details:
Sew the black pupils onto the white eyes. Embroider small white highlight stitches on the black pupils using a needle and white yarn.
Sew the white eyes to the front body piece. Add a small pinch of fiberfill stuffing inside the big eye before closing it.
Stitch two angled black lines above the eyes to create expressive eyebrows.
Sew the two small fangs near the bottom center of the face, leaving about 2 stitches of space between them.
Attach the bow to the top of the head area.
Connecting Body & Legs:
Place the two flat body circles together with wrong sides facing inside.
Using a tapestry needle and yarn, sew the outer edges of the two body circles together stitch-by-stitch around the border.
Attach 3 legs to the left side seam and 3 legs to the right side seam, sewing them securely through the body edge so they stand outward.
Add a hanging loop of yarn at the top center if you plan to use the spider as an ornament or keychain.
Share on Social Media!
See More:
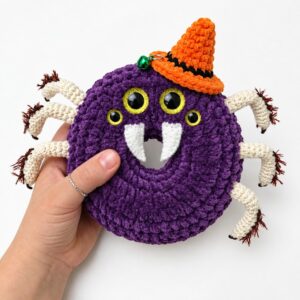
Pattern Tester: How to Crochet A Plush Spider in Hat Doughnut Plushie for Gifting
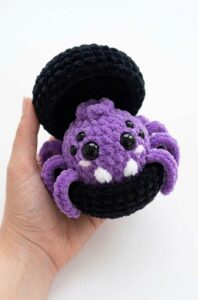
Tester Pattern: How to Crochet Spider in Black Food Box Plush for Gifting
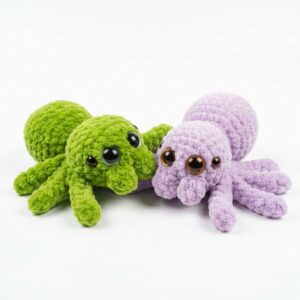
Featuring: Crochet 8-Legged & Four-Eyed Spider Plushie for Halloween
How to Crochet the CUTEST No-Sew Baby Spider Plushie for Halloween Craft Fairs
How to Crochet a Jumping Spider Plushie for Halloween in Under 20 Minutes
How to Crochet Big Low-Sew Black-&-Red Spider Plushie for Halloween