How to Crochet No-Sew Red & Blue Superhero Amigurumi for Kids

Save this Crafty Article

Talha
Author: Talha
I am a crochet designer, macramé maker and a crafter who also loves doing MATH.
Lyubov of Love Knitting
Contributor: Lyubov of Love Knitting
She is a Ukrainian crochet plushie designer and our most favorite crocheter. She became our contributor on mid 2026 through mycraftybasket.

Show support for Lybouv!

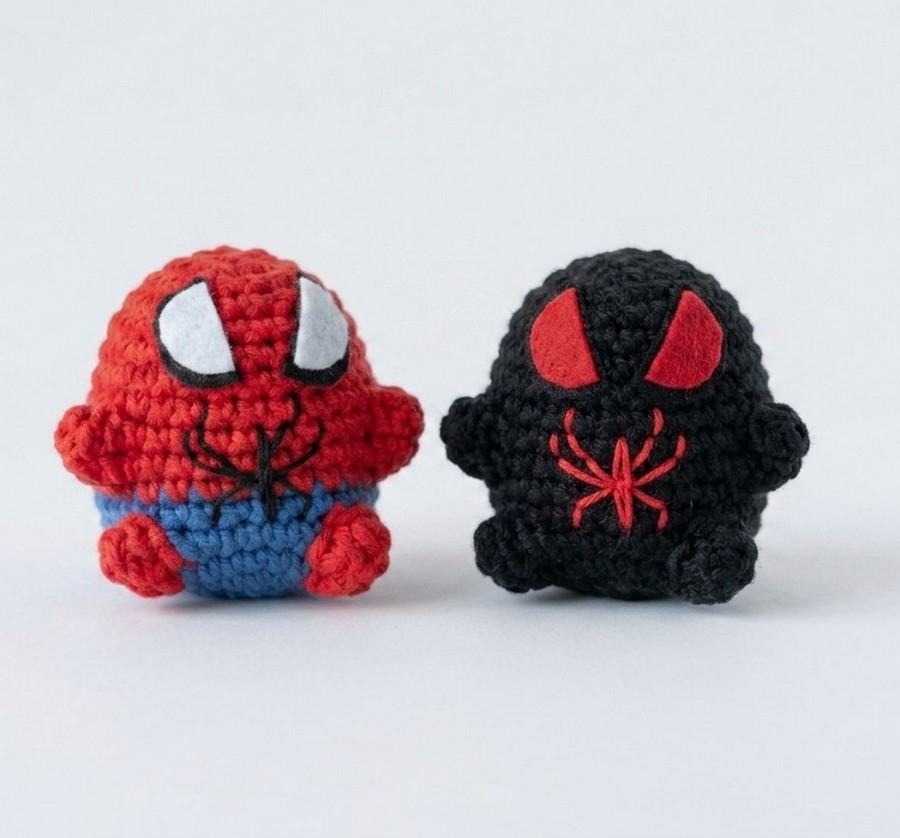
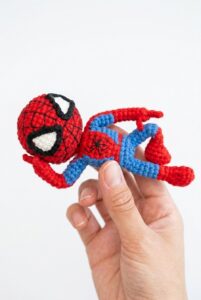
Here is another crochet amigurumi design and pattern from the “crochet iconic character amigurumi” series! Today, learn how to crochet this miniature chonky and no-sew Spider-Man superhero amigurumi, which is the community-favorite crochet project. This is the fastest and easiest way to enter the Spidey amigurumi trend, and you can also crochet a small hoodie and crochet it in white & pink for it to make the Spider Gwen amigurumi, too. This crochet Spider-Man amigurumi will make a 20-minute desk buddy, fridge magnet, and also a bag charm.

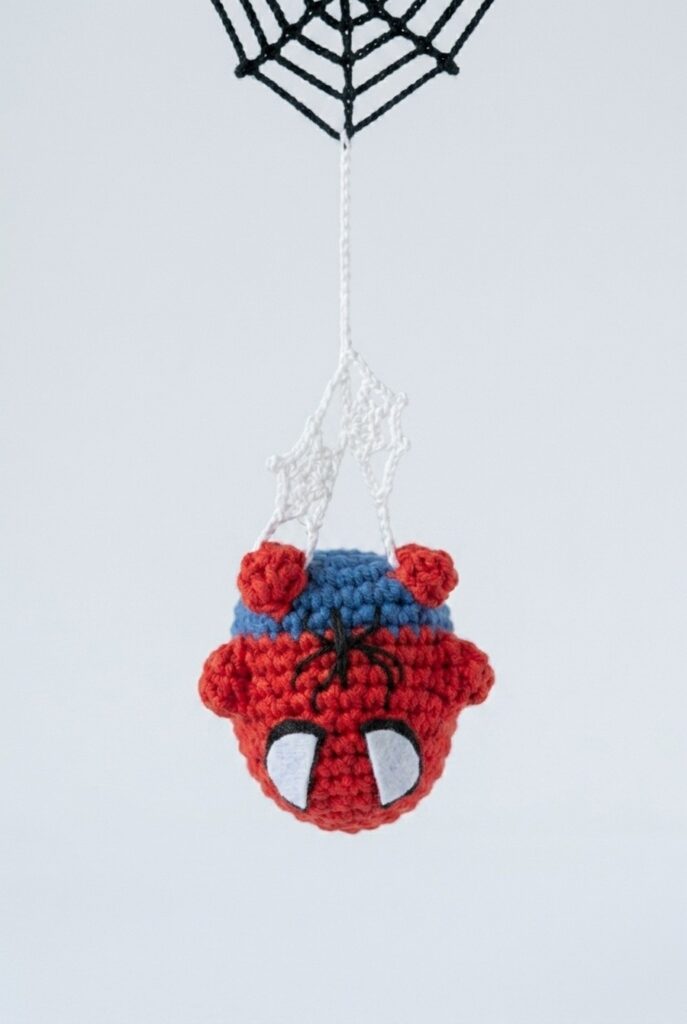
For this blue-and-red crochet character amigurumi, be sure you have some black-and-white felt scraps to make the iconic Spider-Man costume eyes. This little crochet Spider-Man amigurumi can sit upright on your table and become an anti-stress buddy. But you can definitely carry it around by attaching a keyring to your Spider-Man amigurumi.
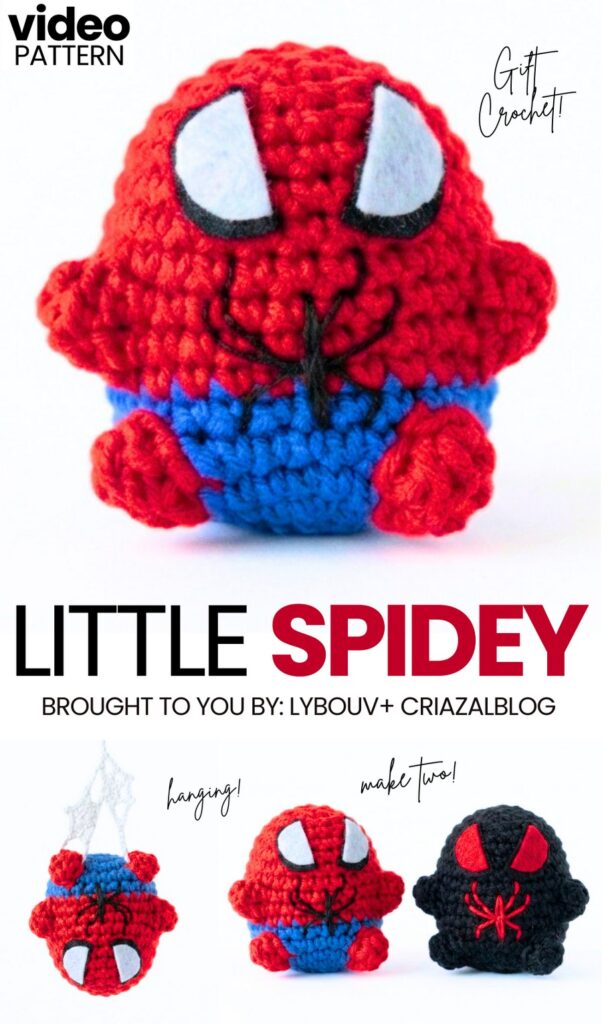
This crochet Spider-Man chubby pattern is worked from the bottom up, utilizing bobble stitch and color changes along the way to make it no-sew. We also have a simple Spider embroidery that you can learn in the video tutorial. The written pattern also contains the embroidery instructions. You can easily crochet this Spider-Man amigurumi in minutes. You can also crochet yours using the plush yarn to have a softie. Now, continue reading for the full crochet plush pattern!

Pattern to Crochet the Miniature Sitting Spider-Man Amigurumi

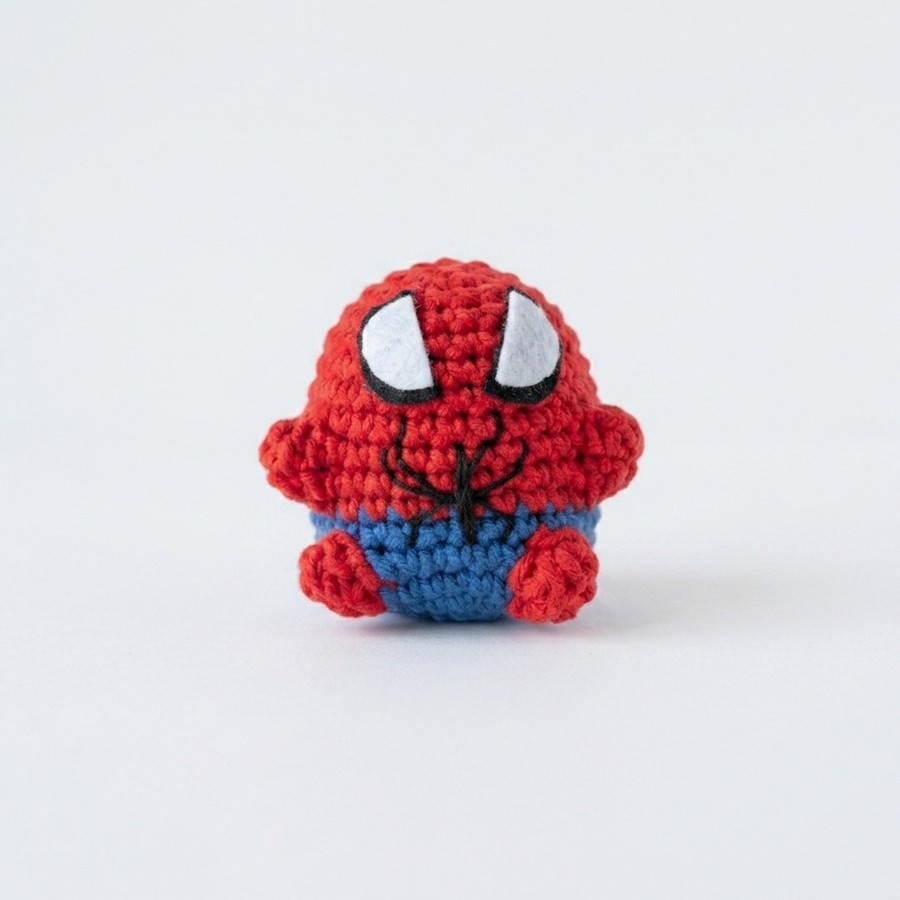
This crochet project is a mini Spider-Man keychain amigurumi. You crochet the whole body as one piece from the legs up to the top of the head. You do not sew the arms or legs on separately. You make the bobble legs and arms directly into the stitches as you work around the body.

You cut eyes out of black and white felt and glue them onto the face. You use fine black thread to embroider a spider emblem on the chest. The finished toy is about 5 centimeters tall, making it a fast project to make as a keychain or small charm.

Materials Needed

  • Fine / Sport weight semi-cotton yarn (YarnArt Jeans, 50 g / 160 m)
  • Blue yarn — for pants / lower body
  • Red yarn — for suit top, head, arms, and feet
  • 2.0 mm crochet hook
  • Fine black cotton embroidery thread — double-strand for spider logo embroidery
  • Small scraps of black felt
  • Small scraps of white felt — for eyes
  • Fabric glue or hot glue
  • Fiberfill toy stuffing
  • Tapestry needle
  • Stitch marker
  • Scissors
  • Keychain ring attachment

Pattern Abbreviations

  • st / sts: stitch/stitches

  • MR: Magic Ring (Adjustable Loop)

  • sc: Single Crochet

  • inc: Increase (2 sc in the same stitch)

  • dec: Decrease (single crochet 2 stitches together)

  • dc: Double Crochet

  • 4-dc bobble (open): 4 double crochet stitches worked into the same stitch (used to set up leg/arm width)

  • 4-dc bobble cluster: 4 double crochet stitches worked into the same stitch closed together with 1 shared top loop (closes the bobble into a foot/hand)

  • sl st: Slip Stitch

  • Blue: Blue yarn

  • Red: Red yarn

Are you a Beginner? Learn Crocheting Easily!

You can learn to crochet better with this little Spider-Man amigurumi for kids:

Crochet Instructions

1. Main Body & Head (Worked Bottom-to-Top in One Piece)

Start with Blue yarn.

  • Round 1: In Blue, 8 sc in MR. (8 sts)

  • Round 2: In Blue, 8 inc [2 sc in each st around]. (16 sts)

  • Round 3: In Blue, [1 sc, inc] × 8. (24 sts)

  • Round 4: In Blue, [3 sc, inc] × 6. (30 sts)

  • Round 5 (Setting Up Feet Base):

    • Work 11 sc in Blue (on the 11th sc, switch to Red on the final loop).

    • First Foot Base: Work 4 dc all into the next stitch in Red (do not close them together yet; switch back to Blue on the last loop).

    • Work 6 sc in Blue (on the 6th sc, switch to Red on the final loop).

    • Second Foot Base: Work 4 dc all into the next stitch in Red (switch back to Blue on the last loop).

    • Work 11 sc in Blue to the end of the round. (30 sts)

  • Round 6 (Closing the Feet):

    • Work 11 sc in Blue (switch to Red on the last loop).

    • First Foot Cluster: Work a 4-dc bobble cluster [4 dc closed together with 1 shared top loop] over the red stitches from Round 5 (switch to Blue on the final pull-through loop).

    • Work 6 sc in Blue (switch to Red on the last loop).

    • Second Foot Cluster: Work a 4-dc bobble cluster in Red (switch to Blue on the final pull-through loop).

    • Work 11 sc in Blue to the end of the round. (30 sts)

    • Tie off internal yarn ends: Knot the red and blue thread tails tightly together on the inside of the work to secure the legs.

  • Round 7: In Blue, 30 sc around. (30 sts)

    • Note: On the 30th sc, switch to Red yarn on the final pull-through loop. Cut the Blue yarn.

  • Round 8 (Shirt Base): In Red, 30 sc around. (30 sts)

  • Round 9 (Setting Up Arms Base): In Red:

    • Work 9 sc.

    • First Arm Base: Work 4 dc all into the next stitch.

    • Work 10 sc across the chest.

    • Second Arm Base: Work 4 dc all into the next stitch.

    • Work 9 sc to the end of the round. (30 sts)

  • Round 10 (Closing the Arms): In Red:

    • Work 9 sc.

    • First Arm Cluster: Work a 4-dc bobble cluster over the 4 dc from Round 9.

    • Work 10 sc across the chest.

    • Second Arm Cluster: Work a 4-dc bobble cluster over the 4 dc from Round 9.

    • Work 9 sc to the end of the round. (30 sts)

  • Rounds 11–14 (4 Rounds): In Red, 30 sc around. (30 sts)

  • Round 15: In Red, [3 sc, dec] × 6. (24 sts)

  • Round 16: In Red, [2 sc, dec] × 6. (18 sts)

    • Stuff the lower body and chest firmly with fiberfill stuffing.

  • Round 17: In Red, [1 sc, dec] × 6. (12 sts)

    • Finish filling the top of the head completely with fiberfill stuffing.

  • Round 18: In Red, 6 dec. (6 sts)

    • Fasten off, leaving a yarn tail. Thread the tail through the front loops of the remaining 6 stitches, pull tight to close the hole, and hide the end inside the head.

2. Eyes & Facial Details

  1. Cutting the Eyes:

    • Cut 2 black felt semicircles (or curved shield shapes) for the outer eye frames.

    • Cut 2 slightly smaller white felt semicircles for the inner eyes.

  2. Assembling the Eyes:

    • Glue each white felt piece onto its matching black felt piece so a thin black border shows around the white shape.

    • Glue the combined felt eyes onto the upper head (around Rounds 11–14), sloping them slightly inward at the center to create Spider-Man’s mask expression.

3. Chest Spider Emblem Embroidery

Using a tapestry needle and two strands of fine black cotton thread:

  1. Center Body:

    • Make 2 to 3 vertical stitches over the middle of the chest (Rounds 8–9) to form a thick, solid black oval body for the spider.

  2. Spider Legs:

    • Upper Legs: Stitch 2 legs extending upward and outward from the top of the body, bending slightly at the ends.

    • Lower Legs: Stitch 2 legs extending downward and outward from the bottom of the body.

    • (Optionally add additional diagonal side leg stitches if space permits).

  3. Fasten off and weave thread ends inside the body.

4. Finishing

  • Attach a metal keychain ring or strap to the top center stitch of the head.

  • Ensure all yarn ends are trimmed and pulled inside the body.

Share on Social Media!

Save this Crafty Article

Leave a Reply

Your email address will not be published. Required fields are marked *