Show support for Anushie! Pattern is below!
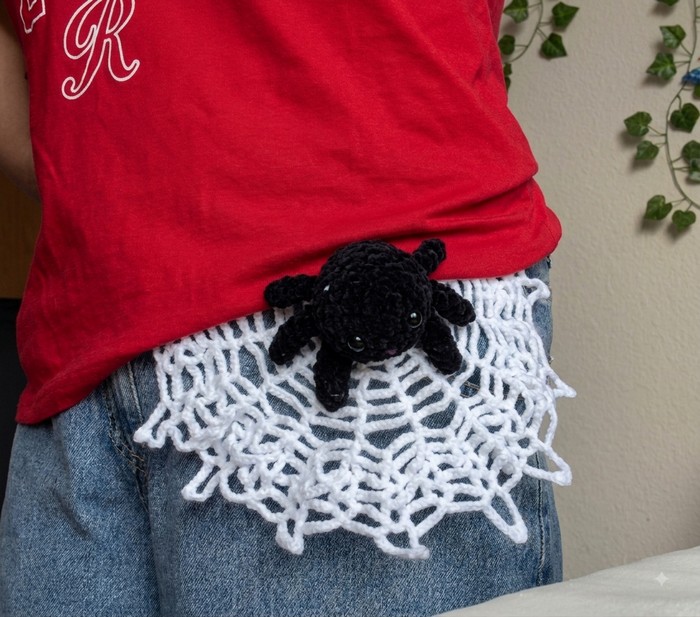
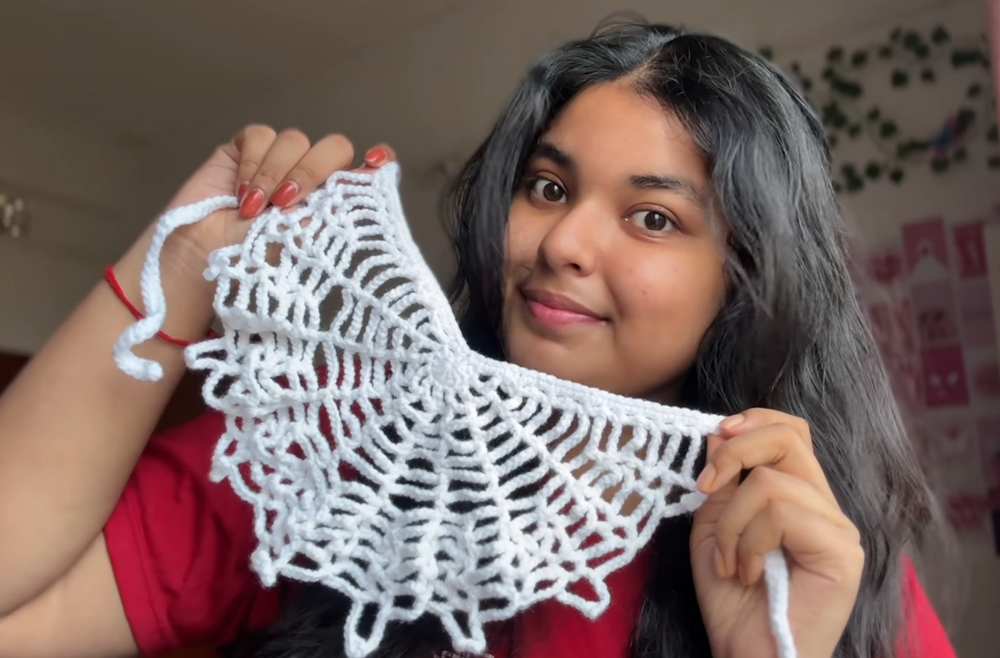
Yesterday, you learned how to crochet a red spiderweb bandana! Today, as I promised, you can learn how to crochet this white spiderweb bandana that fits well as a waist belt and can definitely be used as a headscarf. This time, too, we will be using the DK cotton yarn, but we will make a medium-sized bandana that works up fast, perfect for last-minute Halloween gifting. This is part of the crochet “spiderweb accessories & wearables” series, and I have also added a spiderweb top pattern here already. Can be completed in less than 45 minutes.
You will like both the spiderweb mesh pattern and the wavy edging at the end. Since the spiderweb pattern has an increased mesh formula, you can also crochet this spiderweb bandana for a baby girl.
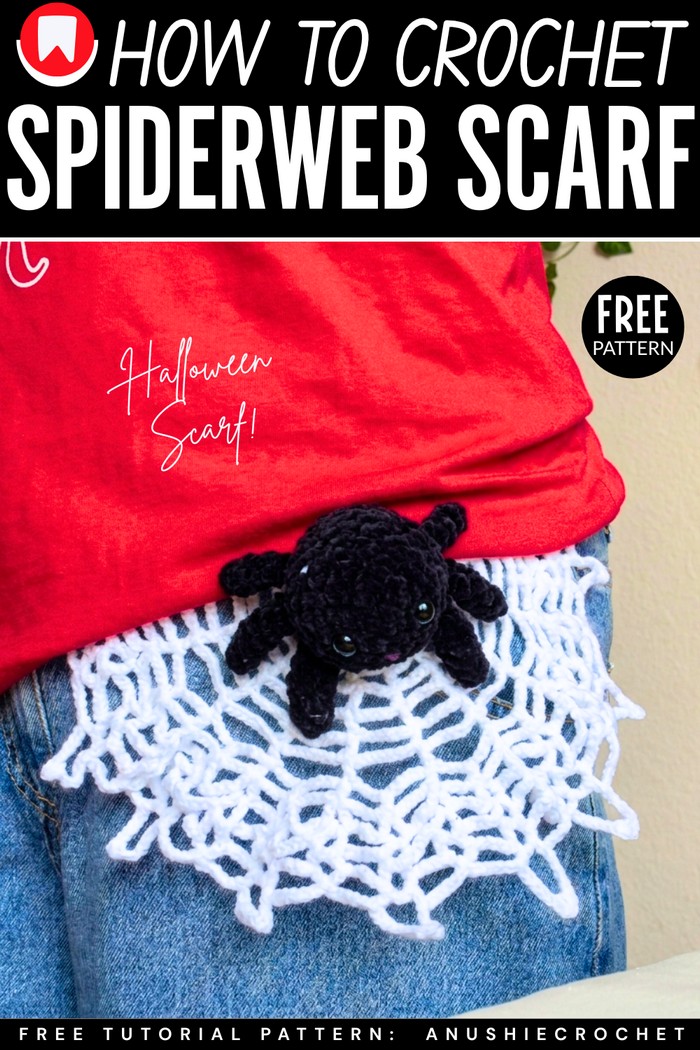
Choose from the red, purple, black, orange, and white Halloween headscarf. Since crochet spiderweb bandanas are now a must-have part of Halloween parties, I have tried to provide you with the classic spiderweb pattern. That’s why beginners can easily crochet this mesh spiderweb pattern using basic stitches like double crochet and chain. Just like the pumpkin with a spider’s cobweb, you can crochet this with a small buddy spider on the top. Continue reading for the full spiderweb headscarf pattern.
[ez-toc]

Tutorial to Crochet A Halloween Spiderweb Bandana in White
This crochet spiderweb bandana is a gothic-inspired hair accessory and tie headband that can also double as a waist belt. It is worked from the center top point downwards into a triangle shape using lightweight yarn and open chain-mesh stitches.
As you build row by row, the arches expand outward to create a realistic spiderweb look with pointed picot-style edges at the bottom. The project finishes with a neat single-crochet top border and two long side ties for comfortable wearing.
Materials Needed
Yarn: Fine / Sport / Light DK Weight Yarn (3-ply or Category 2/3 cotton/acrylic yarn in black, white, or red).
Crochet Hook: 2.5 mm hook.
Tapestry / Yarn Needle: For weaving in loose ends.
Scissors: For trimming yarn.
Pattern Abbreviations (US Terms)
MR: Magic Ring / Magic Circle
ch: Chain
dc: Double Crochet
sc: Single Crochet
sl st: Slip Stitch
ch-sp: Chain Space
st(s): Stitch(es)
Are you a Beginner? Learn Crocheting Easily!
You can learn to crochet better with the crochet spiderweb accessory using the cotton yarn for ladies with the following tutorial, or continue to the written pattern:
Detailed Step-by-Step Pattern
Part 1: The Base & Radiating Web Rows
Note on Row Start & End: Every row begins with ch 2, turn your work, and 1 dc in the first stitch. Every row ends with an extra 1 dc in the very last stitch (total of 2 dc at the ending edge) to keep the top edge straight and even.
Base Ring:
Form a Magic Ring (MR).
ch 2 inside the ring (does not count as a stitch).
Work 10 double crochets into the magic ring.
Pull the ring tail tightly closed.
Row 1:
ch 2, turn your work, work 1 dc into the first stitch.
[ch 3, 1 dc in the next stitch]repeat across all stitches.Work 1 extra dc into the last stitch.
Row 2:
ch 2, turn, 1 dc into the first stitch.
[ch 4, 1 dc in the next stitch]repeat across.Work 1 extra dc into the last stitch.
Row 3:
ch 2, turn, 1 dc into the first stitch.
[ch 5, 1 dc in the next stitch]repeat across.Work 1 extra dc into the last stitch.
Row 4:
ch 2, turn, 1 dc into the first stitch.
[ch 6, 1 dc in the next stitch]repeat across.Work 1 extra dc into the last stitch.
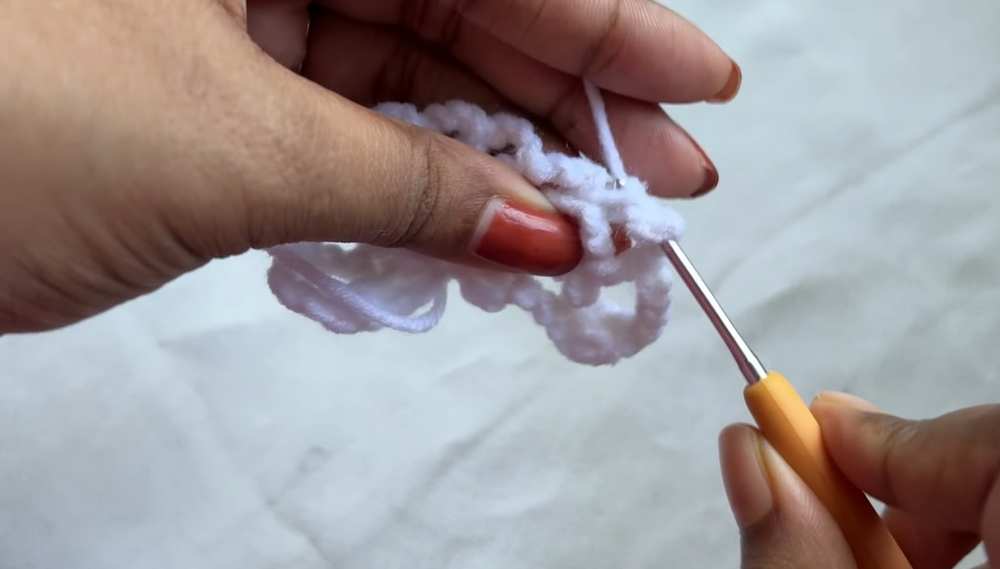
Row 5:
ch 2, turn, 1 dc into the first stitch.
[ch 7, 1 dc in the next stitch]repeat across.Work 1 extra dc into the last stitch.
Row 6:
ch 2, turn, 1 dc into the first stitch.
[ch 8, 1 dc in the next stitch]repeat across.Work 1 extra dc into the last stitch.
Row 7:
ch 2, turn, 1 dc into the first stitch.
[ch 9, 1 dc in the next stitch]repeat across.Work 1 extra dc into the last stitch.
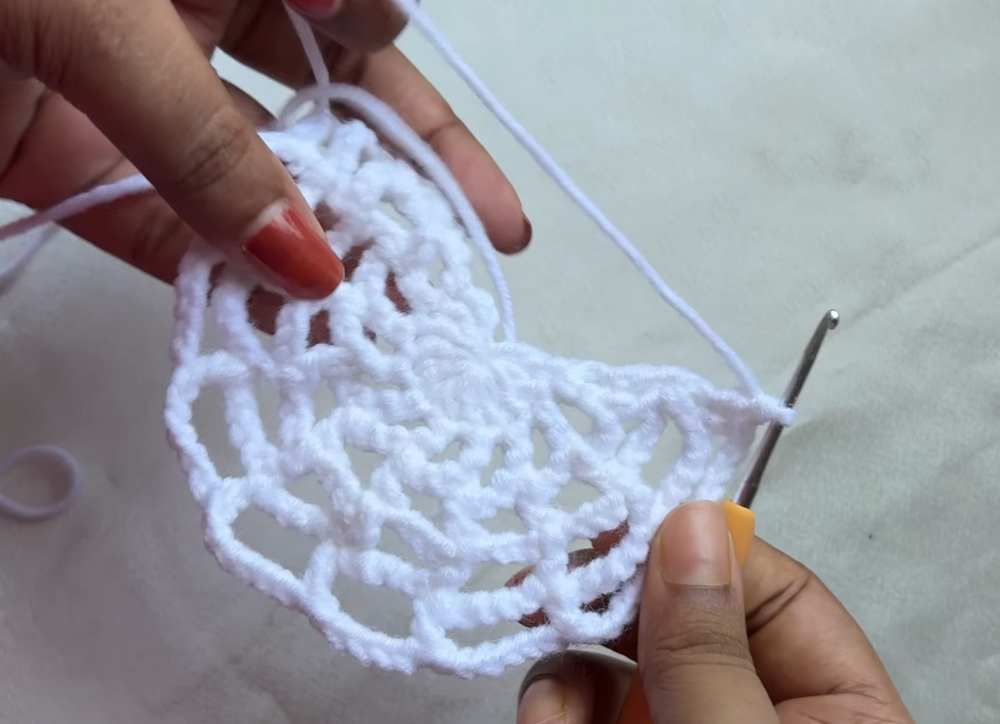
Part 2: Middle Web Expansion & V-Loops
Row 8 (Adding Web Spokes):
ch 2, turn, 1 dc into the first stitch.
[ch 5, 1 dc into the center/middle of the chain loop string, ch 5, 1 dc in the next dc stitch]repeat across.Work 1 extra dc into the last stitch.
Row 9 (Creating Small V-Loops):
ch 2, turn, 1 dc into the first stitch.
[ch 5, 1 dc in the next dc st, ch 2, 1 dc in the SAME st]repeat across to form small V-loops.Work 1 extra dc into the last stitch.
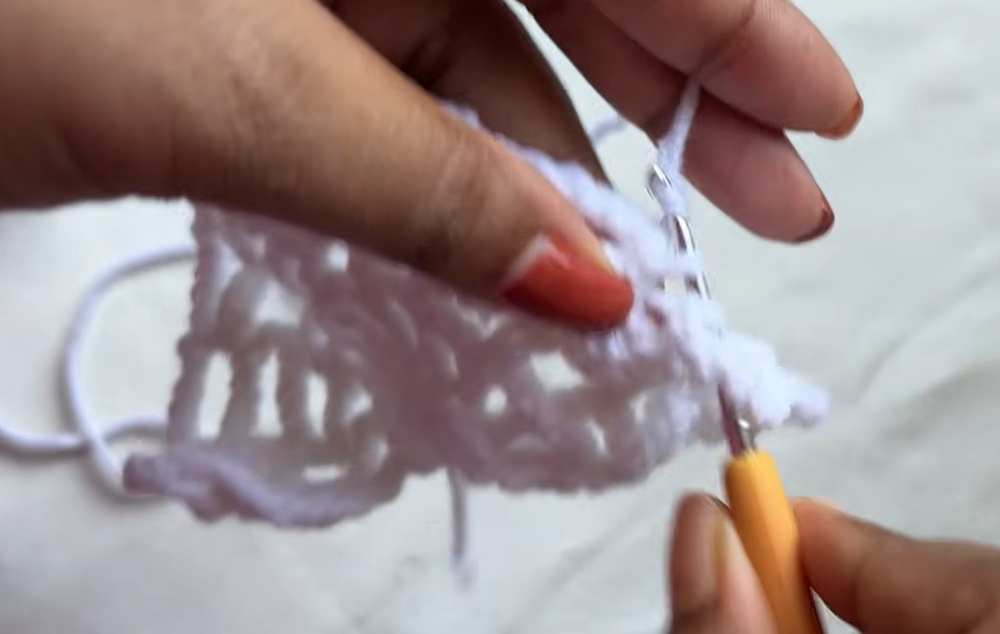
Row 10 (Expanding V-Loops):
ch 2, turn, 1 dc into the first stitch.
[ch 5, 1 dc into the next V-loop, ch 3, 1 dc in the SAME V-loop]repeat across.Work 1 extra dc into the last stitch.
Row 11 (Widening V-Loops):
ch 2, turn, 1 dc into the first stitch.
[ch 5, 1 dc into the next loop, ch 4, 1 dc in the SAME loop]repeat across.Work 1 extra dc into the last stitch.
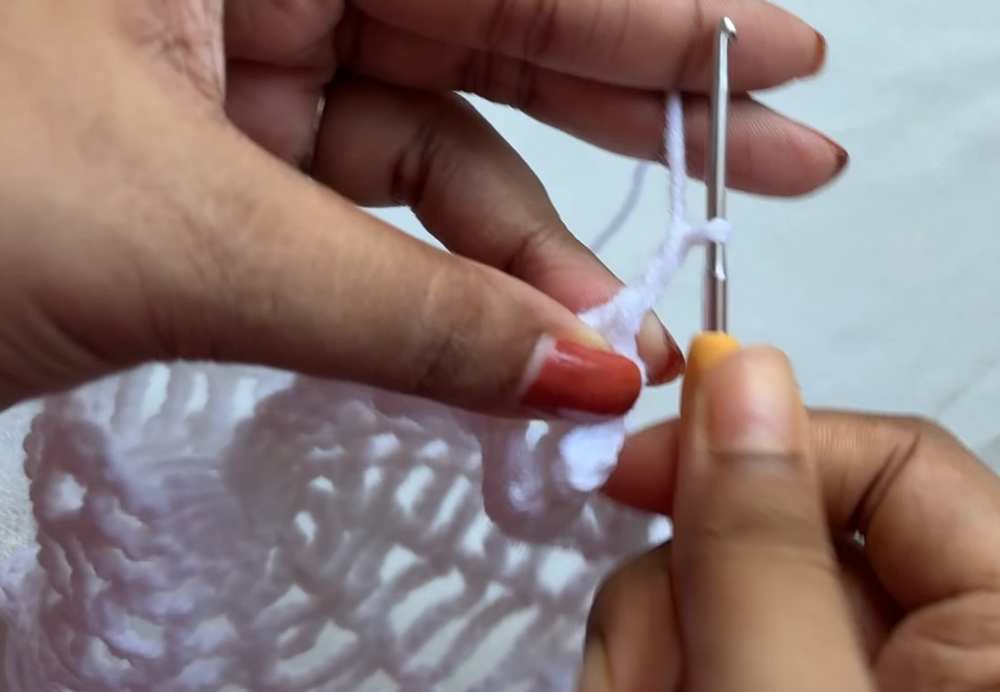
Part 3: Pointed Web Edges & Decorative Peaks
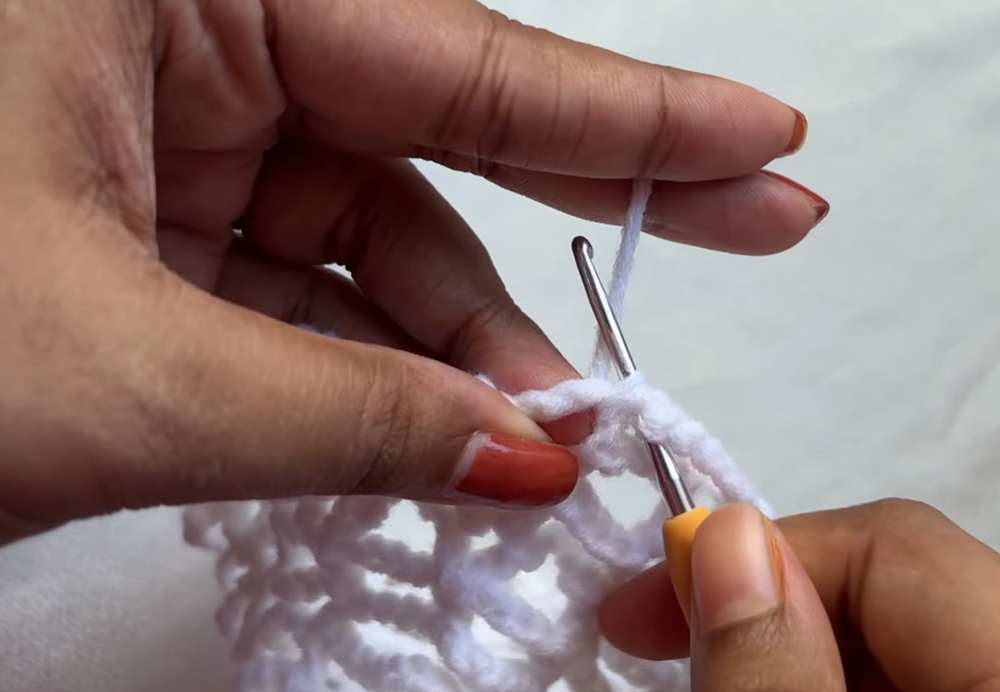
Row 12 (Pointed Edges):
ch 2, turn, 1 dc into the first stitch.
ch 6, 1 dc into the next loop.
Form Peak: ch 7, skip 1st chain from hook, work 1 sc into 2nd ch, 1 sc into 3rd ch (creates a small pointed triangle peak).
ch 5, work 1 dc into the same loop.
Alternate Dip: ch 6, work 1 sc into the next loop.
Repeat the alternating sequence of
[ch 6, peaked loop (1 dc, ch 7 with 2 sc, ch 5, 1 dc), ch 6, 1 sc in next loop]across the row.End with 1 extra dc in the last stitch.
Part 4: Straps & Top Edge Finishing
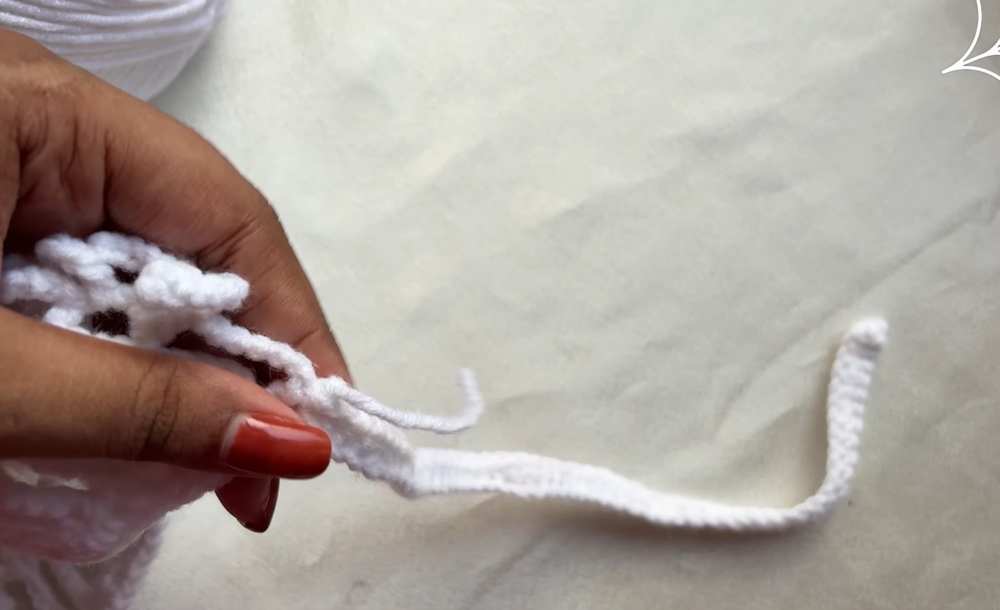
First Tie Strap:
At the corner after finishing Row 12, do not fasten off.
ch 40 (or your desired length for tying around your head).
Turn and work 1 sc into each chain back toward the bandana corner to create a sturdy tie strap.
Bandana Top Edge:
Work along the flat top edge of the bandana.
Work 2 sc into each double-crochet row post across the top border. This cleans up all edge spaces and creates a neat, smooth finish.
Second Tie Strap:
Once you reach the opposite corner, ch 40 (or the same number as the first tie).
Turn and work 1 sc into each chain back toward the corner.
sl st into the bandana body corner to join.
ch 1 to lock the stitch, cut the yarn, and weave in all loose ends with a tapestry needle.
See More:

Wanna Crochet Something Else?

Crochet CUTEST Guest-Welcoming BOO Ghost with Bow, Hat and Pumpkin Accessories

How to Crochet Bunny Bat White Foldable Wings Amigurumi with Bow for Halloween
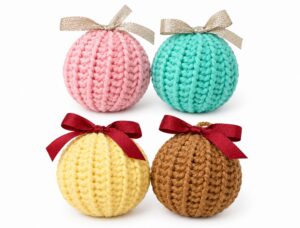
How to Crochet 4 Set Ribbed Decoration Christmas Festive Ball Ornaments
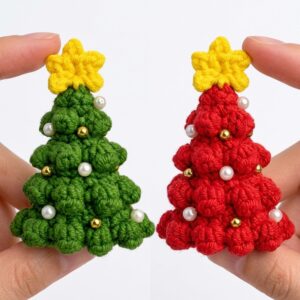
How to Crochet A Tiered Miniature Tree Decorated with Golden & White Pearls
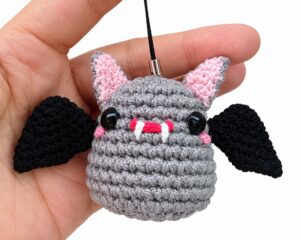
How to Crochet Red Mouth Spooky-Cute Grey and Black Bat Amigurumi
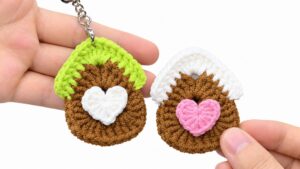
How to Crochet the CUTEST Mini Christmas Applique Keychain (Christams House)
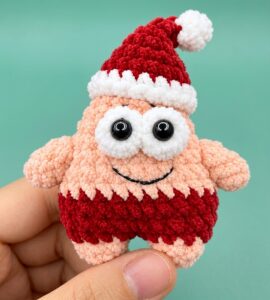
How to Crochet Mr. Patrik Celebrating Christmas Miniature Plushie for Holidays