Show support for Lyubov!
Looking for a fast, no-sew, and absolutely CUTE and hot-selling crochet market-make table buddy plushie idea? Welcome to another part of the crochet “ultimate way to crochet no-sew iconic character plushies” series. Today, learn how to crochet this little smiling and sitting green Alien in a brown outfit plushie with a step-by-step tutorial + a written guide as well. We all know this plushie as the no-sew Baby Yoda plushie, but this time, it is designed the same as other character plushies in this series and the same sitting doll base.
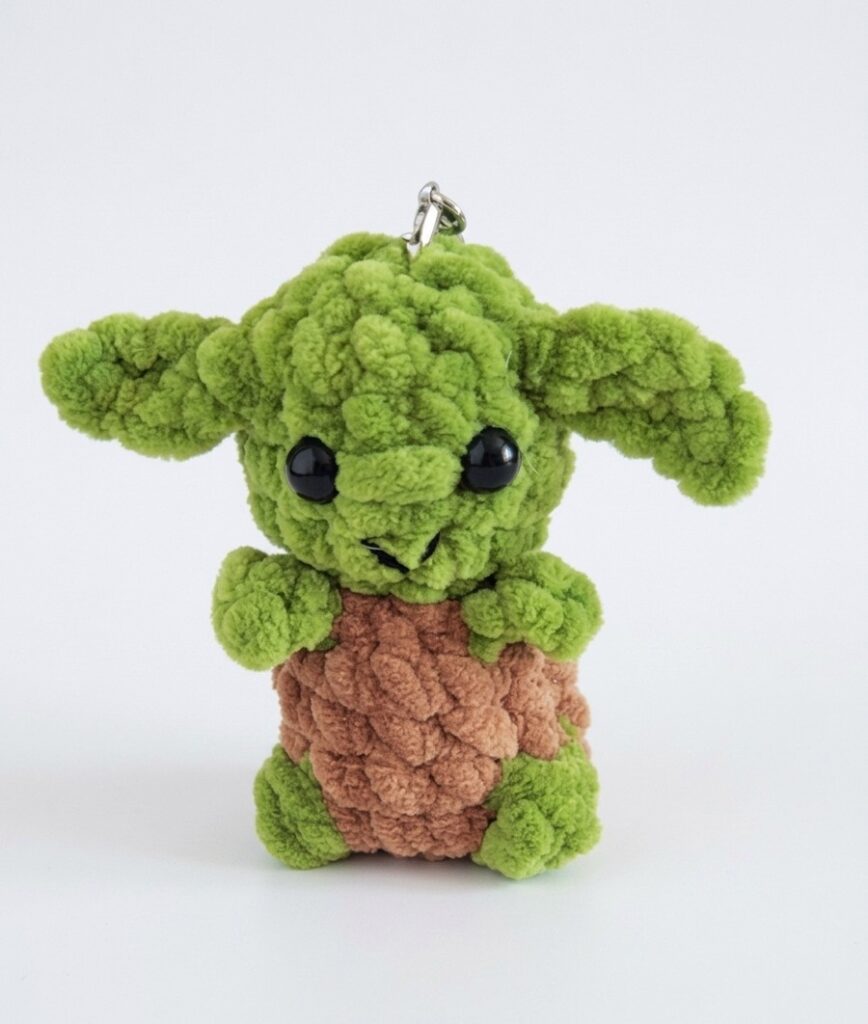
Our crochet no-sew and festive Baby Yoda plush has little no-sew legs and arms, crochet-as-you-go ears, and a simple no-sew outfit that is crocheted with the head as you work the plushie. This simple design makes this crochet Baby Yoda plush super quick and easy.
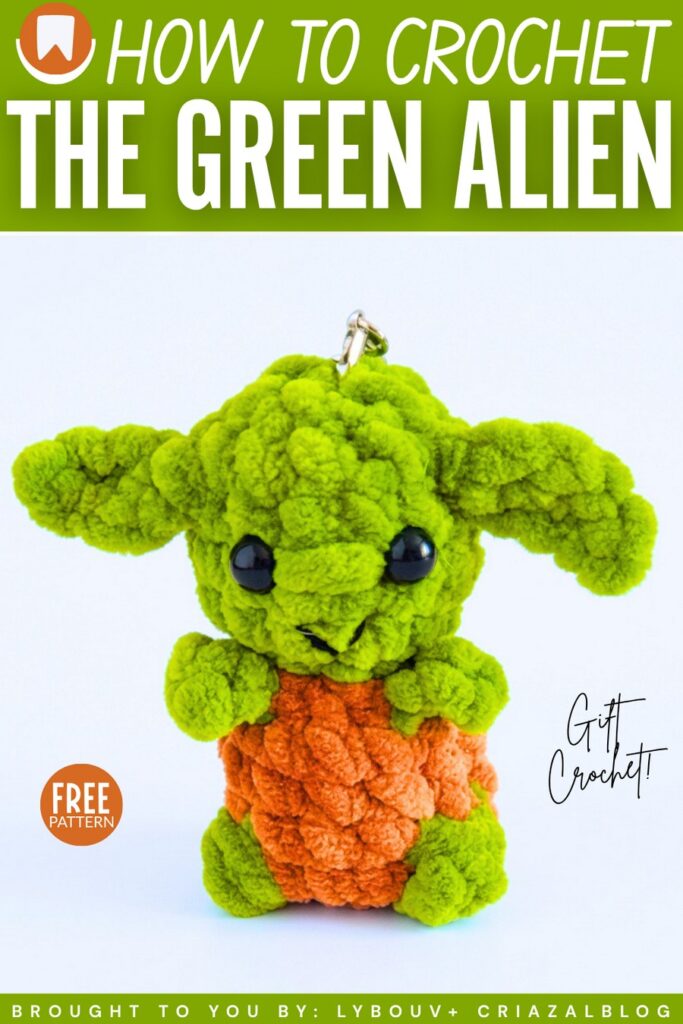
Last year, I shared two patterns for the crochet green Alien in a brown outfit plushie. One was the smallest, keychain-sized Baby Yoda plush, and one was a slightly bigger version. You all loved both these plushies equally, and I am very thankful for that. Now, I am sharing the pattern to crochet this 8 cm Baby Yoda plush, which is the simplest of all previous plushies I have shared. You can also crochet one as a present for a little one. Anyway, continue reading to learn how to crochet your Baby Yoda
[ez-toc]
Pattern to Crochet the Little No-Sew Baby Yoda Plushie
This crochet project is a tiny Baby Yoda plush toy keychain. You crochet the body and the head in one piece from the bottom up. You crochet the feet, hands, and ears directly onto the toy as you go, so there is almost no sewing required.
You use brown plush yarn for the coat and green plush yarn for the head, hands, feet, and ears. Small safety eyes or glued eyes, a sewn nose, and an embroidered mouth complete the face. The finished toy measures around 8 centimeters, making it a quick project to make as a keychain or bag charm.
Materials & Tools
- Chunky / Bulky plush velvet yarn (100 g / 120 m)
- Brown yarn — for the coat / body
- Green yarn — for the head, ears, hands, and feet
- 4.0 mm crochet hook
- 8 mm safety eyes or glue-on black half beads
- Green yarn — for the nose
- Fine black thread / yarn — for the mouth
- Fiberfill toy stuffing
- Stitch marker
- Tapestry needle
- Scissors
- Glue — if using glue-on eyes
- Keychain attachment
Pattern Abbreviations
- st / sts: stitch / stitches
- MR: Magic Ring (Adjustable Loop)
- ch: Chain
- sc: Single Crochet
- inc: Increase (2 sc in the same stitch)
- dec: Decrease (single crochet 2 stitches together)
- hdc: Half Double Crochet
- sl st: Slip Stitch
- 3-dc cluster / bobble: 3 double crochet stitches worked into the same stitch and closed together (used for feet)
Are you a Beginner? Learn Crocheting Easily!
You can learn to crochet better with this buddy baby Yoda plushie tutorial as a beginner:
See More:
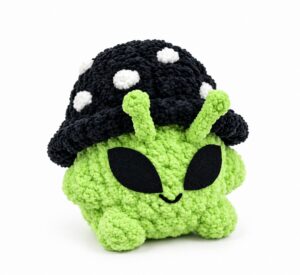
Tester Call: How to Crochet Green Alien Mushroom Plushie Buddy for Gifting
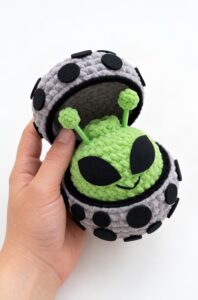
Pattern Tester: How to Crochet An Alien Dumpling in A Pod Box Plushie
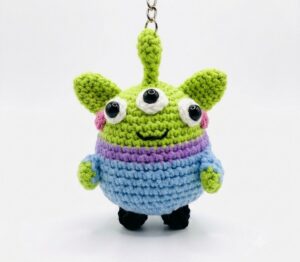
How to Crochet Toy Story’s Green Alien Amigurumi for Latest Release
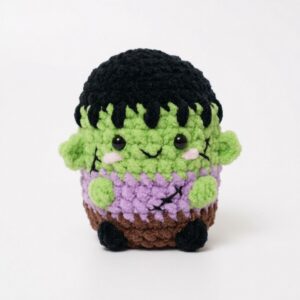
Featuring: Tutorial to Crochet Green, Purple and Black Zombie Plushie Buddy
![[PDF Pattern] How to Crochet A Green Christmas Character Basket in Santa Hat Pattern](https://criazalblog.com/wp-content/uploads/2026/09/crochet-grinch-basket-1-296x300.jpg)
[PDF Pattern] How to Crochet A Green Christmas Character Basket in Santa Hat Pattern
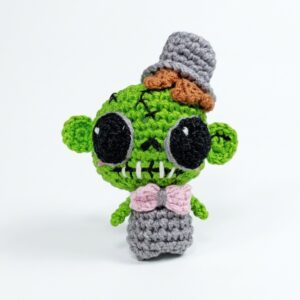
How to Crochet Green Bolt Zombie Man Amigurumi Doll Pattern
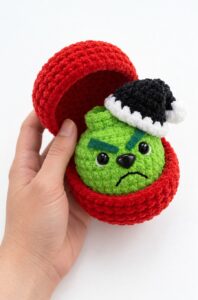
Tester Pattern: To Crochet A Plush Green Christams Character Food in Basket Plush
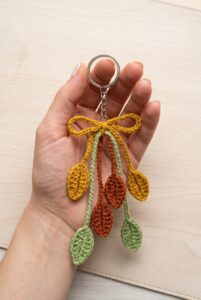
How to Crochet Knotted Bow and Earthy Red, Green and Orange Leaves Charm
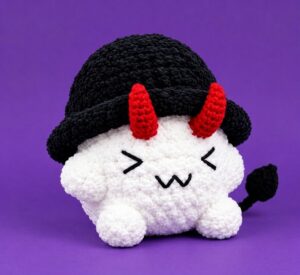
Tester Pattern: How to Crochet A No-Sew Mr. Red Horns Mushroom Plushie