Show support for Lybouv!
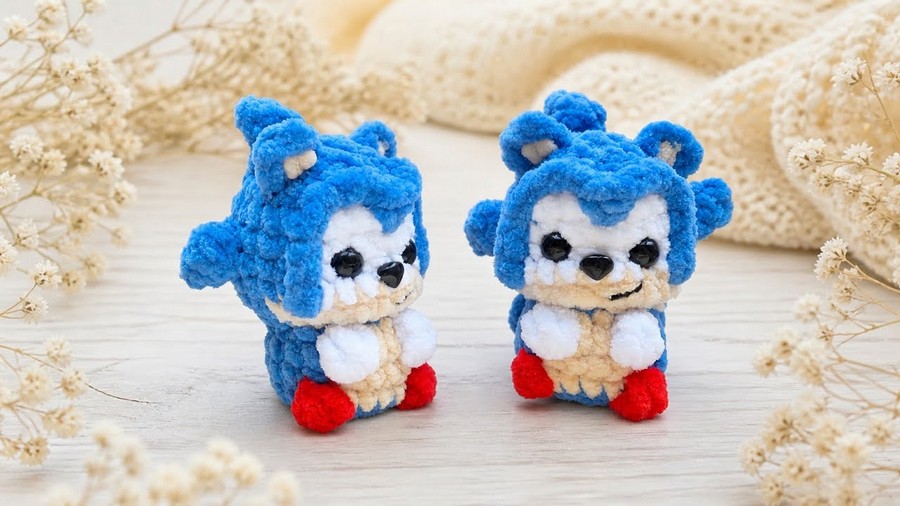
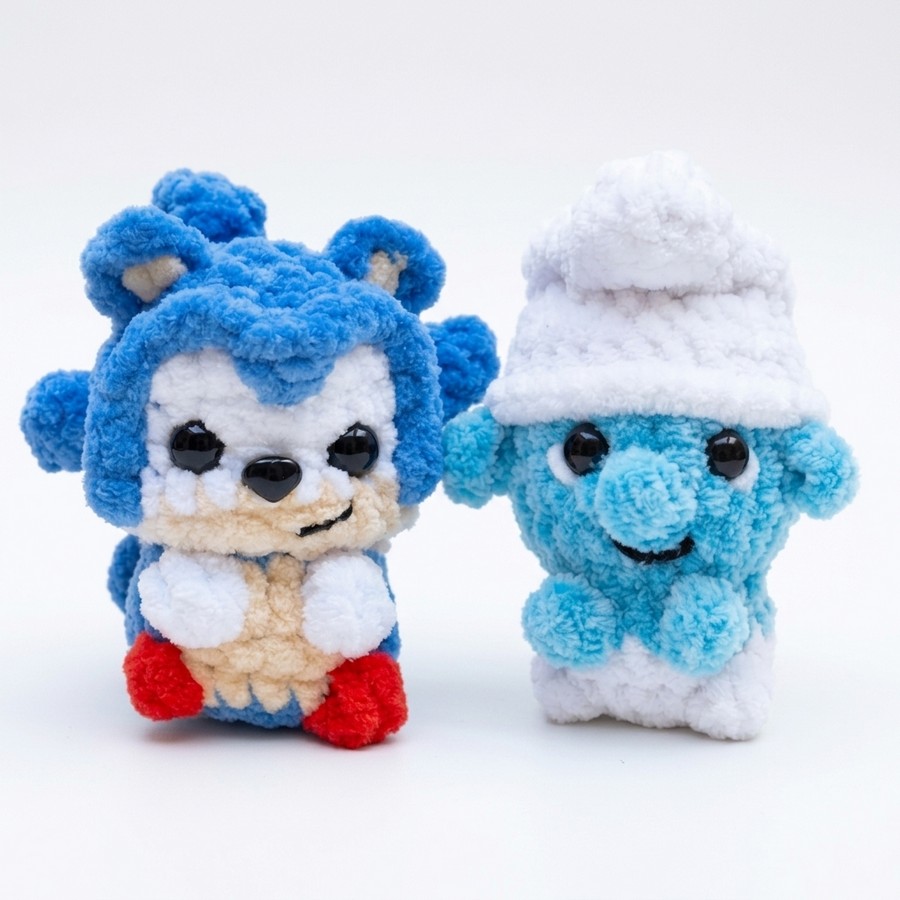
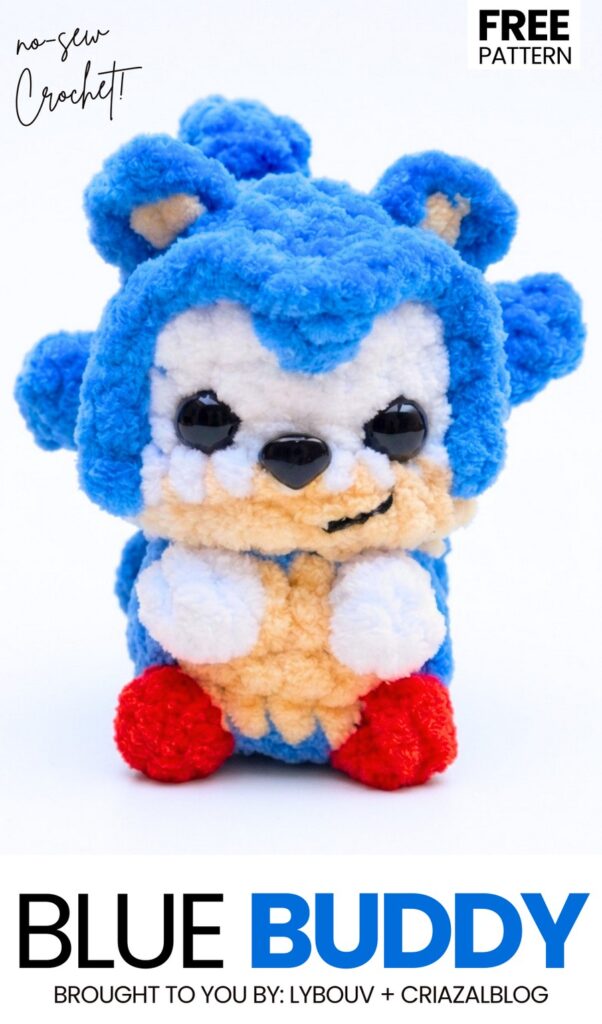
Today, the “crochet iconic character plushies” series is getting another COOL plush character, and I am more than excited for it! Because it is my favorite crochet blue speedy hedgehog character plushie you can crochet with a step-by-step tutorial + a written pattern as well. Introducing the crochet no-sew Sonic plushie that just measures 9cm and is based on the same sitting desk buddy plushie base that you are using over and over in the previous crochet character plushies. Thanks for showing your love for the winter blue character plushie.
Today, we are crocheting this little sitting Sonic – the blue hedgehog plushie from the bottom up. By crocheting this blue hedgehog plushie, you will learn many clever techniques such as how to crochet the hairs directly onto the finished desk buddy Sonic, color changes, and the bobble stitch.
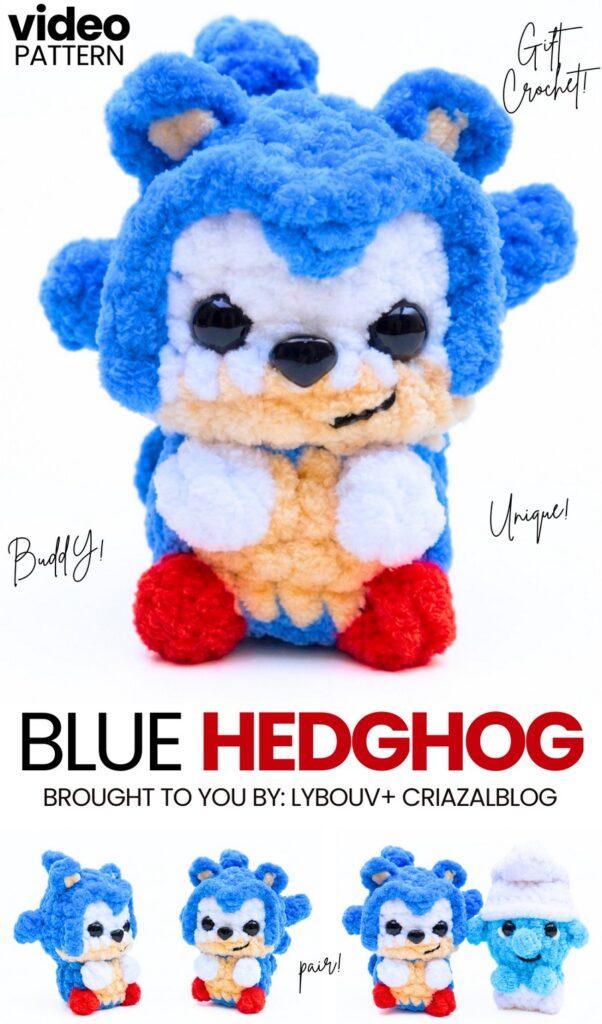
Note that I have already taught you how to crochet the Pikachu plushie, and you can pair it with this crochet Sonic plushie. Be sure to gift one to a gamer as a gaming table buddy. I would also recommend crocheting this Sonic plushie as a Halloween cosplay present. You can also take a look at other of our crochet character plushies such as the princess, deer character, and more. Soon, I am planning to bring more than 4 more crochet character plushies. So, be sure to follow me. For now, continue reading to learn how oc rochet this Sonic plush toy.
[ez-toc]
Pattern to Crochet the Full No-Sew Super Sonic Plushie
This crochet project is a small Sonic the Hedgehog plush toy. You crochet the body and head in one piece starting from the bottom and working your way up. You make the tail, feet, and hands directly as you crochet around the body. You use blue, beige, white, and red yarn to make the different parts of Sonic.
You crochet small blue spikes and beige ears separately and sew them onto the head. You insert safety eyes into the head and use embroidery thread to make the mouth and eyebrows. The finished toy is a small size, making it a fast project to use as a keychain or plush charm.
Materials & Tools
- Fine / Sport weight semi-cotton yarn (YarnArt Jeans, 50 g / 160 m)
- Blue yarn — main color for the body, head, spikes, and ears
- Beige yarn — for the face, belly patch, and inner ears
- Red yarn — for the shoes / feet
- White yarn — for the gloves / hands and muzzle
- 2.0 mm crochet hook
- 10 mm safety eyes
- Fine black cotton embroidery thread — for the mouth and eyebrows
- Fiberfill toy stuffing
- Tapestry needle
- Stitch marker
- Scissors
- Optional keychain attachment
Pattern Abbreviations
st / sts: stitch / stitches
MR: Magic Ring (Adjustable Loop)
ch: Chain
sc: Single Crochet
inc: Increase (2 sc in the same stitch)
dec: Decrease (single crochet 2 stitches together)
hdc: Half Double Crochet
dc: Double Crochet
sl st: Slip Stitch
3-dc bobble: 3 double crochet stitches worked into the same stitch closed together with 1 shared top loop (forms hands and feet)
Are you a Beginner? Learn Crocheting Easily!
Share on Social Media!
See More:
Tester Call: How to Crochet Mr. Enternainer Funny Character Cone Plushie for Gifting
How to Crochet Christmas Yellow Goggle Character Bell Buddy in Santa Hat
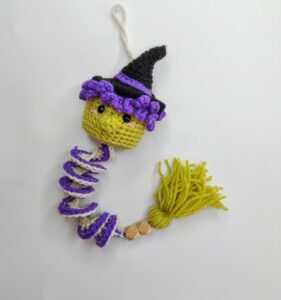
Featuring: How to Crochet 5-in-1 Character Wind Spinners for Gifting
![[PDF Pattern] How to Crochet A Green Christmas Character Basket in Santa Hat Pattern](https://criazalblog.com/wp-content/uploads/2026/09/crochet-grinch-basket-1-296x300.jpg)
[PDF Pattern] How to Crochet A Green Christmas Character Basket in Santa Hat Pattern
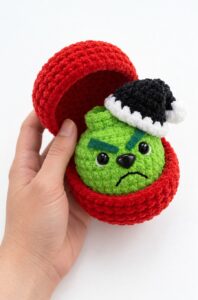
Tester Pattern: To Crochet A Plush Green Christams Character Food in Basket Plush
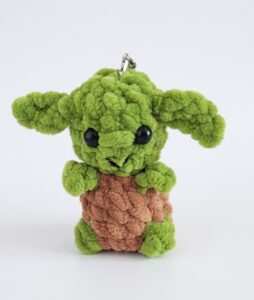
How to Crochet Market-Make Green Alien & Brown Outfit Character Plushie
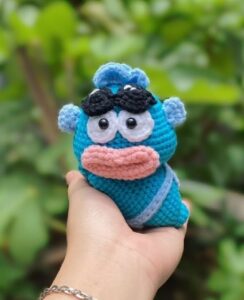
Crochet Funny Blue Googly Character Amigurumi (Palm Pet Amigurumi)
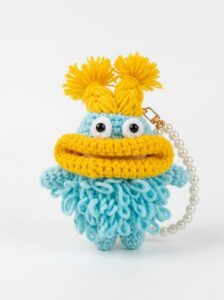
How to Crochet Loopy Googly-Eyed Character AirPods Case