How to Crochet An Orange, Watermelon & Strawberry Fruit Bat Plushie

Save this Crafty Article

Talha
Author: Talha
I am a crochet designer, macramé maker and a crafter who also loves doing MATH.
Lyubov of Love Knitting
Contributor: Lyubov of Love Knitting
She is a Ukrainian crochet plushie designer and our most favorite crocheter. She became our contributor on mid 2026 through mycraftybasket.

Show support for Lybouv!

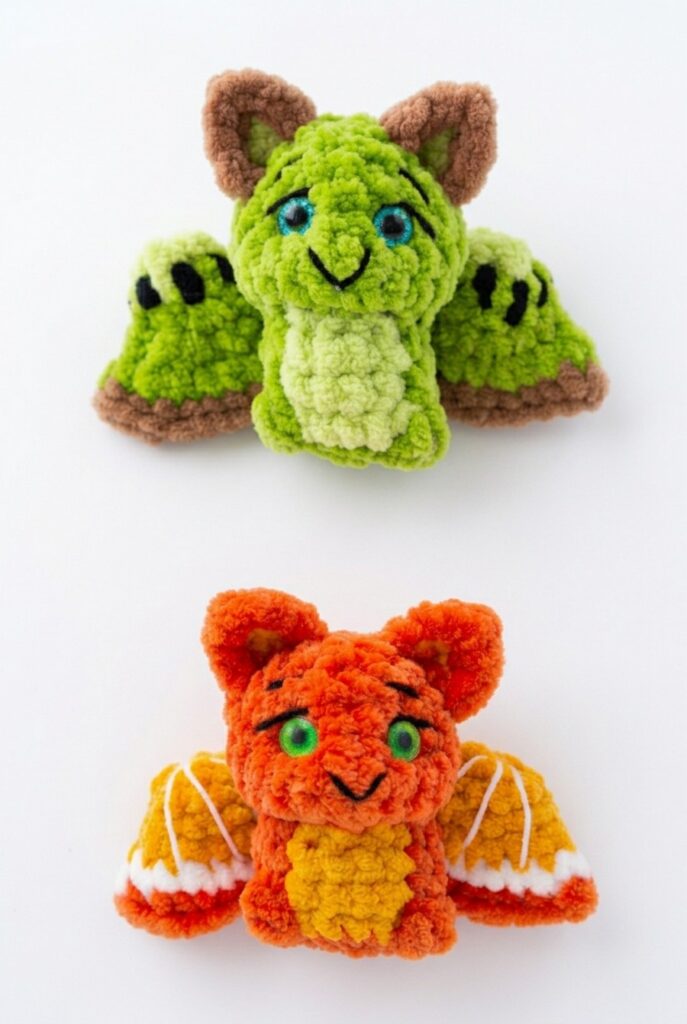
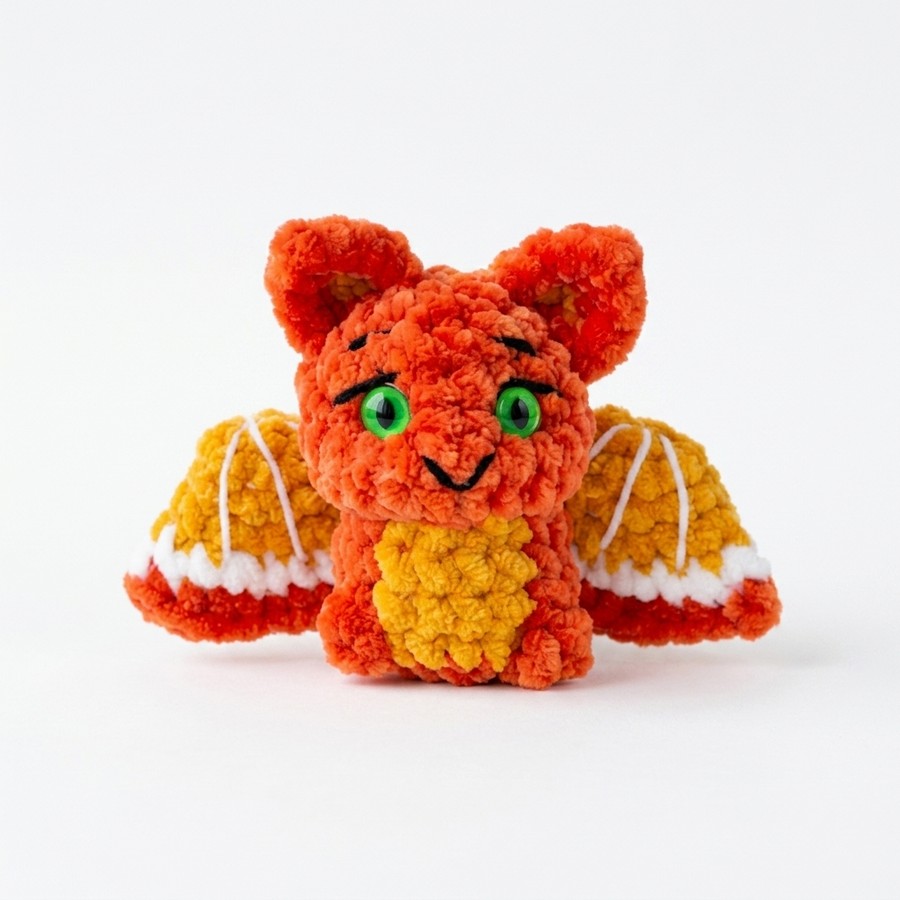
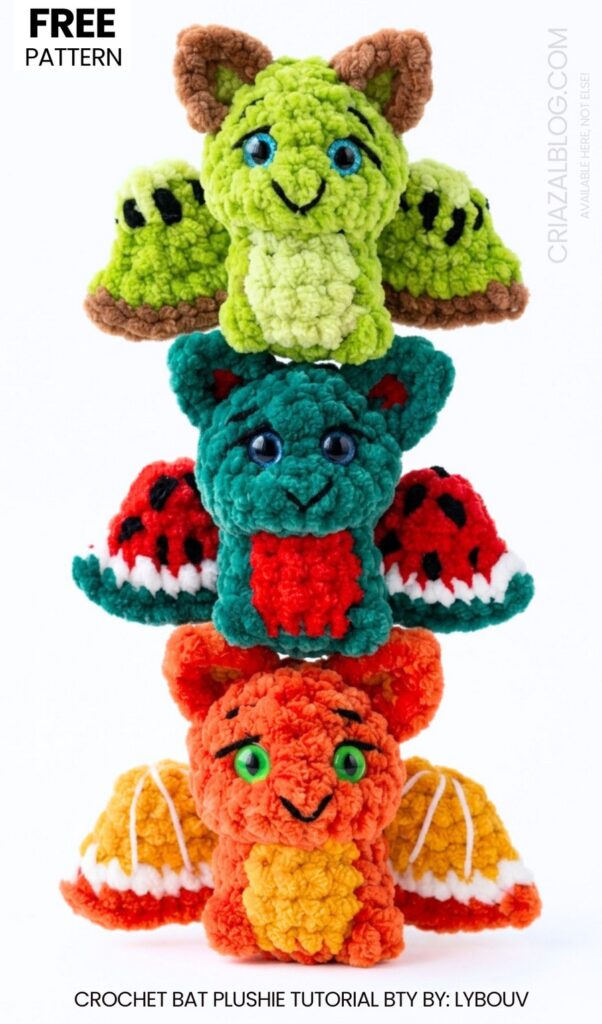
After the crochet CUTE strawberry bat amigurumi, here are 3 more crochet fruit bat amigurumi designs with a FREE pattern. Plus, they are no-sew and designed as plushies this time. So, follow this 3-in-1 tutorial to crochet a set of 3 no-sew and bright crochet fruit slice bat plushies, including an orange, kiwi, and watermelon slice bat variation. And what you would love the most is how quick, easy, and low-sew they are. So, be sure to crochet all three bat plushies as Halloween desk buddies or last-minute bag charms & gifts for kids!

With the glitter eyes, these crochet no-sew sitting bat plushies with fanned wings look even more adorable. I would also recommend you crochet the purple normal bat plush along with these three fruit variations to surprise your friends.
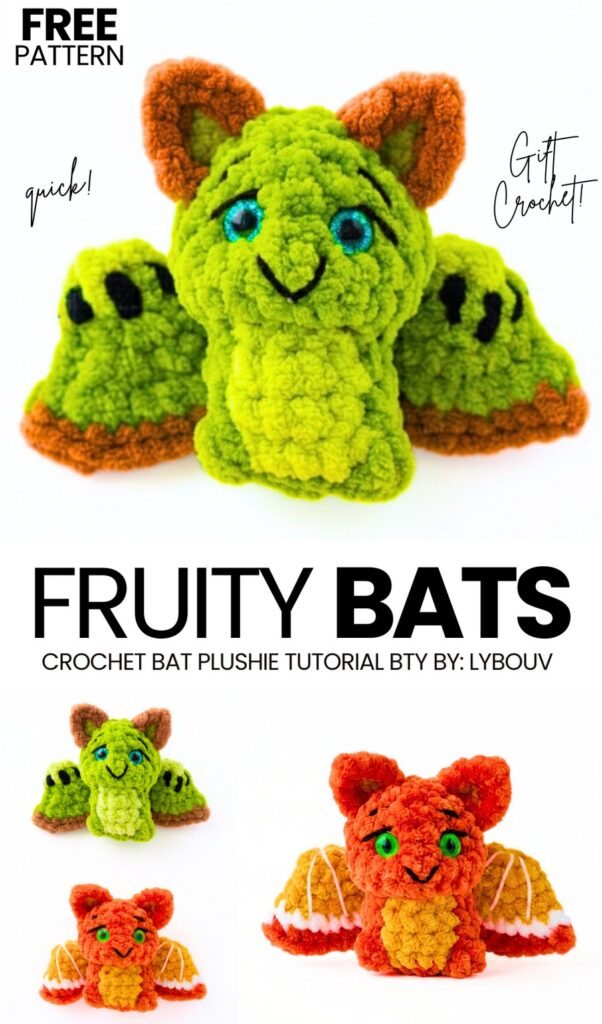
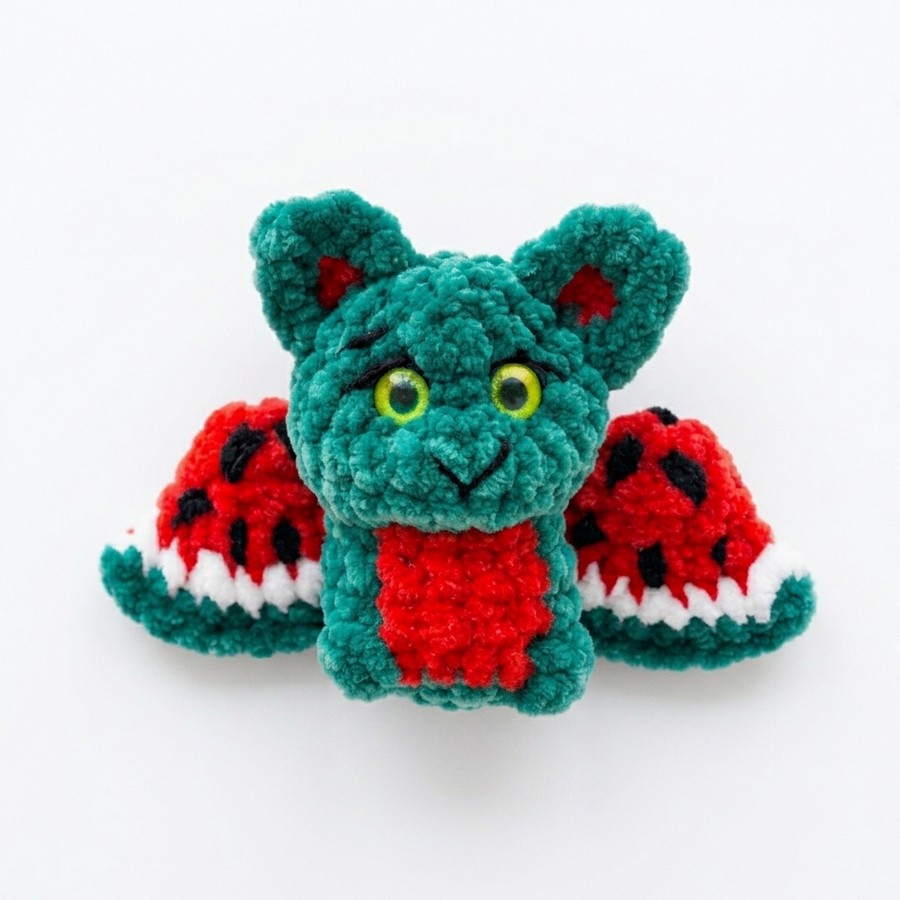
Along with the embroidered eyebrows, eyelashes, and smile, we would also need embroidered white lines (for the orange bat) and embroidered black seeds (for the kiwi bat and watermelon bat!). Since the base and even the color pattern for crocheting all three miniature bat plushies is the same, be sure to crochet the complete set this Halloween and even during the summer. Now, you can continue reading to learn more about this crochet bat plush project that’s unique and vibrant!

Pattern to crochet the Fruity Bat Plushies

This crochet project is a small plush fruit bat. It looks like a piece of fruit on its belly, such as an orange, watermelon, or kiwi. You start crocheting the body from the bottom and work your way up to the head in one piece.

The ears and wings are crocheted separately and then sewn onto the main body. The finished bat is about 9 centimeters tall from the ears down to the wings, making it a great size for a small plush toy or a keychain.
Materials & Tools

  • Bulky plush/chenille yarn (100 g / 120 m)
    • Main Color (MC): Orange or green for watermelon/kiwi
    • Accent Color (AC): Cream/light yellow or pink/red for watermelon pulp
  • 4.0 mm crochet hook
  • Fine cotton thread (such as YarnArt Jeans or embroidery floss)
  • 10 mm safety eyes or glue-on eyes
  • Fiberfill toy stuffing
  • Tapestry needle
  • Stitch marker
  • Scissors
  • Fabric glue (if using glue-on eyes)
  • Optional keychain carabiner ring

Pattern Abbreviations

  • st / sts: stitch / stitches

  • MR: Magic Ring (Adjustable Loop)

  • sc: Single Crochet

  • inc: Increase (2 sc in the same stitch)

  • dec: Decrease (single crochet 2 stitches together)

  • hdc: Half Double Crochet

  • dc: Double Crochet

  • 3-dc bobble: 3 double crochet stitches in the same stitch closed together with 1 shared top loop (forms the feet)

  • sl st: Slip Stitch

  • MC: Main Color yarn

  • AC: Accent Color yarn

Are you a Beginner? Learn Crocheting Easily!

You can learn to crochet this funny amigurumi bat plsuheis better with the following tutorial, or continue to the written pattern:

Crochet Instructions

1. Body & Head (Worked Bottom-to-Top in One Piece)

Start with Main Color (MC) plush yarn.

  • Round 1: 8 sc in MR. (8 sts)

  • Round 2: 8 inc [2 sc in each st around]. (16 sts)

  • Round 3 (Foot Round & Color Transition):

    • Work 5 sc in MC.

    • First Foot: 3-dc bobble in MC. On the final pull-through loop of this stitch, switch to AC.

    • Work 4 sc in AC (this creates the fruit belly section). On the final pull-through of the 4th sc, switch back to MC.

    • Second Foot: 3-dc bobble in MC.

    • Work 5 sc in MC to the end of the round. (16 sts)

  • Round 4: 6 sc in MC (the 6th sc goes into the top of the foot), switch to AC on the last loop; 4 sc in AC, switch to MC on the last loop; 6 sc in MC. (16 sts)

  • Round 5: 6 sc in MC, switch to AC; 4 sc in AC, switch to MC; 6 sc in MC. (16 sts)

  • Round 6:

    • In MC: [2 sc, dec] — switch to AC on the last step of the decrease.

    • In AC: [2 sc, dec] — cut AC yarn, fastening off the tail, and switch back to MC.

    • In MC: [2 sc, dec] twice. (12 sts)

  • Round 7 (Head Base): In MC, 12 inc [2 sc in each st around]. (24 sts)

  • Rounds 8–10 (3 Rounds): In MC, 24 sc around. (24 sts)

  • Round 11: In MC, [2 sc, dec] × 6. (18 sts)

    • Note: If using safety eyes, insert them between Round 9 and Round 10, spaced 4 to 5 stitches apart. Stuff the body firmly with fiberfill.

  • Round 12: In MC, [1 sc, dec] × 6. (12 sts)

    • Fill the head completely with fiberfill stuffing.

  • Round 13: In MC, 6 dec. (6 sts)

    • Fasten off, leaving a tail. Using a tapestry needle, weave the tail through the front loops of the 6 remaining stitches, pull tightly to close the top hole, and hide the yarn end inside the head.

2. Facial Sculpting & Features

  1. Eye Sculpting (Sockets):

    • Thread a long needle with fine cotton yarn. Enter from the bottom neck area up to Round 10 where the first eye is positioned.

    • Pass the needle 1 stitch across and exit back out at the base of the head. Pull gently to sink the eye socket in slightly.

    • Repeat for the second eye position. Tie the thread ends together tightly at the base and hide them inside the head.

  2. Eyes & Face Detail:

    • Glue or secure 10 mm eyes into the indented sockets.

    • Using thin black cotton thread, embroider a small curved smile between the eyes, along with delicate eyelashes and eyebrows above each eye.


3. Ears (Make 2)

Ears are made of an inner accent patch edged by a outer rim.

  • Inner Ear (Accent Color):

    • In MR: 2 sc, 1 hdc, 2 sc.

    • Fasten off and cut AC yarn.

  • Outer Ear Rim (Main Color):

    • Attach MC yarn to the first sc of the Inner Ear.

    • Work 2 sc along the side.

    • In the top central hdc: work (1 sc, 1 hdc, 1 sc) all into the same stitch to form the pointed tip of the ear.

    • Work 2 sc down the remaining side.

    • Fasten off, leaving a long tail of MC yarn for sewing.

4. Wings (Make 2)

Wings are crocheted flat in rounds, folded over, and embroidered.

  • Round 1: In AC, 6 sc in MR. (6 sts)

  • Round 2: In AC, [1 sc, inc] × 3. (9 sts)

  • Round 3: In AC, [2 sc, inc] × 3. (12 sts)

  • Round 4: In AC, [1 sc, inc] × 6. (18 sts)

    • On the final stitch of Round 4, switch to MC yarn. Cut AC yarn.

  • Round 5: In MC, [2 sc, inc] × 6. (24 sts)

  • Wing Assembly:

    • Do not stuff the wing. Fold the circle in half so the stitches align.

    • Work 12 sc through both layers across the straight top edge to close the semi-circle. (12 sts)

    • Fasten off, leaving a short tail.

  • Wing Vein Embroidery:

    • Using fine cotton yarn in a contrasting shade, embroider 3 radial lines running from the center bottom of the wing outward to the edge on both sides. Tie off threads securely inside the wing.

5. Assembly & Finishing

  1. Ears: Position ears on top sides of the head (around Rounds 11–12) angled slightly outward. Sew firmly in place using MC yarn and hide thread ends inside the body.

  2. Wings: Pin wings to the upper back of the body, curving slightly downward and outward. Sew along the top folded edge using fine cotton yarn.

  3. Optional Keychain Loop: Sew a carabiner keyring clip securely to the top center of the head between the ears.

Share on Social Media!

Save this Crafty Article

Leave a Reply

Your email address will not be published. Required fields are marked *