Author: Talha
I am a crochet designer, macramé maker and a crafter who also loves doing MATH.
Contributor: Creator of McNocs
She is a gamer & craft designer who has been our contributor since mid 2026 via mycraftybasket.
Show support for McNocs!
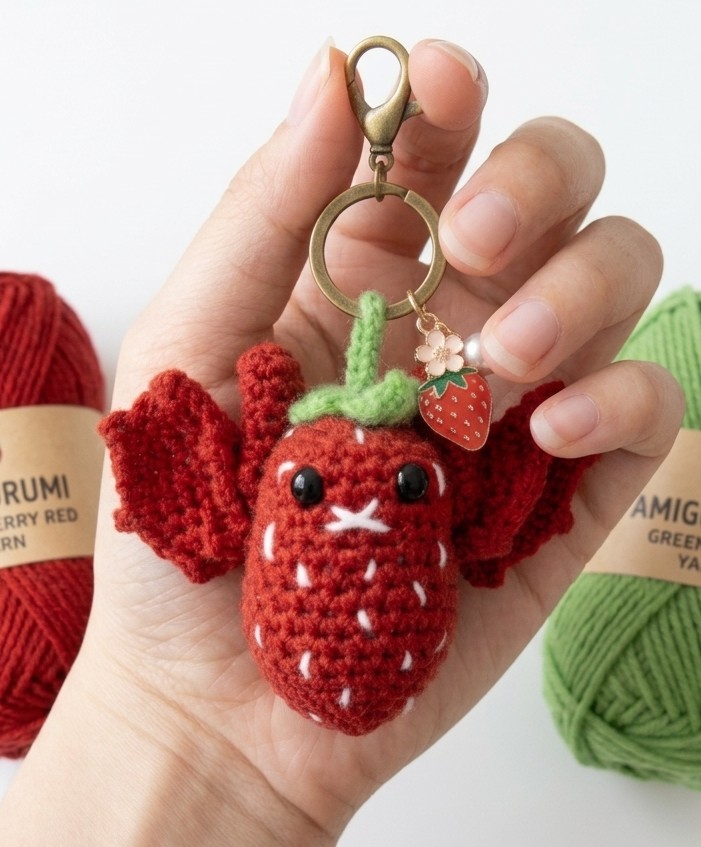
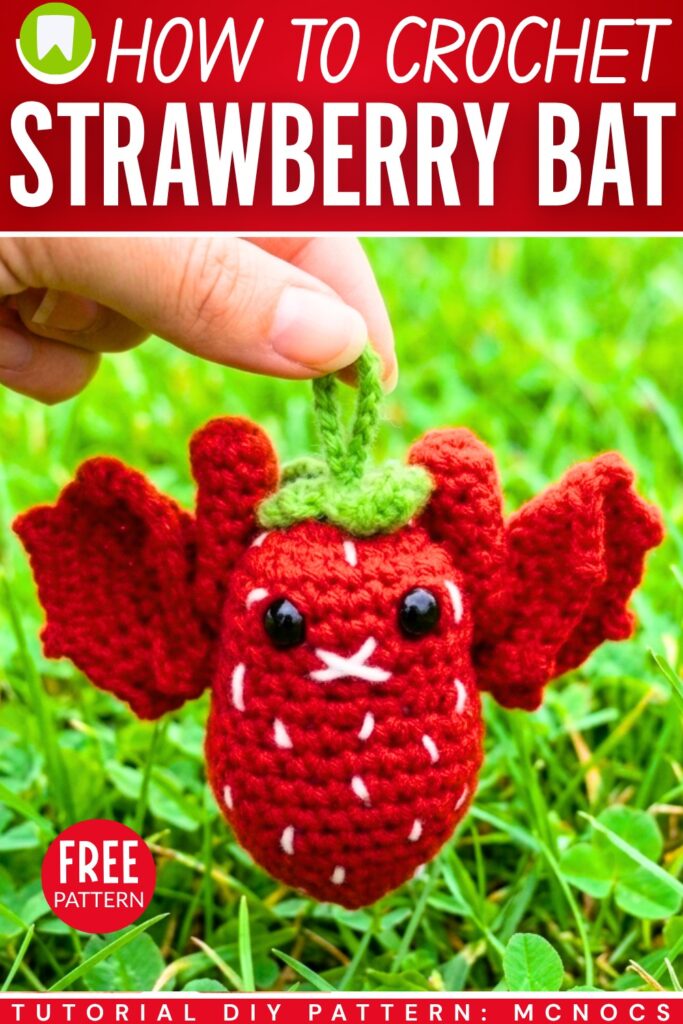
Looking for an absolutely UNIQUE way to crochet a bat amigurumi this Halloween? Be ready to learn how to crochet this fruit bat amigurumi with a step-by-step video tutorial + a written pattern as well. This is a low-sew strawberry bat amigurumi you can crochet this fall as a “summer memory” gift for kids. You can also theme this fruit bat to orange, kiwi, and even watermelon. It can also be crocheted as a fruit bat plushie by using chenille yarn.
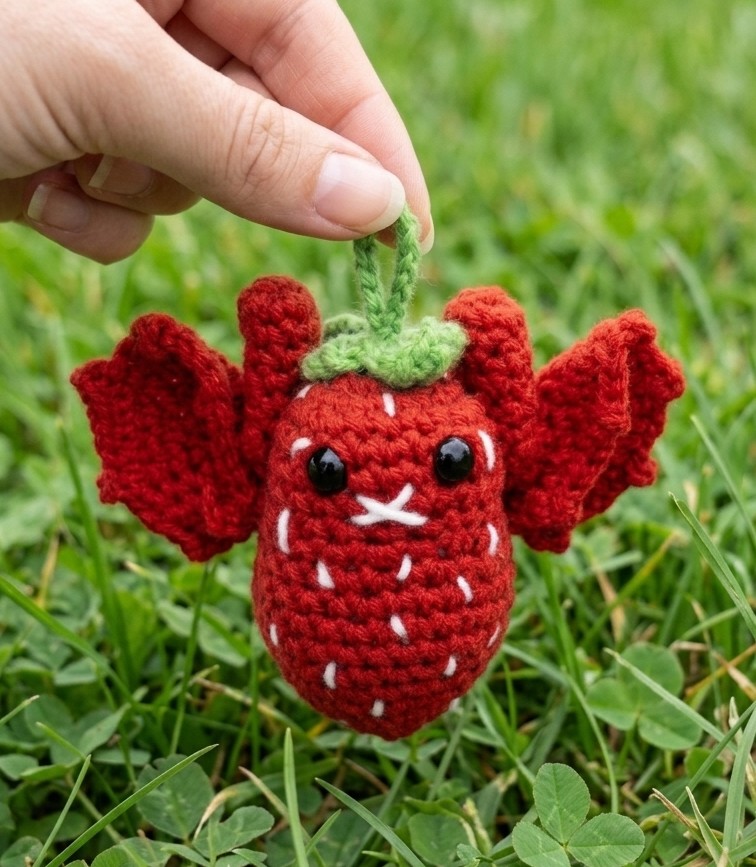
To get an authentic strawberry bat look, it features white embroidery lines all around the body + a crochet leaf as well. The wings of this bat amigurumi are also foldable.
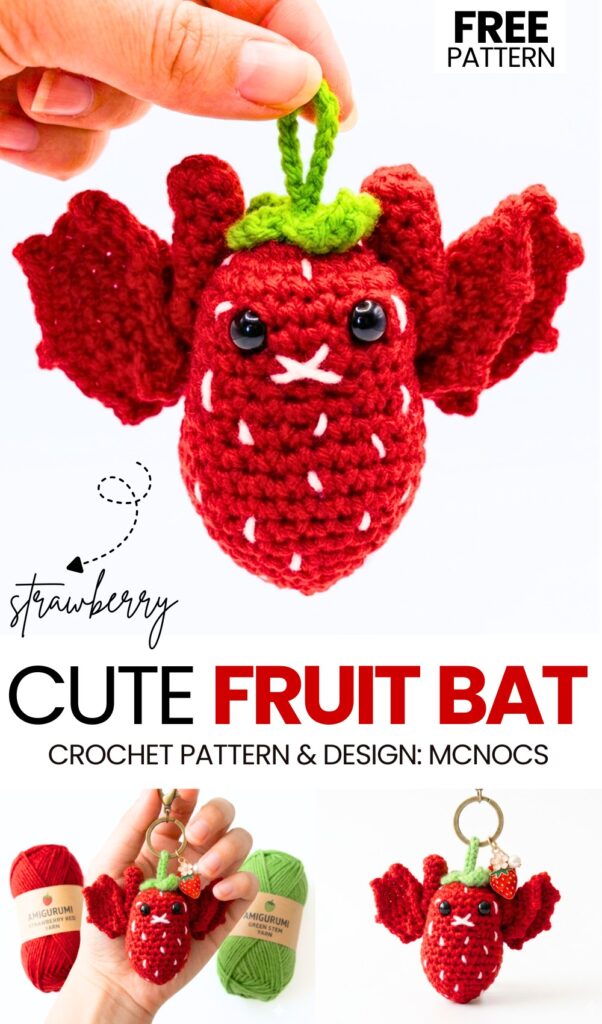
You can also learn how to crochet this fruit bat amigurumi following a 2-part video tutorial. This bat Halloween amigurumi tutorial is much more detailed and recommended for beginners. Decorate your front door with a Halloween wreath, hang it upside down in the middle of the Halloween garland, or place it on the desk as a buddy; it is the BEST crochet bat pattern. Continue reading to learn more about this Halloween bat project.
Similar Project(s)
Pattern to Crochet Halloween Strawberry Bat Amigurumi
Skill Level: Beginner – Level 4
This project is a small bat. It looks like a red fruit. You make the head and the body in one piece. Then you make two ears. Then you make two wings. You sew the ears and the wings to the body. You use white yarn to make a small nose and small seeds on the body. You use green yarn to make three leaves on the top of the head. It is soft and fun to make.
Materials
Yarn: Medium weight (size 4) yarn in Red (body), Green (leaves), and White (nose and seeds).
Hook: 3.5 mm crochet hook.
Eyes: Safety eyes (eye pins).
Stuffing: Toy stuffing.
Tools: Tapestry needle, scissors, stitch markers, and a stick (like a chopstick) to help pack the stuffing.
Abbreviations
MR = Magic Ring / Magic Circle
sc = single crochet
inc = increase (2 sc in the same stitch)
dec = decrease (invisible decrease recommended)
ch = chain
sl st = slip stitch
st = stitch
(…) x # = repeat the instructions in the parentheses the specified number of times
[#] = total number of stitches at the end of the round
Are you a Beginner? Learn Crocheting Easily!
You can learn to crochet this UNIQUE Halloween bat amigurumi as a beginner by following this tutorial, too:
Pattern Instructions
Body (Use Red Yarn)
R1: 6 sc in MR. [6]
R2: inc in each st around. [12]
R3: (sc, inc) x 6. [18]
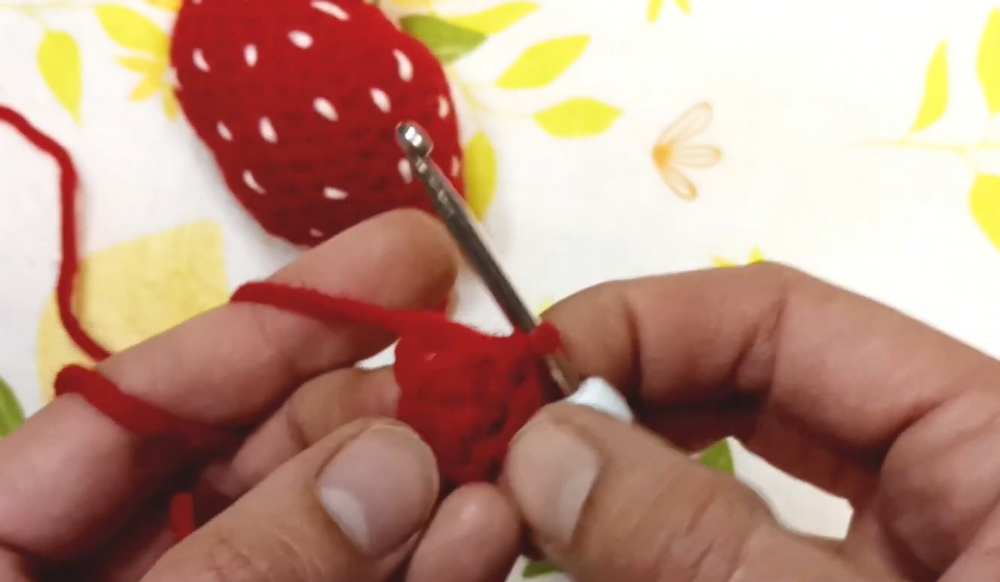
R4: (5 sc, inc) x 3. [21]
R5: sc in each st around. Place a stitch marker at the end of this round to mark the height for the eyes later. [21]
R6–R7: sc in each st around. [21]
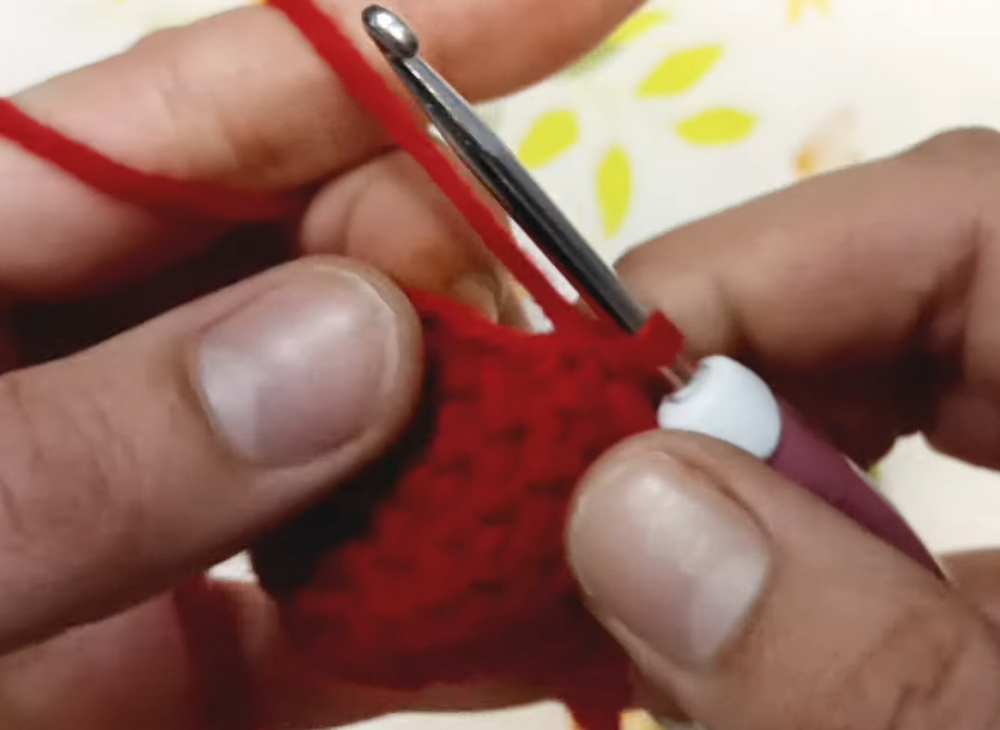
R8: 3 sc, 3 dec, 12 sc. Place a stitch marker exactly between the decreases — this marks the center of the nose. [18]
R9: (2 sc, inc) x 6. [24]
Stop and insert safety eyes: Use the center marker from R8. Count up 1 row, then count out 2 stitches to the left for the first eye, and 2 stitches to the right for the second eye. Secure the backs and remove the center marker.
R10: (7 sc, inc) x 3. [27]
R11–R12: sc in each st around. [27]
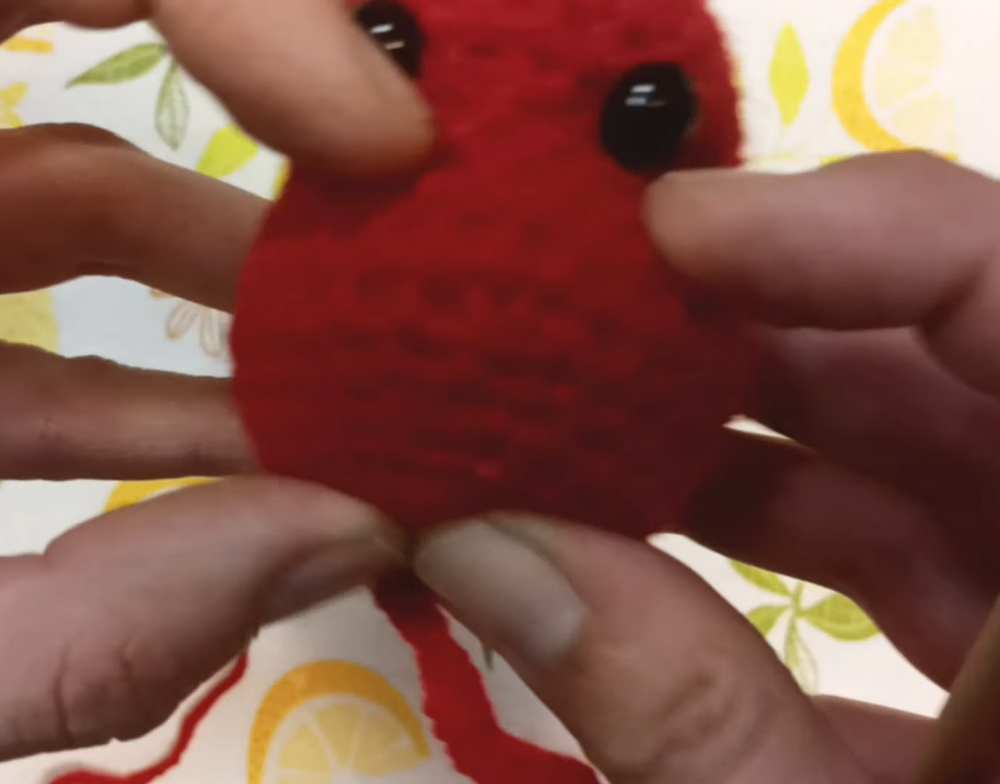
R13: (7 sc, dec) x 3. [24]
R14: (dec, 6 sc) x 3. [21] (Note: Starting with a decrease prevents them from stacking and warping the shape).
R15: (5 sc, dec) x 3. [18]
R16: (dec, 4 sc) x 3. [15]
Stuff the head and upper body firmly. Use your stick to push stuffing into the cheeks to shape the head.
R17: (3 sc, dec) x 3. [12]
R18: (sc, dec) x 4. [8]
R19: dec x 4. [4] (If decreasing 4 times is too difficult in this tight space, you can do: dec, 2 sc, dec, 2 sc for 6 stitches instead).
Fasten off. Thread the tail through the front loops of the remaining stitches, pull tight to close, and hide the yarn tail inside the body

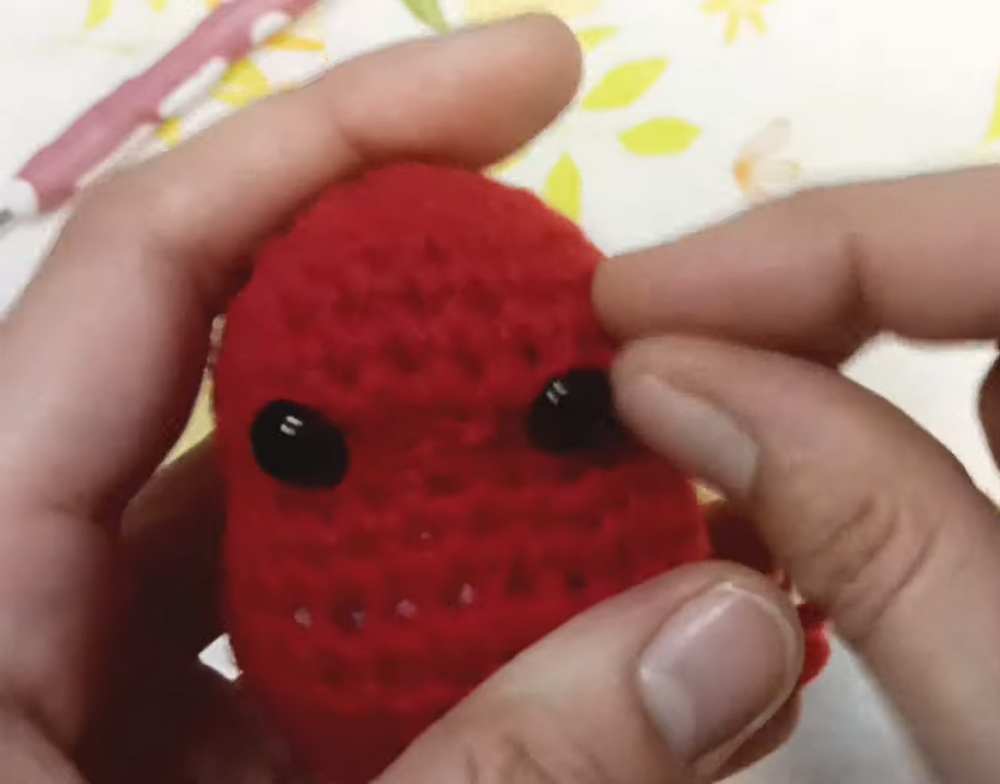
Ears (Make 2)
R1: 4 sc in MR. [4] (If 4 is too difficult, start with 6 sc in a MR and skip R2).
R2: (inc, sc) x 2. [6]
R3: sc in each st around. [6]
R4: (2 sc, inc) x 2. [8]
R5: (3 sc, inc) x 2. [10]
R6: (4 sc, inc) x 2. [12]
R7: sc in each st around. [12]
R8: (dec, 4 sc) x 2. [10]
Fasten off leaving a long tail for sewing. Flatten the ear so the top opening lines up. Sew the opening closed by weaving the needle back and forth through both sides 5 times.
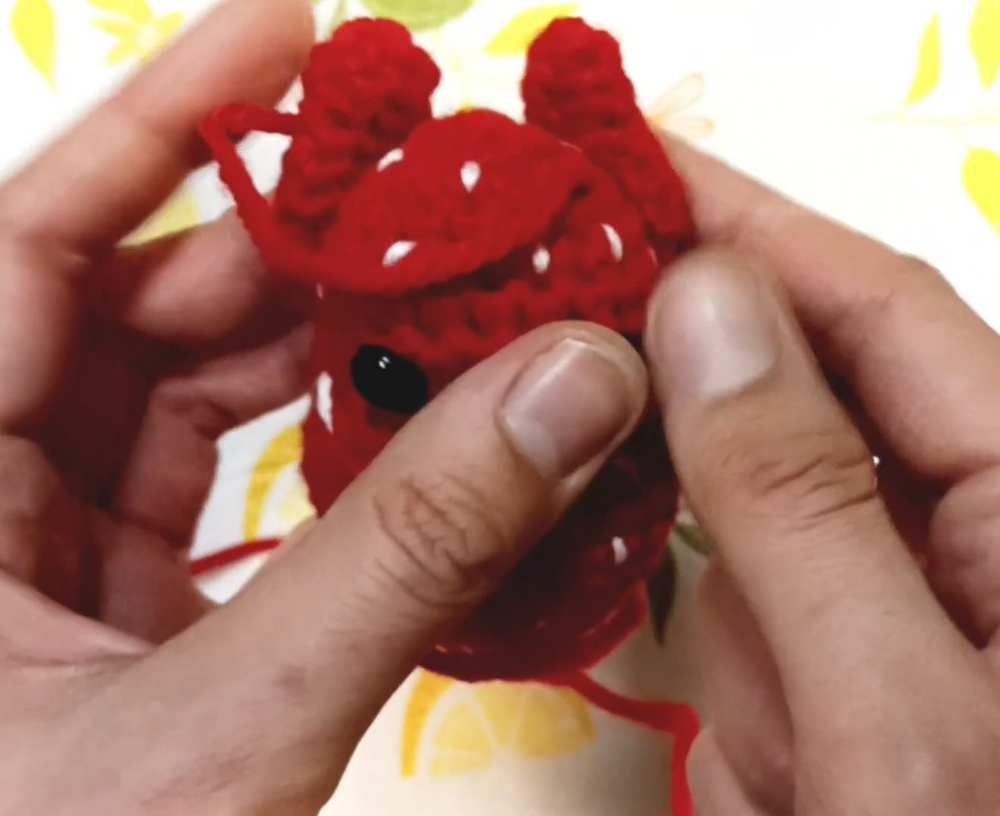
Wings (Make 2)
R1: 6 sc in MR. [6]
R2: inc in each st around. [12]
R3: (sc, inc) x 6. [18]
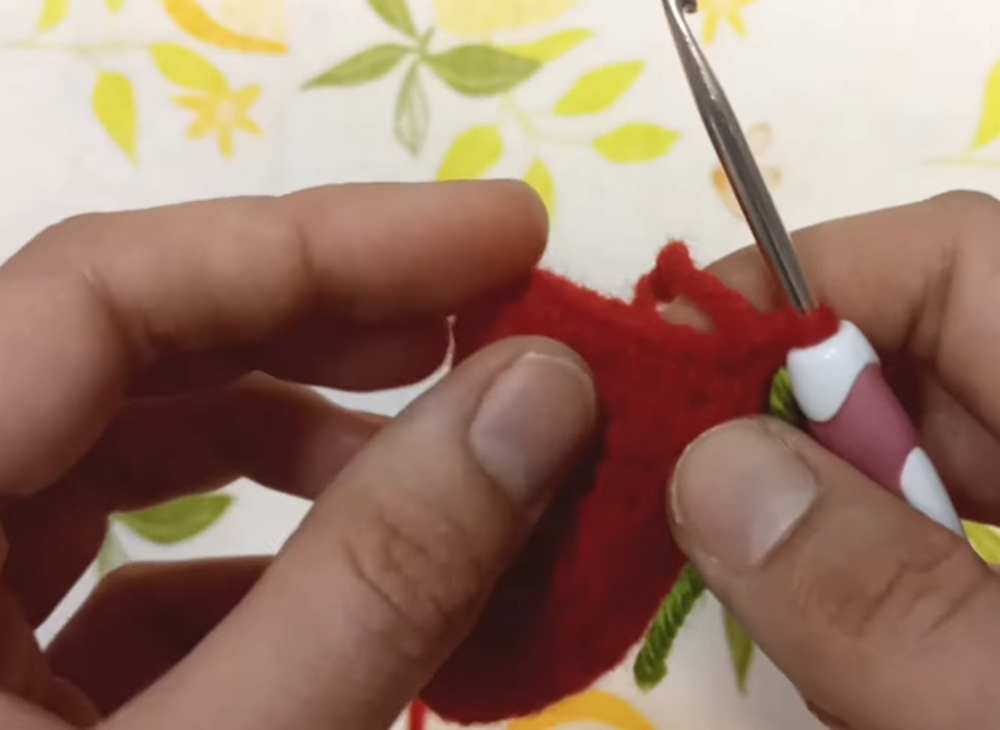
R4: (2 sc, inc) x 6. [24]
R5 (Picot Edge): (sc in next st, then in the next st make [1 sc, ch 2, sl st into the 2nd ch from hook], sc in next st) x 8.
Fasten off leaving a long tail for sewing. Fold the base of the wing flat and sew back and forth through the edges of the center to pinch the wing into a fan shape.
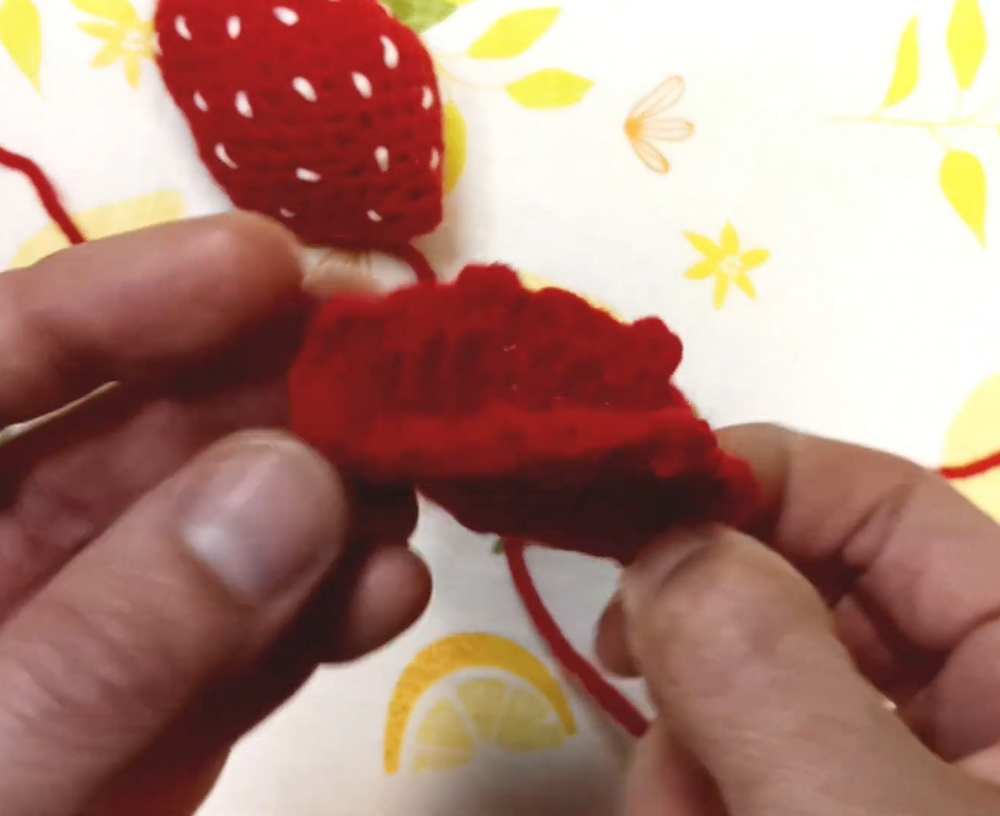
Leaves (Use Green Yarn)
First Leaf: ch 4. Skip the first ch, sl st in the 2nd ch, sc in the next 2 ch.
Second Leaf: Do not cut yarn. ch 6. Skip the first ch, sl st in the 2nd ch, sc in the next 4 ch.
Third Leaf: Do not cut yarn. ch 4. Skip the first ch, sl st in the 2nd ch, sc in the next 2 ch.
Fasten off leaving a tail. Fold the base of the leaves together and sew a few stitches through the starting chains to group them into a single bunch.
Assembly
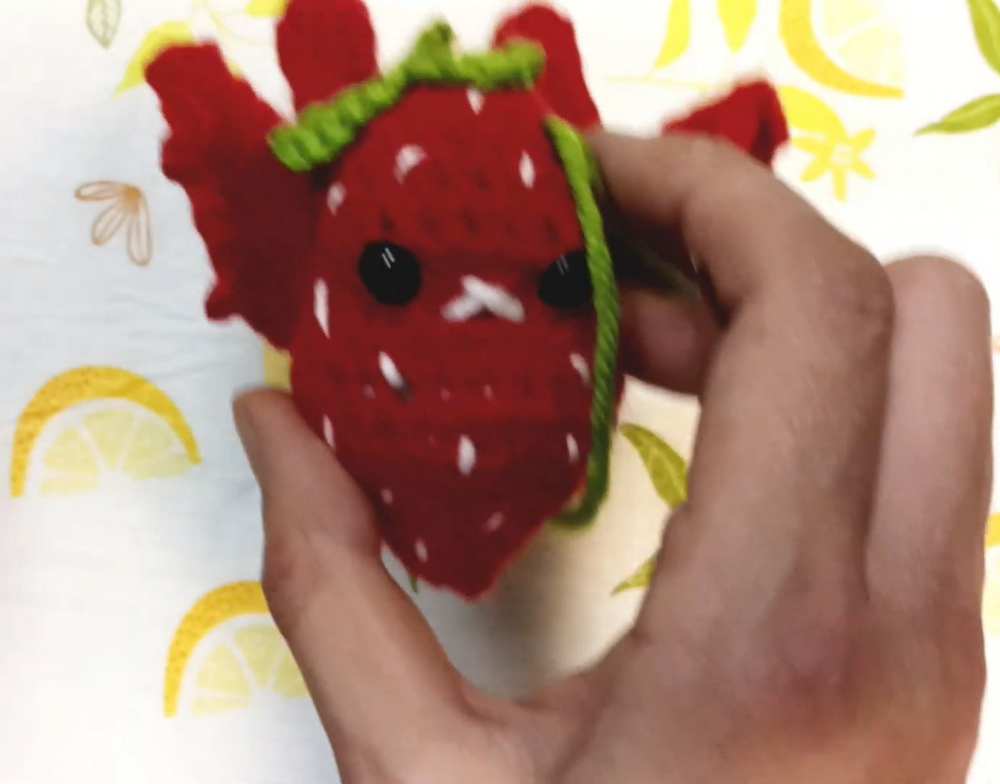
Face & Details: Using white yarn, sew an “X” directly between the eyes to make the nose. Sew small straight stitches randomly around the lower body to look like strawberry seeds.
Attach Ears: Position the ears on the back of the head, starting about 4 stitches away from the eyes. Sew the base of the ear to the head, pinning down the side edges slightly so they stand up securely.
Attach Wings: Position the pinched end of the wings on the back of the body, angled slightly downward. Sew them securely into place.
Attach Leaves: Pin the grouped leaves to the very top center of the head (right over the magic ring) and sew them down.
Share on Social Media!
See More:
Tester Pattern: To Crochet A Plush Spooky Bat Bao Bun Plushie
Tester Pattern: To Crochet A Red Soot Bat Amigurumi Plushie Pattern
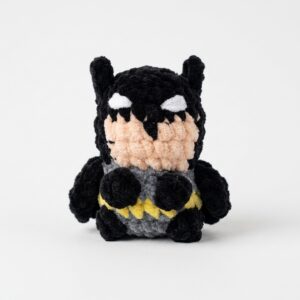
How to Crochet Low-Sew Mr. Bat Superhero Plushie for Kids
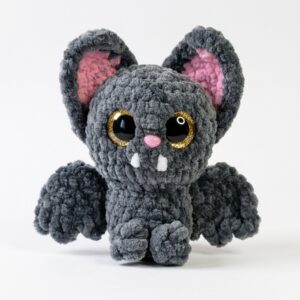
How to Crochet Glitter-Eyed Kawaiiest Bat Softie for Halloween
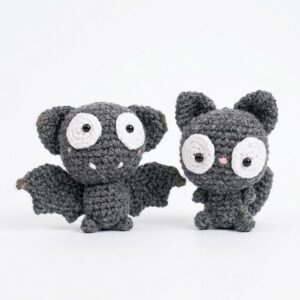
Featuring: Crochet Black Kitty Amigurumi But it is A Bat for Halloween (2-in-1 Tutorial)
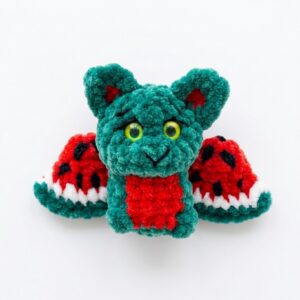
How to Crochet the Watermelon Bat No-Sew Plushie Pattern
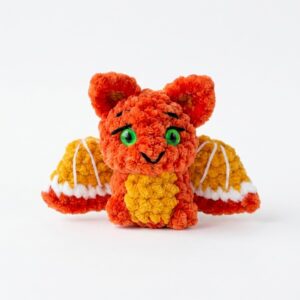
How to Crochet An Orange, Watermelon & Strawberry Fruit Bat Plushie
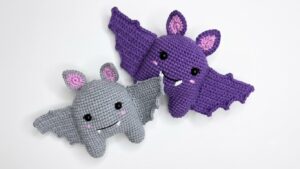
How to Crochet the CUTEST Kawaii Bat Amigurumi Buddy for Kids
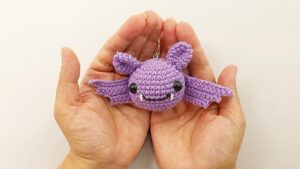
How to Crochet An Absolutely CUTE Crochet Bat Amigurumi Bag Charm